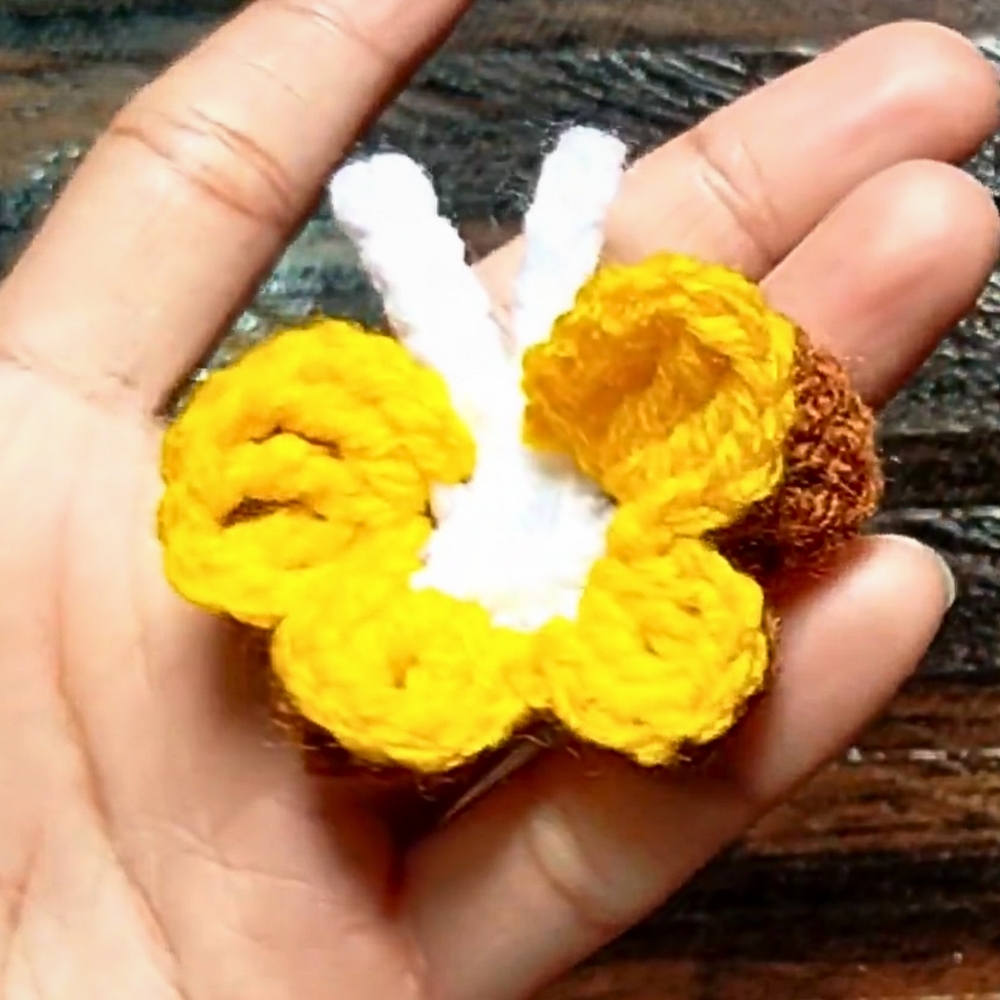
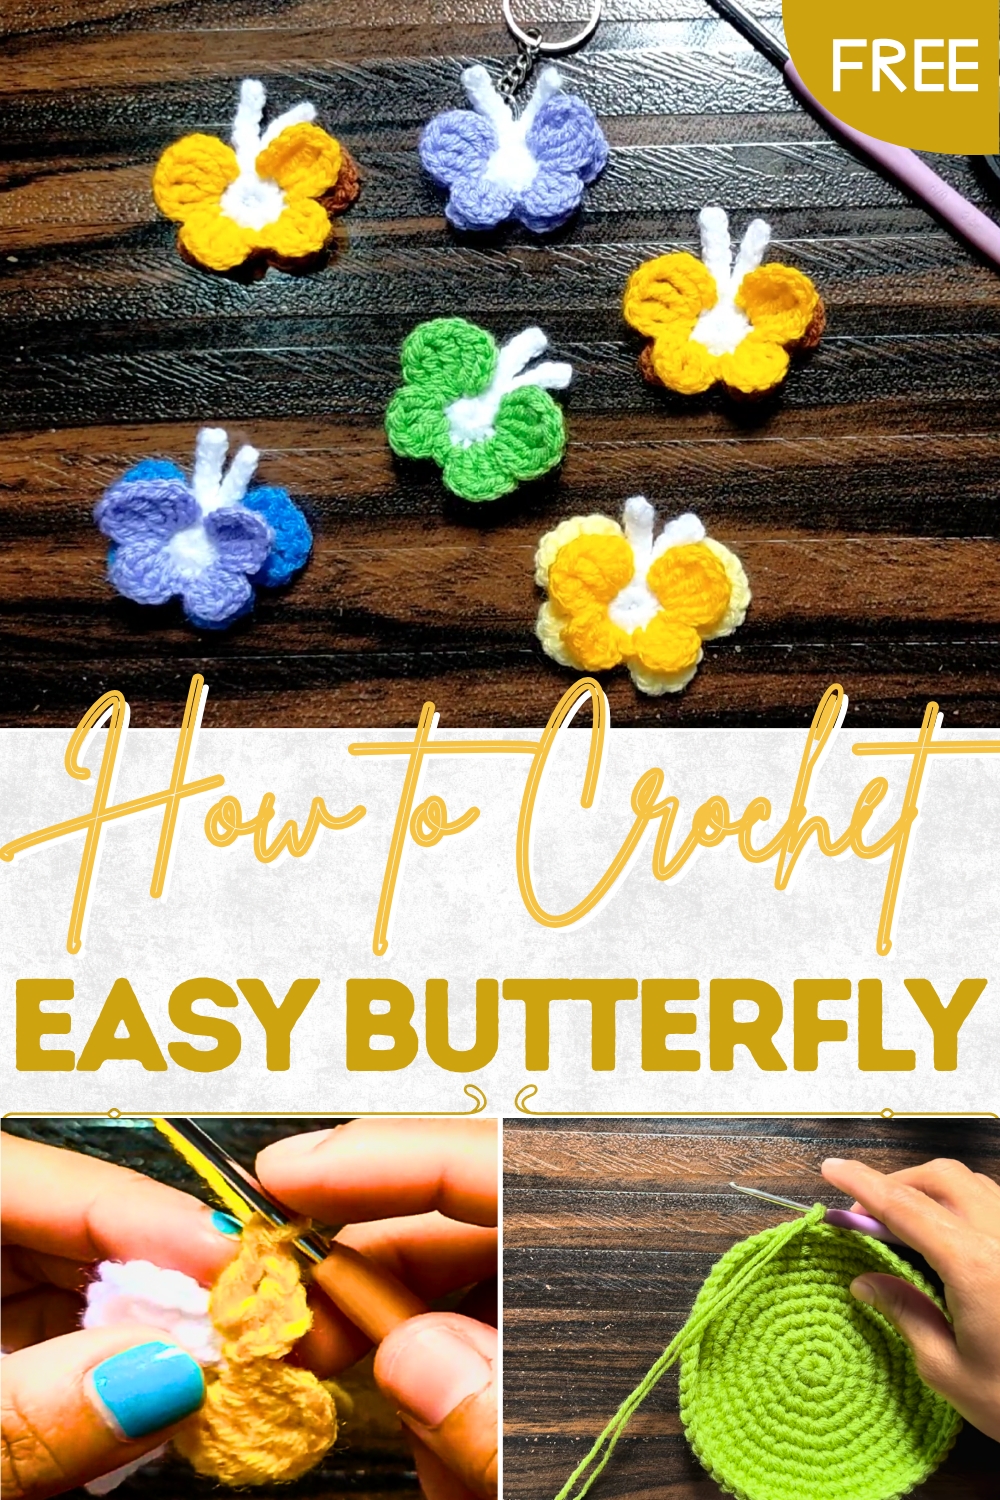
Artistic Crochet Butterfly With Modern Inspiration
Flutter with style using this Crochet Butterfly Pattern for a colorful, charming accessory that adds beauty to any project or décor.
In many cultures, the butterfly has long been admired as a gentle symbol of beauty and grace, and capturing that charm in yarn gives it a delightful presence that lasts. A crochet butterfly carries the lightness of nature into the home, whether perched as a decorative accent on clothing, used to brighten a bag, or kept as a small token of joy. Its delicate wings, shaped with thoughtful detail, highlight the balance of softness and structure, making it both eye-catching and durable.
Beautiful Crochet Butterfly Perfect for Adding Joy into Everyday Moments
With endless possibilities in color, it can mirror the hues of real butterflies or take on vibrant shades that add cheer to everyday surroundings. Beyond its decorative charm, it offers versatility—serving as an applique for blankets, embellishments for accessories, or thoughtful keepsakes to gift. Each butterfly reflects a sense of timeless elegance while holding practical benefits such as being lightweight, portable, and easy to maintain.
Whether scattered across a table as festive decor, attached to a headband for a playful touch, or tucked into a letter as a surprise, it brings warmth to every setting. With its gentle form and lasting appeal, the crochet butterfly becomes a small yet meaningful piece that enriches both daily life and treasured occasions.
Materials Needed
- Yarn: Any lightweight or medium-weight yarn in your preferred colors.
- Crochet Hook: 2.5 mm hook.
- Scissors: For cutting yarn.
- Darning Needle: To hide the loose yarn ends and attach the parts securely.
Special Features
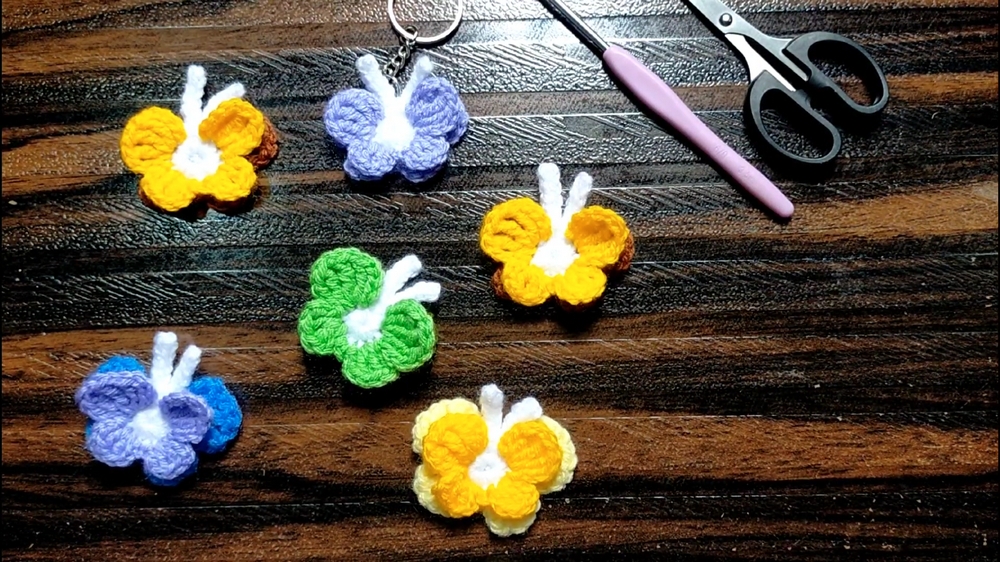
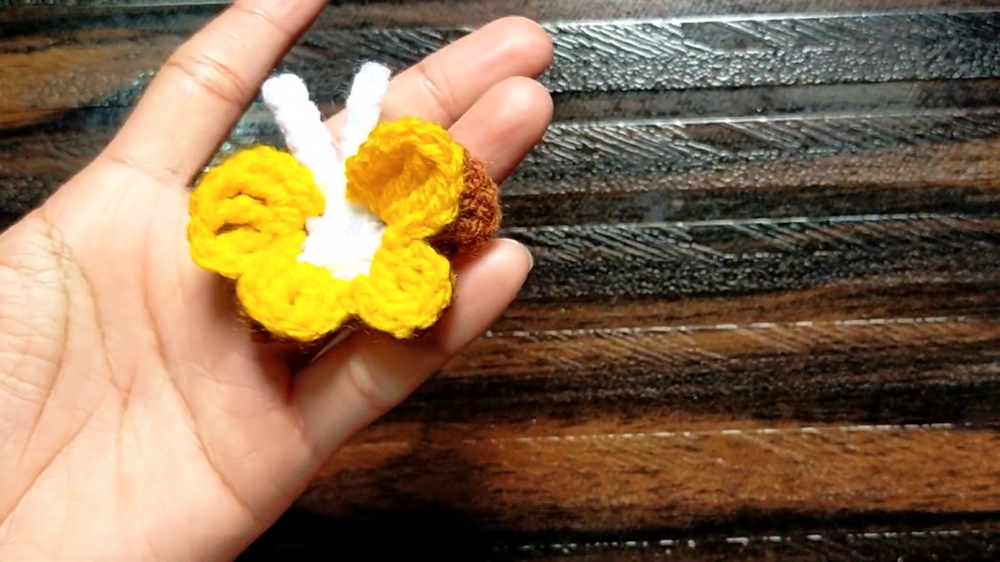
- Adorable Butterfly Design: The finished product is a lovely crocheted butterfly that can be customized in different colors.
- Beginner-Friendly: The project uses simple techniques like the magic ring, single crochet, slip stitch, double crochet, and treble crochet, making it ideal for those new to crochet.
- Customizable: You can use any color combination to suit your preference or to match the purpose of the accessory.
- Multi-Functional: The butterfly can be used as a keychain, an embellishment for clothes, or as part of a larger crochet project.
Difficulty Level
This project is designed for beginners. The tutorial carefully explains each step of the process, making it easy to follow. Techniques like the magic ring and treble crochet might be new to some, but clear instructions make them simple to learn.
Tutor’s Suggestions
- Use a 2.5 mm Crochet Hook: The instructor recommends a 2.5 mm hook for better precision when working with finer details.
- Have Basic Supplies Handy: Items like a pair of scissors and a darning needle are essential for cutting and tidying up the project.
- Experiment with Colors: While the tutorial uses specific colors, you are encouraged to mix and match according to your own creativity.
- Hide Remaining Yarn Neatly: The tutor emphasizes hiding the leftover yarn at the end for a clean and polished look.
Step-by-Step Instructions
1. Making the Butterfly Base
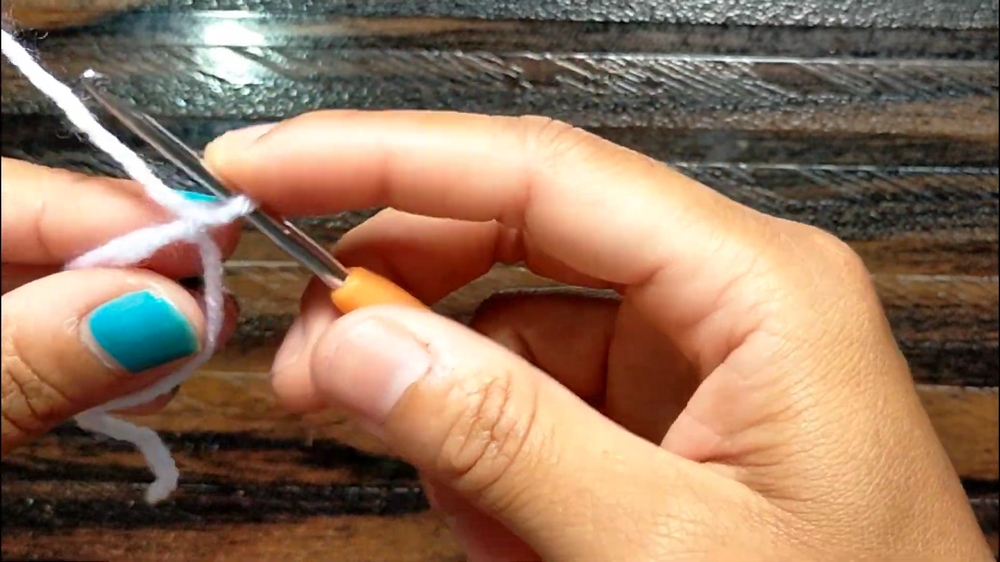
- Create Magic Ring:
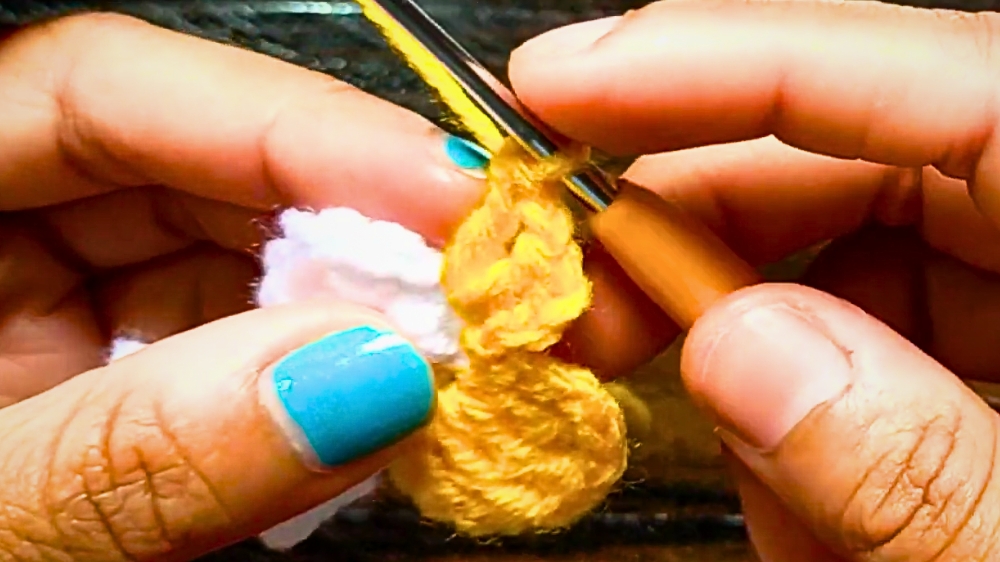
- Wrap the yarn around your fingers and pull the loop through using the 2.5 mm crochet hook. This forms the magic ring.
- Make 12 single crochets inside the magic ring.
- Close the Ring:
- Pull the string to close the magic ring, forming a tight circle.
- Complete the row by making a slip stitch into the first single crochet.
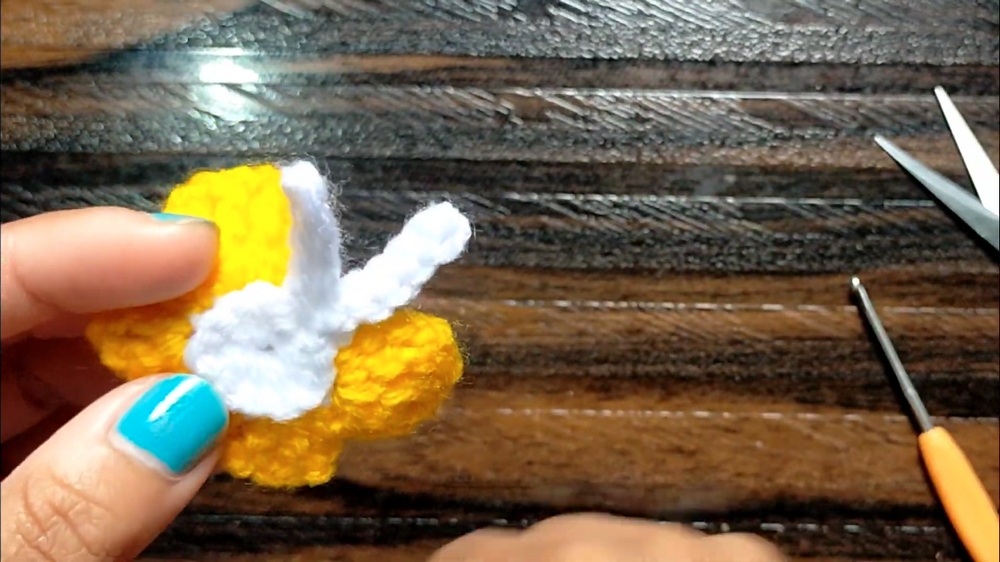
2. Creating the Butterfly’s Wings (First Layer)
- Top Wing (First Half):
- Chain 6. Turn the chain.
- Starting from the second stitch, make 5 slip stitches, one in each stitch of the chain.
- Slip stitch into the same stitch where you started the chain.
- Top Wing (Second Half):
- Chain 6 again. Turn the chain.
- Repeat the process of making 5 slip stitches and slip stitch into the starting stitch.
- Cut Off and Secure:
- Chain 1, cut the yarn, and hide the remaining yarn.
- Chain 1, cut the yarn, and hide the remaining yarn.
3. Adding the Second Layer of Wings
- Attach a New Yarn Color:
- Insert your hook into the front stitch of the base and attach the new yarn.
- Top Wings:
- Chain 4. In the next stitch, make a treble crochet (yarn over twice before pulling through two loops three times).
- Chain 1. Make another treble crochet in the same stitch. Repeat this process until you have 3 treble crochets in total, with a chain stitch between each.
- Chain 3, slip stitch into the next stitch.
- Bottom Wings:
- Chain 3. In the next stitch, make a double crochet (yarn over once).
- Chain 1, make another double crochet in the same stitch.
- Chain 2, slip stitch into the next stitch.
- Chain 2, skip one stitch, and slip stitch into the following stitch.
- Chain 2, make a double crochet, chain 1, and make another double crochet in the same stitch.
- Chain 3 and slip stitch into the next stitch.
- Complete the Layer:
- Repeat the same pattern of treble crochets for the top wings and double crochets for the bottom wings on the opposite side.
- Chain 1, cut the yarn, and hide the ends.
4. Adding the Butterfly Tail and Repeating for the Back Layer
- Back Layer:
- Turn the butterfly to work on the back stitches.
- Optionally, you can repeat the same wing pattern on the back side. Use the same or a different color for added depth and dimension.
- Cut and hide the yarn ends.
Uses and Benefits
- Accessories: Attach the butterfly to keychains, bags, or hairpins.
- Decorative Embellishment: Use as an appliqué for t-shirts, tops, crochet blankets, or pillows.
- Gift-Worthy: Great as part of a handmade gift for friends and loved ones.
- Craft Project for Beginners: A perfect way to get started with crochet while creating something functional and cute.
Conclusion
This butterfly crochet project is a fun and simple craft for beginners. With its versatility and charm, it can brighten up everyday items or serve as a thoughtful handmade gift. The step-by-step pattern ensures that even those new to crochet can complete the project successfully. Have fun experimenting with color combinations and different uses to make your butterfly unique.
Bonus Tip
To add extra detail, consider attaching beads, sequins, or embroidery to the butterfly for added sparkle and texture. Always work with proper lighting and a relaxed hand tension for even stitches.