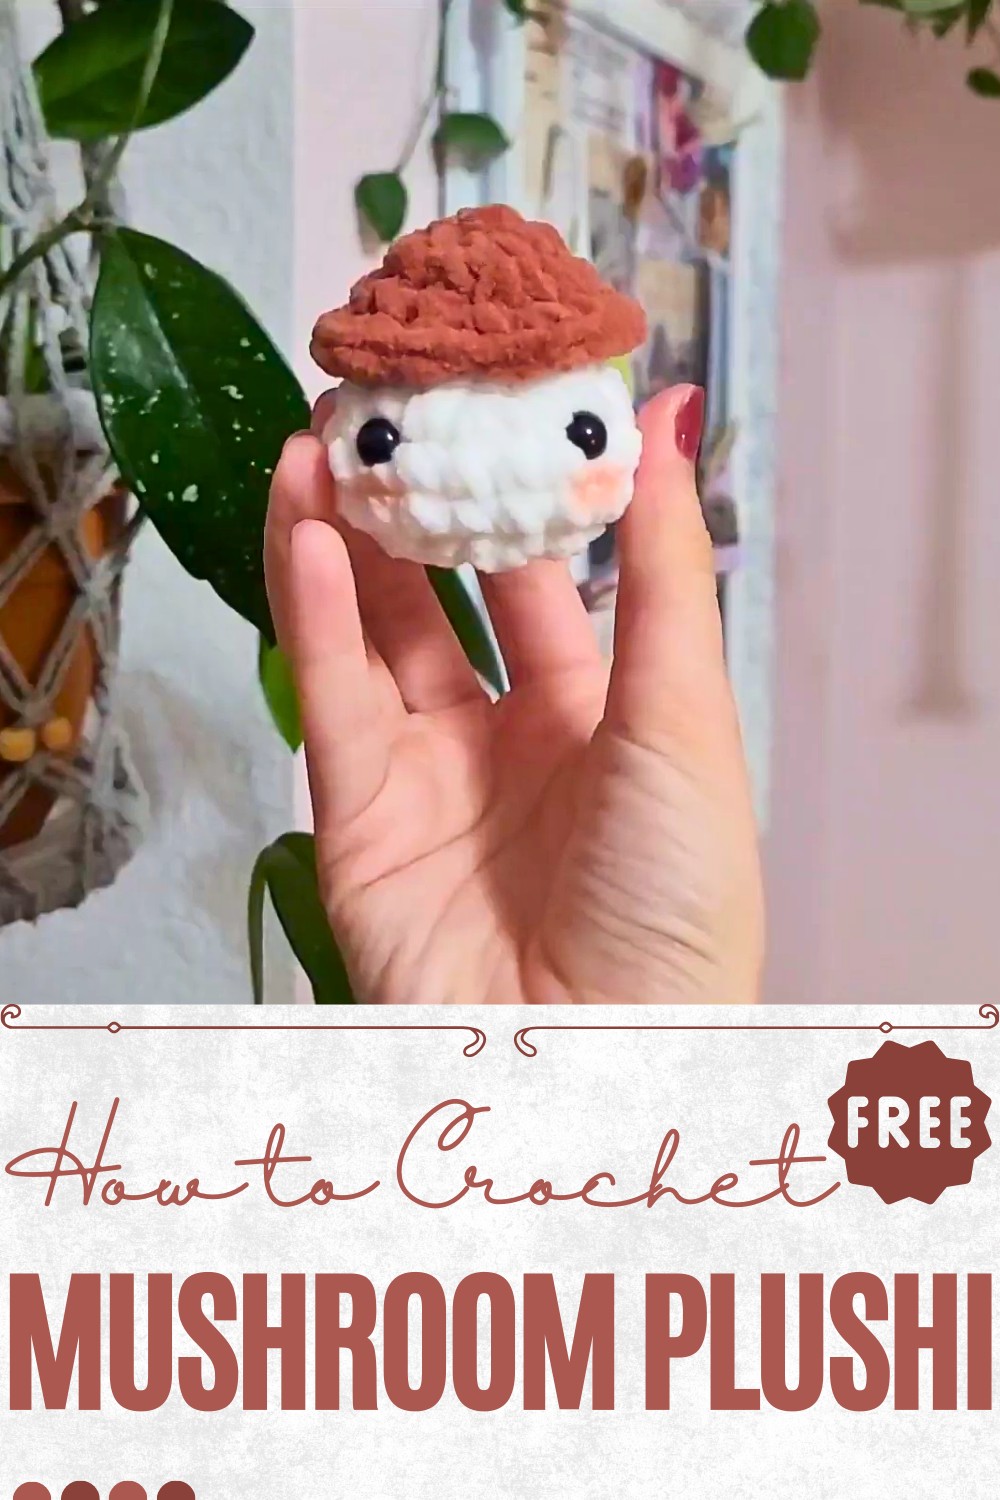
Whimsical Crochet Mushroom Plushi Pattern for Cozy Décor
Whimsical charm comes alive with the Free Crochet Mushroom Plushi Pattern, a soft and playful piece perfect for gifting, décor, or cozy comfort.
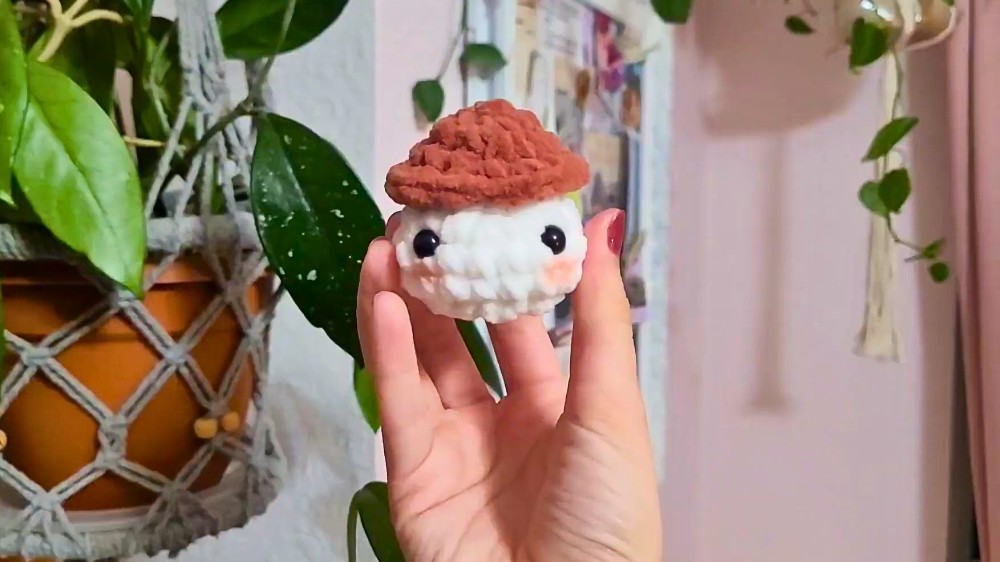
In the quiet of a woodland walk, the sight of tiny mushrooms peeking through moss always sparks a sense of charm and wonder. Their soft curves, whimsical caps, and earthy appeal have long inspired both art and decoration, offering a reminder of nature’s delicate details. The Crochet Mushroom Plushi captures this playful beauty, turning it into a cozy, huggable companion that brings warmth to any space.
Crochet Mushroom Plushi Pattern with Cute Forest Style
This plush creation begins with a rounded base that grows upward into a soft, sturdy stem, designed to support the iconic mushroom cap. Midway through, shaping techniques give the stem its natural taper, preparing it for the wide cap that defines the form. The cap is built with gentle expansion, resulting in a dome-like structure that is both smooth and snug, often accented with embroidered or stitched spots for character.
The final assembly pulls everything together, producing a mushroom plush that is plump, well-balanced, and delightfully tactile. More than just a decorative item, this mushroom plushi serves multiple purposes, it can be a thoughtful gift, a playful accent for a child’s room, or a comforting keepsake on a shelf. With its cheerful look and soft texture, it brings personality and charm into any setting.
Materials Needed
- Yarn: Bulk 5 plushy, soft yarn for a cozy look and feel.
- Hook size: Recommended size is 8, but a 6 is used for tighter stitches to prevent holes (adjust based on your crochet style).
- Needle: For threading.
- Stitch marker (or a bobby pin): To mark the first stitch in each round.
- Jump rings and keychain hook: Optional for attaching the mushroom to keys or bags.
- Stuffing: To give the mushroom its shape (optional).
- Safety eyes: For adding cute facial details to the mushroom.
Special Features
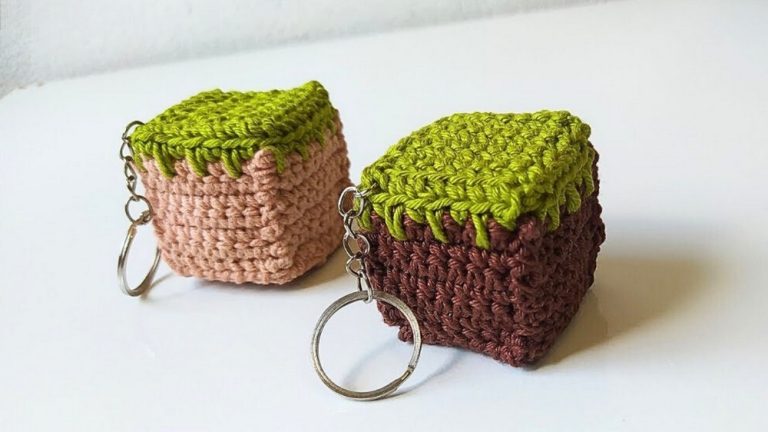
- Compact and versatile design, perfect as a keychain or decorative item for bags or hanging.
- Beginner-friendly instructions that focus on simple single crochets and magic rings.
- Includes options for personalizing with blush, stuffing, and eye placement.
- Tutorial minimizes visible gaps and thread ends for polished results.
Difficulty Level
This project is beginner-friendly, with simple stitches like single crochet and slip stitches. The tutorial focuses on foundational crochet techniques such as creating a magic ring and increasing round stitches, making it accessible for new crocheters eager to learn.
Tutor’s Suggestions
- Hook size preferences: The tutor recommends using a smaller hook (6) for tighter stitches to avoid visible holes. If you naturally crochet tightly, you can opt for a larger hook (8).
- Improvise with tools: Use a bobby pin if you don’t have a stitch marker.
- Stuffing optional: The mushroom’s structure holds well even without filling, but stuffing adds extra shape and fullness.
- Safety eyes placement: Test placement by putting the mushroom cap on the body for alignment.
Step-by-Step Instructions
1. Creating the Mushroom Cap
Magic Ring:
- Hold the yarn over your fingers, twist it, and form a circle. Insert your hook under the loop and pull the thread through. Chain one to secure the loop.
Single Crochets:
- Put 5 single crochets into the magic ring. Add a stitch marker to the first stitch to track rounds. Pull the tail tight to close the center.
Increasing Rounds: - Round 1: Two single crochets in each stitch.
- Round 2: Alternate one single crochet and two single crochets per stitch (repeat).

- Round 3: Alternate one single crochet, one single crochet, two single crochets per stitch (repeat).
Finish: - Slip stitch and sew the edge to finish the cap.
2. Creating the Mushroom Body
Magic Ring:
- Repeat the process for the magic ring, place 5 single crochets, and mark the first stitch.
Increasing Rounds for Body Shape: - Follow the same pattern as the cap until the mushroom body begins taking shape.

Plain Rows: - Add 2 rows of single crochet without increases to form a sturdy structure.
Decreasing Rounds: - Use front loops only to decrease. Insert the hook into the front loops of two stitches, pull through, and complete the round to curve the body inward.
Stuffing and Finishing: - Before fully closing the body, add safety eyes to desired placement and insert stuffing for shape. Complete the final row and secure with slip stitches to close.
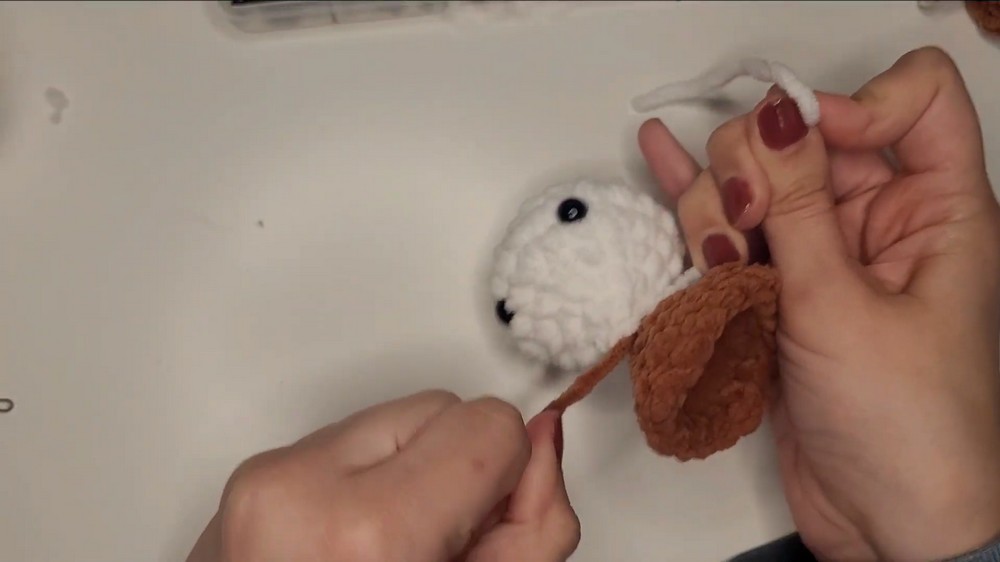
3. Assembly
- Use the leftover yarn string from the cap and body to tie both parts together with a tight knot. Trim excess yarn.

- Optional: Attach a jump ring and keychain hook for a functional keychain accessory.
Uses
- Attach as a keychain to keys, bags, or backpacks.
- Use as a decorative piece for home, car, or office spaces.
- Gift to friends or family for a handmade touch.
Tip
When sewing ends, follow the direction of your work to maintain a seamless shape. Sew threads snugly inside to ensure nothing pokes out when flipped.
Conclusion
This charming crochet mushroom is an easy and rewarding hobby project. With basic techniques, customizable features, and adorable results, it’s perfect for beginners and experienced crocheters alike. Follow the step-by-step instructions and enjoy crocheting your own mushroom keychain today.