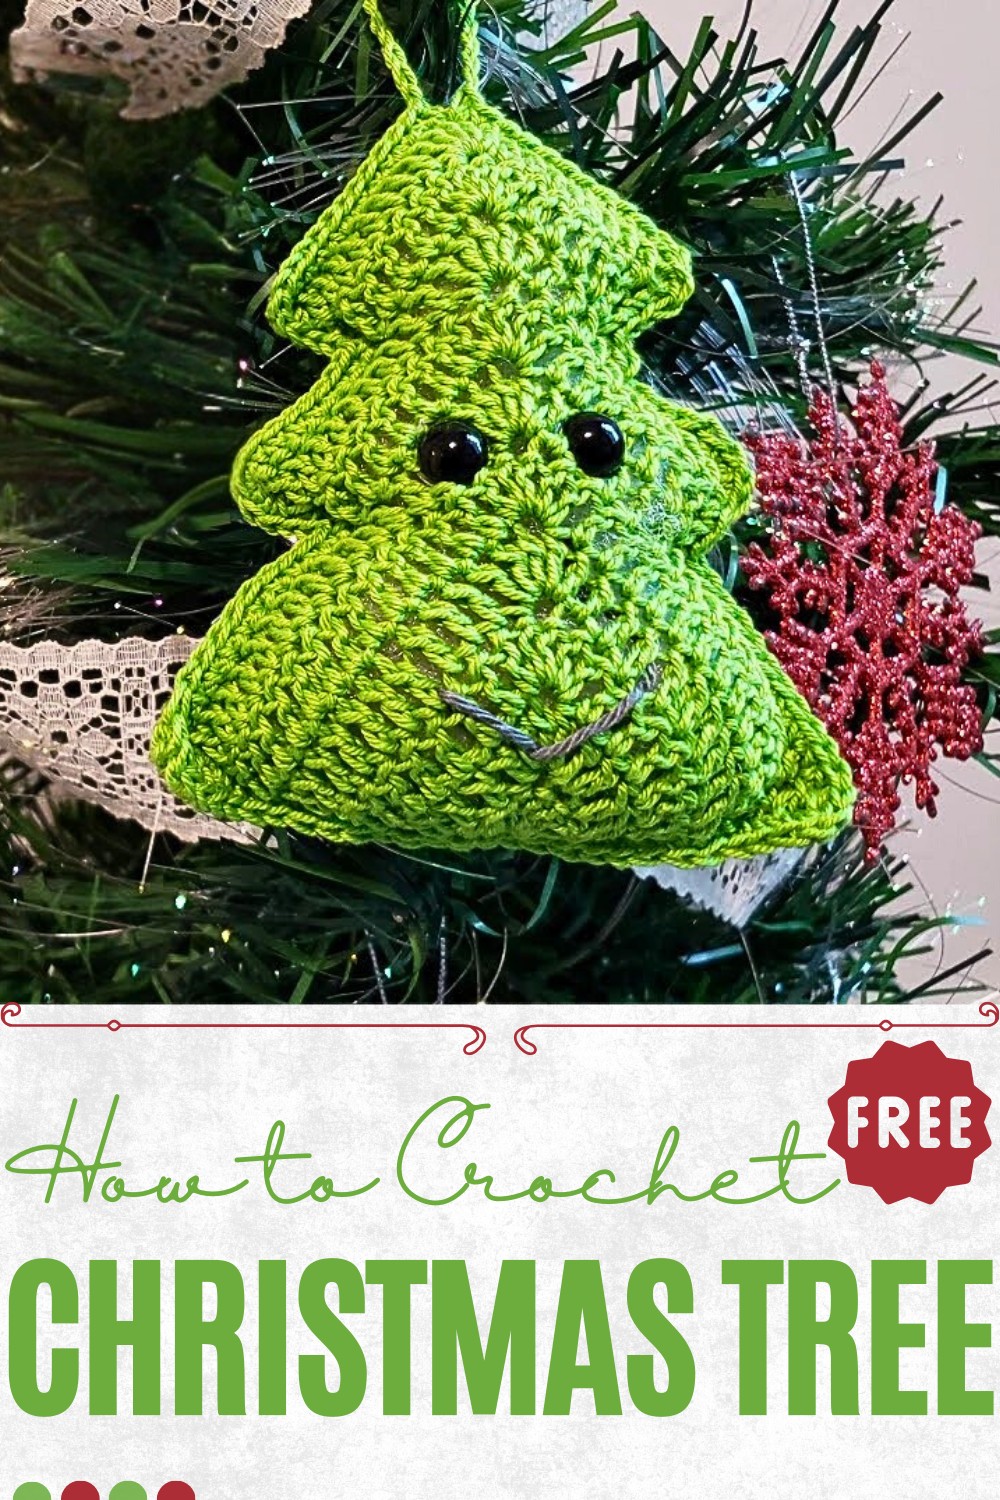
Whimsical Crochet Christmas Tree for Holiday Decor
Deck the season with this Crochet Christmas Tree Pattern for a festive, charming accessory that adds joy and warmth to décor.
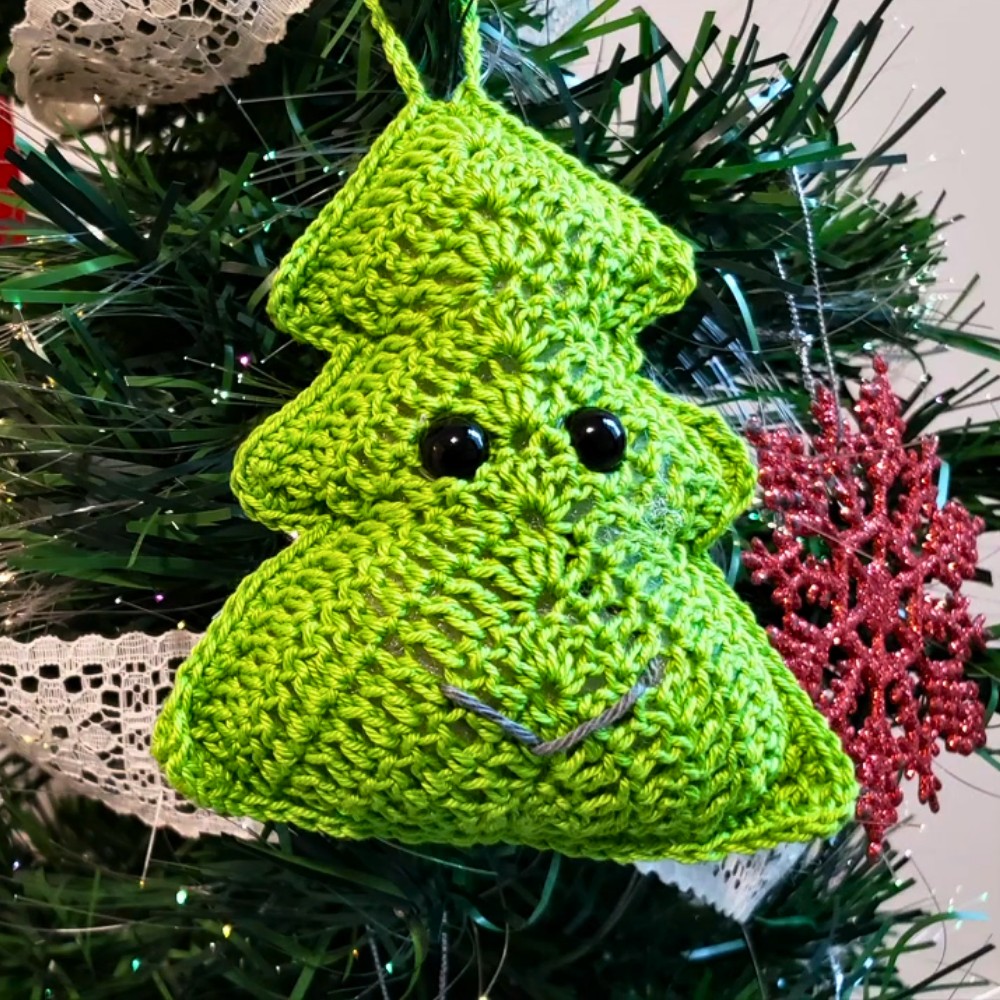
A cozy home during the holidays feels complete with festive touches, and the crochet Christmas tree pattern adds charm in a compact, elegant form. This miniature tree brings warmth and cheer to any space, whether placed on a tabletop, shelf, or desk. Each carefully worked stitch creates lush, textured layers that resemble a traditional evergreen while remaining soft and flexible. It can be left simple or adorned with tiny embellishments, offering versatility and a playful yet sophisticated accent to holiday décor.
Delightful Crochet Christmas Tree Perfect for Festive Cheer
Vibrant yarn colors accentuate the tree’s contours, providing visual depth and interest, while durable stitching ensures it retains its beauty for years. Beyond its decorative role, this crochet tree serves as a thoughtful gift, a collectible, or even a tool for practicing and mastering crochet techniques. Its small size encourages experimentation with colors, trims, and miniature ornaments, inviting creativity in every creation.
The tactile nature of crochet adds a comforting quality, making the tree enjoyable to touch and admire. Overall, this crochet Christmas tree pattern combines charm, practicality, and aesthetic appeal, enriching any seasonal setting. It offers both festive beauty and joyful engagement, transforming ordinary spaces into warm, inviting corners filled with handmade elegance and subtle sophistication.
Materials Needed
To complete this project, you will need:
- Yarn: Green yarn for the tree and a small amount of gray or red yarn for the mouth.
- Crochet Hook: 3 mm crochet hook.
- Eyes: Two safety eyes (8-10 mm are recommended).
- Stuffing: Fiberfill or similar material to stuff the tree.
- Scissors: For cutting yarn.
- Tapestry Needle: For sewing and weaving ends.
Step-by-Step Instructions
1. Make the First Side of the Christmas Tree
- Magic Ring: Create a magic ring, making the tail longer so it can later be used to sew the bottom of the tree.
- Start with 9 Double Crochets (DC):
- Chain 3 to begin, which counts as the first DC.
- Crochet 8 more DC into the ring, making a total of 9 DC.
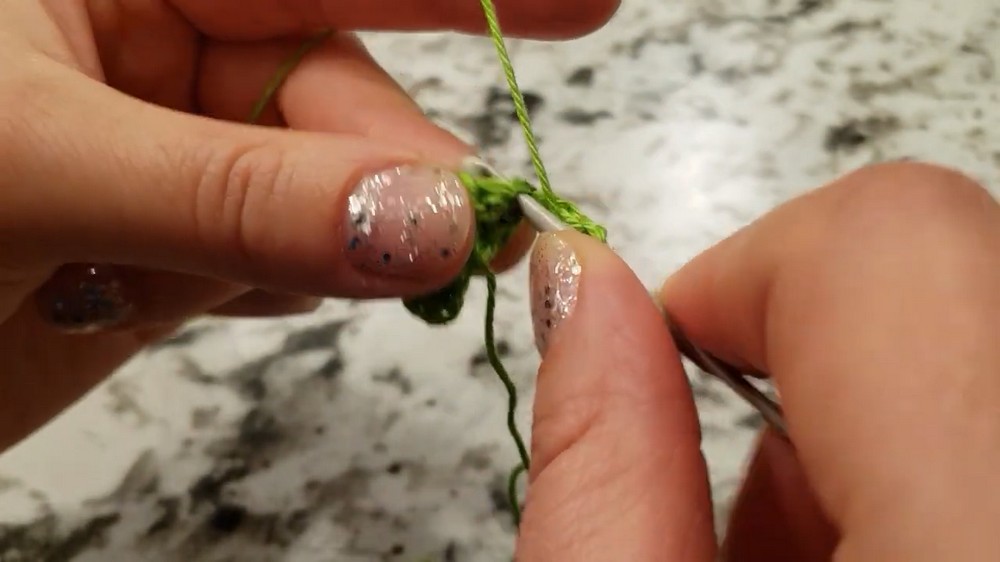
- Tighten the magic ring and close the round.
- Second Row:
- Chain 3, turn, and create 1 DC in the same space as the chain.
- DC in the next 3 stitches, then create 5 DC in the center stitch.
- DC in the next 3 stitches, and finish with 2 DC in the last stitch.
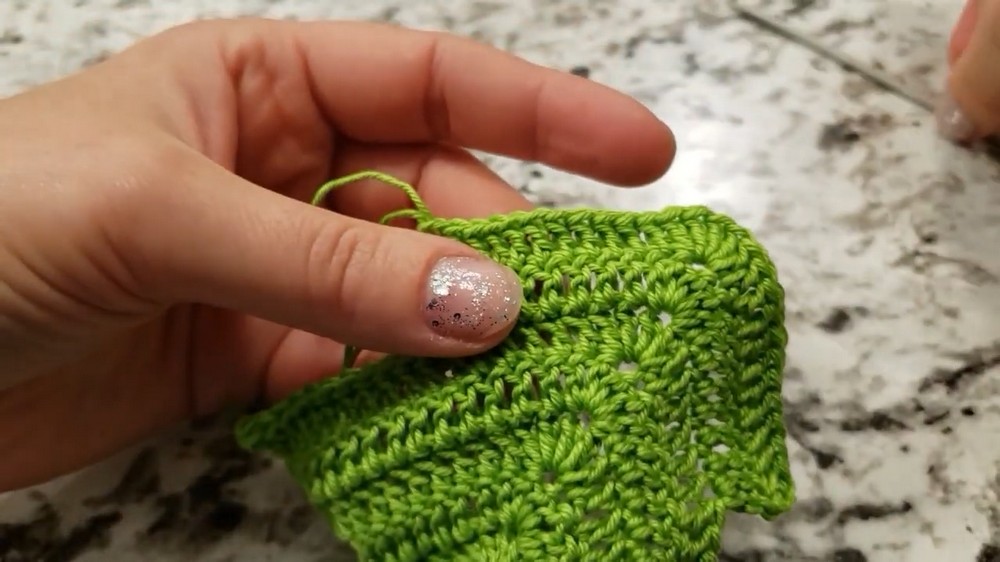
- Third Row: Build the tree structure:
- Chain 3, turn, DC in the same stitch.
- DC in the next 6 stitches.
- Make 5 DC in the middle stitch, then DC in the next 6 stitches, followed by 2 DC in the last stitch.
- Continue to Increase Rows:
- Repeat the general pattern, increasing the number of DC on each side of the “5 DC cluster” by 3 with every new row.
- For each row, start with a chain 3, turn, and add DC as instructed.
2. Create the Top Tiers Using Slip Stitches
- Once the wide section is complete, slip stitch into the first few stitches (e.g., 12 or 13), leaving a gap in the corner.
- Start crocheting the smaller layers of the tree.
- Repeat the same process for each tier, ensuring that the stitches for each tree tier decrease appropriately.
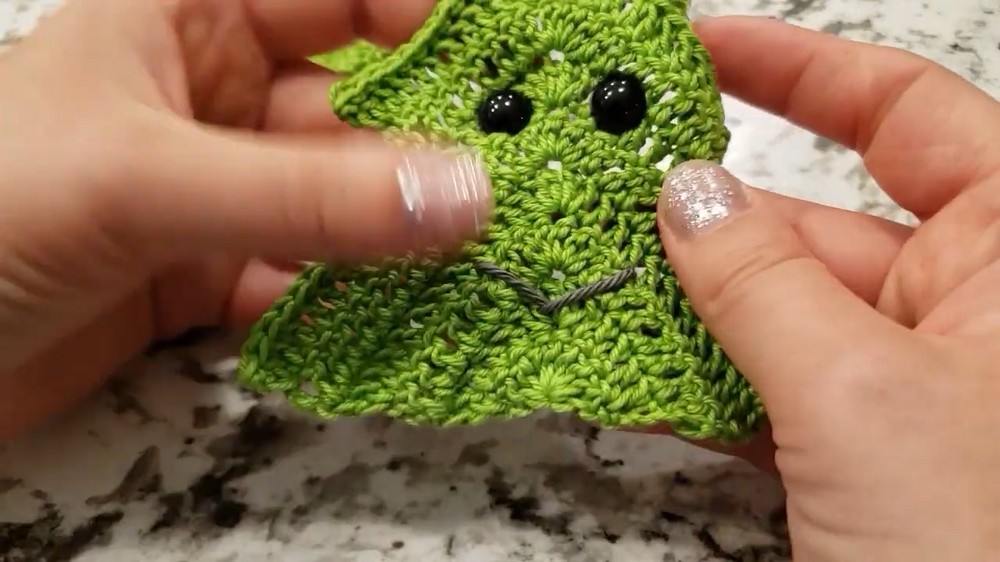
3. Add the Eyes and Embroider the Mouth
- Eyes Placement:
- Choose a tier with a 5 DC cluster for placing the safety eyes.
- Keep the eyes symmetrical and secure them firmly. Make sure the back of the safety eyes is fastened tightly.
- Mouth Embroidery:
- Use a tapestry needle and gray (or red) yarn to embroider a small smile below the eyes.
- Correct any placement until it looks cute and aligned.
4. Make the Second Side of the Tree
- Repeat the entire tree pattern from Step 1 to create the second side.
- At the end, don’t cut the yarn, as it will be used to stitch the two sides together.
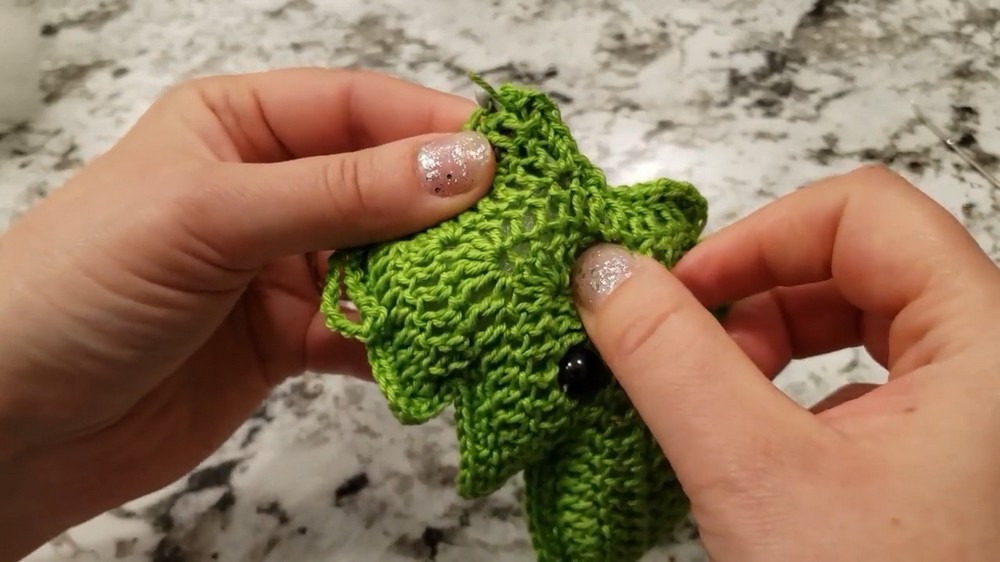
5. Sew the Two Tree Pieces Together
- Place the two pieces with their insides facing each other.
- Begin crocheting the edges together with single crochets (SC), working through both sides.
- Add Corner Details:
- At the corners of the tree, crochet 2 SC in the stitch to make the corners crisp and well-formed.
- Middle Loop (Optional):
- When you reach the top of the tree, chain 20 to create a hanging loop.
6. Stuff the Tree and Finish the Edges
- Before closing the tree completely, stuff it evenly with fiberfill for a puffy and realistic look.
- Continue crocheting the edges together until you reach the bottom, then fasten off.
- Weave in all loose ends with a tapestry needle.
Special Features
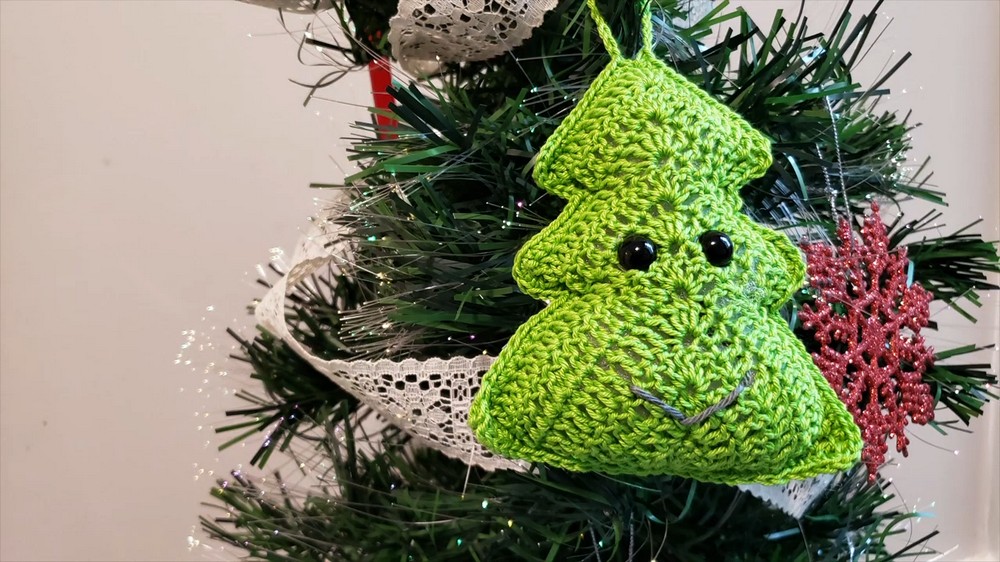
- 3D Decoration: The stuffed design gives the Christmas tree a three-dimensional look that makes it perfect for ornaments or tabletop decor.
- Customizable Face: You can modify the eyes and mouth to add personality to your tree—try different colors or shapes!
- Quick and Simple: The project is straightforward and beginner-friendly, making it great for quick gifts or practice.
- Holiday Charm: The tree is a festive and timeless design, bringing a handmade touch to your holiday decor.
Tutor’s Suggestions
- Use Red Yarn for the Mouth: The tutor noted that gray yarn for the mouth wasn’t clearly visible and suggested switching to red for a sharper contrast.
- Avoid Over-Tightening: When slip stitching or embroidering the mouth, don’t tighten too much to prevent distortion or unevenness.
- Keep Stitches Aligned: While piecing the two tree halves together, ensure the stitches align for a clean and symmetric result.
- Choose Eyes Carefully: Use safety eyes that are appropriately sized for the tree to enhance its appearance.
Level of Difficulty
- Beginner-Friendly: Ideal for beginners with basic knowledge of crochet stitches like double crochet, slip stitch, and single crochet.
- The detailed and repetitive nature of the pattern makes it easy to follow but might require attention to counting rows and stitches.
Uses
- Christmas Ornaments: Hang the tree on the Christmas tree, garlands, or walls as festive decorations.
- Gift Packaging Accents: Use the tree as a handmade tag or embellishment on wrapped gifts.
- Seasonal Decor: Place it as a tabletop or shelf decoration during the holiday season.
- Small Gifts: Share it as a thoughtful, handmade keepsake or stocking stuffer.
Tip
To make your stitches more defined and even, maintain consistent tension throughout the project, especially when working on the edges and alternating between the two sides of the tree.
Conclusion
This crochet Christmas tree project is a fun and festive way to celebrate the season with handmade charm. The methodical design, from creating the tree layers to adding the adorable face, ensures a satisfying and visually appealing result. Ideal for beginners and experienced crocheters alike, this project is a must-try for holiday crocheting. With simple materials and a little time, you can create a delightful decoration that brings joy to the holidays.