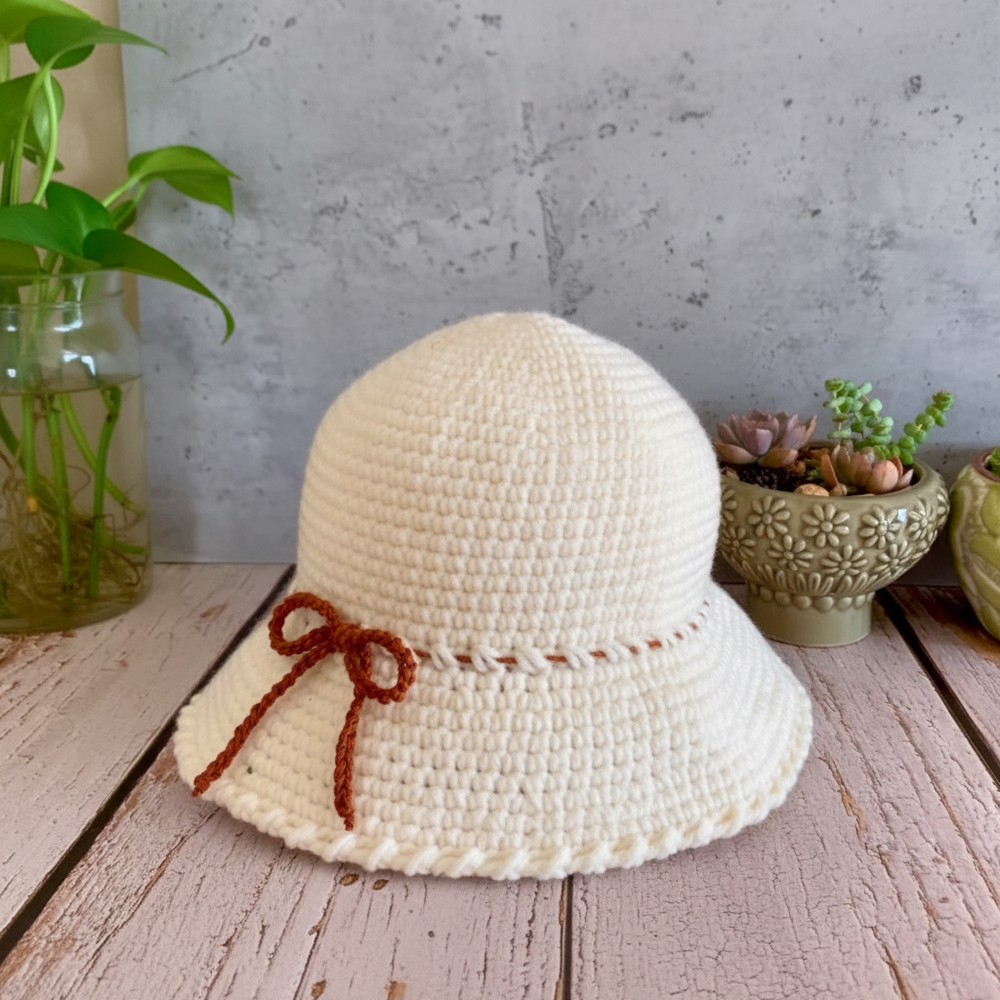
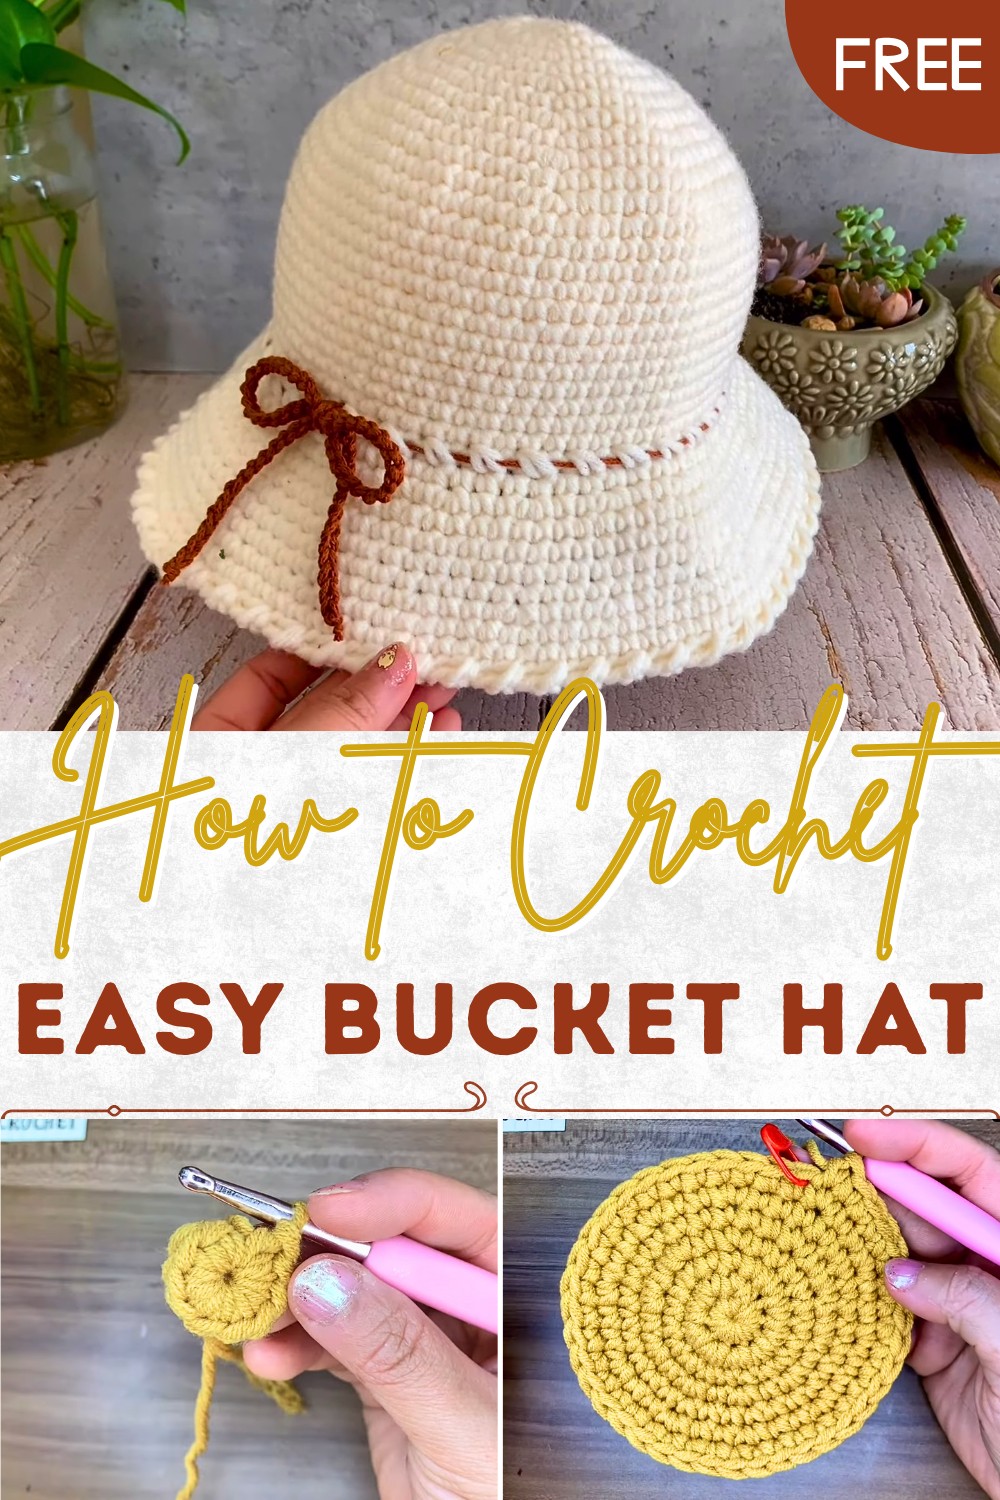
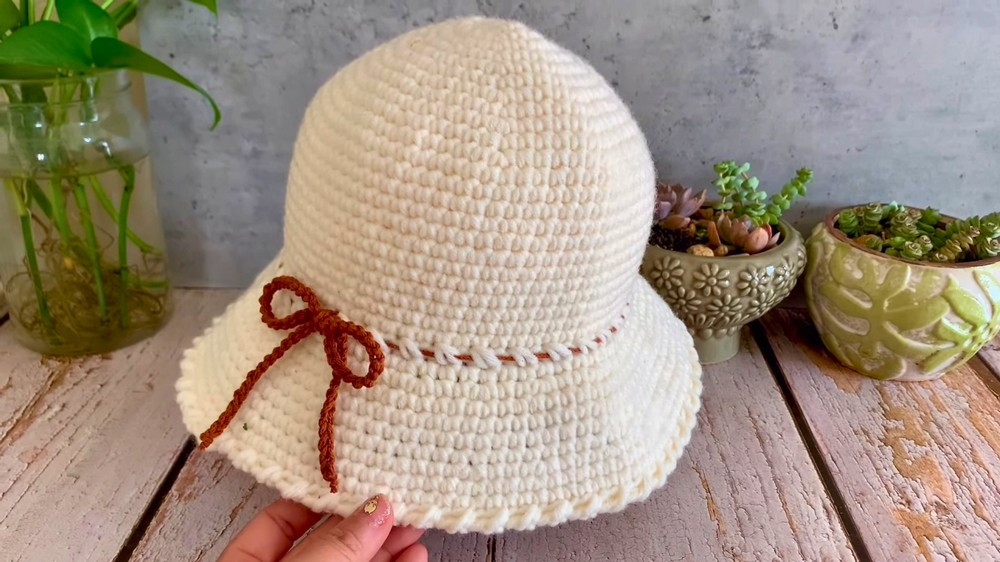
Warm Crochet Bucket Hat Pattern for a Simple Yet Stylish Look
For beginner crocheters, practicing stitches ahead of time is recommended to ensure smooth progress on the pattern. Additional tips include choosing a comfortable yarn to work with and testing the size against your measurements frequently.
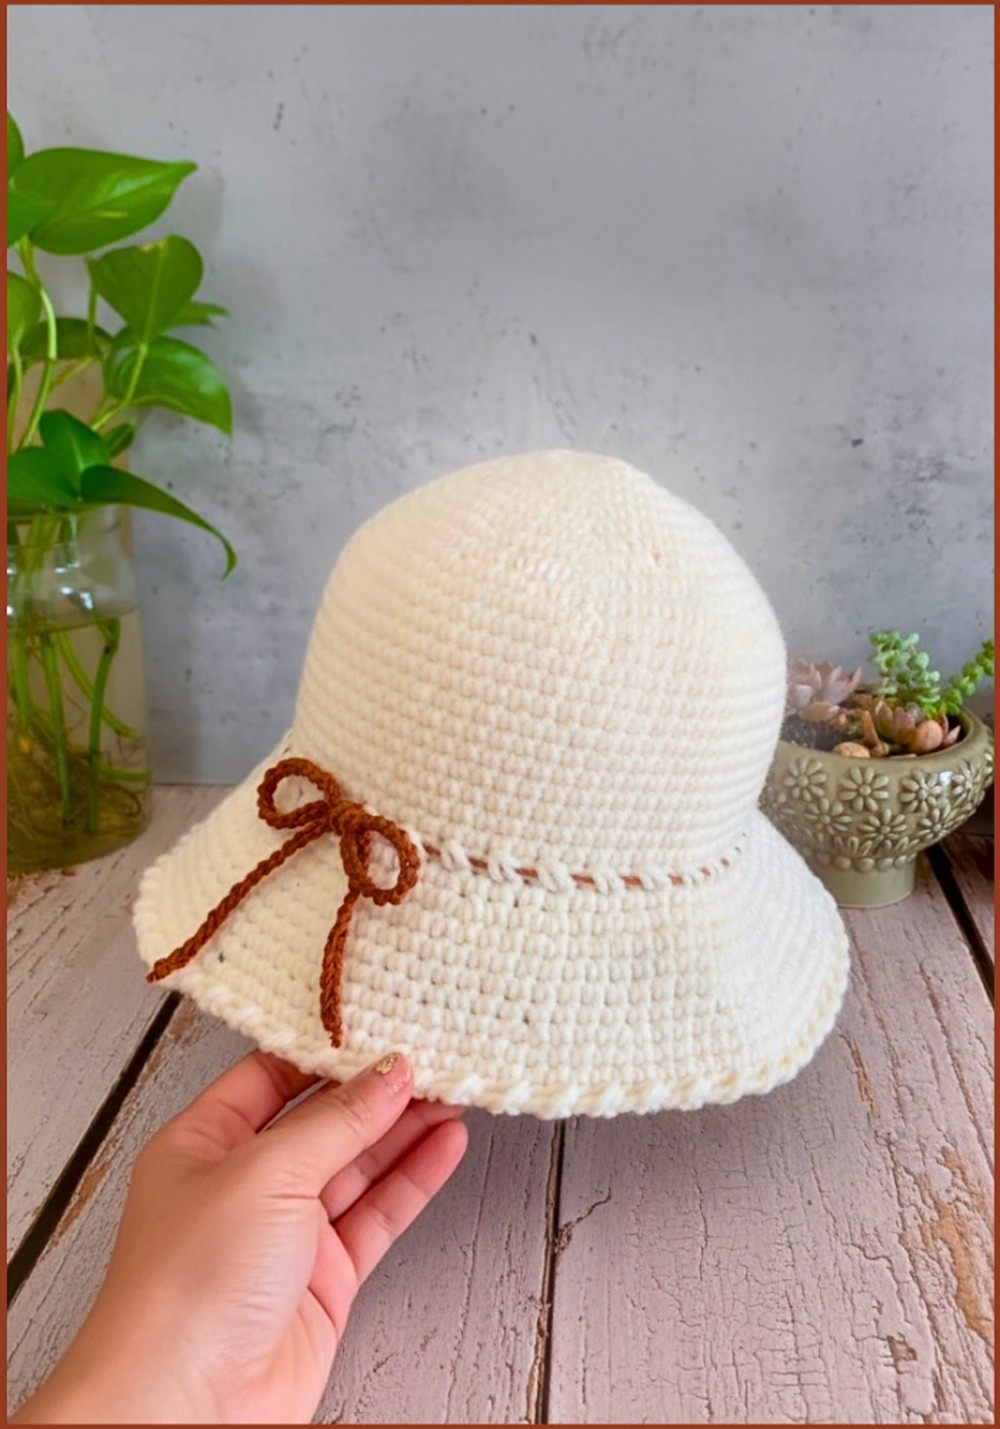
Whether worn casually or paired with statement outfits, this easy-to-make crochet bucket hat pattern is a functional yet stylish way to elevate your wardrobe. Customize it with your favorite colors or add small embellishments for an extra personal touch—because handmade items always carry a unique charm.
Required Materials
Before getting started on your crochet bucket hat, gather these essentials:
- Yarn: Medium-weight acrylic or cotton yarn (choose colors to match your style).
- Hook: Crochet hook size recommended for your chosen yarn (5.5mm).
- Stitch Markers: To keep track of rounds.
- Scissors: For cutting yarn ends.
- Tapestry Needle: To sew and weave in the ends.

To start the project, begin by forming the crown of the hat using a magic ring as the foundation. This technique ensures a neat and durable centerpiece.
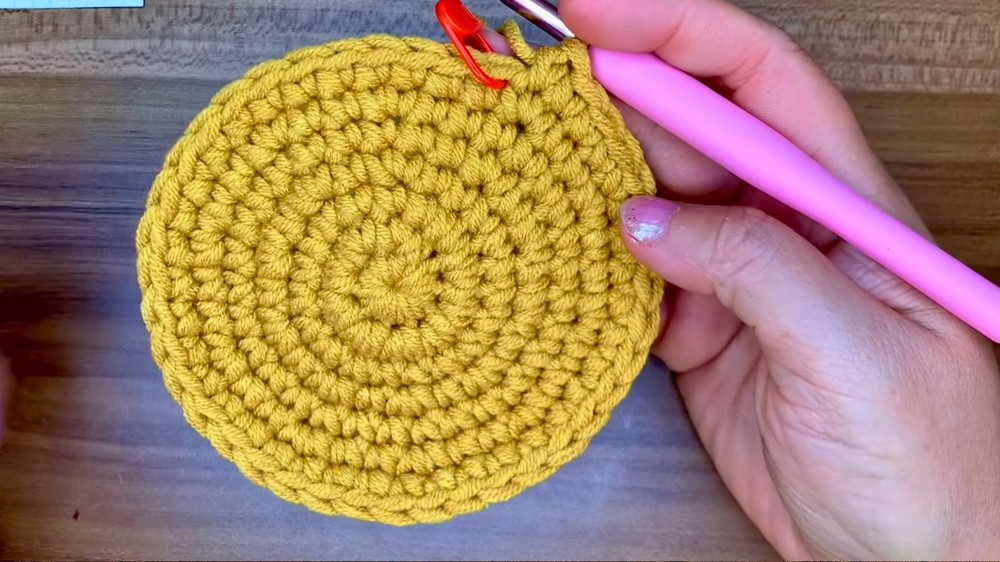
Build the crown with single or double crochets worked in circular rounds, gradually increasing to form the shape.
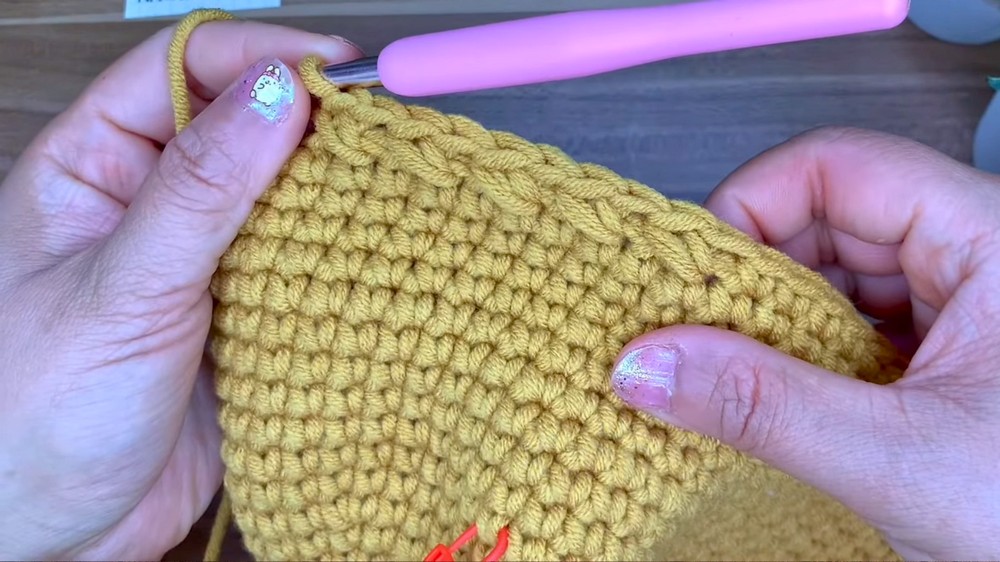
Once the crown has reached your desired width, transition into the body section. This requires consistent rounds without any increases, allowing you to establish the height according to preference. Moving on to the brim, widen the stitches and incorporate systematic increases to create the signature flare.
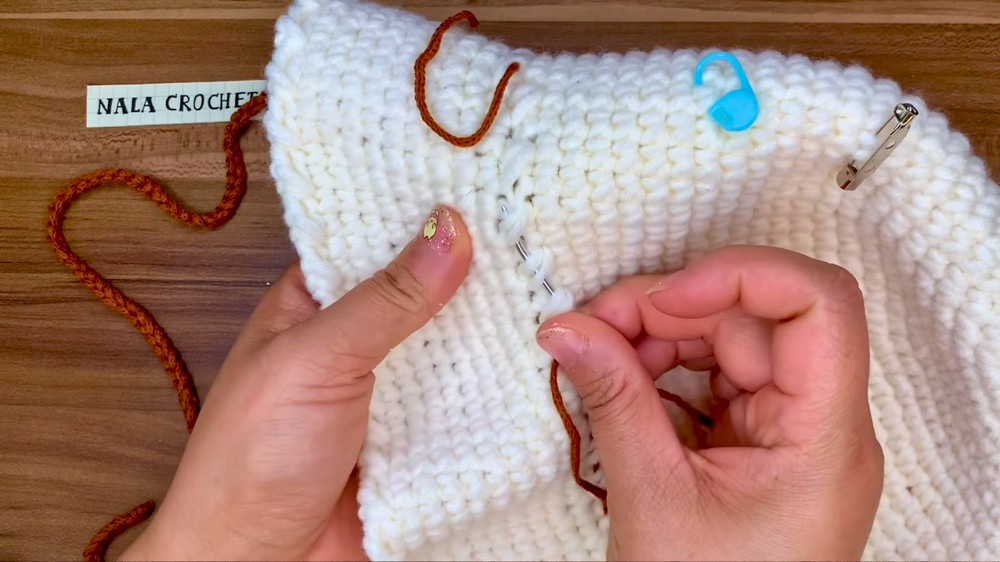
Stitch markers can be useful for tracking progress and maintaining accuracy throughout the process. Remember to keep your tension steady to avoid uneven edges.
Special Features
- Stylish Design: The bucket hat is fashionable, lightweight, and complements nearly every outfit.
- Customization: Change colors, add appliqués, or adjust sizes to make it unique.
- Versatile Usage: Suitable for sunny outdoor activities, casual outings, or gifting to friends.
Level of Difficulty
- Beginner-Friendly: The tutorial mainly uses basic stitches, such as single crochet, double crochet, and slip stitches.
- Intermediate Customization: Adjusting size or experimenting with color requires knowledge of your stitch adjustments.
Tutor’s Suggestions
- Start Small: Practice with a small swatch of the stitches if you’re completely new.
- Focus on Technique: Spend time learning how to make a magic ring and understand stitch tension.
- Measure Early: Regularly measure the hat’s circumference to ensure the right fit.
- Personalize It: Add embellishments like buttons, bows, or faux flowers.
Uses of the Crochet Bucket Hat
A crochet bucket hat is not just stylish but also functional. Use it to:
- Shield yourself from the sun in the summer.
- Add a cozy accessory during the winter (with thicker yarn).
- Brighten your outfit with playful pops of color.
Step-by-Step Instructions
Crochet bucket hats are trendy, versatile, and perfect for any season. This tutorial walks you through the process of creating your own personalized crochet bucket hat, showcasing unique designs and practical tips. Great for beginners and intermediate-level crocheters, this project is not only fun but also a satisfying way to crochet stylish accessories for yourself or loved ones.
Conclusion
A handmade Crochet Bucket Hat combines style, creativity, and purpose in one project. With these easy steps, you can crochet a timeless accessory while mastering basic crochet techniques. Whether you’re making hats for yourself or loved ones, the endless customization possibilities make this project rewarding and enjoyable.
Pro Tip
To achieve the best results, always check your gauge before starting. If the yarn is too loose or tight with your hook, adjust accordingly to ensure the hat fits perfectly. Getting the right tension will ensure the hat’s structure is sturdy yet comfortable.