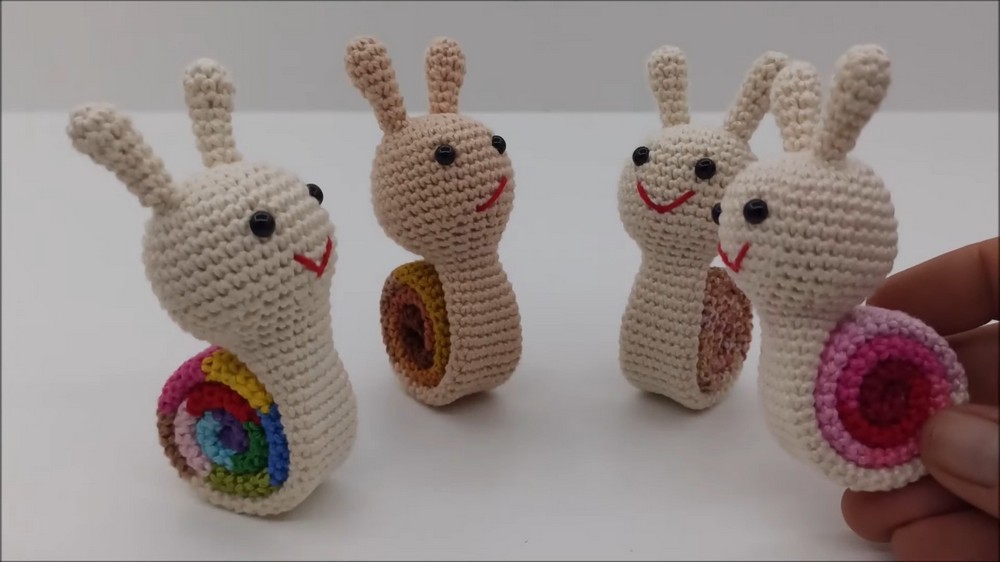
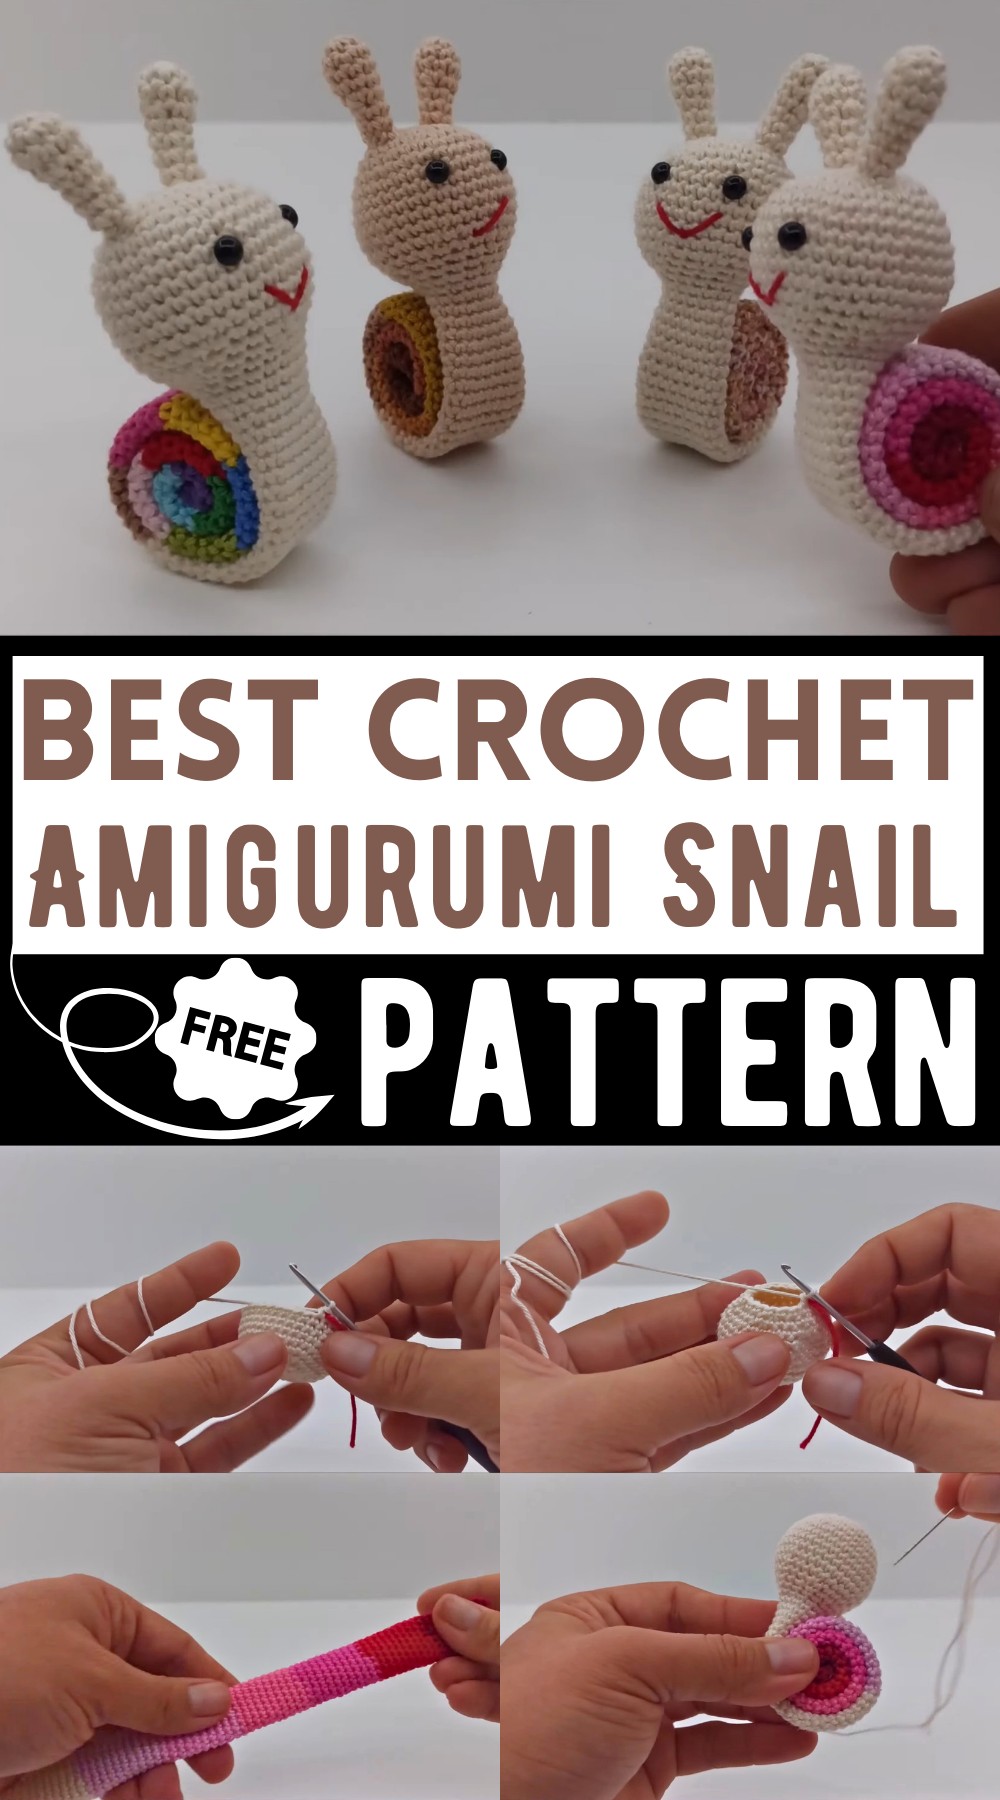
Vibrantly Cute Crochet Amigurumi Snail Pattern Free
Dream of charming little creatures? Check out the Crochet Amigurumi Snail Pattern! This delightful project lets you create a sweet, swirl-shelled snail perfect for adding a dash of whimsy to your space. The snail features a coiled shell perched on a plush, soft body, complete with cute antennae. This cuddly friend is not just a unique decor piece but also a lovely gift for children and crochet enthusiasts. Start crocheting today!
Why Love This Pattern?
- Simplicity: The pattern is described as very simple and easy to follow, which makes it accessible for beginners in crochet.
- Colorful Design: The use of multiple colors for the snail’s shell creates a vibrant and visually appealing finished product. You can personalize the snail with your favorite colors or use up leftover yarns.
- Detailed Instructions: The video provides detailed, step-by-step instructions, covering each round and stitch. This thorough guidance ensures that viewers can successfully complete the project.
- Creative Outcome: The end result is a cute and charming snail that can be used as a toy, decoration, or even a gift. The satisfaction of creating something both beautiful and functional adds to the pattern’s appeal.

How To Crochet Amigurumi Snail
Materials Needed
- Cotton yarn (for the head and the shell, 7 colors in total)
- Crochet hook (2.5 mm)
- Scissors
- Sewing needle
- Eyes
- Toy stuffing
Abbreviations
- sc: single crochet
- st(s): stitch(es)
- rep: repeat
Snail Pattern
Head and Body
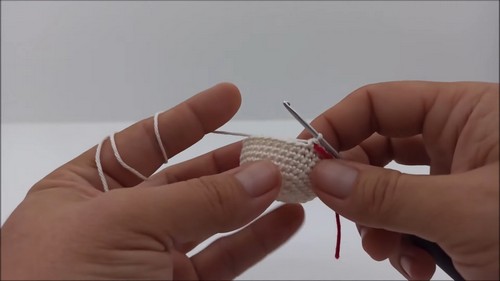
- Round 1: Begin with a magic ring and crochet 9 single crochet (sc) in the ring. Pull yarn to close the ring.
- Round 2: Crochet 2 sc in each stitch (st). You should have 18 stitches at the end.
- Round 3: Crochet 1 sc in first 2 stitches, 2 sc in the next st. Repeat to the end. Total of 24 stitches.
- Round 4: Crochet 1 sc in the first 3 stitches, 2 sc in the next st. Repeat to the end. Total of 30 stitches.
- Round 5: Increase stitches 3 times only. Crochet 1 sc in the first 9 stitches, 2 sc in the next st. Repeat to the end. Total of 33 stitches.
- Round 6: Crochet 1 sc in the first 5 stitches, 2 sc in the next st, 1 sc in the next 10 stitches, 2 sc in the next st, 1 sc in the last 5 stitches. Total of 36 stitches.
- Rounds 7-10: Crochet 1 sc in every stitch.
- Round 11: Crochet 1 sc in the first 10 stitches, then decrease by crocheting 2 stitches together. Repeat. Total of 33 stitches.
- Round 12: Crochet 1 sc in the first 9 stitches, then decrease. Repeat. Total of 30 stitches.
- Round 13: Crochet 1 sc in the first 3 stitches, then decrease. Repeat. Total of 24 stitches.
- Round 14: Crochet 1 sc in the first 2 stitches, then decrease. Repeat. Total of 18 stitches.
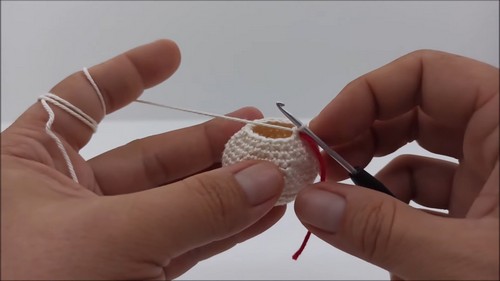
- Round 15: Decrease 3 times. Crochet 1 sc in the first 4 stitches, then decrease. Repeat. Total of 15 stitches.
Stuff the head firmly with toy stuffing.
- Crochet 1 sc in every stitch for 25 rounds for the body (do not count stitches, only rounds).
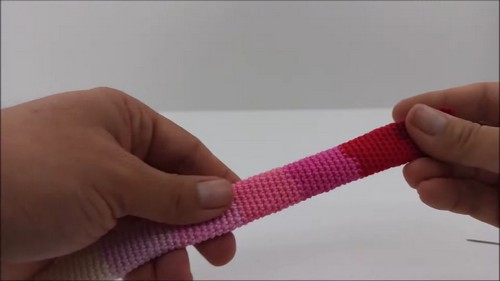
Shell
- Crochet 1 sc in every stitch for 60 rounds, changing colors every 10 rounds. Use the 6 colors for the shell.
Color Change: In the next stitch, pull up the loop with the new color and continue crocheting with the new yarn. Knot and cut the old color.
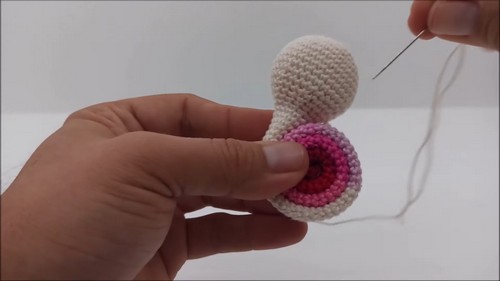
- Final Round of Shell: Crochet 1 sc in first 3 stitches, 2 stitches together (12 stitches remaining). Finish with a slip stitch, cut yarn, and sew yarn in to finish.
- Assembly: Roll the shell into the desired shape and sew it to the body using a needle and yarn.
Features
Eyes:
- Place between rounds 7 and 8, with a distance of 5 stitches between them. You can glue or sew them on.
Mouth:
- Sew using yarn across three places to create a smile.
Fillers:
- Begin with a magic ring and crochet 6 sc in the ring.
- Round 2: Crochet 1 sc in the first stitch, 2 sc in the next. Repeat. Total of 9 stitches.
- Rounds 3-4: Crochet 1 sc in every stitch.
- Round 5: Crochet 1 sc in the first stitch, decrease in the next. Total of 6 stitches.
- Rounds 6-8: Crochet 1 sc in every stitch. Finish with a slip stitch, leaving a 15 cm tail.
Assembly: Sew the fillers onto the head using the yarn tails, and stuff if desired.
That’s it! Have fun crocheting your snail!