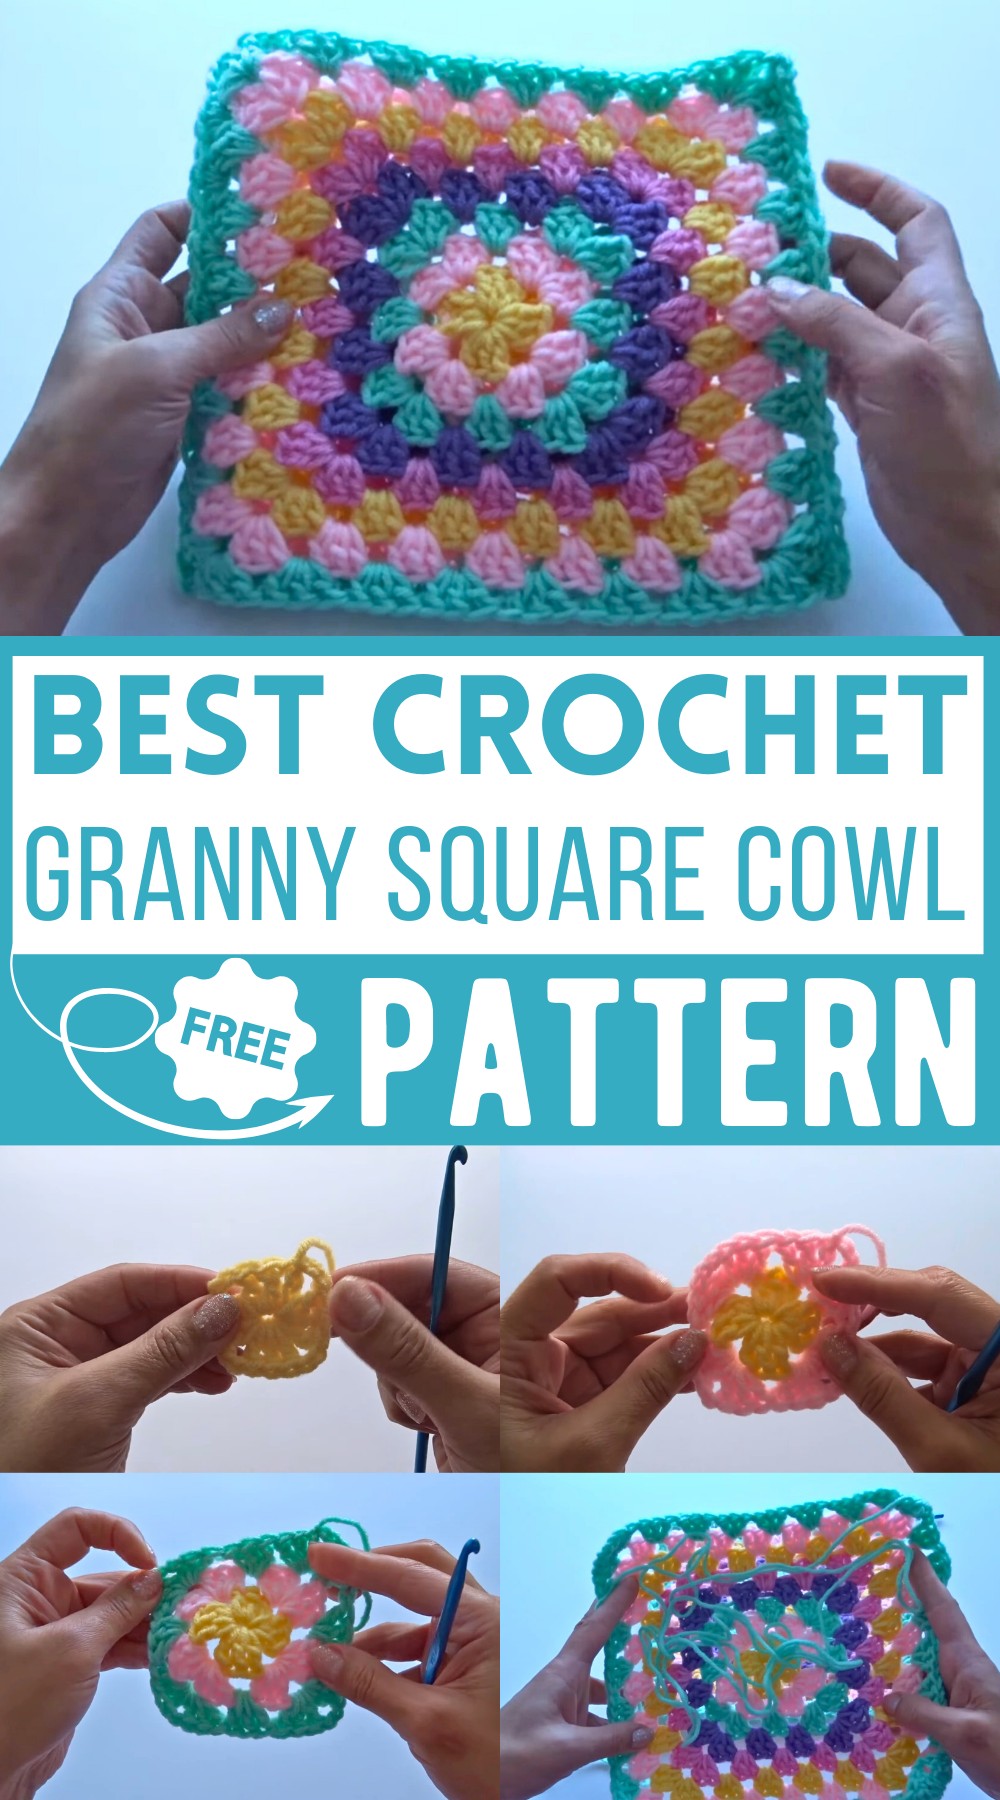
Vibrant Crochet Granny Square Cowl Pattern
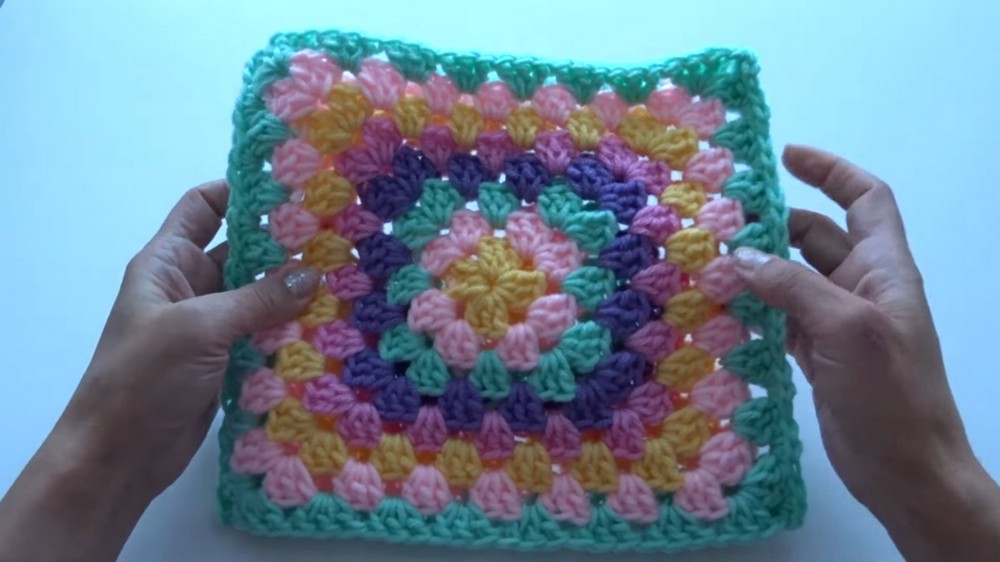
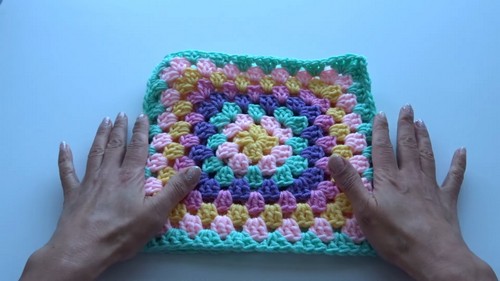
Crochet lovers, meet your new favorite project, the Crochet Granny Square Cowl! This delightful pattern uses just two vibrant granny squares, making it a quick, easy, and colorful addition to your accessory collection. The finished cowl, which you can make in solid or multiple colors, offers a cozy, square-shaped elegance around your neck. It’s approximately 8 to 9 inches tall, making it a versatile accessory for chilly days. Stylish and functional, this cowl is sure to become your go-to crochet creation!
Why Love This Pattern?
- Simplicity and Accessibility: The project requires knowledge of only a few basic stitches—double crochets and single crochets.
- Quick and Easy: The pattern is described as a quick and easy project, perfect for those who want to complete something without a significant time investment.
- Versatility: You can choose to make the cowl in a solid color or incorporate multiple colors, giving you creative flexibility and allowing you to match it with various outfits or preferences.
- Beautiful Finish: The cowl is made using just two granny squares, with edges seamlessly joined together. The final product has a professional and polished look.
How To Crochet Granny Square Cowl
Materials Needed:
- Number 4 medium weight yarn (100% acrylic)
- 5 mm (H-8) crochet hook
- Scissors
- Yarn needle
Abbreviations:
- ch: chain
- st: stitch
- dc: double crochet
- sc: single crochet
- sl st: slip stitch
Instructions:
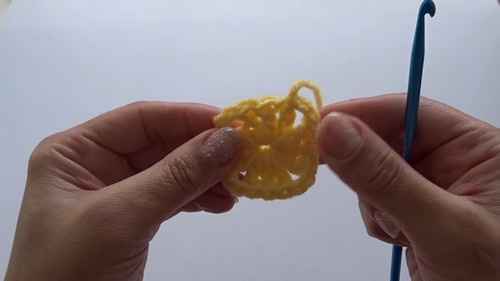
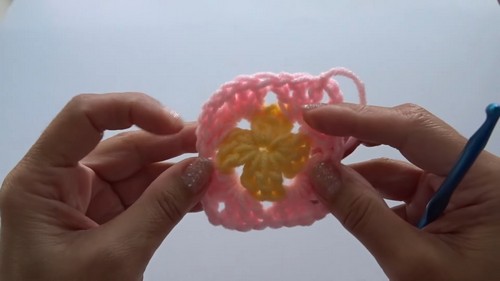
Granny Square 1 – Creating the first granny square:
- Foundation:
- Start with a slip knot.
- Chain 4.
- Slip stitch into the first chain to form a ring.
- Round 1:
- Chain 3 (counts as first dc).
- Work 2 more dc into the ring.
- Chain 2.
- Work 3 dc into the ring.
- Chain 2.
- Repeat [3 dc, ch 2] two more times (you should have a total of four 3-dc clusters and four chain-2 spaces).
- To finish the round, slip stitch into the 3rd chain of the beginning ch 3.
- Pull on the yarn tail to tighten the center.
- Round 2:
- Change color by cutting the yarn and pulling out your hook.
- Insert the hook into any chain-2 space from the previous round, pull the new color through, and chain 3 (counts as first dc).
- Work 2 more dc into the same chain-2 space.
- Chain 2.
- Work 3 dc into the same chain-2 space (corner made).
- Move to the next chain 2 space and repeat the process: (3 dc, ch 2, 3 dc).
- Repeat this for each chain-2 space around.
- Slip stitch into the 3rd chain of the beginning chain to join.
- Cut yarn and pull out your hook.
- Round 3:
- Continue changing colors in the same manner.
- Start in any chain-2 space: (3 dc, ch 2, 3 dc).
- Work 3 dc in the space between clusters from the previous round.
- Repeat the process around the square.
- Slip stitch to join and cut the yarn.
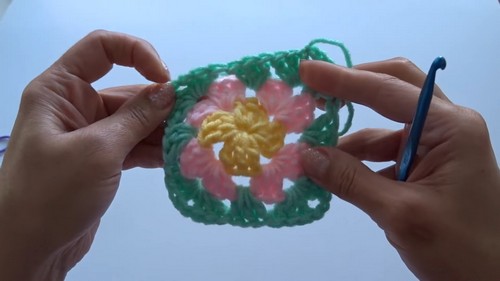
- Rounds 4-8:
- Repeat the process of Round 3, increasing the number of 3-dc clusters between corners as you go.
- Each round, start in a new color if desired.
- Continue until you complete 8 rounds.
- Complete Square:
- Your square should measure approximately 9.5 inches.
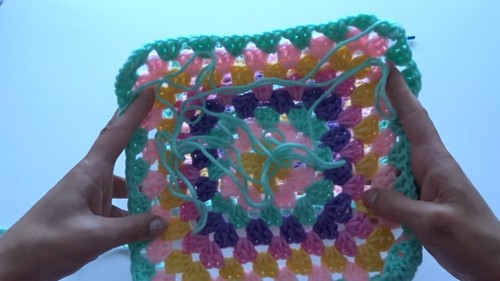
- Repeat the process to create a second identical granny square.
Joining Granny Squares:
- Positioning:
- Place the two granny squares with the wrong sides together.
- With one granny square, leave a long tail for joining.
- Align the corners and the edges.
- Joining with Single Crochets:
- Start at one corner.
- Insert hook under both loops of the corners, draw up a loop, and slip stitch to begin.
- Chain 1.
- Work 3 sc into the corner space.
- Skip 3 dc of the granny squares and work 3 sc into the space between the clusters.
- Continue working 3 sc into each space between clusters, ensuring you are working through both squares simultaneously.
- For corners, work 3 sc into the chain-2 spaces.
- When you reach the end, slip stitch, chain 1, cut yarn, and finish off.
- Repeat on the other side to complete the tube.
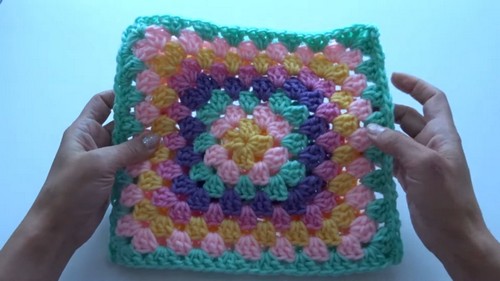
Finishing:
- Weave in all loose ends by using a yarn needle to hide them within the stitches.
- Trim any excess yarn.
Your crochet cowl is now complete! Enjoy your new cozy accessory!