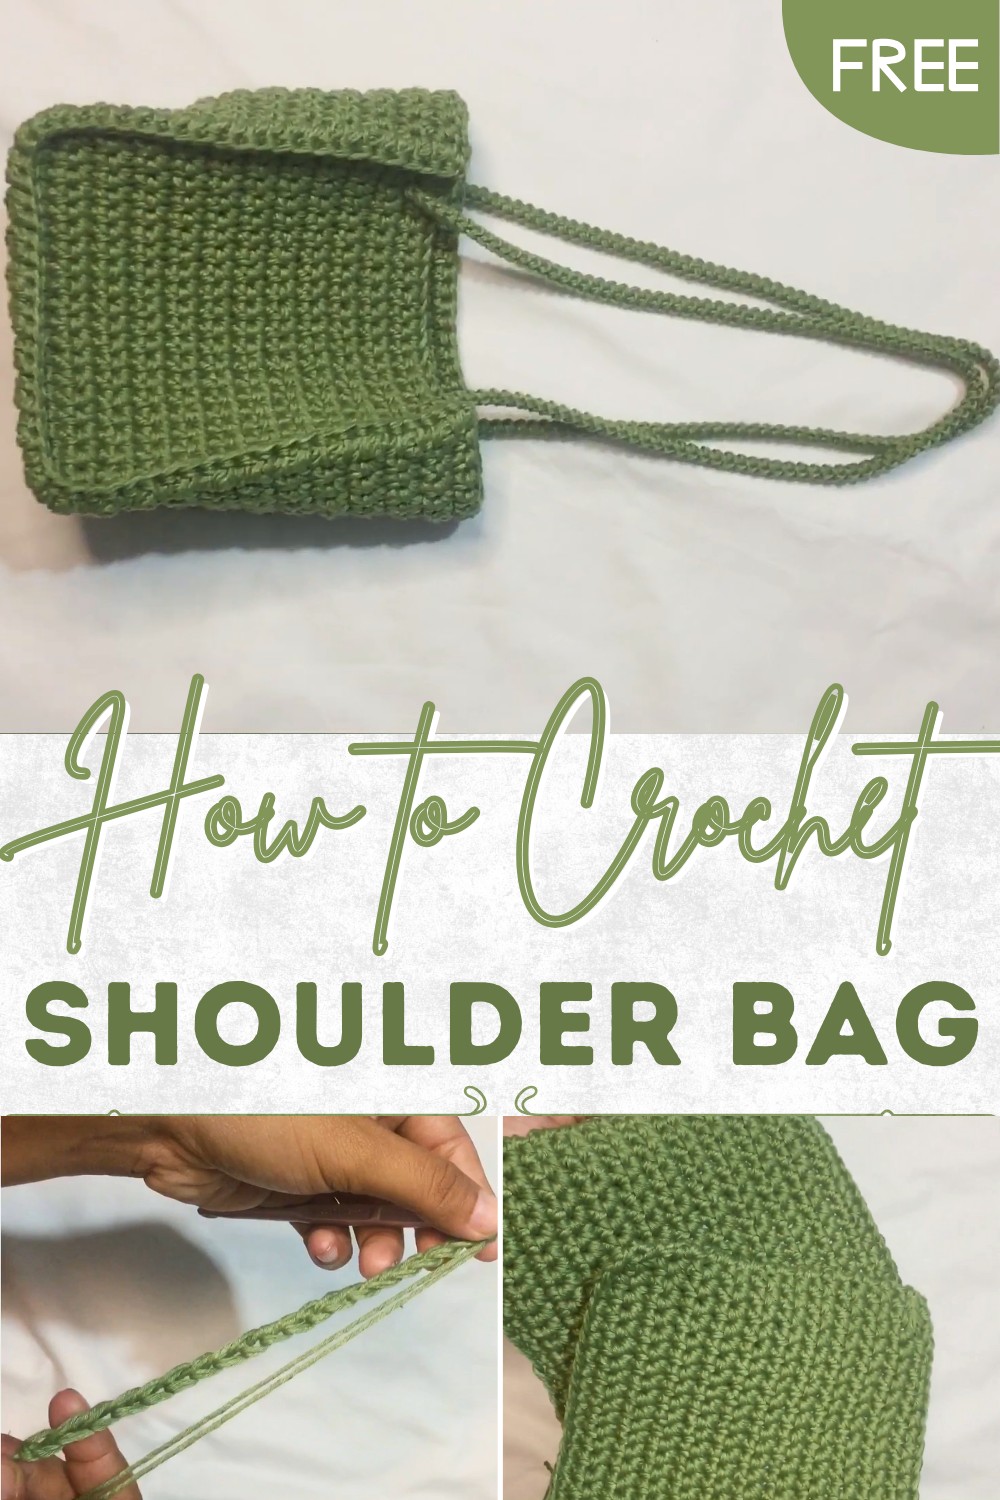
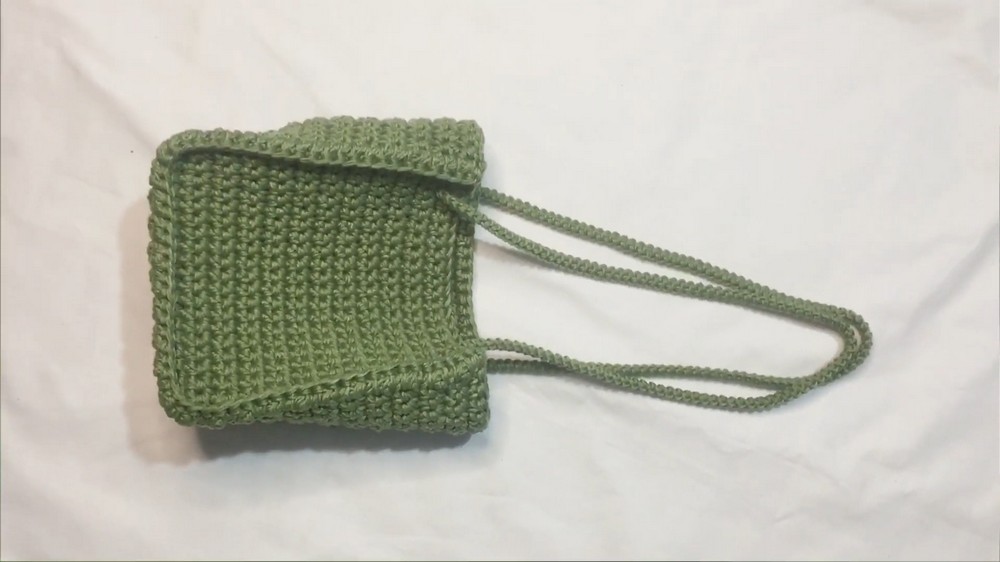
Unique Crochet Drawstring Pouch for Small Essentials
Carry playful charm with the Crochet Drawstring Pouch Pattern, featuring cozy textures, stylish details, and a whimsical handmade touch.
Small bags have long been essential companions, keeping personal items organized while reflecting personality and style. A crochet drawstring pouch pattern brings this timeless utility into a charming, tactile form. Soft, textured stitches provide both durability and a gentle touch, making it ideal for holding coins, jewelry, cosmetics, or small keepsakes. The drawstring closure offers secure storage while allowing quick access, combining practicality with aesthetic appeal.
Graceful Crochet Drawstring Pouch for Home Organization
Its lightweight yet sturdy construction makes it versatile for everyday use, travel, or gifting, while the handmade feel adds a personal touch that store-bought items often lack. Bright, vibrant colors can add cheerfulness and energy to any space, while muted tones lend understated elegance suitable for minimalist or classic settings. Beyond organization, this pouch encourages thoughtful presentation and functional beauty, turning small storage into an expressive accessory.
Its compact size and portability make it perfect for carrying essentials on the go, and the soft texture provides a comfortable grip. Every stitch reflects care and attention, making it a small but meaningful item that balances form and function. Practical, stylish, and adaptable, this piece transforms a simple storage solution into a charming accessory that enhances daily life with personality and grace.
Tools and Materials
- Yarn: Soft cotton yarn (double ply for the bag; single ply for the chain).
- Crochet Hook: 7.5/10 (for the main body of the bag) and 5.0 (for the chain handle).
- Scissors
- Additional Yarn: Optional, if you want to make the chain handle longer.
Step-by-Step Details
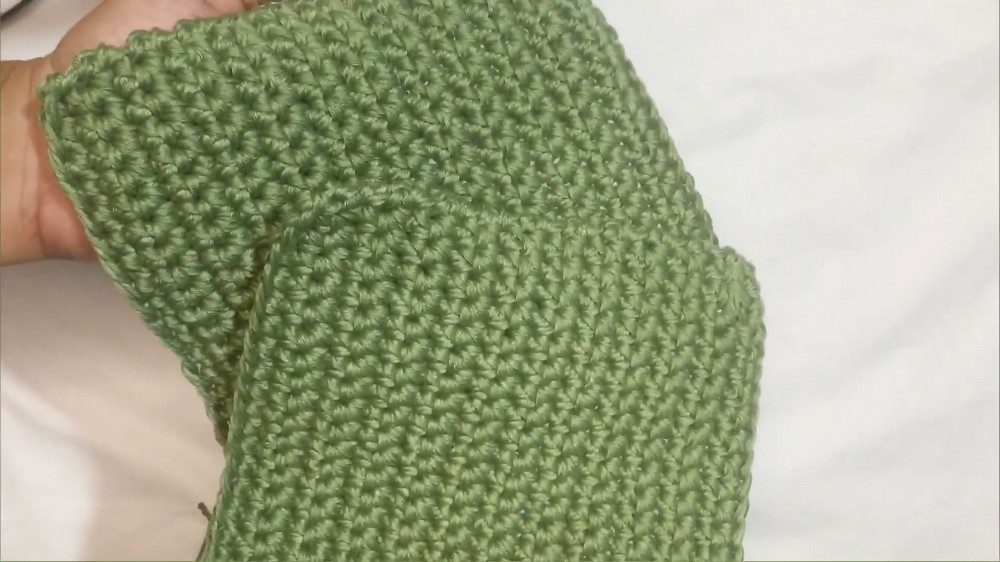
Step 1: Creating the Bag Body – First Piece
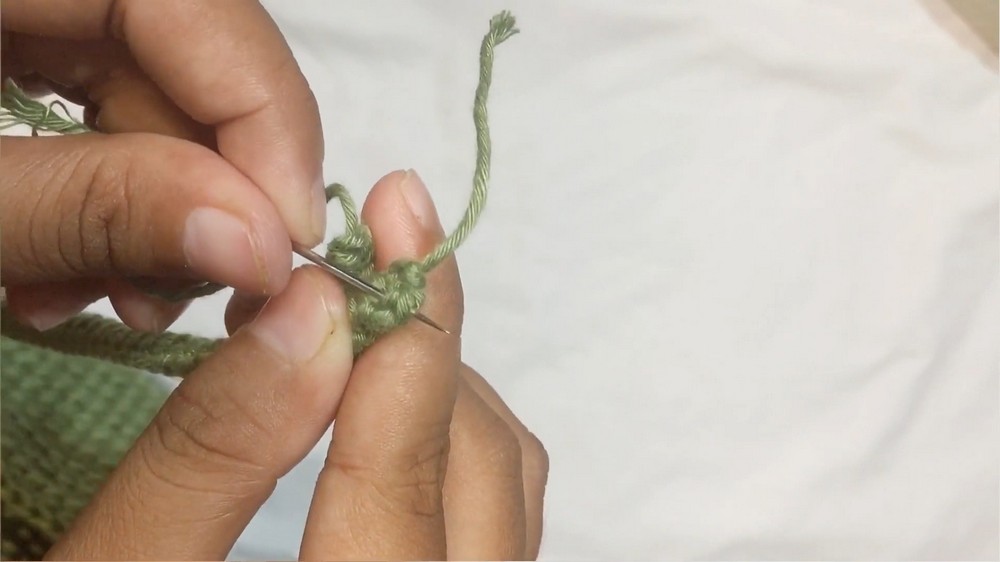
- Start with a Slip Knot:
- Use double yarn. Make a slip knot and chain 21 (this will be the width of the bag).
- Row 1:
- Make 1 single crochet (sc) in each stitch across (20 sc total).
- Make 1 single crochet (sc) in each stitch across (20 sc total).
- Row 2 to Row 9:
- Chain 1, turn your project, and make 1 sc in each stitch of the row.
- Repeat this process until you’ve completed 9 rows.
Step 2: Shaping the Chain Holes
- Row 10:
- Chain 1, turn the project, and make 1 sc in each stitch across.
- Row 11:
- Chain 1, turn the project, make 1 sc in each of the first two stitches.
- Make a Hole for the Bag’s Chain:
- Chain 1, skip the next stitch, and make 1 single crochet in the stitch after that.
- Continue single crocheting across until you have 3 stitches left.
- Chain 1, skip 1 stitch, then single crochet in the last 2 stitches.
- Rows 12 & Beyond:
- Chain 1, turn the project, and make 1 sc across every stitch in this row.
- Repeat Process for the Second Panel:
- Make another panel using the identical process to complete the second part of the bag.
- Make another panel using the identical process to complete the second part of the bag.
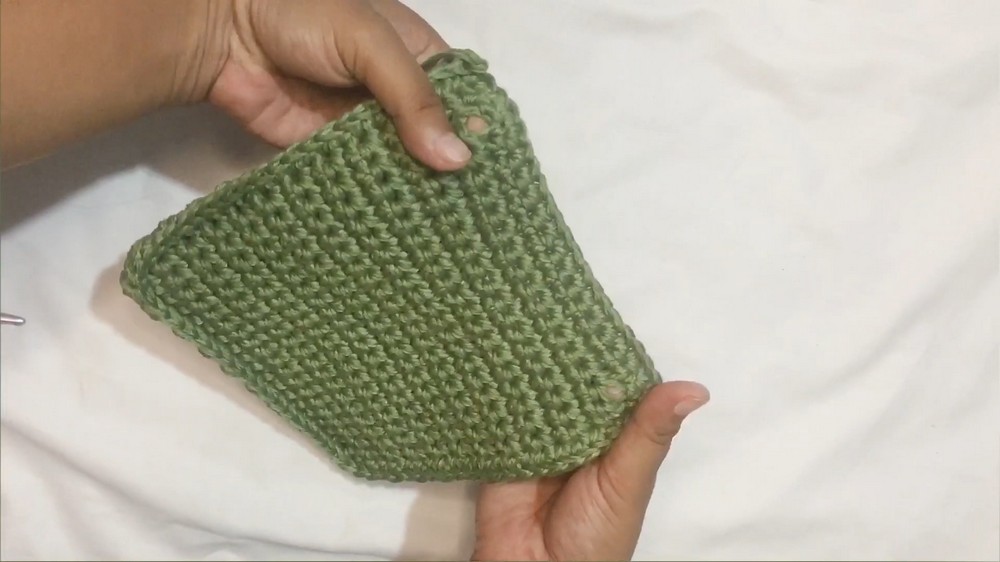
Step 3: Creating the Side Piece for the Bag
- Create a slip knot and chain 10 (this will be the width of the bag’s side).
- Row 1:
- Make 1 sc in each stitch across.
- Row 2 to Row 32:
- Chain 1, turn the project, and make 1 sc in each stitch of the row.
- Repeat the process until you complete 32 rows (this will create the strip that connects the front and back pieces).
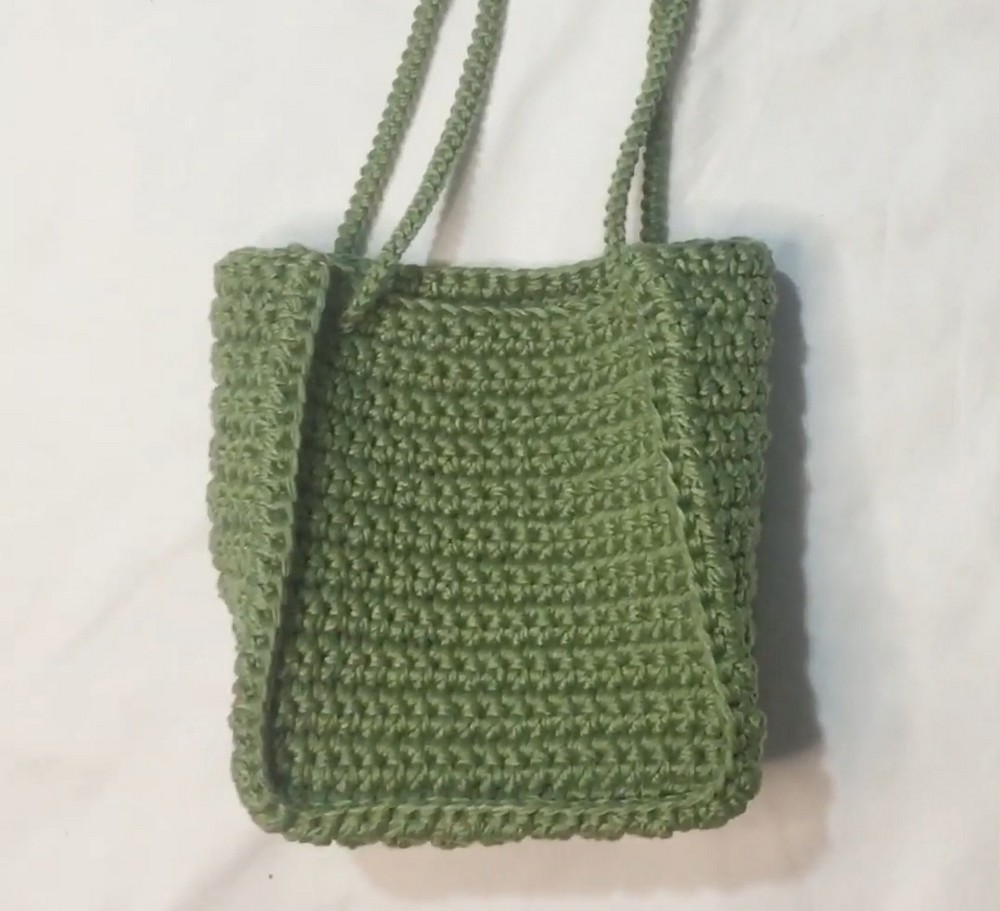
Step 4: Assembling the Bag
- Place the front and back panels in the correct position.
- Start crocheting the edges together:
- Align the first panel with the side strip and make 1 sc in each stitch of both pieces to join them.
- Repeat the process for the second panel.

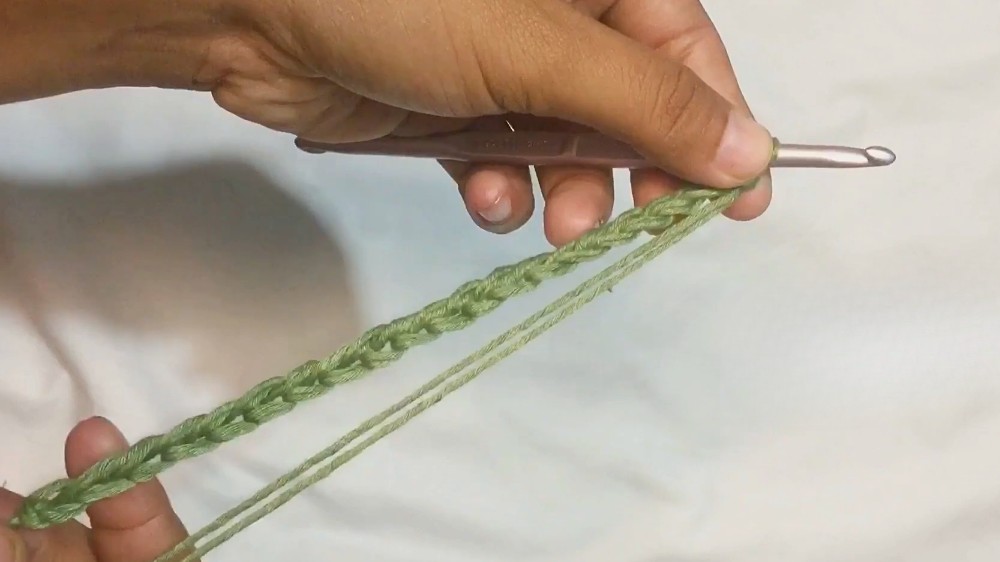
Step 5: Creating the Chain Handle
- Use 1-ply yarn and a smaller 5.0 crochet hook to create the chain handle.
- Start the Chain:
- Make a slip knot and chain 3 stitches.
- Turn the project and skip 1 stitch, then make 1 sc in the next stitch.
- Continue crocheting across the rows:
- Turn the project and make 1 sc in the next stitch.
- Repeat the process until the chain reaches your desired length.
- Join the Ends Together:
- Connect the ends of the chain to the holes you created in the bag panels.
- Connect the ends of the chain to the holes you created in the bag panels.
Special Features
- Double Yarn: The use of double yarn makes the bag more durable and gives it a neat, chunky texture.
- Sturdy Handle: By using a single ply for the chain handle, it adds a more lightweight yet strong design element to the bag.
- Customizable Size: The length of the bag chain and the width of the side strip can be adjusted as needed.
Level of Difficulty
The difficulty level is beginner-friendly, as it uses simple crochet techniques like single crochet (sc), basic chaining, and joining pieces together. However, precise stitch counting and assembling the bag require close attention, making this project a good practice piece for beginners who want to improve their skills.
Tutor’s Suggestions
- Count Your Stitches: Accurate stitch counts ensure each section aligns properly during assembly.
- Control Tension: Maintain consistent tension, especially when working with double yarn, to avoid irregularities.
- Customize Sized Bag Chain: Adjust the length of the handle to your preferred carry style (i.e., crossbody, handbag, or shoulder bag).
Uses:
- This bag can be used as a casual accessory, a shopping bag, or even as a gift.
- With customization, it could serve as a storage pouch for small items or crochet supplies.
Tip
When joining the panels together, align them carefully, stitch by stitch, to avoid a misaligned or uneven shape. Use stitch markers at the edges to ensure everything stays in place while assembling.
Conclusion
This pattern offers an excellent opportunity to create a durable and stylish crocheted bag. With its easy-to-follow instructions, this project is a fantastic way for beginners to practice single crochet stitching and assembly techniques. The use of double yarn enhances the bag’s durability, while the customizable handle adds a personal touch. Follow the guide, be mindful of your stitches and tension, and enjoy creating your own hand-crocheted bag.