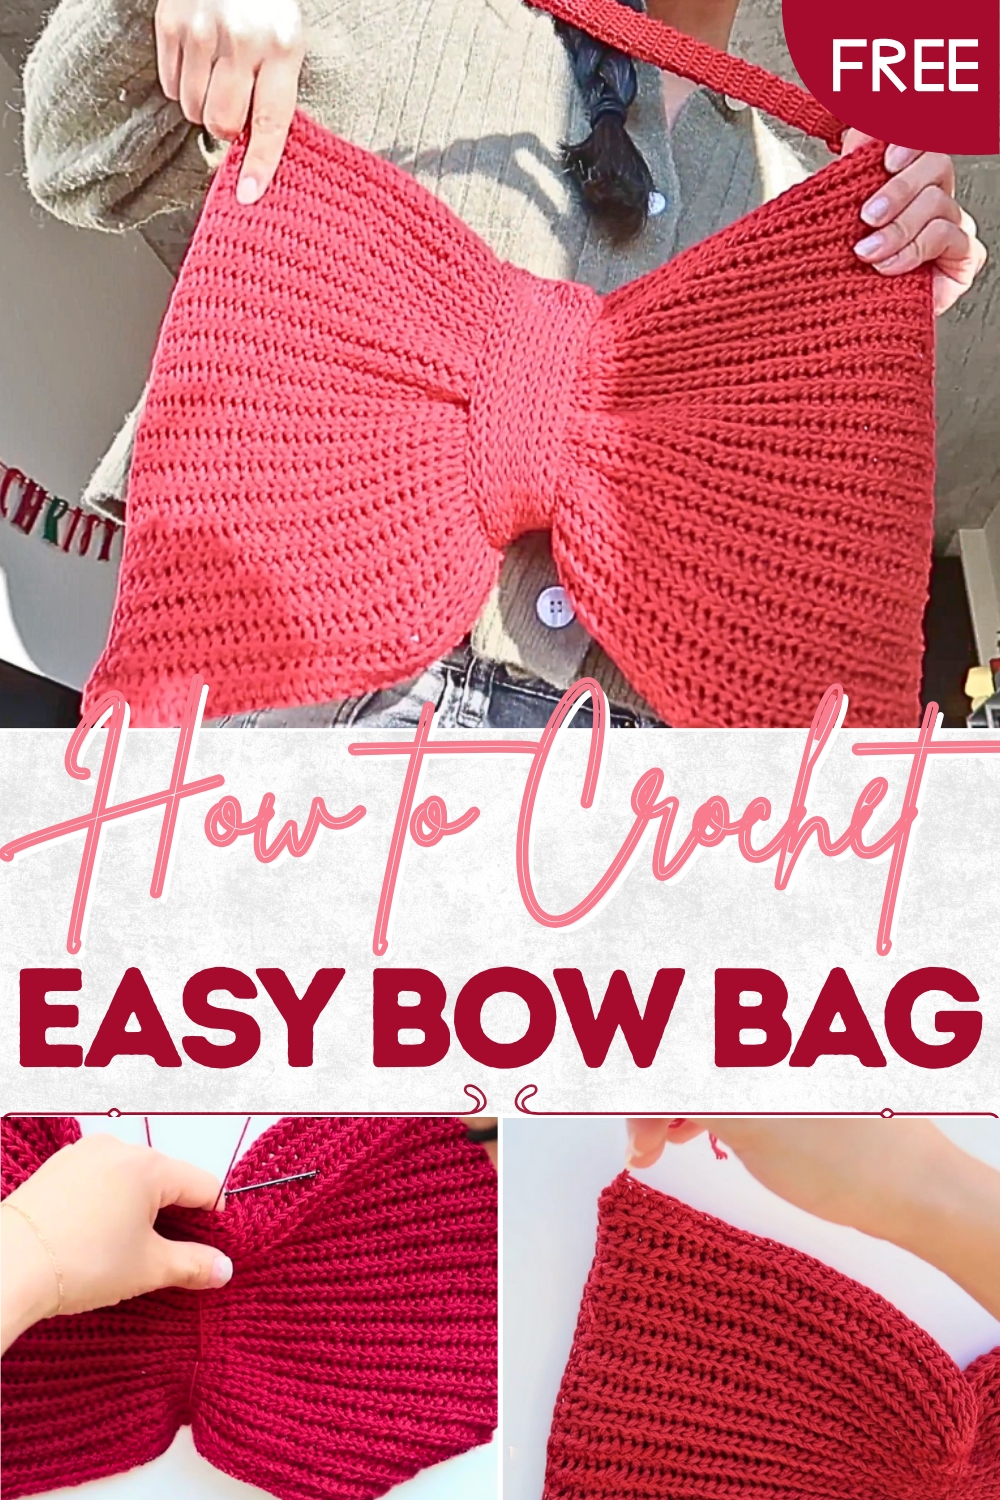
Unique Crochet Bow Bag Perfect for Handmade Beauty
Delight in this Crochet Bow Bag Pattern for a chic, versatile accessory that adds charm and style to any outfit or outing.
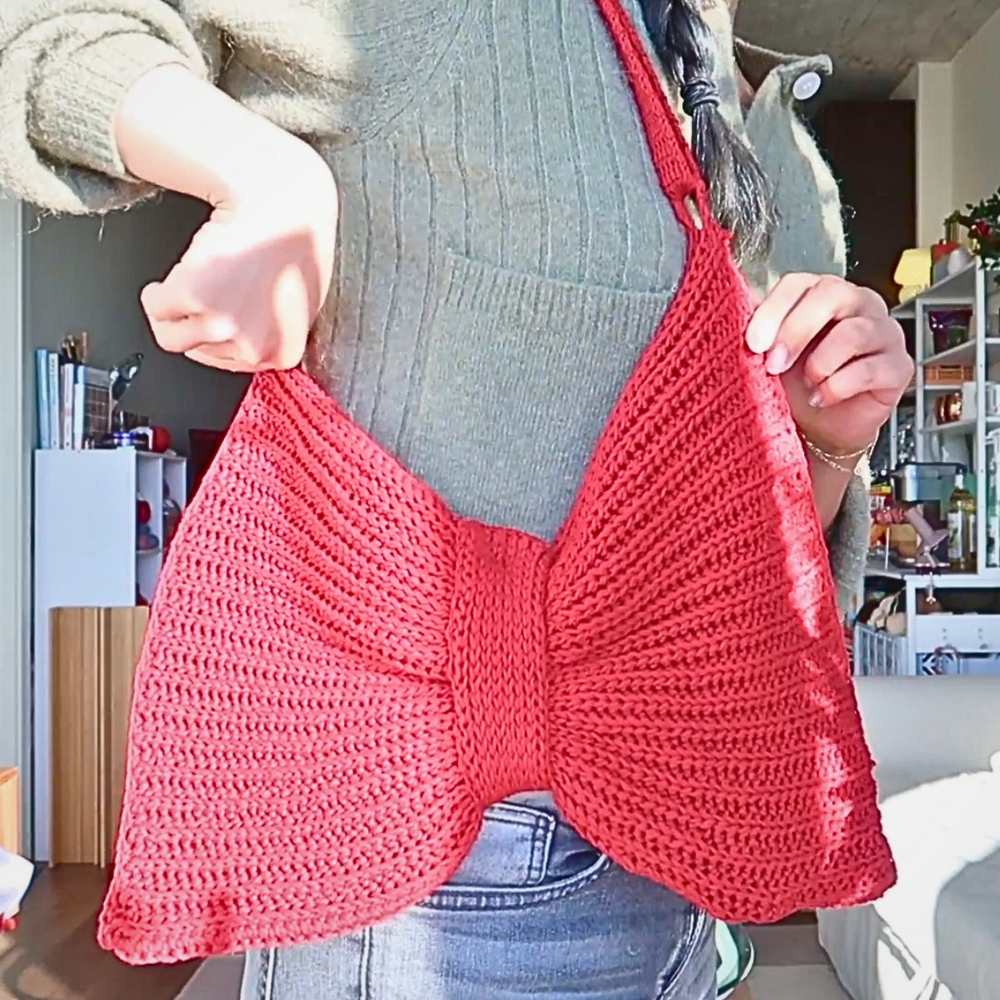
Everyday errands, casual outings, or special occasions often call for a bag that combines functionality with charm, and a crochet bow bag fulfills that need beautifully. This pattern allows the creation of a lightweight yet sturdy bag that can hold essentials such as wallets, phones, keys, and small personal items while remaining easy to carry. The bow detail adds a playful and feminine accent, giving the bag a distinctive look that elevates ordinary outfits. Its textured crochet stitches provide subtle visual interest and a tactile experience, making the bag enjoyable to handle.
Delicate Crochet Bow Bag Made for Timeless Elegance
Beyond its aesthetic appeal, the bag is durable enough for daily use and versatile enough to complement casual or slightly formal attire. Its compact yet practical size ensures convenience without sacrificing style, while the handmade construction reflects patience, attention to detail, and unique character in every piece. Perfect for gifting, personal use, or adding a stylish touch to everyday life, the crochet bow bag brings charm and utility together seamlessly.
Each stitch contributes to a product that balances practicality, elegance, and personality. This crochet bow bag pattern offers an opportunity to create a functional accessory that delights, organizes, and adds a subtle handmade accent to daily routines.
Materials Needed
To get started on the Bow Bag, here’s what you’ll need:
- Yarn: The tutor opts for a thinner yarn doubled up for thickness but recommends bulky-weight yarn for simplicity.
- Hook: A 5 mm crochet hook.
- Stitch Markers: Bobby pins work as excellent substitutes.
- Tapestry Needle: For securing and sewing sections of the bag.
- Magnetic Clasp: Optional for securing the center tie but adds polish.
- Scissors: For trimming ends.
Special Features of the Bow Bag
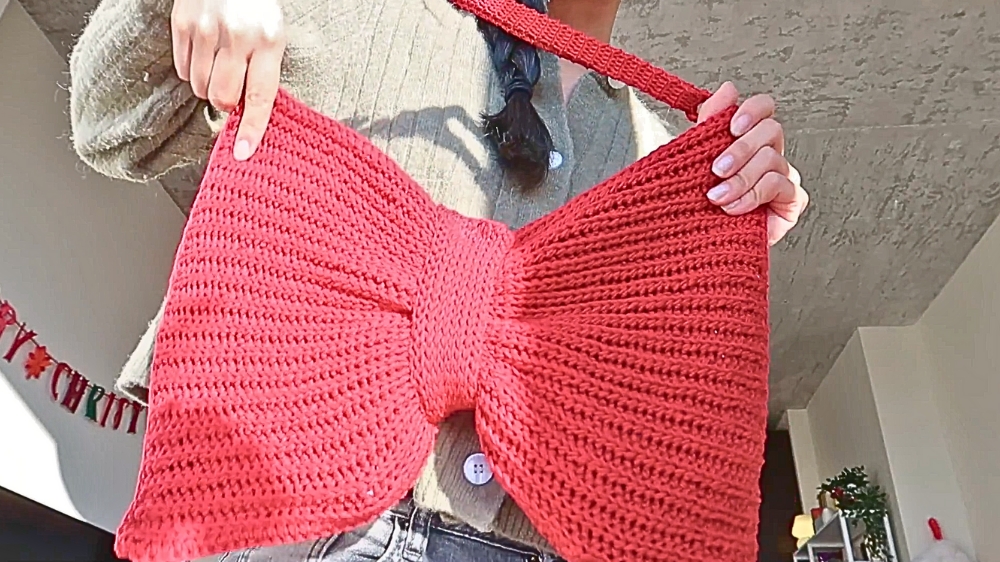
- Bow-Inspired Panels: The standout feature of this bag is the “bow” style created by cinching the middle of two crocheted panels.
- Adjustable Strap: The design includes a self-made adjustable strap, making it practical for over-the-shoulder and cross-body wear.
- Customizable Size: By adjusting the number of stitches, rows, and bows, the bag can be tailored to suit your personal preference.
- Thermal Stitch Technique: Used for the strap, this stitch adds both thickness and durability to the accessory.
Level of Difficulty
The project is beginner-to-intermediate-friendly. While basic stitches like slip stitches and single crochets are prominent, the inclusion of the yarn-over slip stitch and thermal stitch adds a modest challenge for more advanced learners. The adjustable strap mechanism also requires careful attention but is manageable with the provided instructions.
Tutor’s Suggestions
- Doubling Yarn: If using thinner yarn, double up to achieve the desired thickness. However, bulky yarn saves time and effort.
- Loose Tension: Slip stitches can tighten the work, so maintaining a looser tension ensures a smooth finish.
- Marking Sections: Use stitch markers (or bobby pins) to differentiate between the bow panel sections for clarity.
- Custom Adjustments: Feel free to increase or decrease rows and stitches to size the bag appropriately.
Step-by-Step Instructions
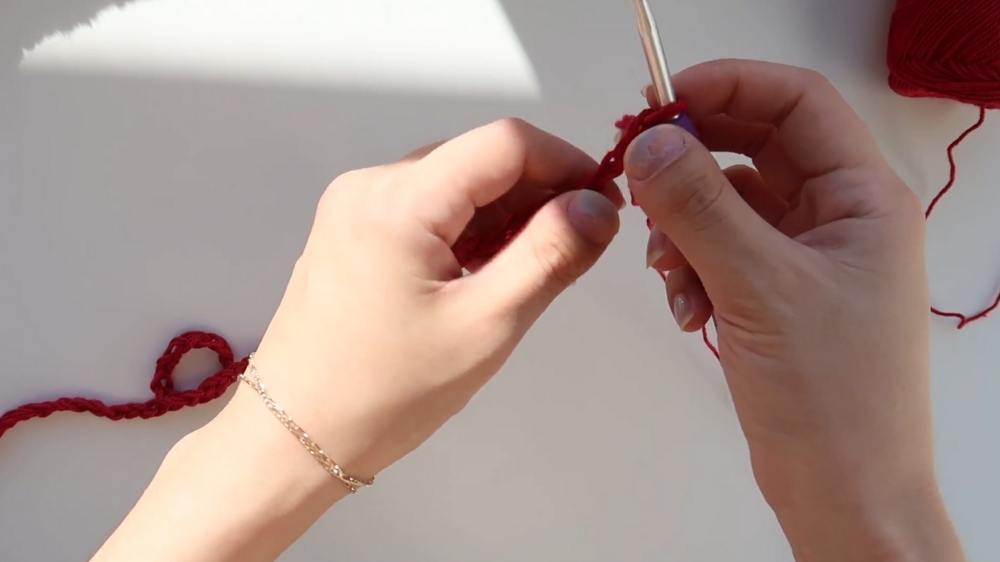
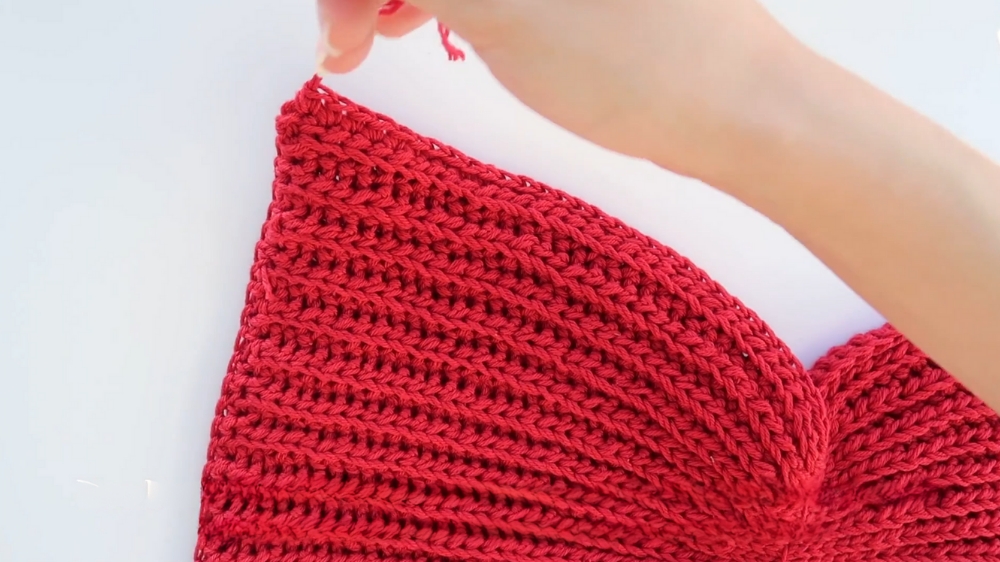
1. Creating the Bow Panels
- Begin with a foundation chain of 70 (including turning chains).
- Work 30 yarn-over slip stitches, 8 regular slip stitches for the center, and another 30 yarn-over slip stitches.
- Repeat this sequence for a total of 40 rows (or adjust to your preferred bag height).
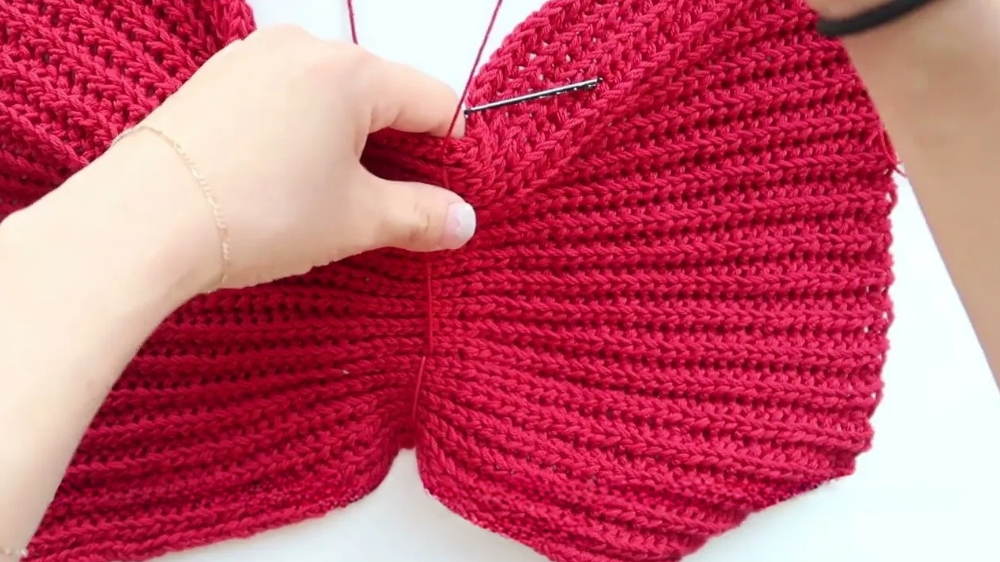
- To achieve the “bow effect,” cinch the middle of each panel using a tapestry needle and yarn.
2. Assembling the Panels
- Align the edges of both panels, ensuring the rows match.
- Seam the sides together using a single crochet seam.
- For the bottom of the bag, use doubled yarn for extra sturdiness and repeat the single crochet seam process.
3. Adding the Center Tie
- Create a separate tie for the bow’s center by chaining 40 and working rows of slip stitches through the back loops.
- Wrap the tie around the cinched middle of the bow panels, securing it with a magnetic clasp or by sewing.
4. Making the Strap
- Use the thermal stitch to crochet the strap: Chain 6, then single crochet across rows while alternating between current and previous rows for strength.
- Continue crocheting the strap until it measures approximately 40 inches or your desired length.
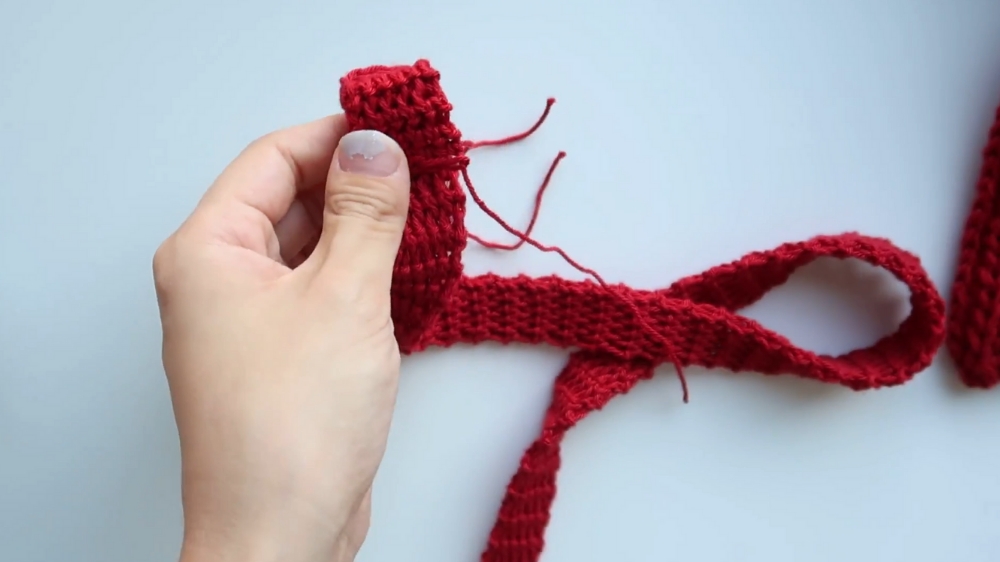
5. Adding the Adjustable Strap Mechanism
- Crochet a small “buckle” ring and attach it to one end of the strap.
- Thread the strap through this ring, using it as an adjustable feature.
- Sew both ends of the strap securely to each side of the bag.
Uses and Benefits
The Bow Bag is not only aesthetically pleasing but also practical. Use it as a purse for daily essentials, a gift, or as a fashionable accessory for special occasions. Its customizable design makes it suitable for different preferences and creative explorations.
Conclusion
This Bow Bag Crochet pattern provides a rewarding project for crochet enthusiasts seeking something stylish yet functional. The organized instructions, unique techniques, and customizable features ensure that crafters—both beginners and experienced—can enjoy making this chic accessory. The final product is a testament to skill, creativity, and personal expression.
Bonus Tip
If you’re new to adjustable straps, simplify the process by sewing the strap directly onto the bag instead of using the buckle mechanism. It’s a beginner-friendly alternative that still looks polished.