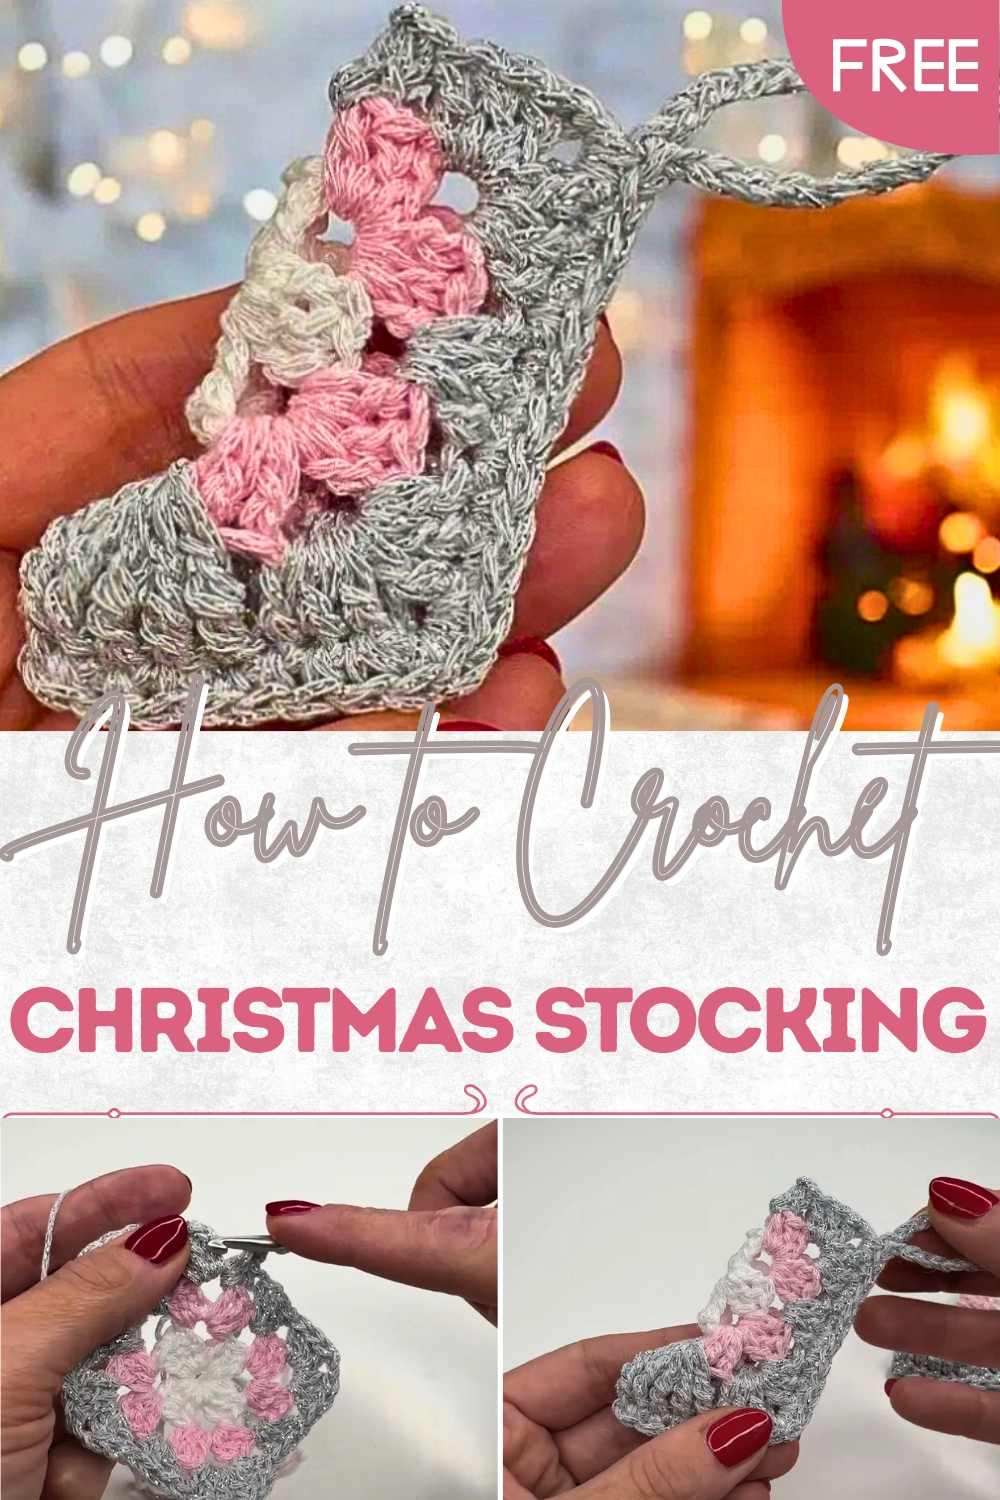
Trendy Crochet Christmas Stocking With Modern Style
Fill your holidays with cheer using this Crochet Christmas Stocking Pattern for a festive, charming accessory that brightens celebrations
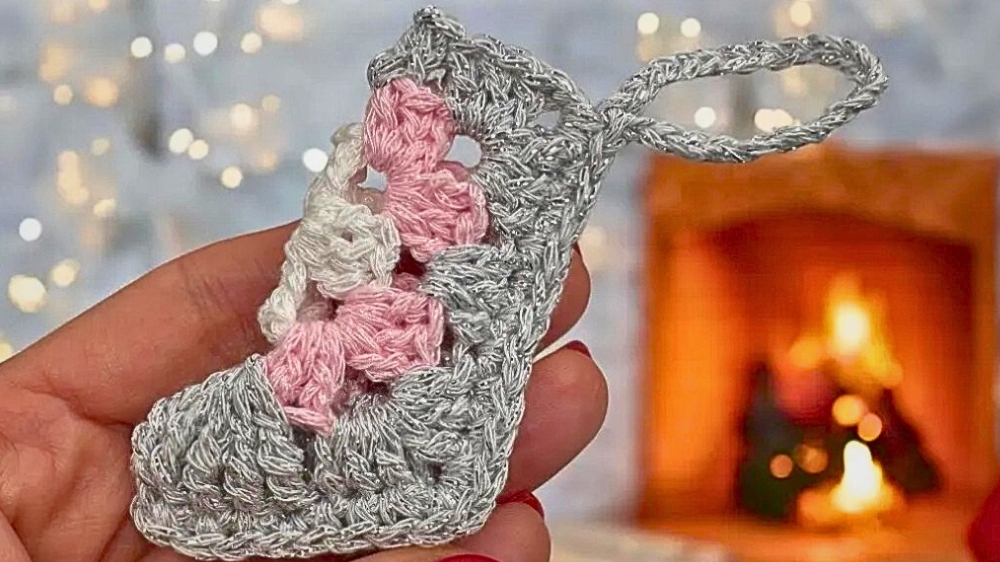
Stockings are a beloved symbol of holiday cheer, representing anticipation, generosity, and festive joy. The crochet Christmas stocking pattern transforms this classic item into a charming, handmade creation that combines beauty, functionality, and lasting appeal. Each stocking is carefully stitched to provide structure, texture, and durability, allowing it to hold treats, small gifts, or keepsakes while maintaining its shape. Soft yet sturdy, the stocking can hang gracefully on mantels, doorways, or beds, adding a cozy and tactile element to home décor.
Cozy Crochet Christmas Stocking Pattern for Homes
The pattern offers a variety of color options, from traditional reds and whites to playful combinations, letting each stocking reflect personal taste and coordinate with existing festive themes. Beyond decoration, these stockings serve as thoughtful gifts or unique contributions to holiday celebrations, carrying the warmth and individuality of handmade work.
Their lightweight construction ensures easy placement, while the handmade nature provides a personal, heartfelt touch. Each stitch creates a piece that combines charm, practicality, and aesthetic appeal, offering enduring seasonal delight. The crochet Christmas stocking pattern turns simple yarn into a tangible expression of cheer, generosity, and festive spirit, bringing warmth, joy, and a handmade elegance to homes during the holiday season.
Materials Needed:
- Yarn: The tutor uses Sheep’s Twinkle, a very thin yarn, for tiny stockings. However, you can use thicker or chunkier yarn for a larger stocking.
- Crochet Hook: A 4 mm crochet hook. The hook size can change depending on your yarn choice.
- Darning Needle: For sewing in the yarn ends.
- Scissors: To cut the yarn.
Special Features:
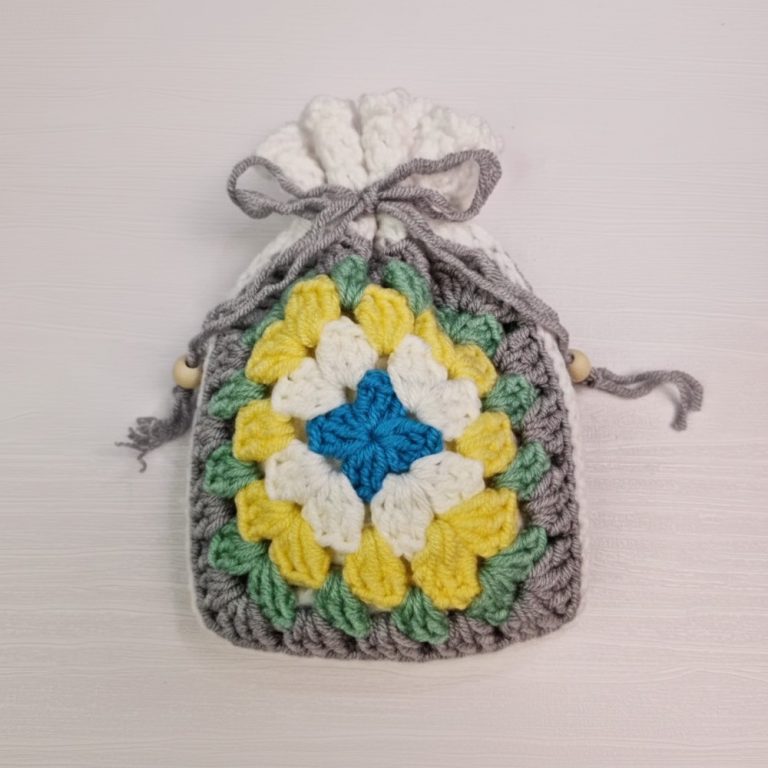
- Made from a Granny Square: The stocking is created from a single granny square, making it simple and quick to complete.
- Versatile Sizing: Using thin yarn results in small stockings, perfect for ornaments, while chunkier yarn can create larger stockings.
- Customizable Colors: You can use different colors for each round, creating beautifully personalized stockings.
- Hanging Loop: The project includes a hanging chain for easy placement on trees or gifts.
Skill Level:
Beginner-Friendly – The pattern is straightforward, and the stitches required (double crochet, chains, and single crochet) are simple. The tutor provides clear guidance, making it easy for those new to crochet.
Step-by-Step Instructions
Step 1: Preparing the Granny Square – Round 1
- Begin with a slip knot, then chain 4. Connect the first chain to the last with a slip stitch to form a small circle or ring.
- Work the first level:
- Chain 3 (counts as the first double crochet), then add 2 double crochets into the ring.
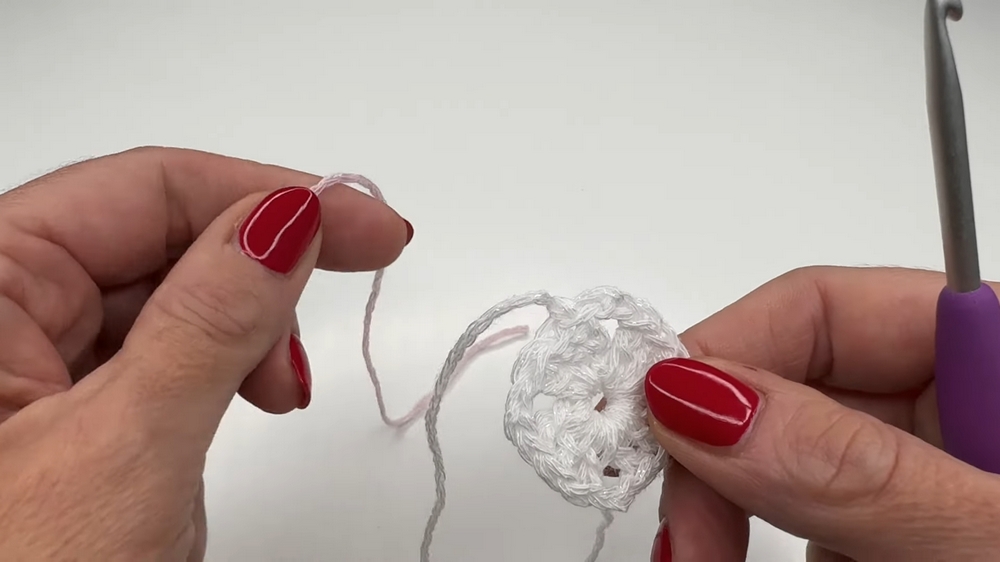
- Chain 2 for the corner, followed by another set of 3 double crochets. Repeat this until you have 4 groups of 3 double crochets separated by chain-2 corners.
- Chain 3 (counts as the first double crochet), then add 2 double crochets into the ring.
- Finish off the round with a slip stitch into the top of the chain-3 from the beginning, secure the end with a chain 1, and cut the yarn.
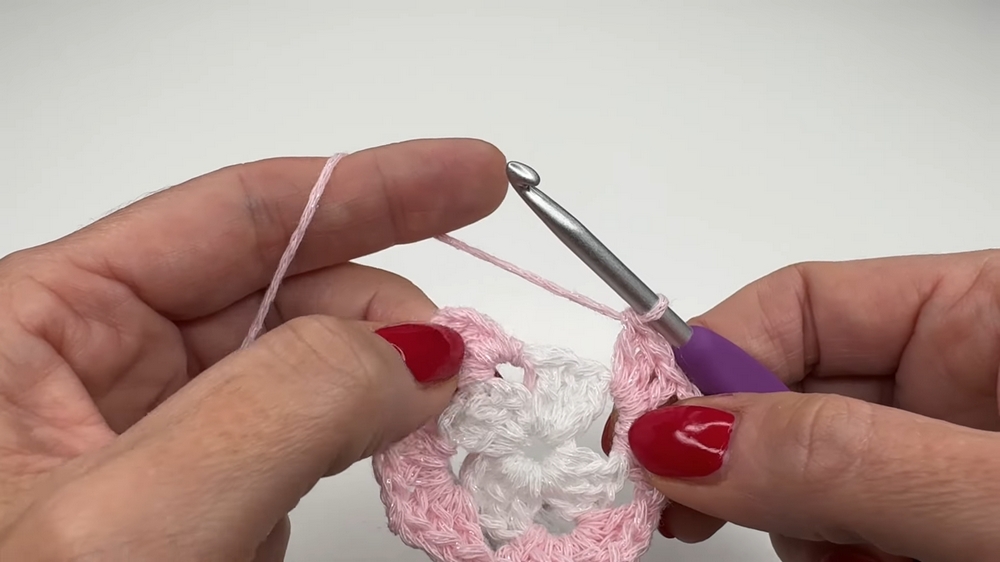
2: Building the Granny Square – 2
- Change to a new color and attach the yarn to any of the chain-2 spaces from Round 1.
- Chain 3 to start, then work 2 double crochets in the same space.
- For the corners, follow this sequence: (3 double crochets, chain 2, 3 double crochets).
- Continue filling each chain-2 space around the square, repeating the corner pattern as you go. Use slip stitches at the end to close the round, chain 1, and trim the yarn.
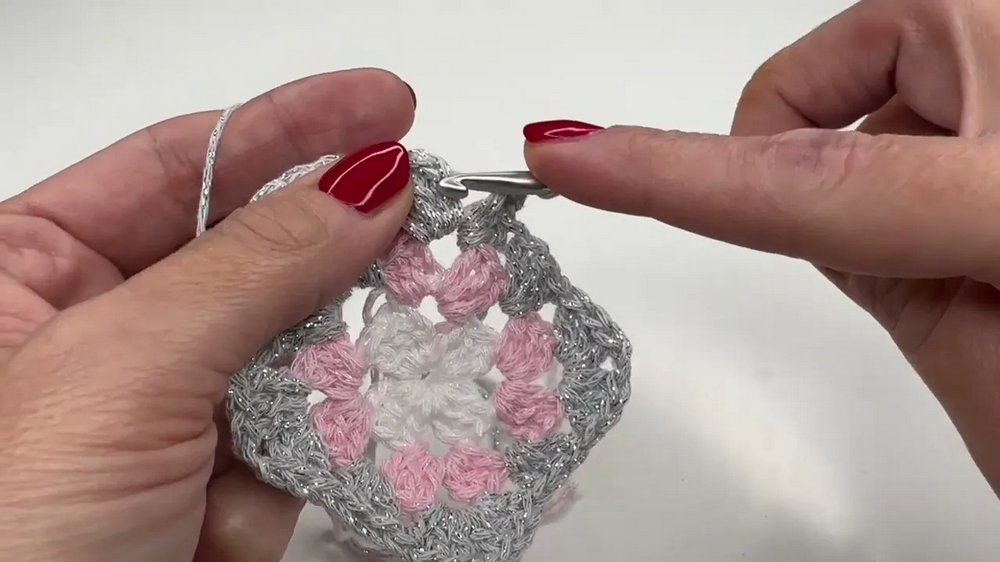
3: Constructing the Shape – 3
- Begin with a new color, attaching it to any previous chain-2 spaces.
- Repeat the pattern: (3 double crochets, chain 2, 3 double crochets) for the corners and 3 double crochets in the side spaces. End with a slip stitch, tighten, and cut the yarn. Sew in all loose ends using the darning needle.
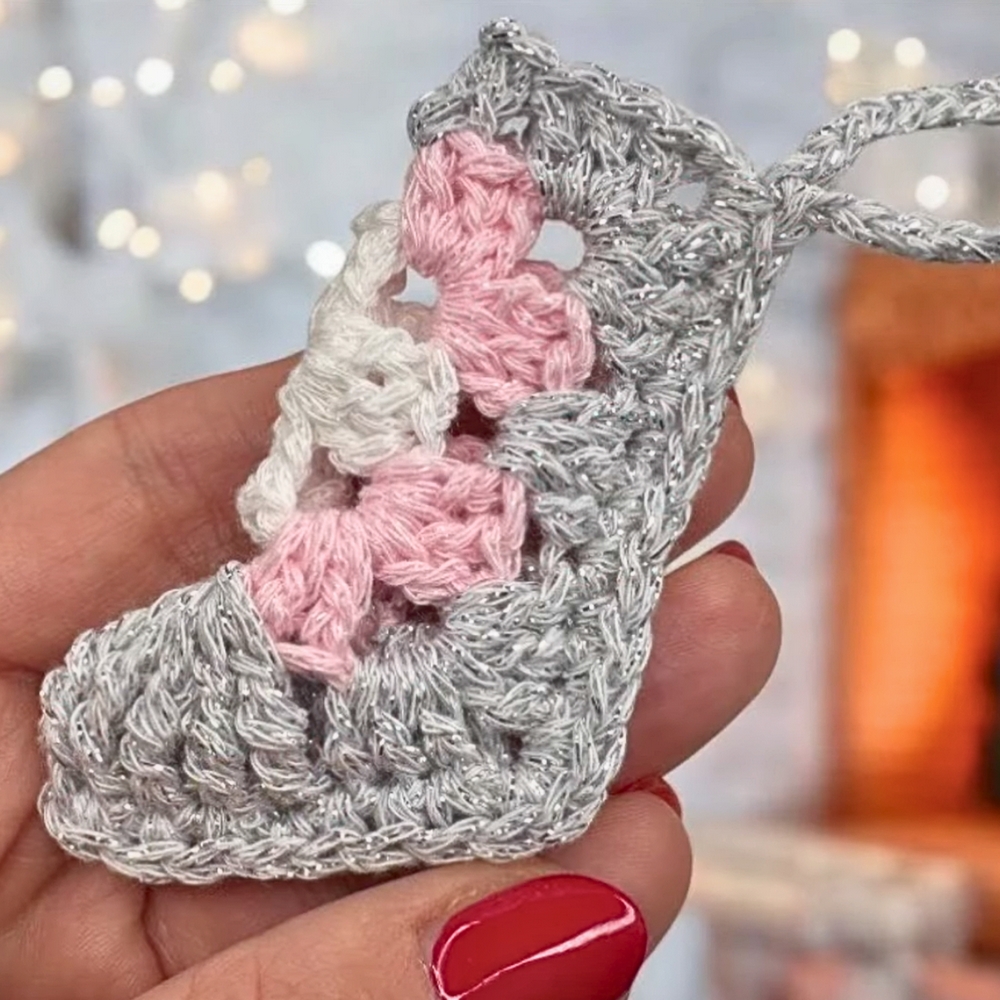
4: Folding and Joining
- Fold the granny square in half to form the stocking shape. Align the edges evenly.
- Use single crochet stitches to join one side of the square. Start from the toe, and work along one edge, ensuring both sides are stitched together.
- At the bottom “corner” chain-2 space, add 2 single crochets to maintain the round shape. Continue stitching up the other side.
5: Adding the Hanging Chain
- To create a loop for hanging, crochet a chain of 20 stitches at the upper corner.
- Attach the chain back to the corner with a slip stitch, form a final chain to secure, and cut the yarn.
6: Finishing Touches
- Fold and secure any loose threads using the darning needle.
- Make sure the edges are smooth, and the stocking is ready!

Tutor’s Suggestions:
- Choice of Yarn: Thin yarn creates smaller stockings, ideal for ornaments, while chunky yarn makes larger gift-sized stockings.
- Customization: Mix and match colors for each round to create unique designs. Use holiday-themed shades like red, green, white, gold, or silver.
- Uses: The stockings can adorn a Christmas tree, be tied to gifts for a personal touch, or even be part of festive home décor.
Tip:
When sewing in the yarn ends, pull snugly but not too tight, as this will maintain the flexibility of your work. Always sew in the ends on the back side of your granny square for a neat and polished finish.
Conclusion:
This cute Christmas stocking crochet project is a quick way to bring a handmade touch to your holiday celebrations. Whether used as tree ornaments, charming gift decorations, or festive accessories, these tiny stockings showcase both creativity and warmth. The simple granny square technique paired with customizable designs makes it a joyful project that crocheters can adapt to their own style.