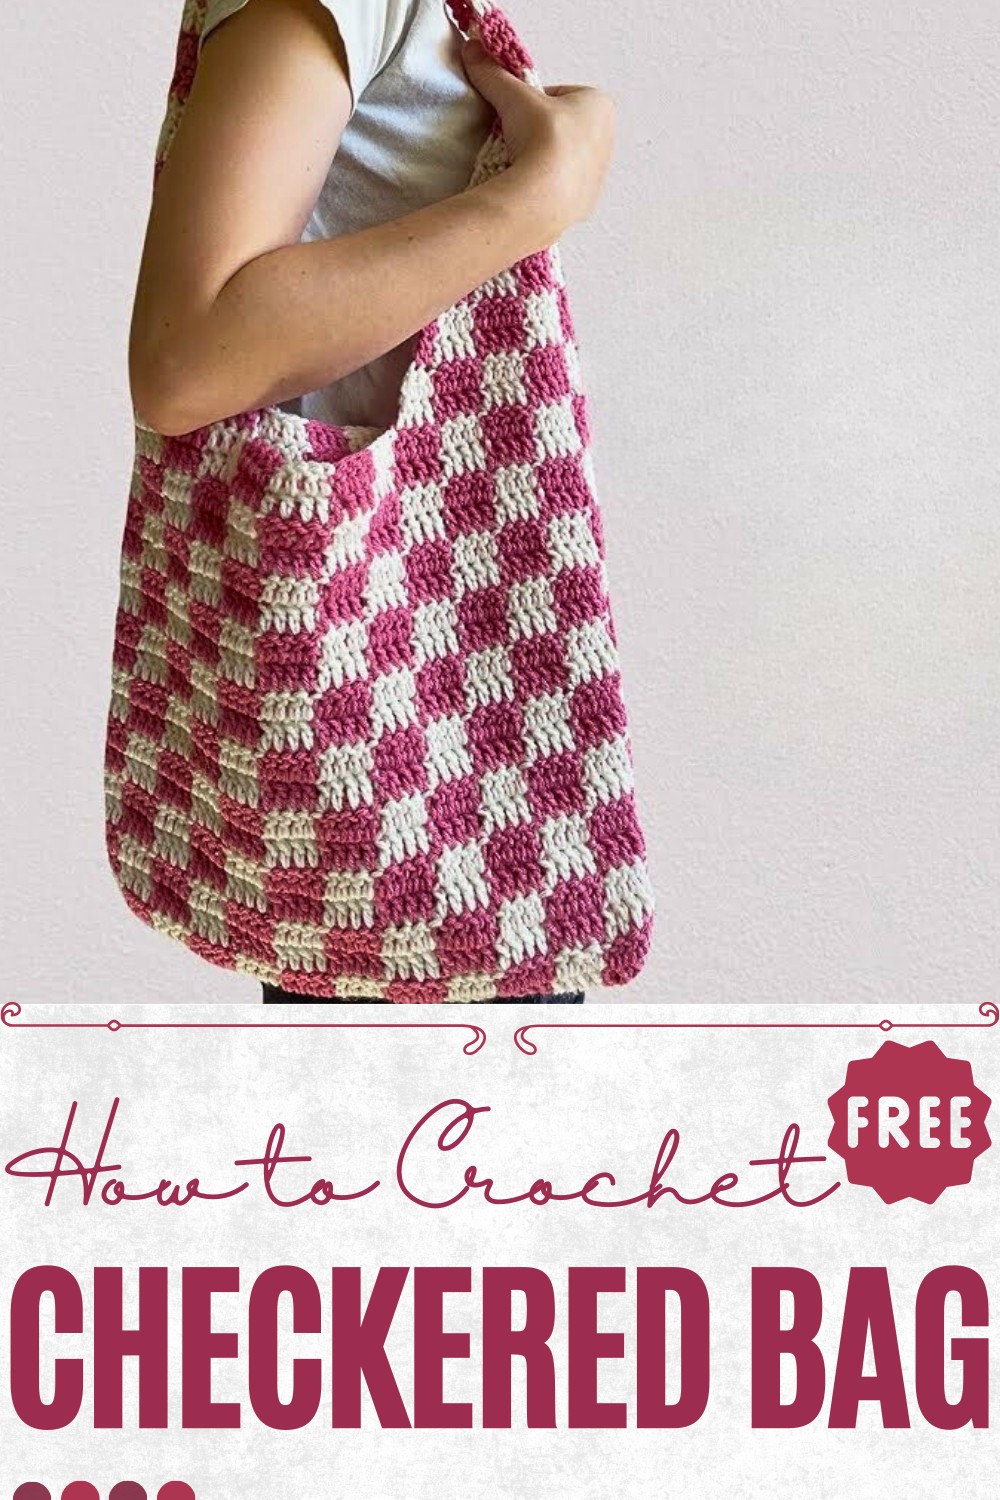
Trendy Crochet Checkered Bag Perfect for Fashion-Forward Looks
Step out in style with this Crochet Checkered Bag Pattern for a chic, versatile accessory that adds charm to everyday outfits.
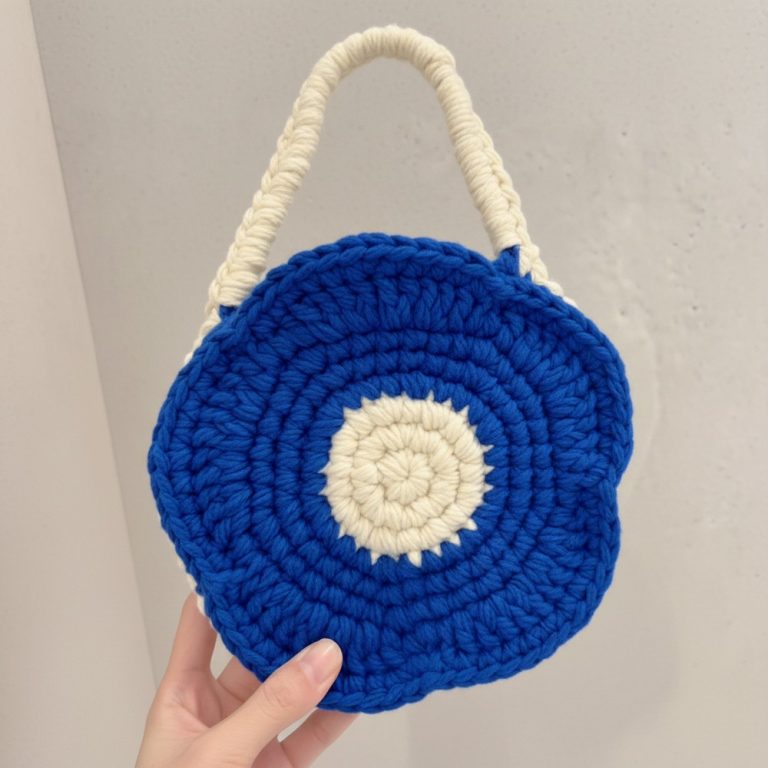
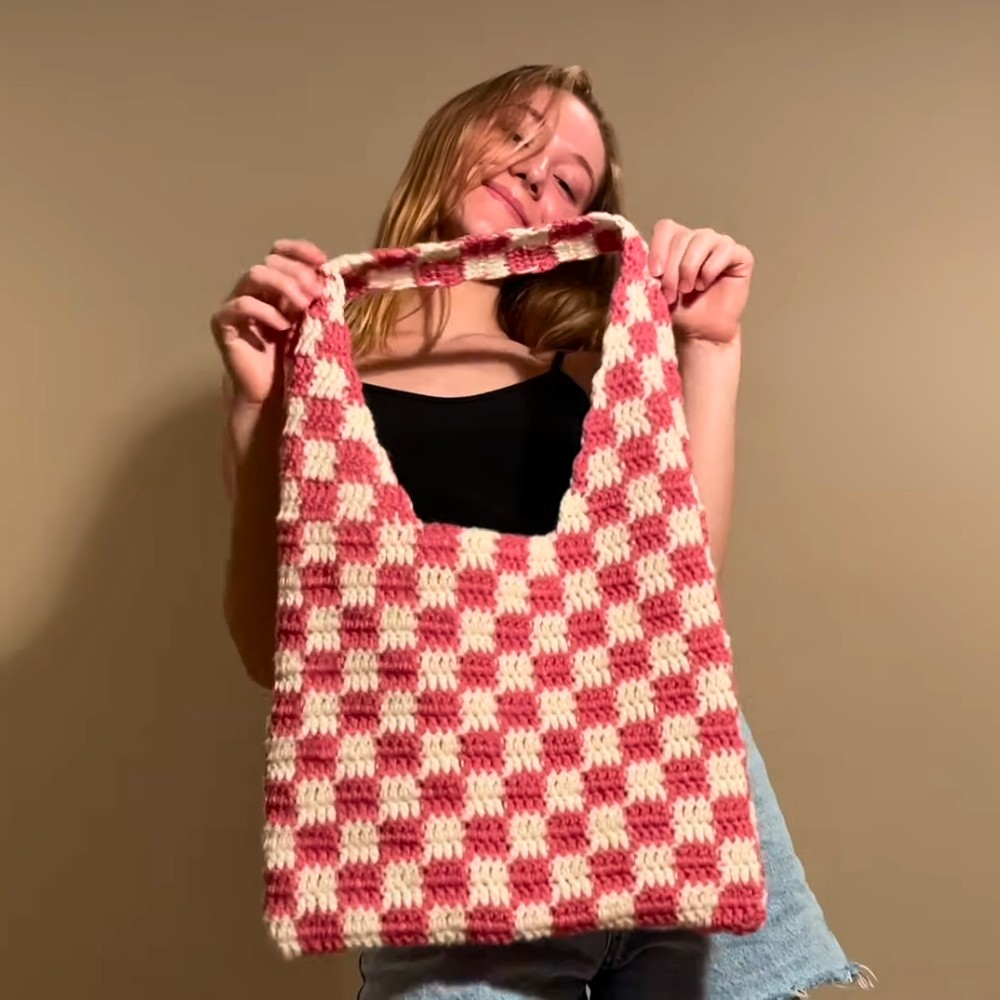
A well-made bag can turn heads not just for its utility but for its unique charm. The crochet checkered bag pattern captures this attention with its playful interplay of contrasting squares, combining functionality with stylish appeal. Durable and spacious, it holds daily essentials such as books, groceries, or personal items, while remaining lightweight enough for effortless carrying. The textured surface adds a tactile richness, making the bag both a visual and sensory delight. Its modular checkered motif allows flexibility in color combinations, enabling a personalized expression that complements casual or chic outfits alike.
Stylish Crochet Checkered Bag with Joyful Handmade Pattern
Practical features such as reinforced handles and a sturdy base ensure it maintains shape and withstands frequent use, while the open or optional lined interior keeps belongings organized and accessible. Beyond its practical function, this bag serves as an artistic statement, showcasing the charm of crochet in everyday life.
Ideal for errands, social outings, or gifting, it merges utility with sophistication, demonstrating that handmade items can balance aesthetics and practicality. Every stitch contributes to a structure that is resilient, attractive, and versatile, turning an ordinary accessory into a treasured piece that brightens routines and elevates style naturally.
Materials Needed
To create the checkered bag, these materials are required:
- Two Colors of Worsted Weight Yarn
- The tutorial uses Big Twist Ivory and Red Heart Super Saver in Light Raspberry.
- 5 mm Crochet Hook
- Scissors
- Darning Needle
Step-by-Step Instructions
1. Planning and Starting Your Bag
- Decide the Size of Your Bag:
- The model size in the video is approximately 13 ¼ x 11 ¼ inches, which is equivalent to 12 squares horizontally and 10 squares vertically.
- Ensure that your chosen number of squares horizontally is even.
- Create the Foundation Chain:
- Multiply the number of horizontal squares by 4, then add 3.
- For 12 squares, the chain length is: (12 × 4) + 3 = 51 chains.
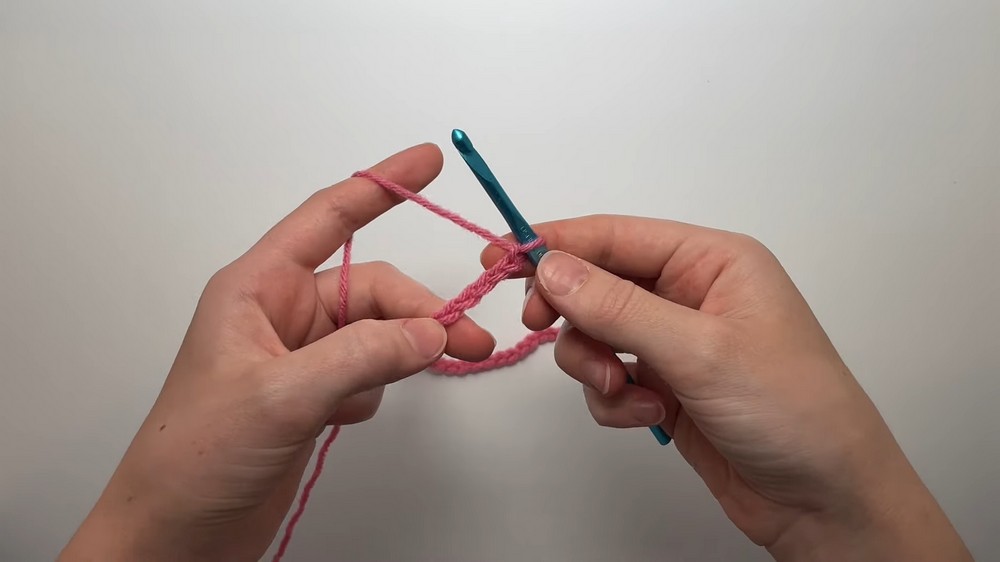
- Begin with a Slip Knot:
- Create a slip knot and add it to the hook. Use your first yarn color to complete your foundation chain.
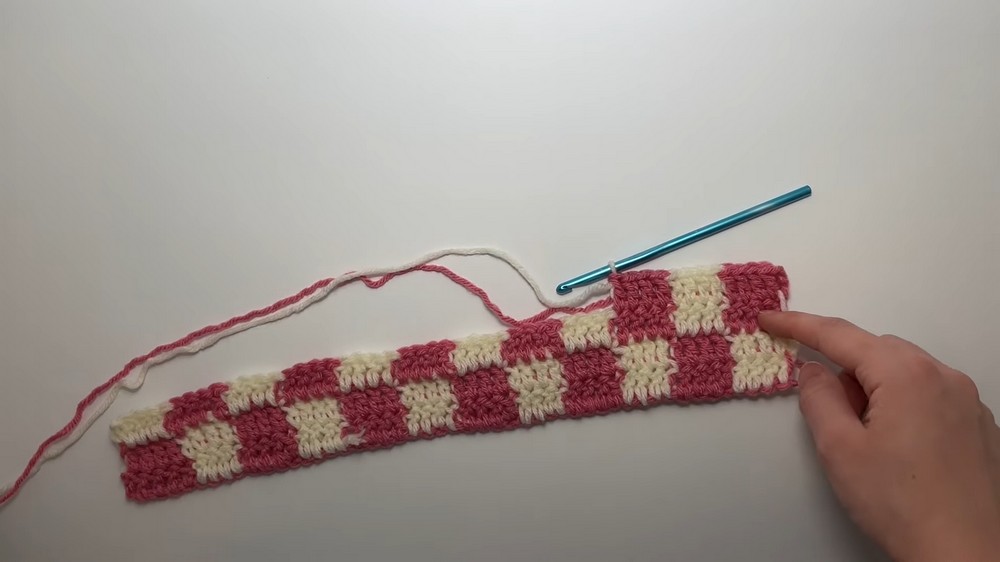
2. Creating the Checkered Pattern
- Double Crochet the First Row:
- Skip the first three chains and double crochet (DC) into the fourth chain.
- Continue to double crochet across the chain, ensuring that each square is made of 4 double crochets.
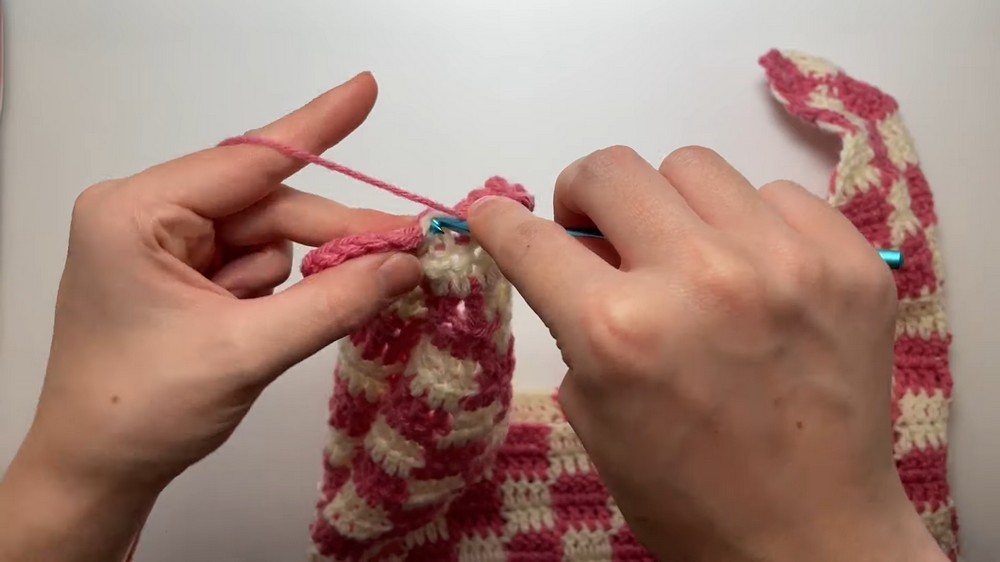
- Switch Colors for Each Square:
- On the fourth double crochet of each square, switch yarn colors before finishing the stitch.
- To switch colors:
- Create a slip knot with the second yarn color.
- Insert the new color into the last two loops of the double crochet stitch.
- Work Over Yarn Tails:
- As you crochet, work your stitches over the loose yarn tails to secure them.
- Continue Alternating Colors:
- Repeat the process of four double crochets per square, alternating colors for each square, until the row is complete.
- Final Square at the End of a Row:
- For the last square in the row, do not switch colors on the fourth stitch.
- This is because each square consists of two rows, and color switching will occur on the next row.
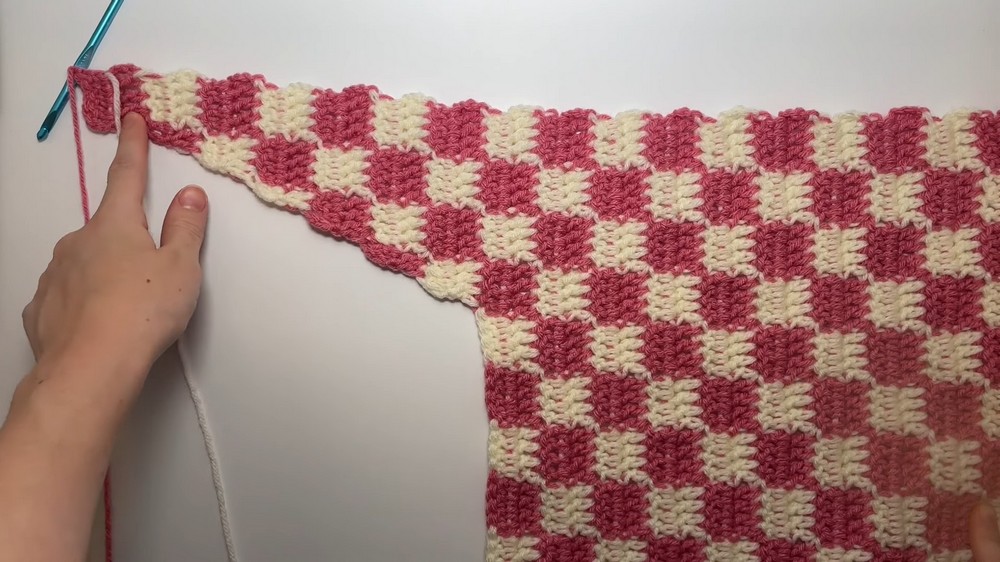
3. Building the Panels
- Turn Your Work for the Next Row:
- Chain 3, turn your work, and continue working double crochets to build the next row.
- Maintain the checkered pattern by switching colors as needed (4 double crochets per square).
- Keep Yarn on the “Bad” Side:
- Ensure any yarn transitions or seams are kept to the back (“bad” side) of the panel to maintain a neat appearance on the front side.
- Repeat for Desired Height:
- Continue alternating rows until you complete the desired number of vertical squares.
- For 10 vertical squares, this equals 20 total rows of double crochets.
4. Adding the Handles
- Creating the Handle Shape:
- Identify the outer corners of the bag for the handles. The bag handles are about ⅓ of the bag’s width.
- Start by working the checkered pattern only for ⅓ of the square count.
- Decreasing for Handle Shape:
- On rows closer to the middle of the bag, decrease on both ends.
- To decrease: Work into two stitches, combining them into one.
- Complete Two Handles:
- Repeat the process to create identical handles on both sides.
5. Assembling the Bag
- Make Two Identical Panels:
- Repeat the entire process to create another identical panel for the back of the bag.
- Weave in Loose Ends:
- Use the darning needle to weave in any loose yarn ends on the “bad” side of the panels for a clean finish.
- Sew the Panels Together:
- Place both panels with the “good” sides facing inward.
- Use the darning needle to sew along the sides and bottom of the panels, leaving the handles free.
- Flip the Bag Right Side Out:
- Once sewn, flip the bag inside out to reveal the finished design.
- Once sewn, flip the bag inside out to reveal the finished design.
Special Features
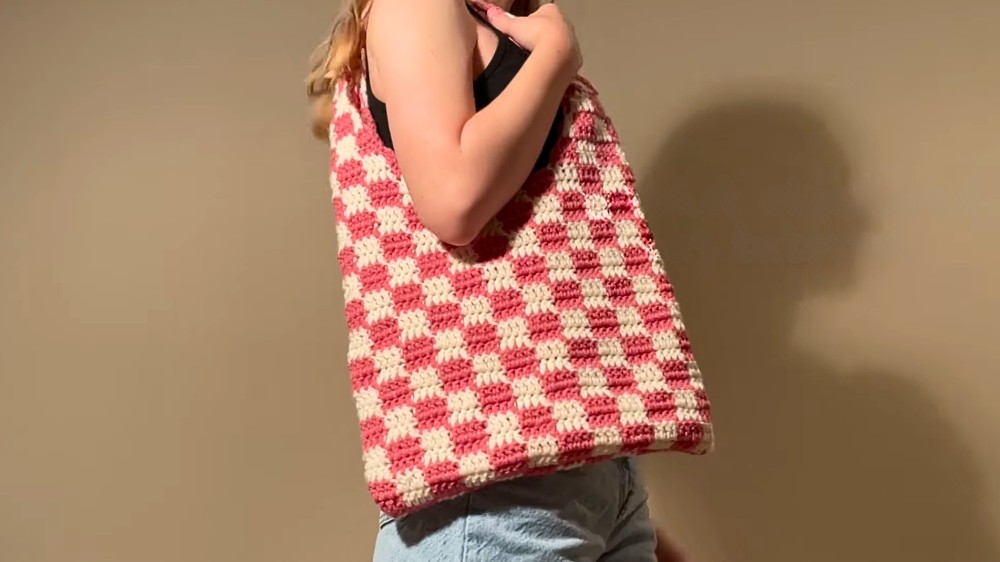
- Larger Size: Unlike many standard crochet bag tutorials, this project is designed to be roomy, making it perfect for carrying essentials.
- Customizable: You can easily adjust the size of the bag and handles or choose colors that match your personal style.
- Checkered Pattern: The alternating colors create a trendy and eye-catching design.
- Beginner-Friendly: The pattern simplifies techniques, making it approachable for all skill levels.
Level of Difficulty
- Beginner to Intermediate:
- The pattern is beginner-friendly, with clear explanations and breaks down techniques like double crochet, color changes, and decreases.
- Intermediate crocheters can enjoy the creativity of the design.
Tutor’s Suggestions
- Work Over Yarn Tails: This eliminates the need to weave in as many ends later.
- Keep Edges Even: Ensure your bag edges remain straight by counting stitches and maintaining proper tension.
- Use Contrasting Colors: To highlight the checkered pattern, use two yarn colors with high contrast.
- Test Handle Length: Before finalizing the handle assembly, hold the bag up to ensure it’s the right size for your comfort.
Uses
- Everyday Tote Bag: Perfect for shopping trips, carrying books, or as a day bag.
- Fashion Statement: The trendy checkered design adds a stylish element to your outfit.
- Gift Idea: A handmade crochet tote bag makes for a thoughtful and one-of-a-kind present.
Tip
To avoid tangled yarn while switching colors, always pick up the next yarn from the same direction. For example, pick one color from the back and the next from the front. This prevents the yarn balls from twisting as you work.
Conclusion
This crochet pattern provides a detailed roadmap for creating a large, stylish checkered bag. From learning how to manage color changes to assembling the panels, this pattern balances creativity and functionality. Perfect for beginners and intermediate crocheters, this project is both practical and fun, offering endless opportunities for customization.