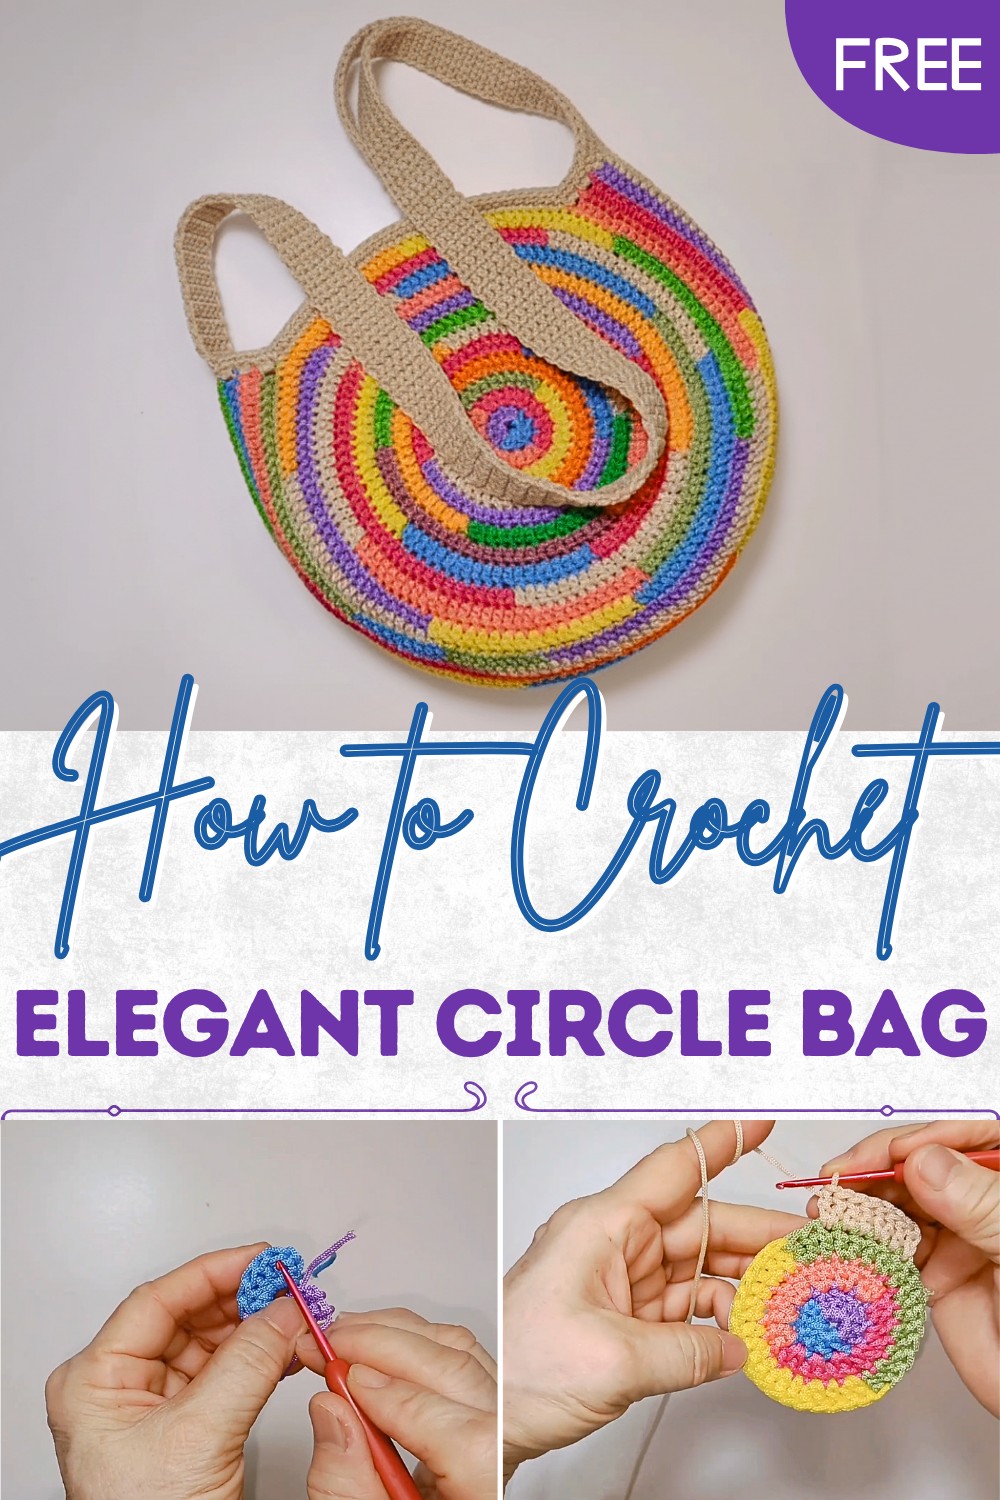
The Secret to Crochet Circle Bag Pattern for Head-Turning Style
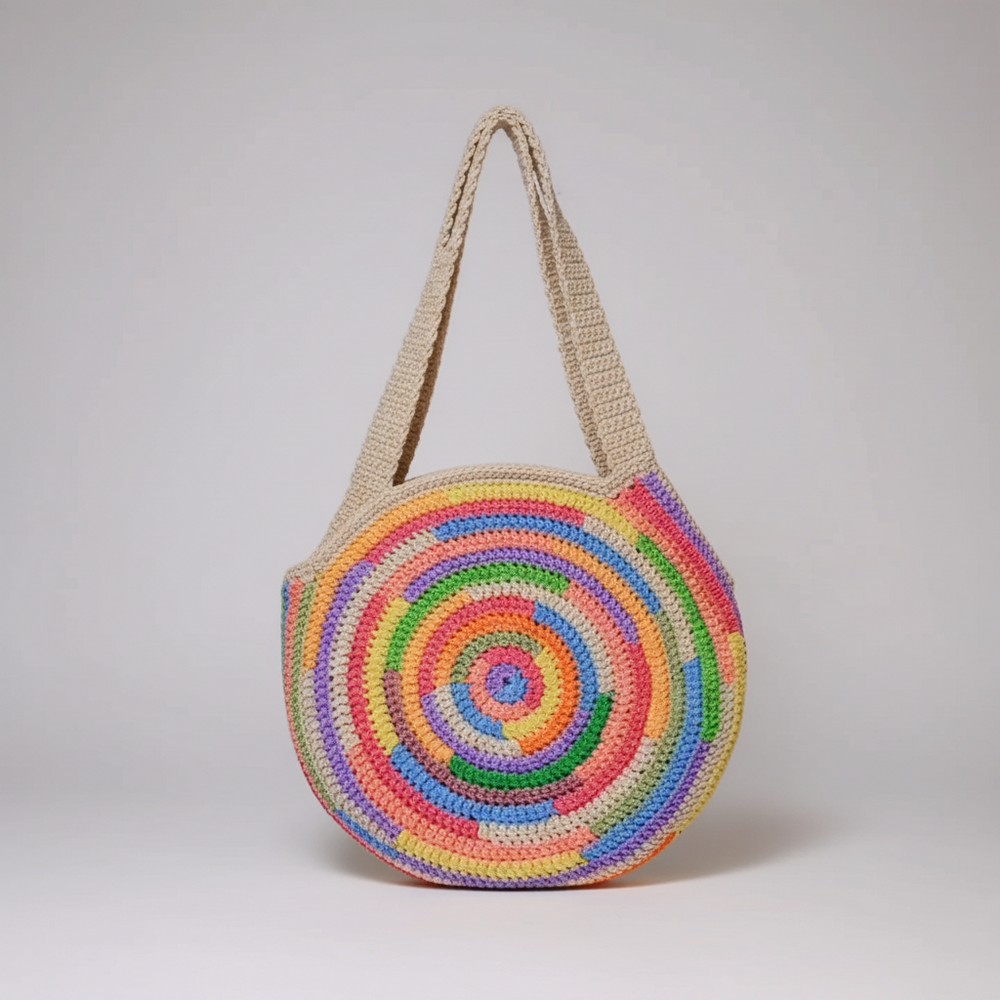
Colorful Crochet Circle Bag Pattern for Effortless Fashion
The lightweight yet durable material ensures it can withstand regular use, while its vibrant customization options allow anyone to match their personal style. This isn’t just an accessory; it’s a conversation starter, making a thoughtful handmade gift to share with friends and family or a statement piece to keep for yourself.
The benefits aren’t just aesthetic; this pattern helps reduce waste by encouraging sustainable practices using leftover materials. Whether you’re new to crochet or a seasoned pro, this enjoyable pattern makes no compromise on function or flair, leaving you with something truly memorable and useful. Perfect for everyday beauty.
Materials Required
- Umbrella Rope: Approximately 280 grams of 1.8 mm thickness; you can use leftover or new ropes for knitting.
- Crochet Hook: Size 4/0 kitchen needle.
- Lighter: Used to seal rope ends and prevent fraying.
- Safety Pins: For marking specific loops during the process.
Special Features
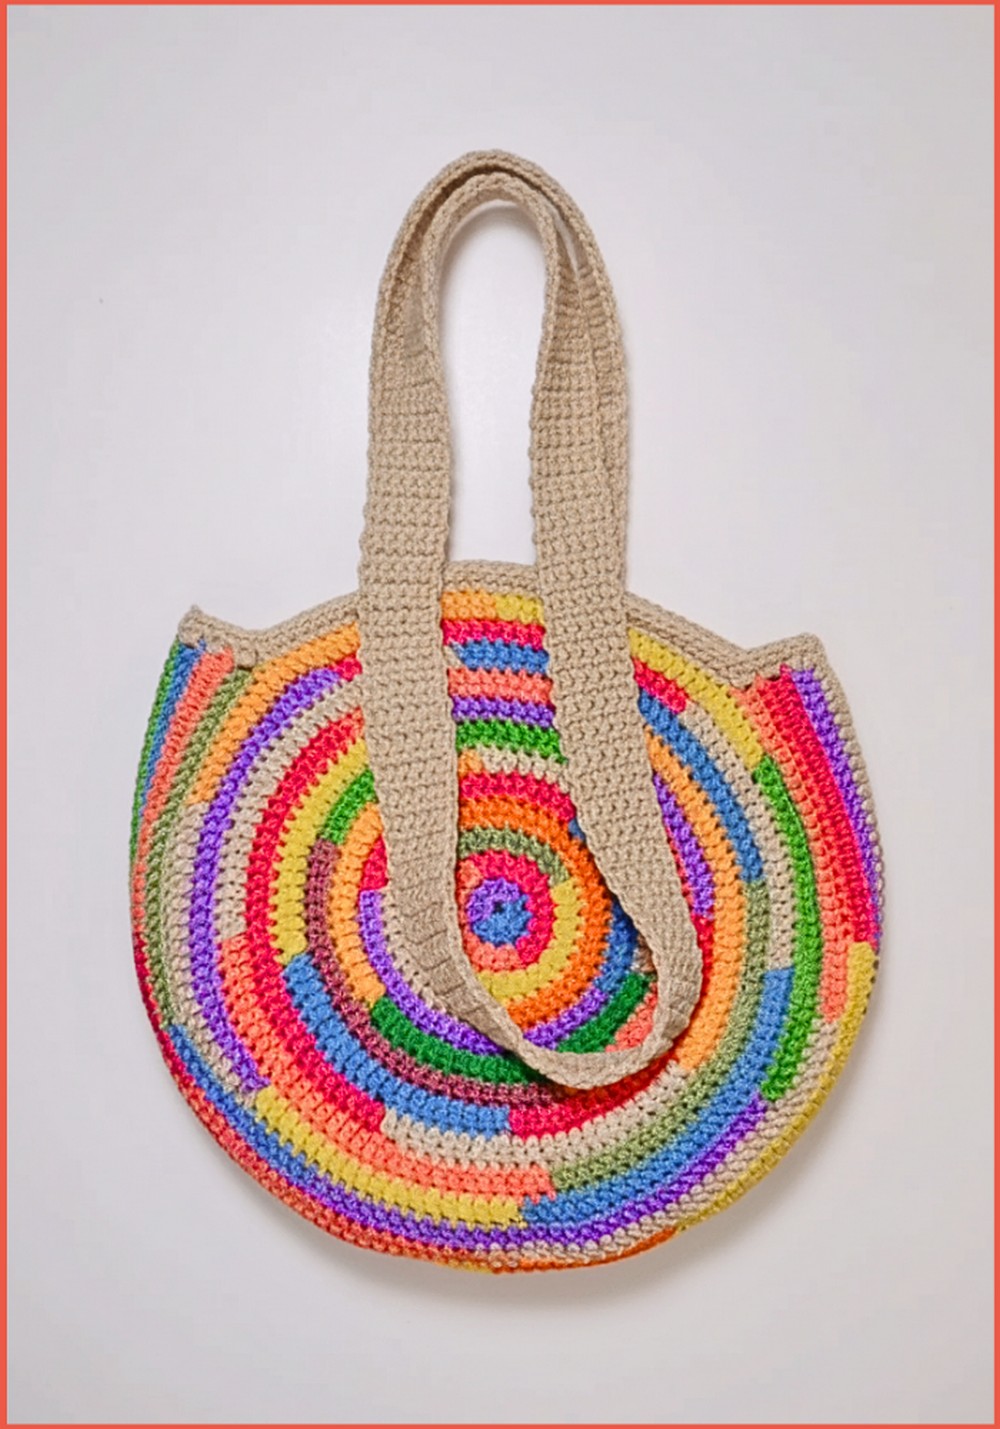
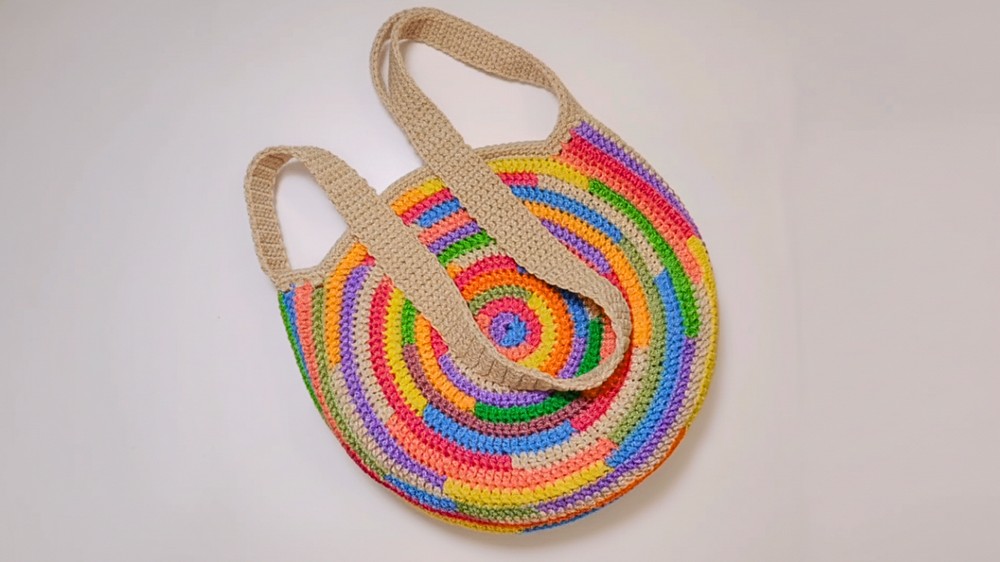
- Round Shape: A sleek circular design with a diameter of 9.5 inches makes this bag uniquely attractive and perfect for any outfit.
- Spacious and Functional: Features a width of 3 inches, ideal for storing daily essentials.
- Shoulder Strap: A 33-inch strap ensures effortless portability, making it a fabulous on-the-go accessory.
- Customizable Colors: The bag uses colorful 1.8 mm umbrella rope. You can alternate colors as desired to create a vibrant and personalized look.
- Durable: Using an umbrella rope ensures durability and a water-resistant texture.
Uses
- Perfect for daily errands, shopping, or hanging out with friends.
- Serves as a stylish accessory to complement casual outfits.
- Makes for a thoughtful, handmade gift to loved ones.
- Ideal as a multi-purpose travel pouch to carry small necessities like a wallet, keys, or phone.
Step-by-Step Guide
1. Create the Base
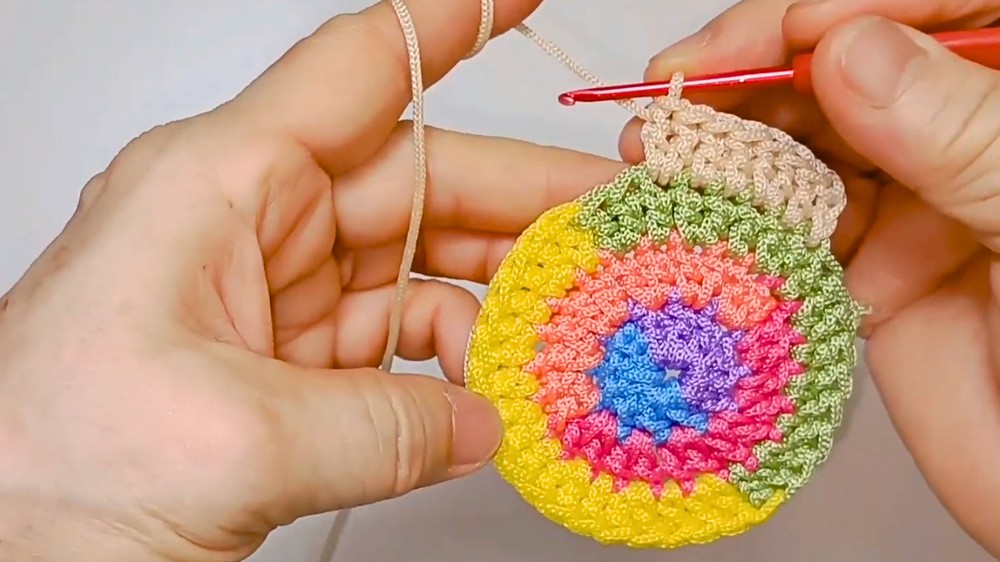
- Start the bag by knitting the base in a round shape.
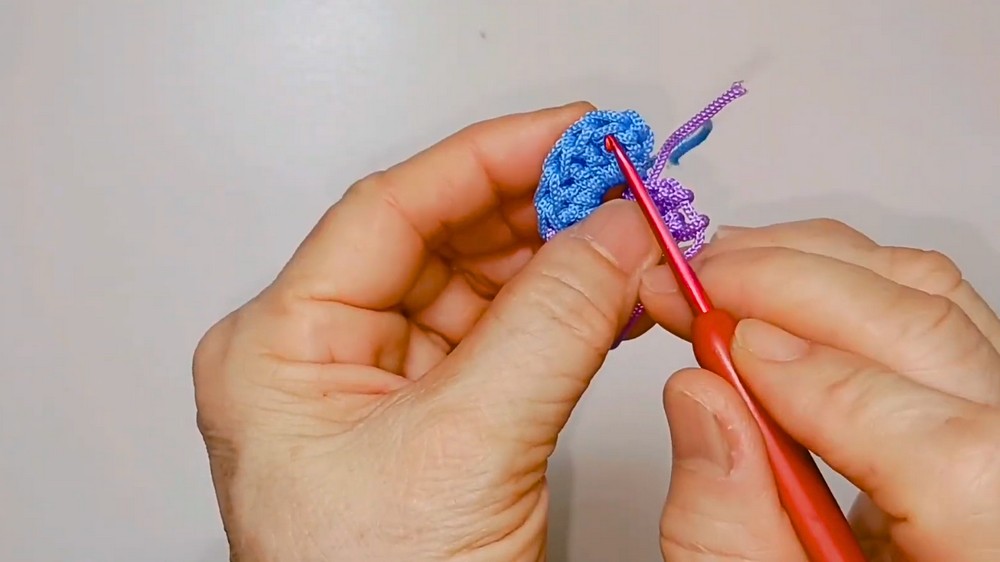
- Form a circular loop with 280 grams of umbrella rope and start the first row using a double crochet (DC) style, which is referred to as the “P1K method.”
- Begin with chain stitches: Knit 12 and expand continuously, ensuring colors are alternated cleanly.
- Follow the distinct pattern to increase the diameter across rows:
- Row 2: Double crochet V stitch every second digit → resulting in 24 digits.
- Row 3–12: Gradually increase double crochet before inserting V stitches in the pattern mentioned.
- For Row 12: Knit 10 digits of double crochet and crochet 1 V stitch at the next slot → results in 144 digits in total with a 9.5-inch diameter for the base.
Tutor’s Suggestion: At this stage, the size can be customized as desired—add or reduce the number of rows depending on your preferred bag size.
2. Create the Bag’s Sides
- Leave a gap for the opening measuring 36 digits from the middle section where the bag mouth will be.
- Use double crochet stitches to knit one stitch per digit. Unlike the base, no V stitching is done for the sides.
- Alternate vibrant rope colors as you knit each side for a brighter and more creative design. You can switch colors mid-row to match your own preferences (as shown in the tutorial).
- Continue knitting double crochets back and forth for 4 rows.
Tutor’s Suggestion: Keep your tension even for a neat and symmetrical side design.
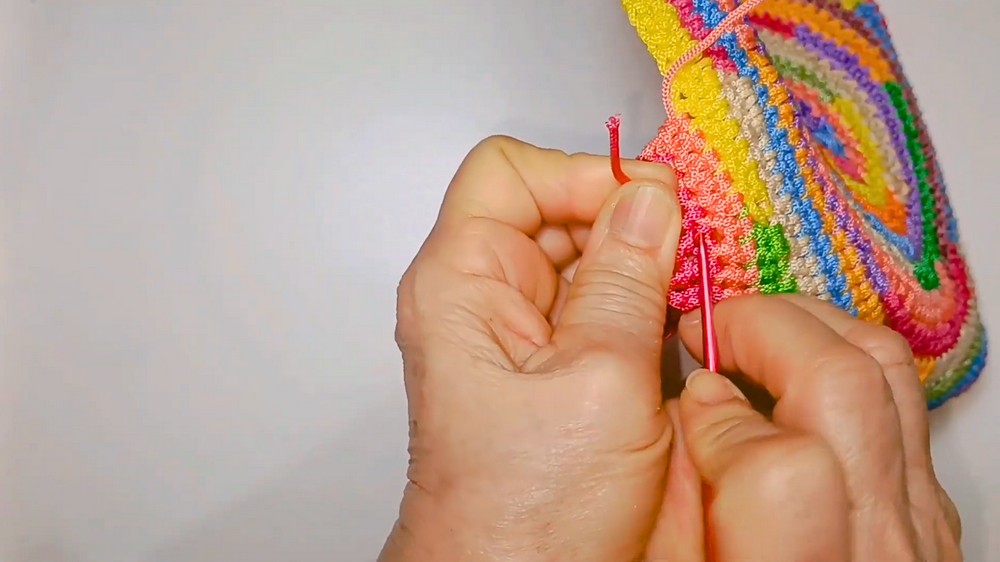
3. Combine the Bag Side Panels
- Once the side panels are completed, it’s time to assemble them neatly.
- Place the two completed panels with the outer bag design facing outward and the inside sections touching each other.
- Secure the connection between both panels using single crochet stitches. Start from the top and continue along every digit until you have fully joined the panels.
Tutor’s Suggestion: Use precise single crochets for seamless assembly without gaps.
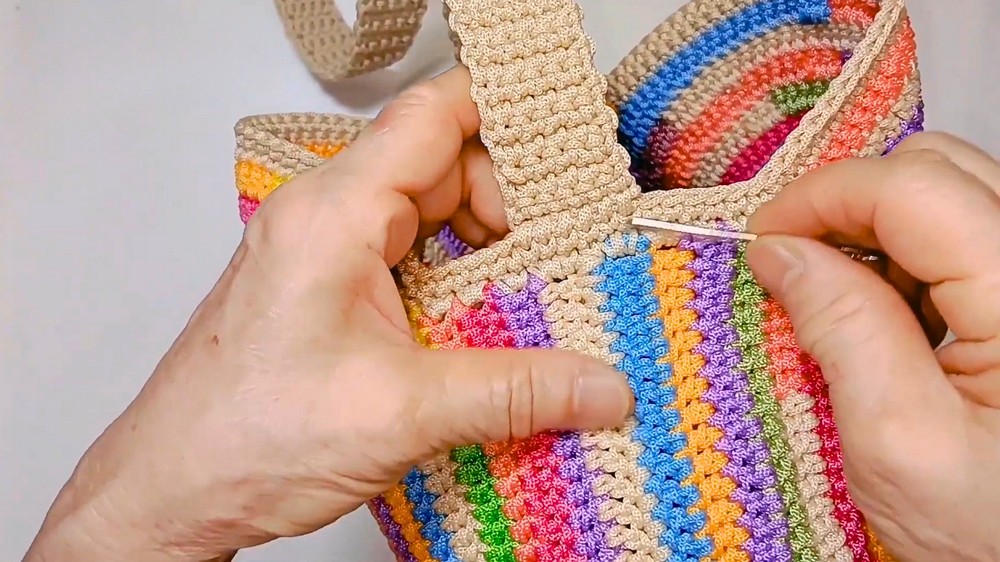
4. Finish the Edge
- Crochet along the top edge of the connected panels using the following method:
- Knit two double crochets per space along the wide gaps between the double crochet stitches.
- For tighter spaces, crochet once per main digit.
- Continue until the top row completely connects, and then close the row using a single crochet stitch.
- Add second row around the edge using single crochet stitches to strengthen the border and give the bag a clean finish.
Tutor’s Suggestion: Ensure the rope ends are properly secured using a lighter to avoid unraveling.
5. Create the Strap
- Begin the strap by knitting 6 chain stitches along a long piece of leftover umbrella rope.
- Add a single crochet, then turn the strap and weave stitches backward.
- Continue flipping and crocheting for each row until you achieve a length of about 33 inches or adjust as per preference.
- Optional: For wider straps, increase the chain stitch to 7 or more at the beginning.
- Use a needle and silk thread to sew each end securely onto both sides of the bag.
Special Design Tips
- Make your bag unique by using leftover umbrella rope from the base and alternate colors creatively between rows. You can mix different color tones and provide contrast for a cheerful look.
- When changing colors, the tutor recommends doing so at the same point in the loop to avoid mismatched or overlapping colors.
Level of Difficulty
This pattern is simple enough for beginners who have basic crochet knowledge, such as double crochet or chain stitching. The most challenging part is maintaining the smoothness of switches between colored threads and ensuring edges stay seamless.
Tip
To avoid worn edges and loose ends, make sure to seal the rope properly using a lighter after trimming, particularly when working with umbrella rope. This helps prevent unraveling and gives your bag a clean, polished look.
Conclusion
Creating a crocheted circle bag is both enjoyable and rewarding. Whether you’re a beginner or experienced in crochet, this project allows for creative customization and is a testament to the beauty of handmade artistry.