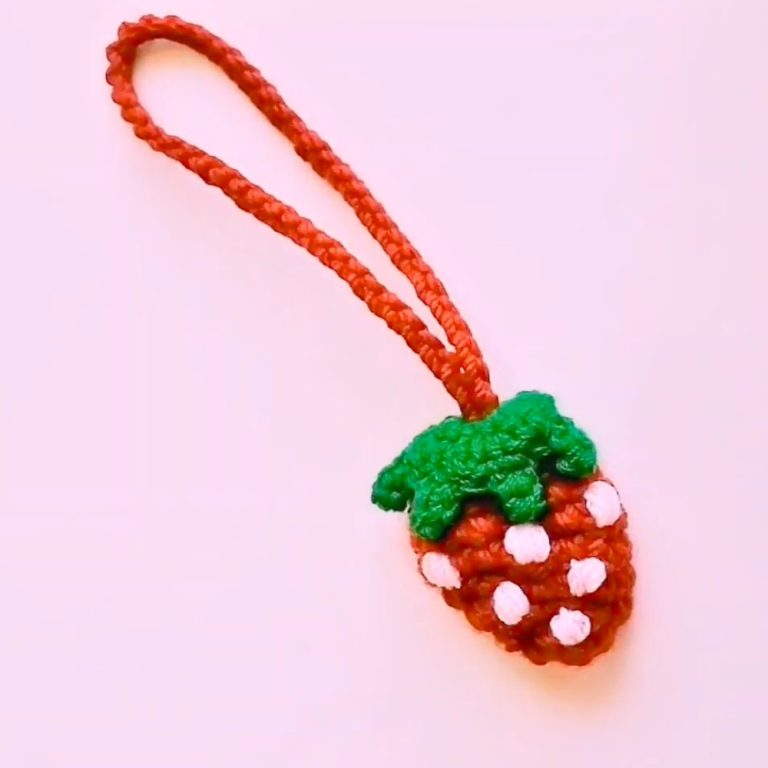
Sweet Charming Crochet Strawberry Amigurumi Pattern
Make a little, adorable strawberry, soft and cuddly, crocheted from vibrant red and green yarn. This handmade Crochet Strawberry amigurumi is a tiny treasure, perfect for holding in your hand or decorating a space. Its sweet smile and cute seed stitches make it an irresistible companion. Whether gifted to a loved one or sitting on your shelf, this crochet strawberry brings a touch of whimsy and warmth wherever it goes!
Crochet Strawberry
Materials:
- Medium weight size 4 yarn in red, green, and cream
- 3.5 mm crochet hook
- Yarn needle
- Scissors
- Stuffing
Pattern:
Strawberry Body:
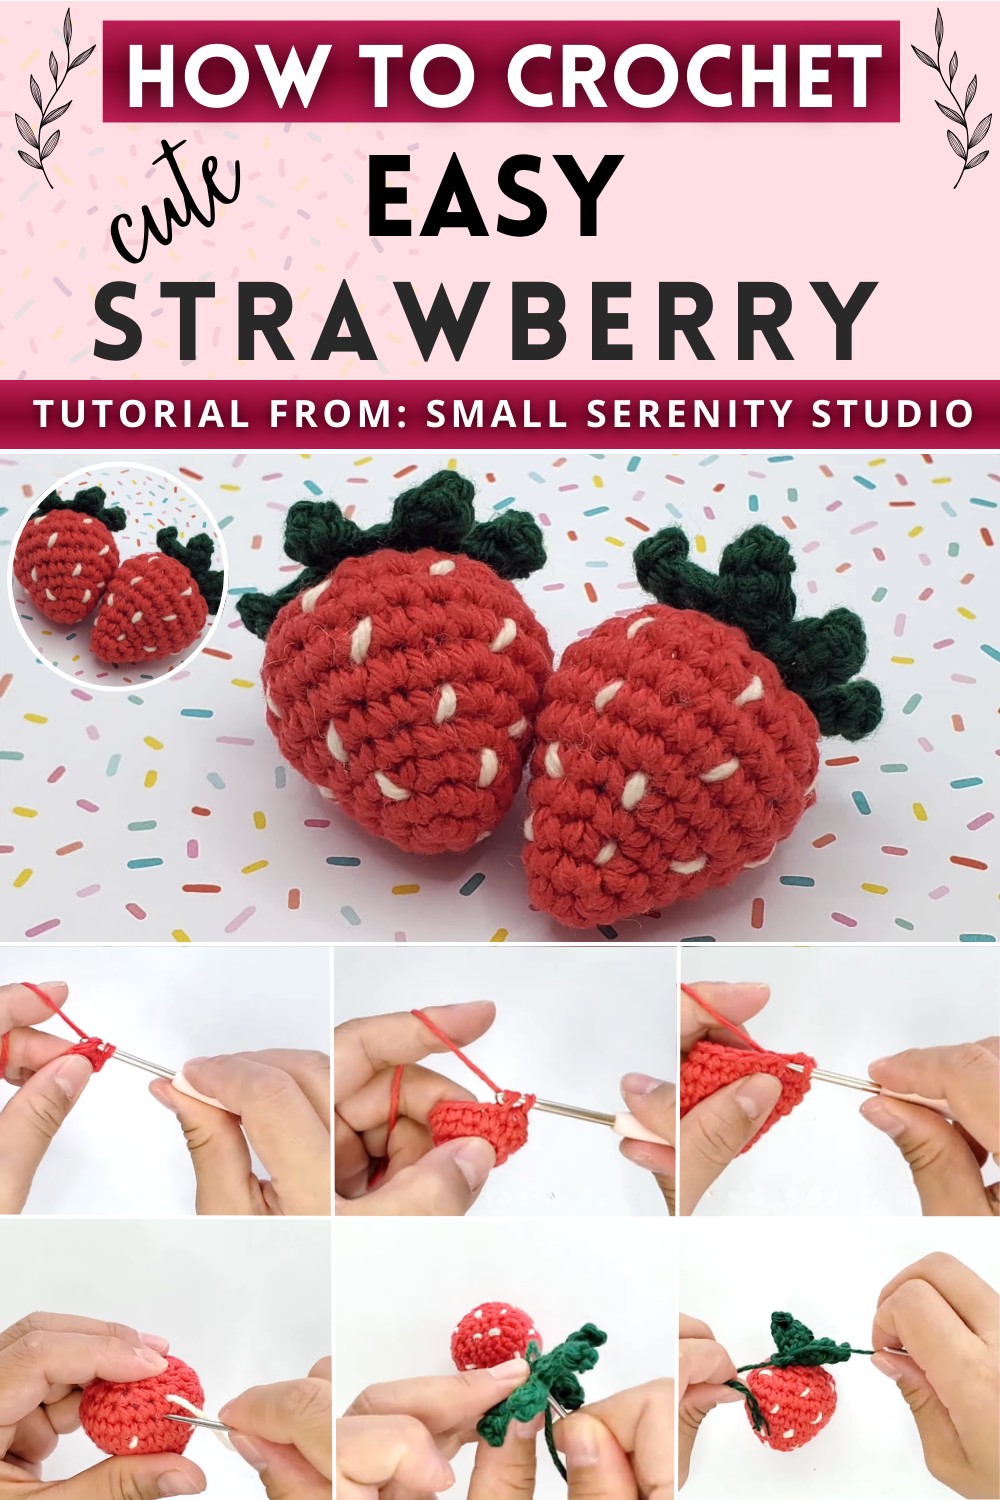
Magic Ring:
- Make a magic ring.
- Work 6 single crochets (sc) into the ring.
Round 1:
- Make 1 single crochet in the first stitch, followed by an increase (2 sc in the next stitch).
- Repeat this sequence 2 more times (total 9 stitches).
Round 2:
- Make 2 sc, followed by an increase.
- Repeat this sequence 2 more times (total 12 stitches).
For Round 3:
- Make 3 sc, followed by an increase.
- Repeat this sequence 2 more times (total 15 stitches).
Round 4:
- Make 4 sc, followed by an increase.
- Repeat this sequence 2 more times (total 18 stitches).
Round 5:
- Make 2 sc, followed by an increase.
- Repeat this sequence 5 times (total 24 stitches).
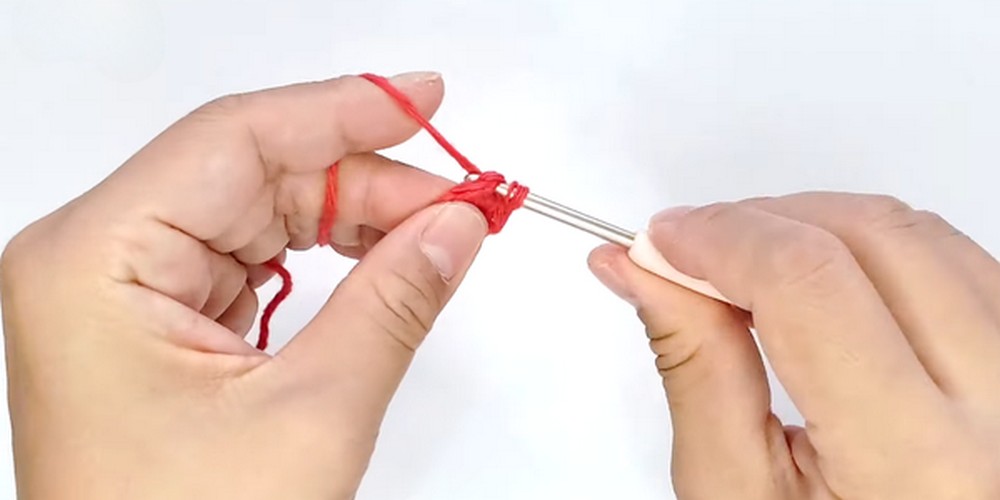
For Round 6 & 7:
- Make 1 sc in each stitch around (24 stitches each round).
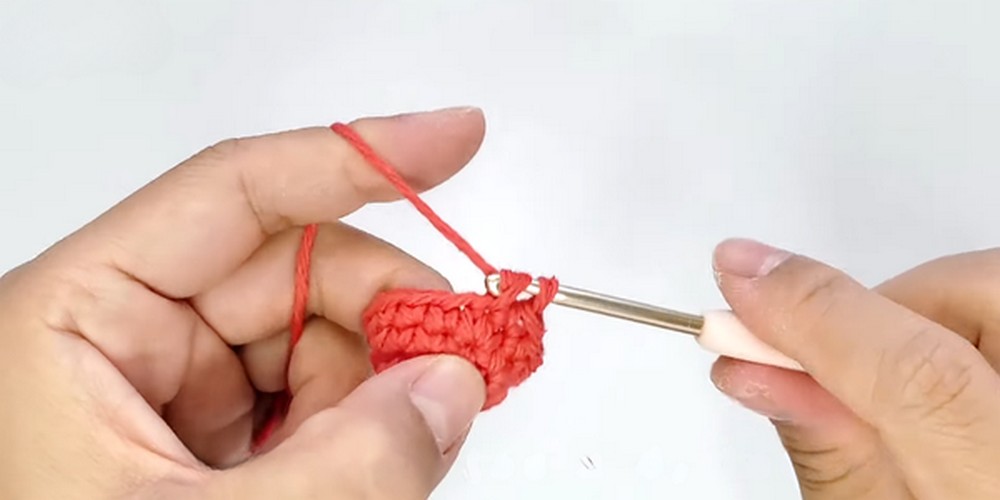
Round 8:
- Make 2 sc, followed by a decrease (sc2tog).
- Repeat this sequence 5 times (total 18 stitches).
Round 9:
- Make 1 sc, followed by a decrease.
- Repeat this sequence 5 times (total 12 stitches).
Stuff the Strawberry:
- Begin stuffing the strawberry firmly.
Finish the Body:
- Continue with decreasing stitches around until the hole is closed.
- Finish off and cut the yarn.
- Use the yarn needle to sew the tail.
Adding Seeds:
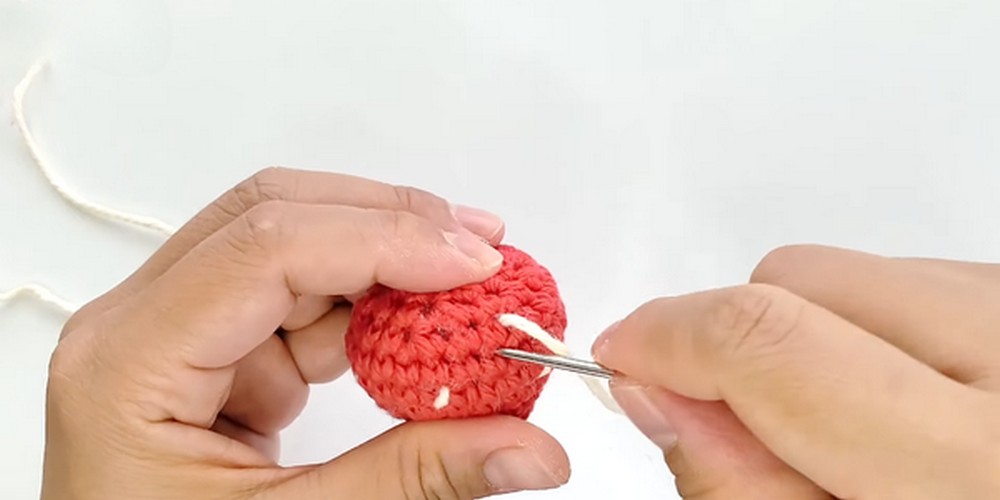
Using Cream Yarn:
- Sew seeds onto the strawberry starting from the third row from the bottom.
- Make a seed every 3 stitches apart (total 4 seeds).
Fifth Row from Bottom:
- Make a seed every 3 stitches apart (total 6 seeds).
Seventh Row from Bottom:
- Make a seed every 4 stitches apart (total 6 seeds).
Ninth Row from Bottom:
- Make a seed every 3 stitches apart (total 6 seeds).
- Ensure to stagger the seeds so they don’t align vertically.
Finishing Seeds:
- Cut off the yarn.
- Roll the strawberry between your hands to even out the stuffing inside.
Strawberry Stem:
Magic Ring:
- Use green yarn to create a magic ring.
- Work 6 sc into the ring.
- Join the circle.
Creating Leaves:
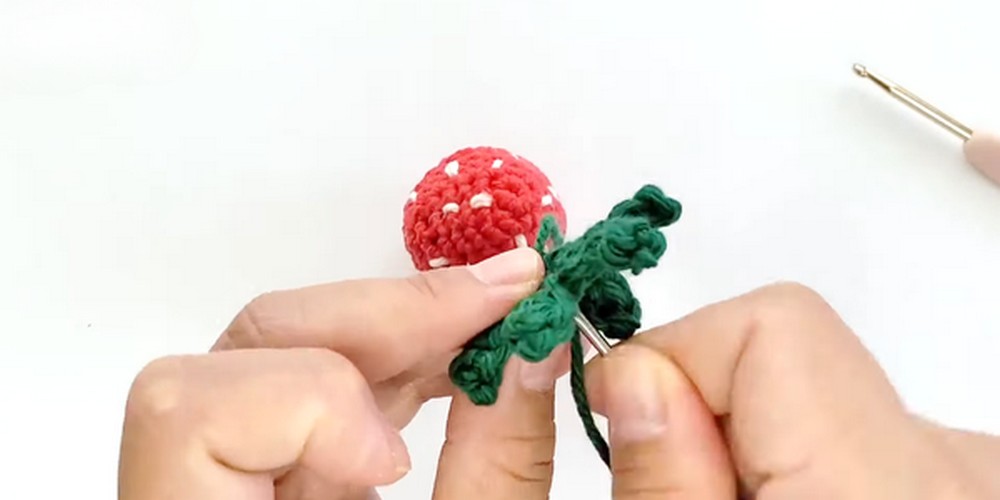
First Leaf:
- Chain 4.
- Starting from the second chain from the hook, make 3 sc.
- Slip stitch into the next stitch to finish the first leaf.
Repeat for remaining leaves:
- Chain 4, followed by 3 sc.
- Repeat until you have enough leaves around.
Attach Stem:
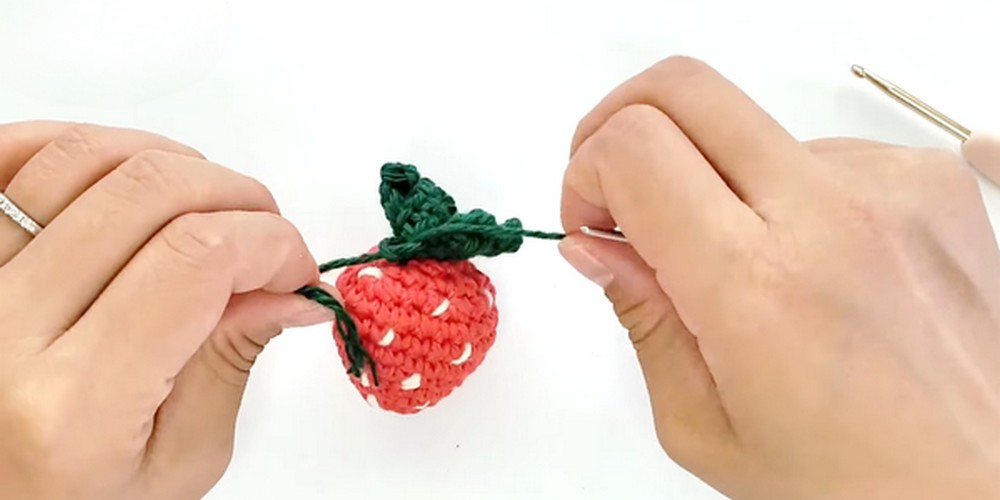
- Cut off the yarn, leaving a long tail to sew the greens onto the top of the strawberry.
- Align the center of the leaves with the top of the strawberry.
- Sew the leaves securely, and weave in the ends.
Conclusion:
- Your crochet strawberry is now complete!
- For more details on creating similar items, check out the corresponding Etsy store or other patterns.