Stylish Handmade Crochet Checkered Card Holder Wallet Pattern
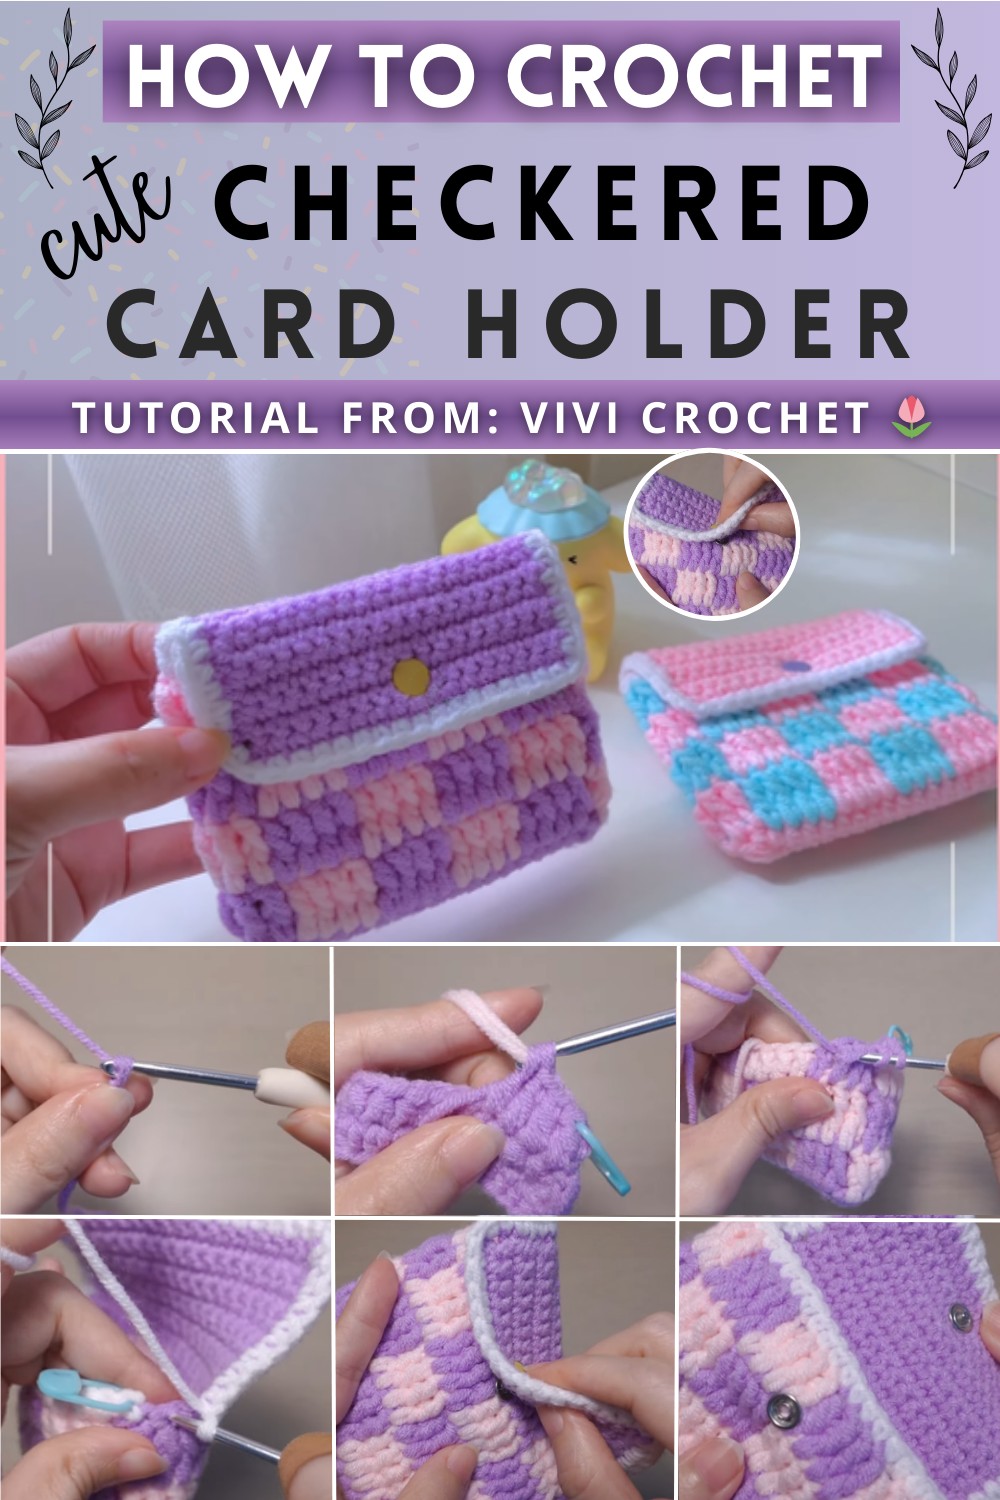
Materials Needed:
- Yarn in purple and pink or your color choices
- Suitable crochet hook for your yarn
- Stitch markers
- Scissors
- Yarn needle
- Button
Crochet Pattern
Foundation and Initial Rows:
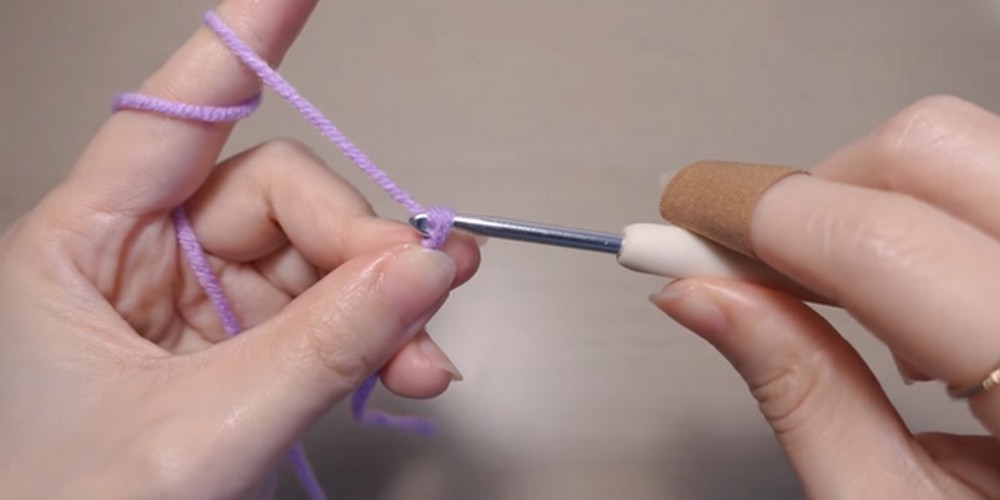
Make a Slip Knot:
- Create a slip knot on your hook.
Chain 18:
Row 1:
- Skip the first 2 chains.
- Make 1 half double crochet (hdc) in the next 15 chains.
- Place a stitch marker in the first hdc to mark your starting point.
- In the last chain, make 6 hdc.
- Make 1 hdc in the next 14 stitches.
- Make 5 more hdc in the same stitch where the first hdc was made.
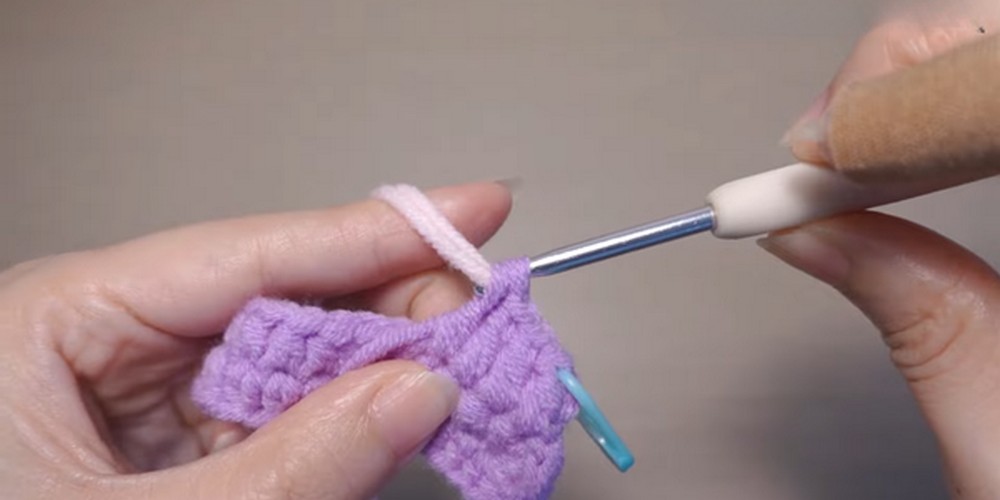
Rounds 2 – 9:
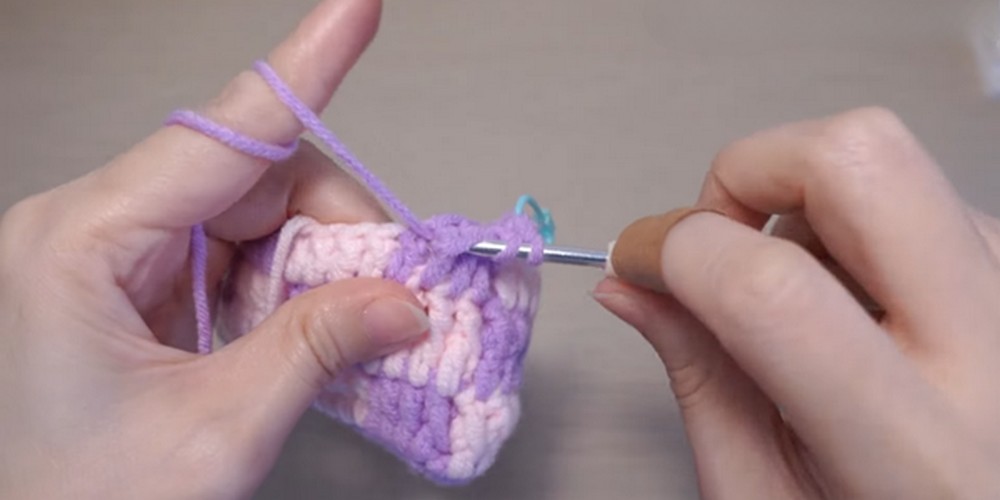
Round 2:
- Chain 2, turn the work over.
- Make 1 double crochet (dc) in the next 4 stitches.
- Change color in the fourth dc to pink yarn.
- Make 1 dc in the next 4 stitches with pink yarn.
- Switch back to purple yarn, 1 dc in the next 4 stitches.
- Repeat process around.
- Turn the work over, remove the stitch marker.
- Insert the hook from the wrong side, grab the loop and slip stitch.
Round 3:
- Chain 2, turn the work over.
- Make front post double crochet (fpdc) in the next 4 front posts.
- Change color in the fourth fpdc to pink yarn.
- Make 4 fpdc in the next stitches with pink yarn.
- Switch back to purple yarn, 4 fpdc.
- Repeat process around.
Turn work over, remove stitch marker, insert hook from the wrong side, grab loop and slip stitch.
Round 4:
- Chain 2, turn work over.
- Make 1 dc in the next 4 stitches.
- Change to pink yarn on the fourth dc.
- Make 1 dc in the next 4 stitches with pink yarn.
- Switch back to purple yarn, 1 dc in the next 4 stitches.
- Repeat process around.
- Turn work over, remove stitch marker, insert hook from the wrong side, grab loop and slip stitch.
Repeat rounds 2-4 for Rounds 5-9:
- Continue alternating between dc and fpdc every round, switching yarn colors every 4 stitches.
Remaining Rows:
Rows with Single Crochet:
- Make a slip knot, attach yarn.
- Make 1 single crochet (sc) in the next 18 stitches.
- For rows 2 and 3, chain 1, turn work over, and make 1 sc in the next 18 stitches.
- Repeat the same process for required additional rows.
- In the last row, cut and secure the yarn end.
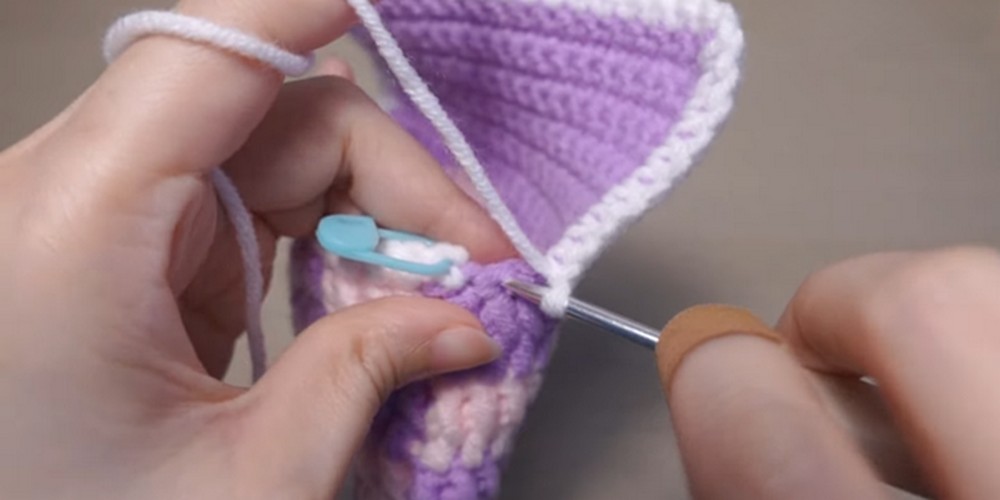
Single Crochet Around:
- Make a slip knot, attach yarn.
- Make 1 sc in the next 60 stitches around.
- In the last round, remove the stitch marker, slip stitch, cut and secure the yarn end.
Finishing:
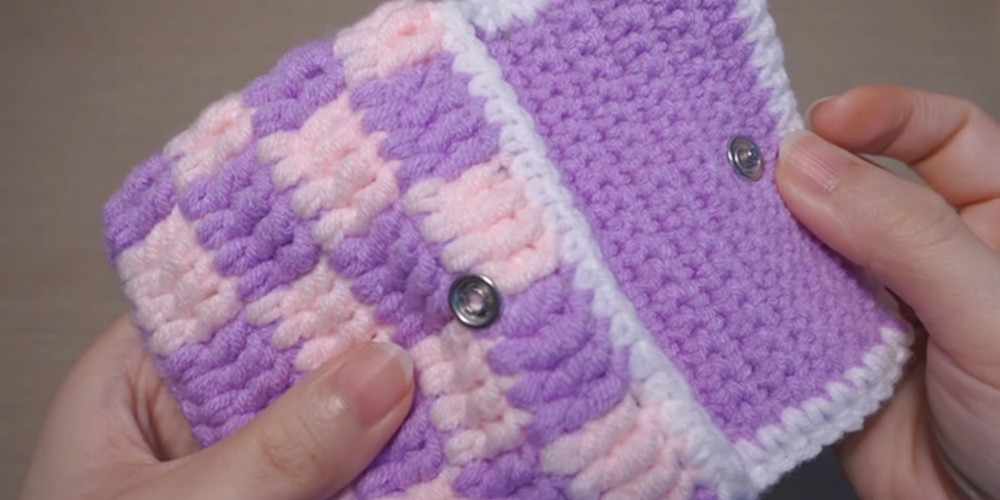
Attach the Button:
- Sew a button to the project for closure.
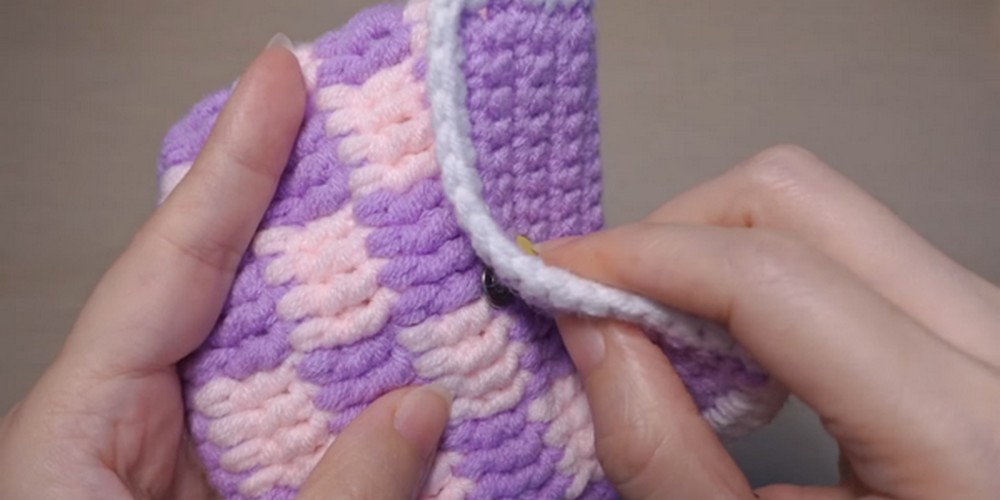
Secure and Weave in all Yarn Ends:
- Use a yarn needle to weave in any remaining yarn ends to tidy up your work.
Final Thoughts:
- Your crochet piece is now complete! Enjoy your beautiful pattern, and thank you for following along.