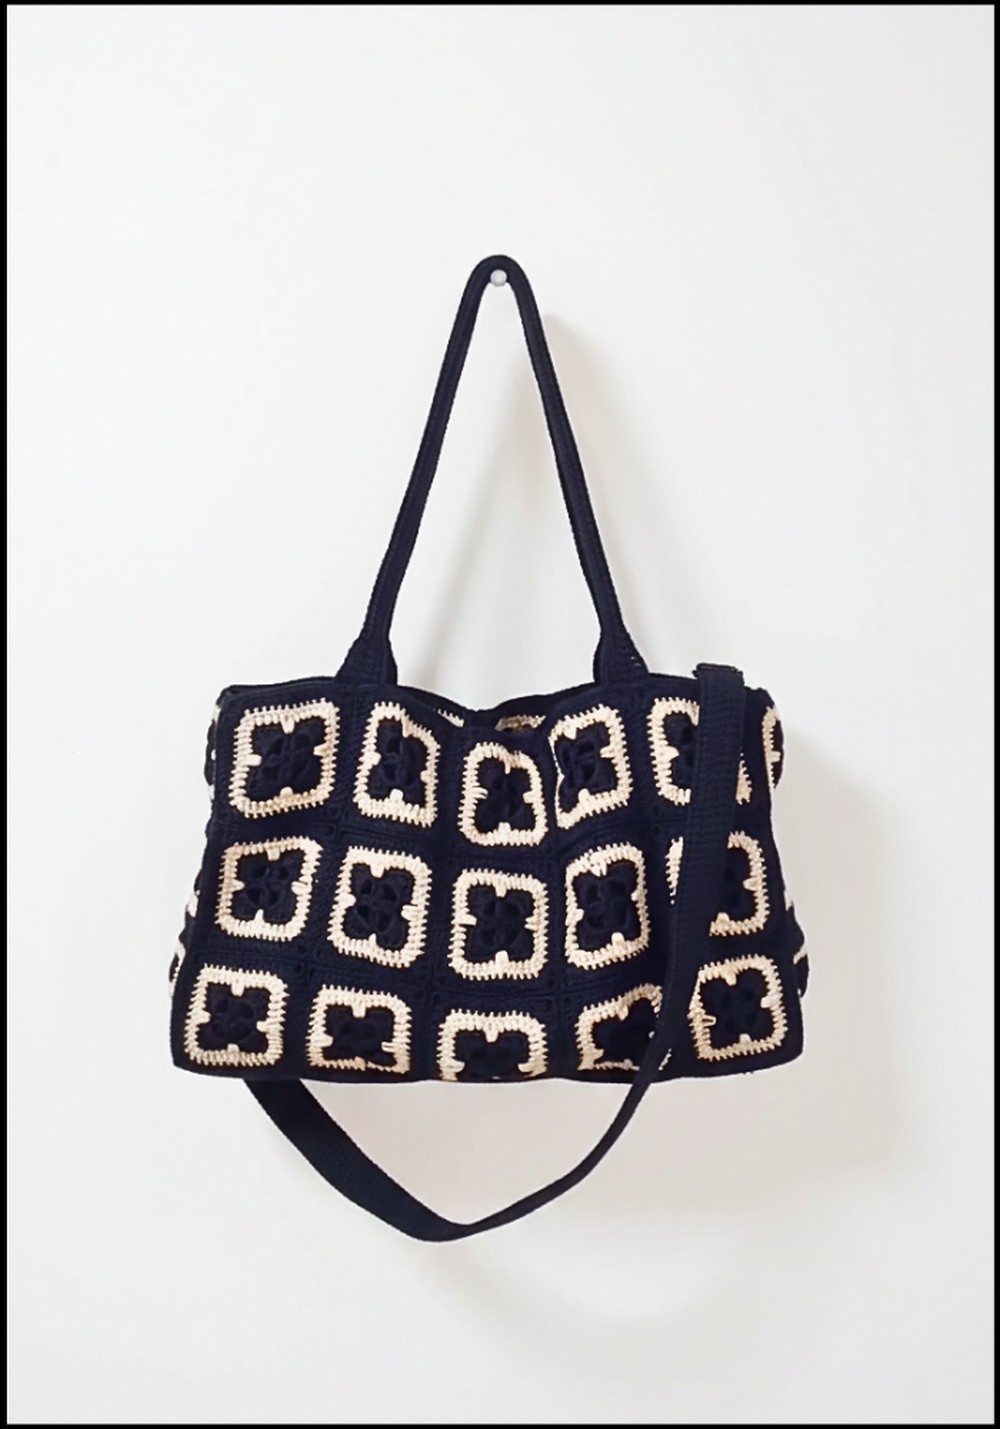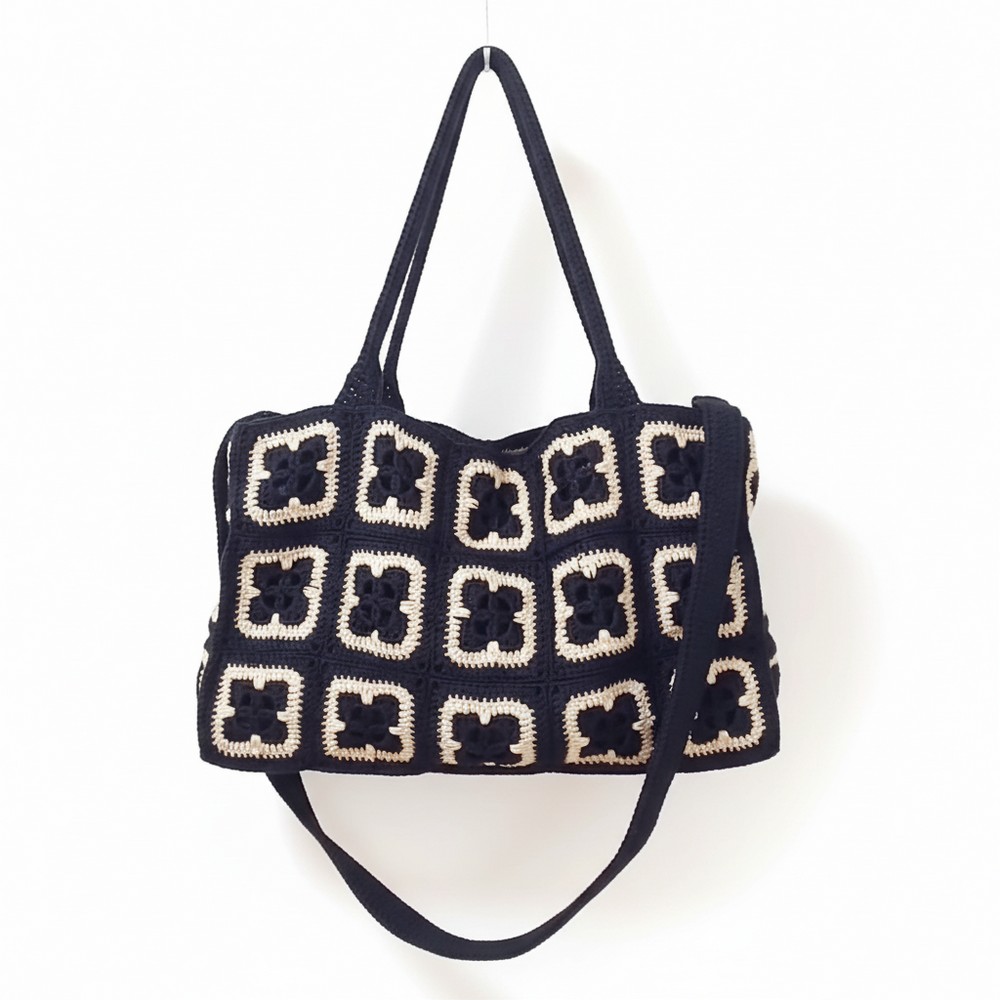
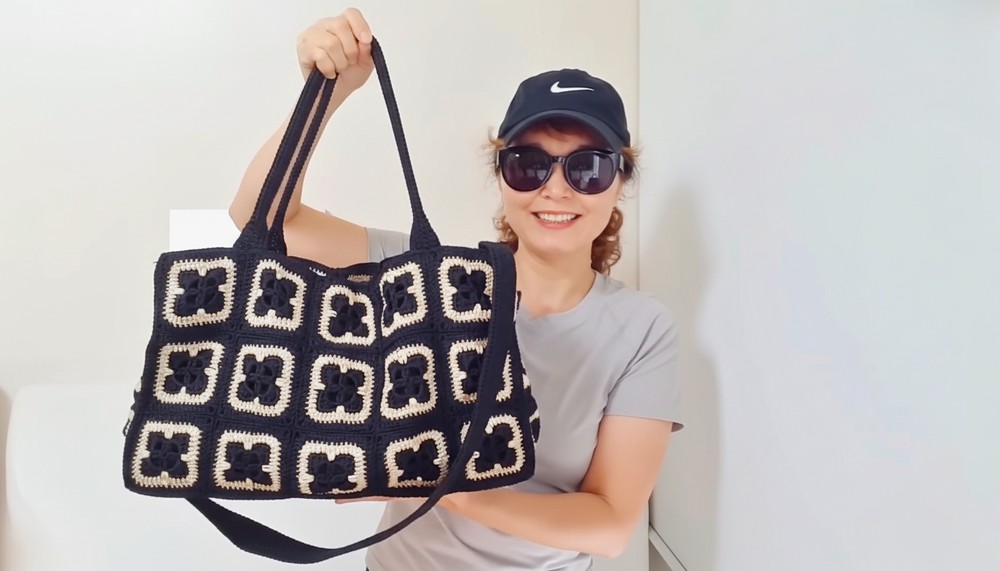
Sophisticated Crochet Boston Bag Pattern for Luxe Vibes
Fashion a statement piece for everyday adventures with this Crochet Boston bag pattern featuring a cool design that keeps your style fresh.
Carrying a stylish and soft bag can make every trip feel special. By using yarn and a simple hook, anyone can create a unique accessory that’s both practical and eye-catching. With a Crochet Boston bag pattern, you can craft a bag that has plenty of room for your daily things—great for shopping, meeting friends, or taking on a small adventure. The best part is you can pick your favorite colors and designs to match your own taste.
Urban Crochet Boston Bag Pattern for City Style Lovers
This bag is not only comfortable to hold but also strong enough to last for many uses. It works well as a daily carry-all, a thoughtful handmade gift, or even a charming addition to your outfit. Bringing together beauty and function, this bag is perfect for anyone who wants something that’s easy to make and a joy to use.
Materials
- Yarn:
- Small: “Latte” (DK weight or similar), 2 colors (e.g., Dark Brown & Dark Beige)
- Large: Black with Gold (as accent); adjust colors to preference
- Quantity:
- Small bag: Approx. 3 skeins MC + 1 skein CC
- Large bag: Approx. 6 skeins MC + 2 skeins CC
- Hook: 3.0 mm crochet hook
- Bag floor mesh: Plastic canvas or sturdy bag base (cut to fit)
- Lining: 20-count Oxford cloth (or sturdy fabric)
- Zipper: Optional for bag closure
- Sewing thread & needle: For attaching lining and assembling pieces
- Scissors, pins, ruler, stitch markers
- Optional: Wooden beads for decoration, iron for blocking motifs
Abbreviations (US Terms)
| Abbreviation | Term |
|---|---|
| ch | chain |
| sl st | slip stitch |
| sc | single crochet |
| dc | double crochet |
| tr | treble crochet |
| st(s) | stitch(es) |
| MC | Main color |
| CC | Contrasting color |
Special Notes
- This bag is constructed from flat motifs, joined at the end.
- Motifs are seamed together flat for a professional look.
- Optional steps include adding a lining and zipper for extra structure.
- Adjust motif count as needed for custom sizing.
Sizing
- Small Bag: 8.5 cm motif, 32 motifs (16 per side)
- Large Bag: 8.5 cm motif, 62 motifs (31 per side)
- Each motif size depends on your gauge.
Pattern
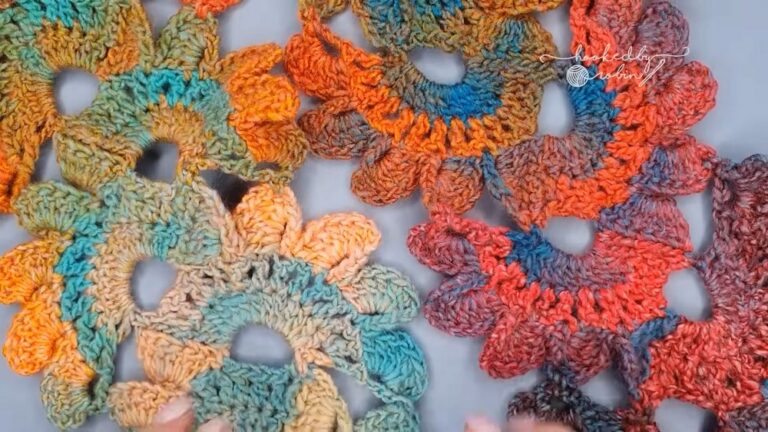
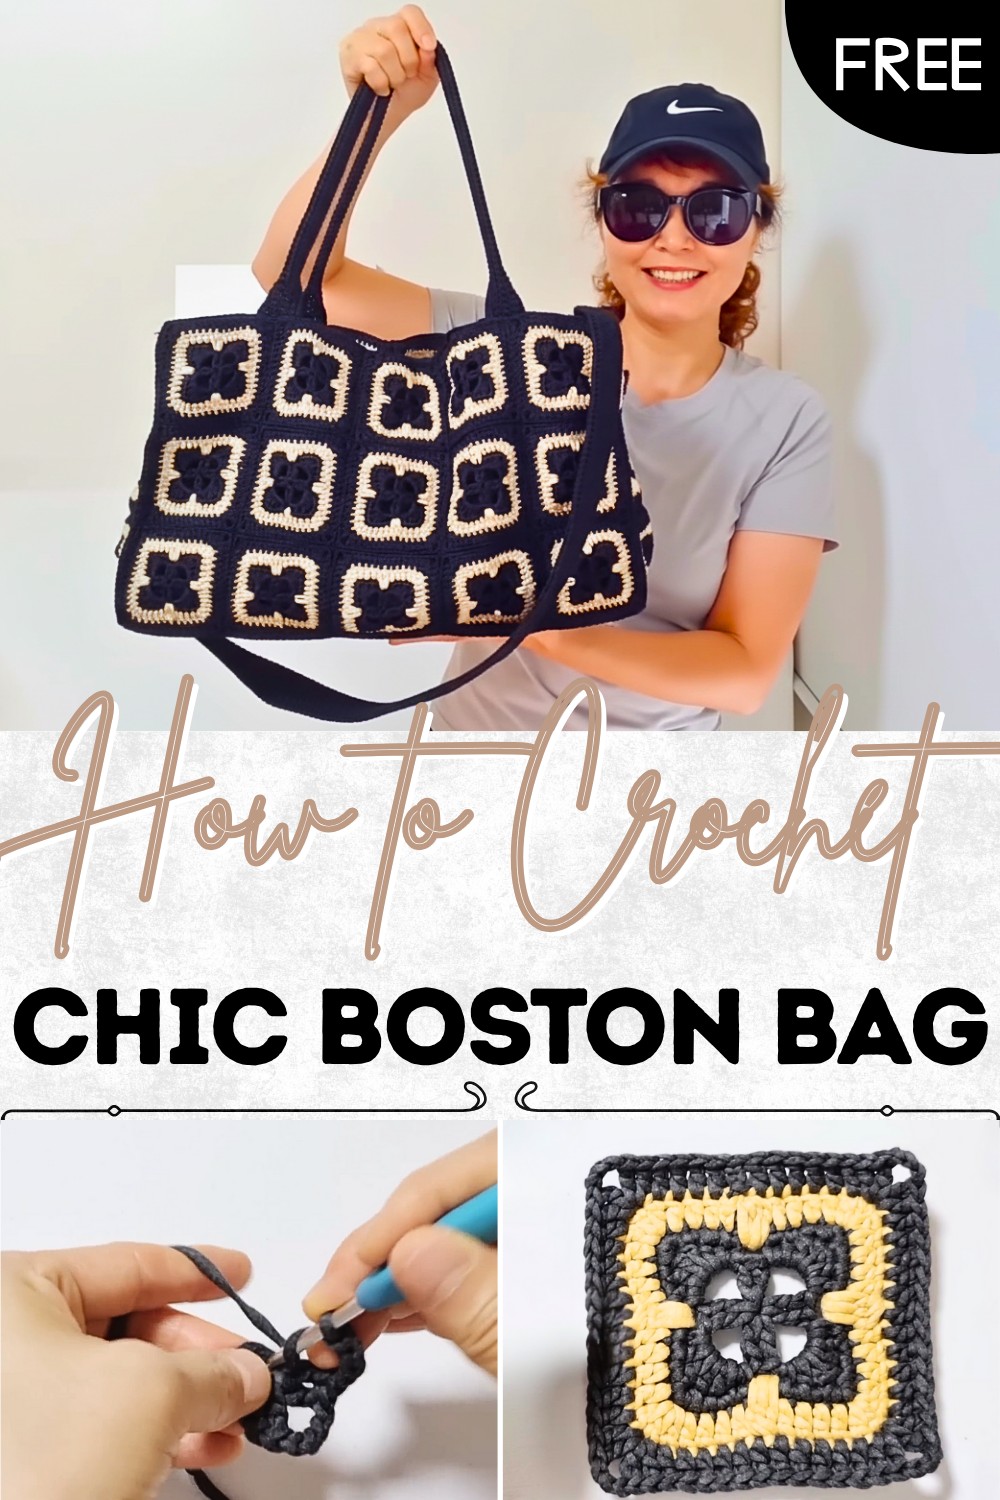
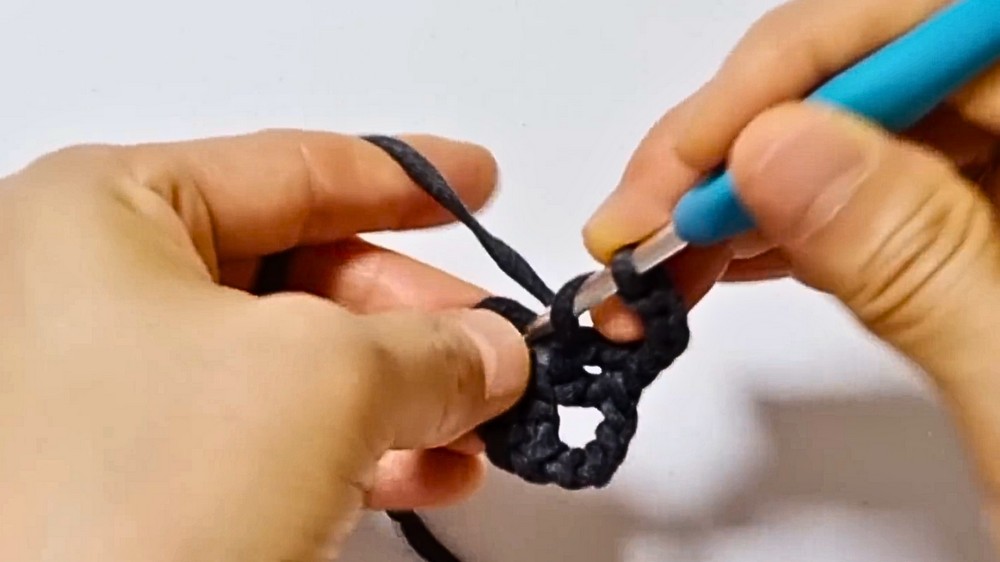
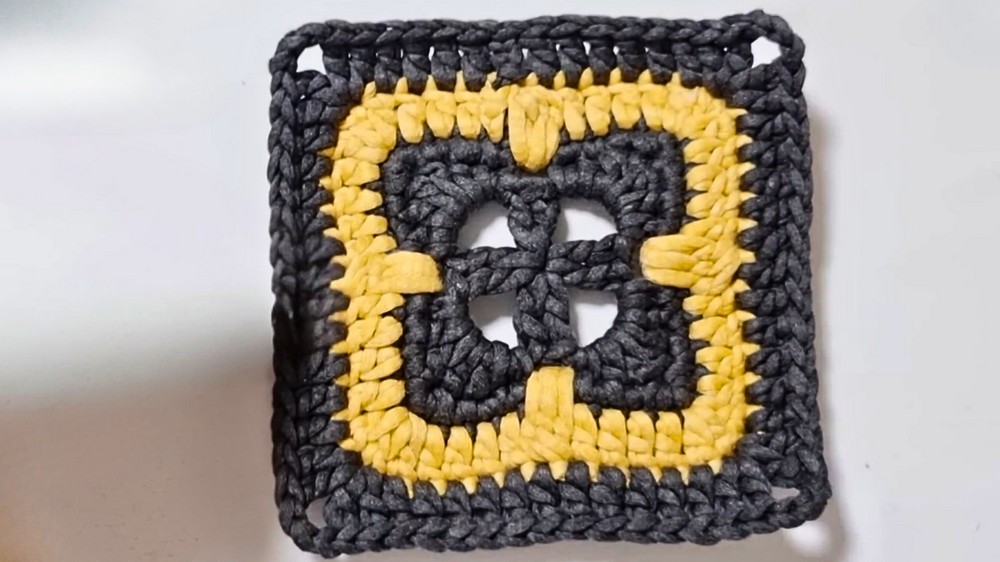
1. Make the Ta-da Motif
Center Circle (First color)
- Start with a magic ring.
- Round 1: Ch 3 (counts as dc), dc 11 into ring. Join with sl st in top of ch-3. (12 dc)
- Round 2: Ch 3, dc in same st, 2 dc in each st around. Join. (24 dc)
- Round 3: Ch 4 (counts as tr), tr in same st, 2 tr in each st around, join. (48 tr)
- Fasten off MC, join CC.
Petals (Second color)
- Round 4: (sc, dc, tr) in same st, ch 2, sk 2, rep around (12 petals total).
- Round 5: In each ch-2 corner space work: (sc, hdc, 3 dc, hdc, sc) in ch-sp, sc in next st between petals. Continue around, join.
Optional:
- For a sturdier edge, add one round of sc around (working one at corners) to square it off.
Make a total of the required motifs (see sizing above), weaving in all ends.
2. Block Motifs (Recommended)
- Block each motif to ensure uniform size.
- Use a steam iron or blocking board, shape edges flat.
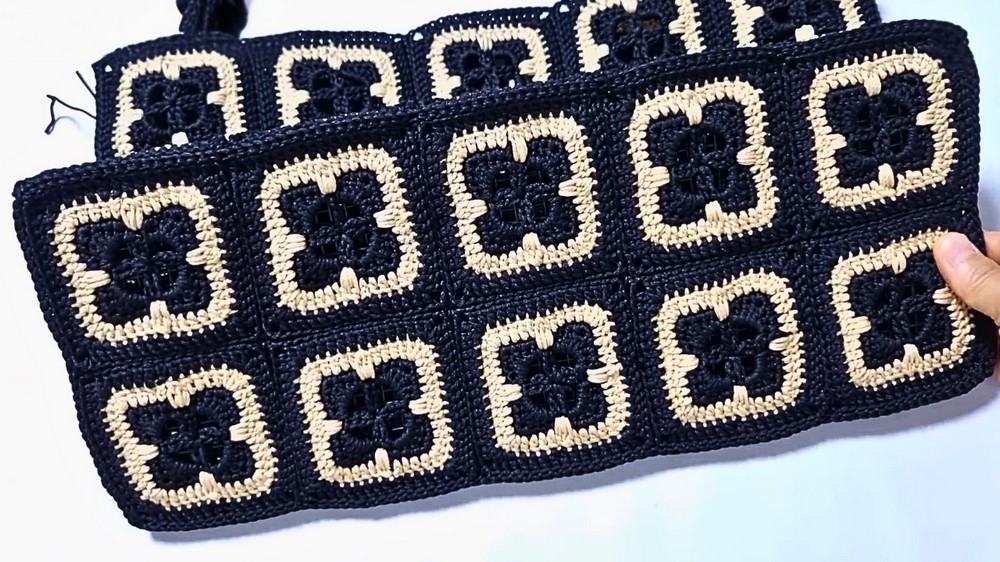
3. Join Motifs
Layout
- Arrange motifs: For a small bag, 5 motifs across by 2 motifs down for the front and back (10 per panel); 2 x motifs for each side (4), and 5 motifs for top/flap, 5 for bottom.
- For the large bag, see sizing for your grid (e.g., 32 motifs = 4 x 8 for a larger rectangle).
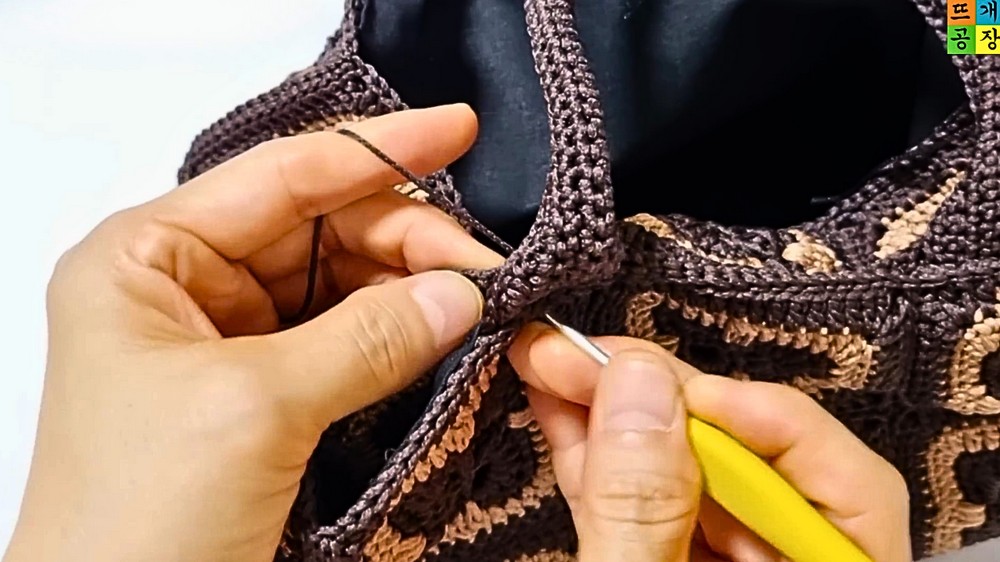
Joining
- Place motifs WS together, join with sc or sl st through BOTH OUTER LOOPS ONLY for a flat seam:
- Join all front pieces, then back, sides, bottom, and top.
- Connect sides together as described in the transcript, matching each motif’s edge and corner.
Take your time to keep motifs aligned. Use pins if needed.
4. Bag Assembly
- Seam front, back, sides, bottom in a rectangular box.
- For sides, align motifs vertically to form the width of the bag. Attach sides to front/back panel edges.
- Attach lid (flap): Sew flap panel to back panel along one full edge.
- (Optional) Add zipper: Sew zipper to the open edge of bag and under the flap if desired.
5. Insert and Sew Floor Mesh
- Cut plastic mesh or panel to fit the inner base of the bag.
- Lay mesh at bottom, sew in place using yarn and a tapestry needle or secure with small stitches.
6. Make and Attach Handles
Handles (make 2):
- Ch 75 for small size, ch 110 for large size.
- Row 1: Sc in 2nd ch from hook and each ch across. Ch 1, turn.
- Rows 2–8: Sc in each st across, ch 1, turn. (Make ~8 rows for a sturdy width.)
- Fold handle in half lengthwise, whipstitch raw edges, then sew ends to inside edges of bag top (position at the first motif from each side).
- Reinforce with sewing thread if needed.
7. Lining (Optional, Recommended for Large Bag)
- Cut Oxford or another thick fabric to fit inside the bag (measure after bag is blocked and seamed).
- Sew lining panels together for front, back, sides, and base.
- Insert and hand-sew/fabric glue the lining into the bag, folding under raw edges.
- Attach lining before adding flap/lid for a neater, hidden seam.
8. Attach Flap (Lid) and Finish
- After lining, attach bag flap to back of bag.
- Sew along edge, using yarn or sewing thread for a tidy finish.
- Secure handle seams again; reinforce for added strength.
- Optionally, add beads or a decorative button to the zipper or handles.
- Weave in all loose ends.
Conclusion
This Boston bag features a luxurious motif look with professional touches—bag floor for structure, optional lining, and a robust handle. Choose yarn and motif count for your desired bag size. Each motif is worked in the round and seamed for firm edges. The project is best for adventurous beginners to intermediate crocheters.
Pattern Corrections
- Motif Placement: Double-check motif orientation before seaming panels.
- Seams: Use flat-joining methods (sl st or sc through back/outer loops) to minimize bulk.
- Lining: Always measure actual bag after seaming; motif tension/gauge can affect final lining size.
Tips
- Block motifs before joining for even results.
- Use color-coordinated sewing thread for invisible lining and handle attachment.
- Reinforce handles and base if you plan to carry heavy items.
- To flatten joins, use a steam iron with pressing cloth over seams.
- Attach zipper or secure lid as you prefer—this style looks chic with or without zipper!