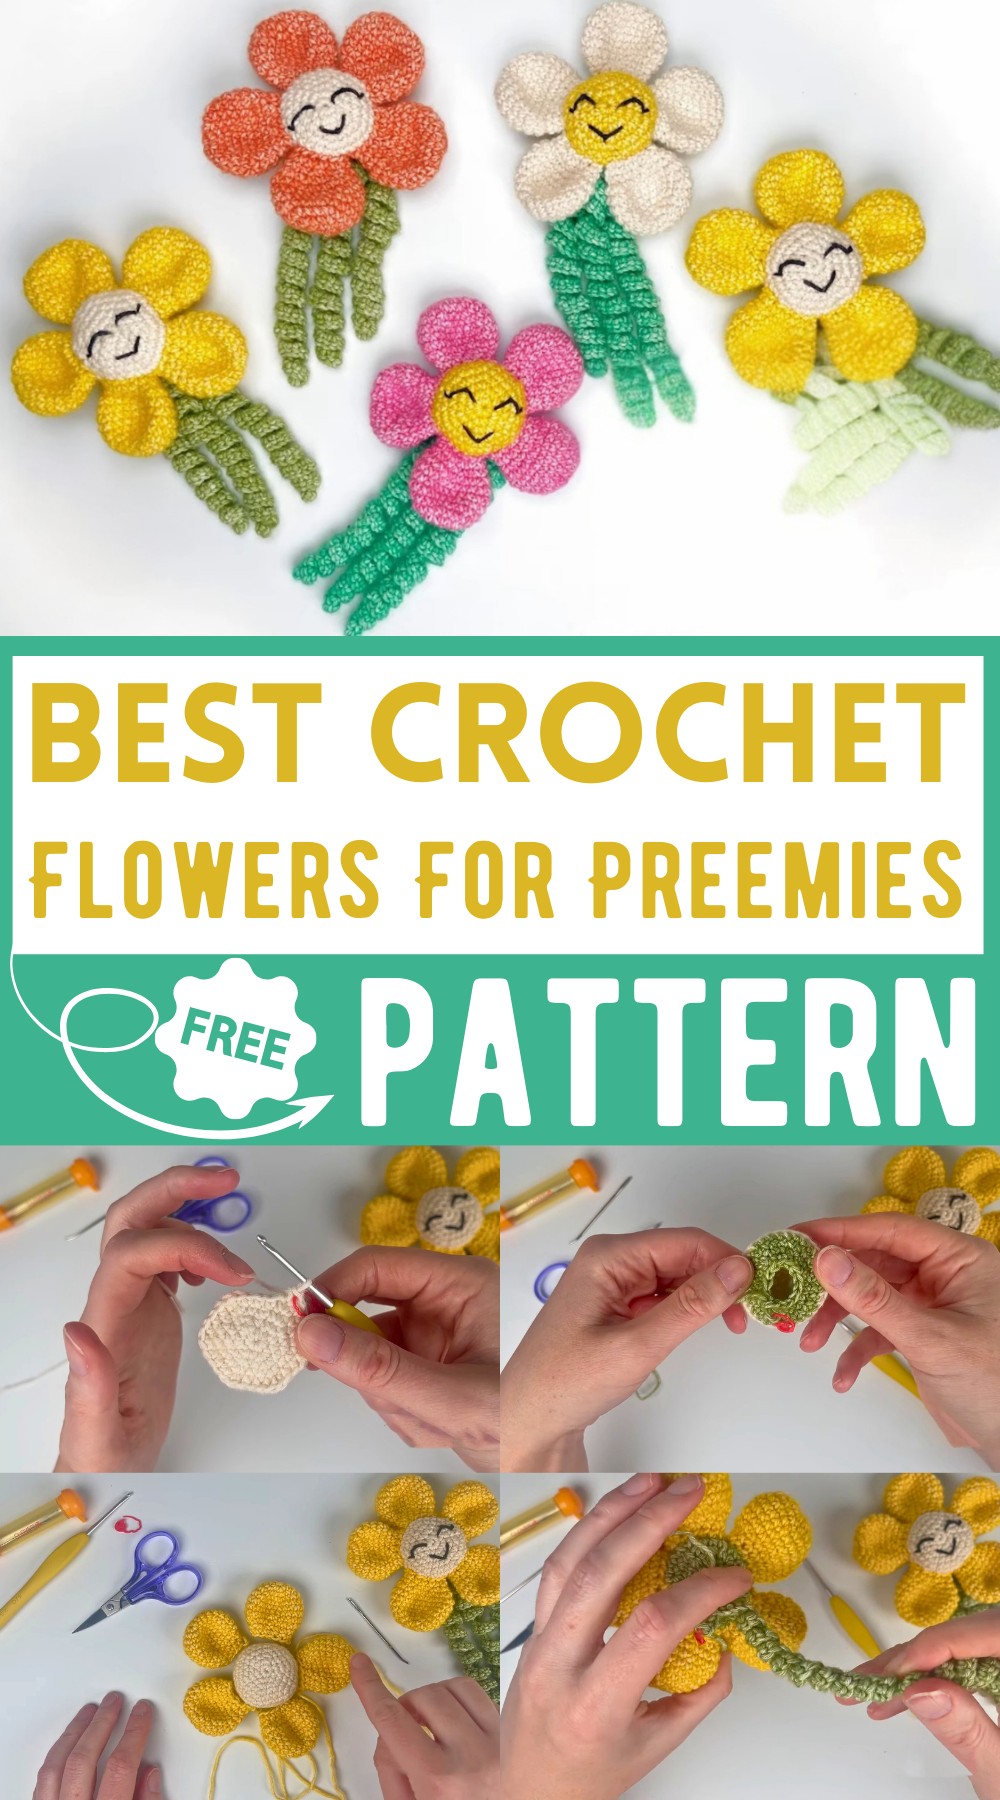
Smiling Crochet Flowers For Preemies Free Pattern
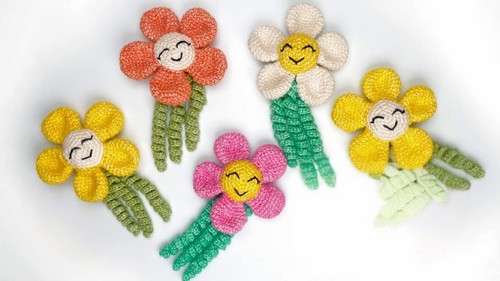
A tiny flower with a big purpose, how heartwarming is that? The Crochet Flowers for Preemies Pattern creates delicate, soft blossoms designed to bring comfort and warmth to little ones. These small, gentle flowers have a rounded shape with soft petals, making them perfect for decorating preemie hats, blankets, or keepsakes. They add a touch of love and beauty to hospital donations or personal gifts. A thoughtful and touching crochet project that carries love in every stitch!
Uses of Crochet Flowers for Preemies
- Comfort Items: The tentacles of the crochet flower mimic the feel of an umbilical cord, which can soothe preemies.
- Nursery Decor: They can be used to decorate the baby’s nursery, adding a personal and warm touch.
- Sensory Development: Different textures of the flower help with the sensory development of preemies.
- Keepsakes: Handcrafted flowers can be cherished as memory gifts by parents.
- Therapeutic Crafting: Making these flowers can provide stress relief and a creative outlet for parents.
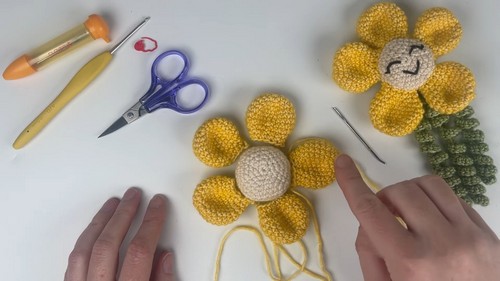
How To Crochet Amigurumi
Materials Needed:
- 2.5 mm crochet hook
- Scissors
- Yarn needle
- Stitch marker
- Chopstick (or similar item) for stuffing
- Toy stuffing
- Yarn in the following colors:
- Yellow for petals
- White for face
- Green for tentacles
- Black for embroidering the face
Petals (Make 5):
- Start with yellow yarn: Make a slip knot, attach it to your hook.
- Chain 2.
- In the second chain from the hook, place 6 single crochets (SC).
- Place a stitch marker in the last stitch to mark the end of the round.
- Round 2: 2 SC in each stitch (12 stitches).
- Round 3: (1 SC, 1 increase) repeat around (18 stitches).
- Round 4: (2 SC, 1 increase) repeat around (24 stitches).
- Rounds 5-8: SC in each stitch around (24 stitches).
- Round 9: (2 SC, 1 invisible decrease) repeat around (18 stitches).
- Round 10: (1 SC, 1 invisible decrease) repeat around (12 stitches).
- Round 11: SC in each stitch around (12 stitches).
- Finish the petal: Cut a long yarn end to sew later, pull the end through the final stitch and tuck in the yarn end into the center of the petal.
Repeat steps for 4 more petals.
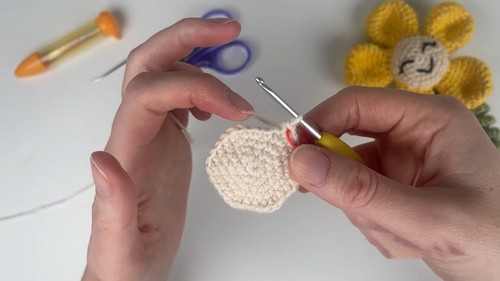
Face:
- Start with white yarn: Make a slip knot, attach it to your hook.
- Chain 2.
- In the second chain from the hook, place 6 SC.
- Place a stitch marker in the last stitch to mark the end of the round.
- Round 2: 2 SC in each stitch (12 stitches).
- Round 3: (1 SC, 1 increase) repeat around (18 stitches).
- Round 4: (2 SC, 1 increase) repeat around (24 stitches).
- Round 5: (3 SC, 1 increase) repeat around (30 stitches).
- Rounds 6-7: SC in each stitch around (30 stitches).
- Round 8: Join green yarn, SC in back loops only (BLO) all the way around (30 stitches).
- Round 9: (3 SC, 1 invisible decrease) repeat around (24 stitches).
- Round 10: (2 SC, 1 invisible decrease) repeat around (18 stitches).
- Round 11: (1 SC, 1 invisible decrease) repeat around (12 stitches).
- Stuff the face with toy stuffing. Ensure the front remains curved and the back flat.
- Round 12: Invisible decreases all around to close the opening (6 stitches).
- Finish the face: Leave a yarn end for sewing, pull the end through the final stitch.
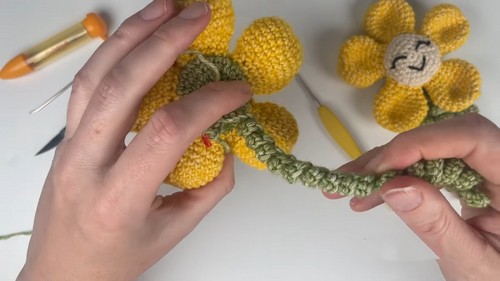
Tentacles:
- Attach green yarn back to the face starting from round 3 (counting back 3 rounds from the front loops of round 8) and chain 61.
- In the second chain from the hook, place 2 SC in each chain down the length (120 SC).
- Create a curl by twisting the tentacle uniformly.
- For additional tentacles, repeat steps from one stitch post next to the previous tentacle.
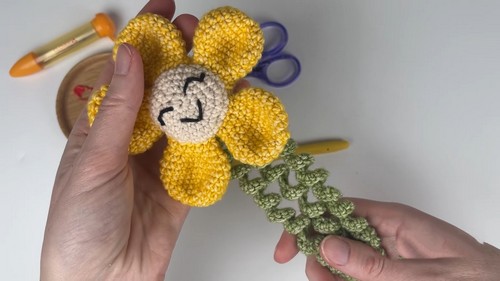
Assembly:
- Sew petals using the yarn ends at the back loops of round 8 on the face, ensuring they are evenly spaced around the face.
- Embroider face using black yarn for eyes and mouth:
- For each eye, enter between rounds 1 and 2, then exit diagonal to create a curved eye, securing with a small stitch.
- For the smile, enter just below the eye, exit creating a slight curve underneath the yarn spanning the first eye and central point, then back through the original point, securing.
Final Steps:
- Weave in all yarn ends securely.
- Enjoy your cute flower!
This completes the project, resulting in an adorable flower, perfect as a gift for babies or decorating.