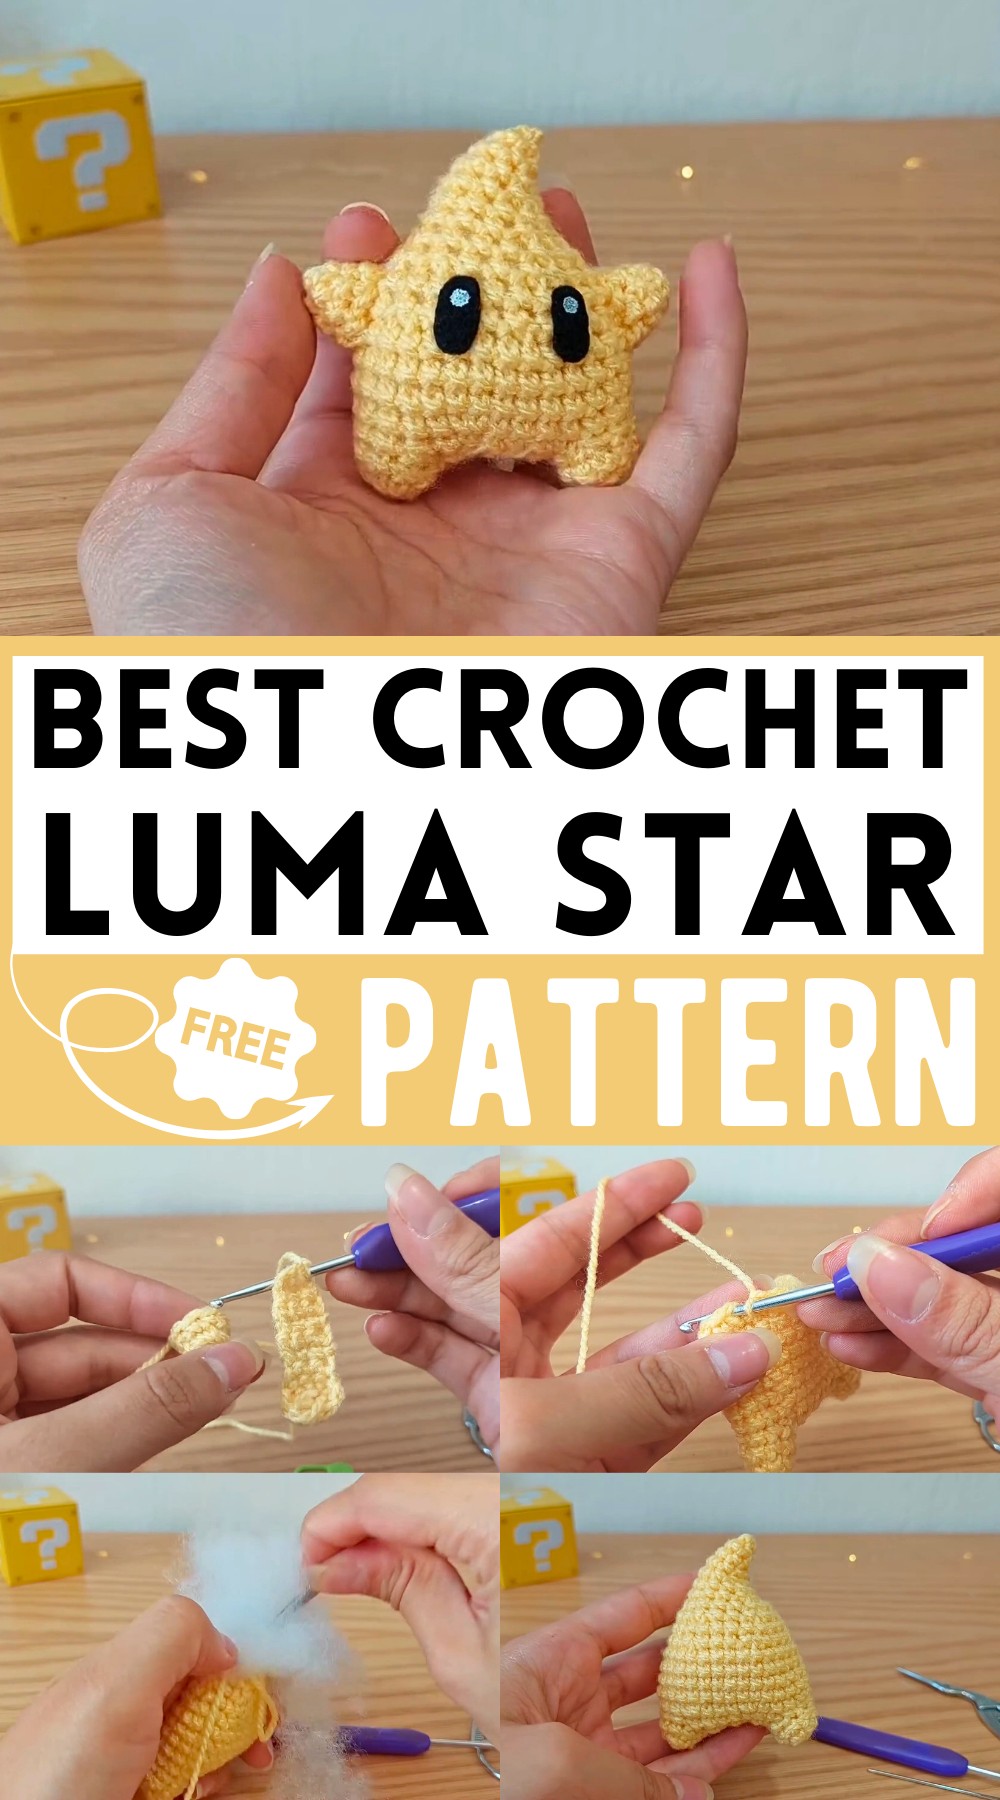
Radiant Crochet Luma Star Amigurumi Pattern
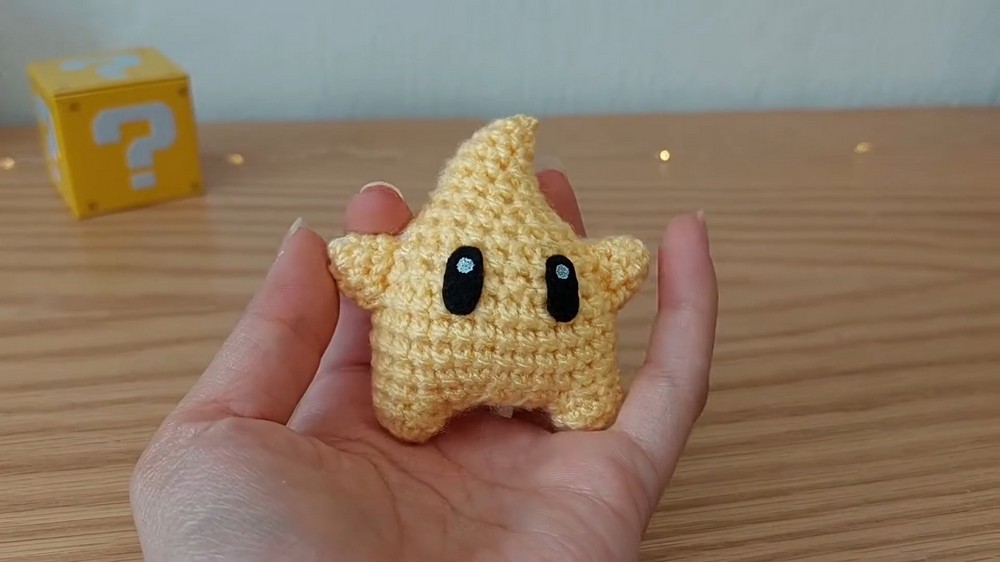
A star that’s out of this world, meet the Crochet Luma Star Amigurumi Pattern! This pattern creates a cute, glowing star with soft, rounded points and a cheerful smile. Its simple yet charming design makes it a perfect decoration for nurseries, gifts, or keychains. The soft yarn and glowing features give it a magical, dreamy look. Whether you’re a beginner or an experienced crocheter, this little ornament project adds a touch of fancy to any space or occasion!
Why Love This Pattern?
The pattern from the video is loved for several reasons:
- Nostalgia and Charm: The mini star, inspired by characters from Mario Bros called Lumas, taps into a sense of nostalgia for fans of the game.
- Simplicity and Accessibility: The project uses basic crochet skills that are perfect for beginners and can be crafted with minimal supplies: yellow yarn, black fabric or felt, paint for the eyes, and filler. Optional blush adds a cute touch.
- Portability: At about 7 centimeters in size, it’s perfect for making small, portable items like keychains.
- Creativity and Customization: The pattern allows for personal creativity. Adding blush/pink eyeshadow for badges and customizing the details like arms and eyes gives each piece a unique personality.
How To Crochet Amigurumi Luma Star
Materials:
- Yellow yarn (3 mm)
- Black fabric or black felt for the eyes
- Paint for the eyes
- Filler
- Optional: Blush or pink eyeshadow for cheeks
- 3 mm hook
Instructions:
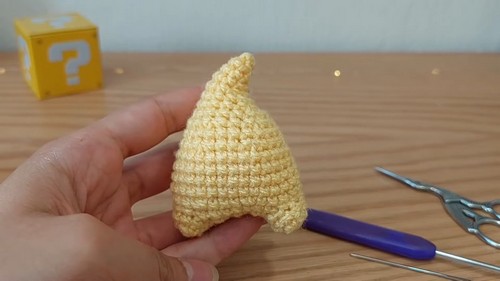
Legs:
- Magic Ring: Create a magic ring with 4 stitches.
- Close Ring: Close with a slip stitch.
- Chains and Rounds:
- Make a chain to raise the fabric.
- In the first stitch (not in the chain), place a marker.
- Continue by making an increase in each stitch to get 8 points.
- Close the magic ring and make a round of 8 single crochets. Cut the thread and close.
- Repeat: Make two identical legs.
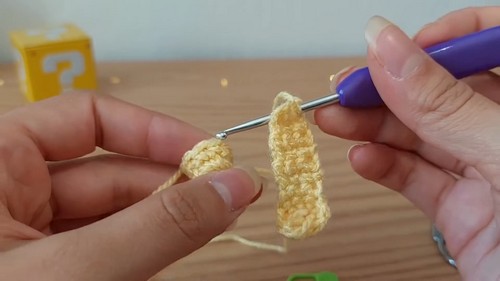
Body:
- Connect Legs:
- On the second leg, make 3 single crochets.
- Make a chain to lift the fabric and turn.
- Create 6 more rows of 3 single crochet stitches per row.
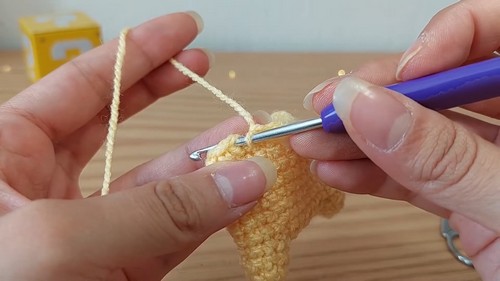
- Once finished, connect the two legs:
- Pass the hook through the first stitch of the bridge and the leg, join with a single crochet. Repeat for the entire bridge.
- Single Crochet Around:
- Close the row with a slip stitch in the next stitch.
- Chain to lift the fabric, then make a single crochet in the same stitch.
- Single crochet around all pieces: 5 stitches on the leg, 7 stitches on the bridge, 5 stitches on the other leg, and another 7 stitches on the bridge (24 stitches in total).
- Increase Rounds:
- For 3 single crochets, make an increase and repeat 6 times (30 stitches).
- Next, crochet 4 rounds of 30 single crochets.
- Decrease Rounds:
- 3 single crochets and a decrease, repeat 6 times (24 stitches).
- Crochet 1 round of 24 single crochets.
- 2 single crochets and a decrease, repeat 6 times (18 stitches).
- Crochet 4 single crochets and a decrease, repeat 3 times (15 stitches).
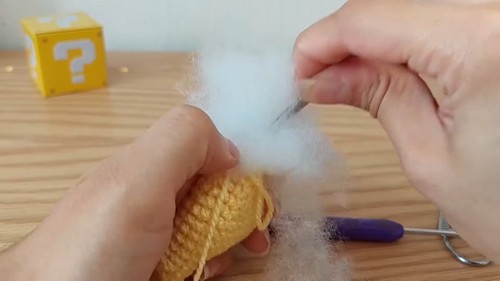
- More Decreases:
- Make 3 decreases and 9 single crochets.
- Continue with a round of 12 single crochets and fill the star with stuffing.
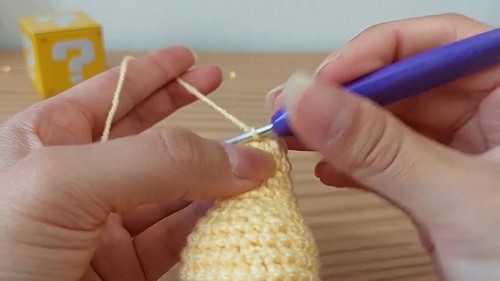
- 2 decreases, 6 single crochets, and 1 more decrease (9 stitches).
- Crochet a round of 9 single crochets.
- Make a decrease, 5 single crochets, and another decrease (7 stitches).
- Decrease 3 stitches and finish with a decrease (5 stitches).
- Cut the thread and close.
Finishing Body:
- Close with Yarn Needle:
- Pass the yarn needle through the outside threads of all stitches, pull tight, and make a couple of knots to secure.
Arms:
- Magic Ring:
- Create a magic ring with 3 stitches.
- Increase Rounds:
- Make an increase in each stitch (6 stitches).
- Continue with 2 stitches and an increase, repeat twice (8 stitches).
- End with a row of 8 single crochets.
- Cut the thread and close.
- Repeat: Make two identical arms. Optionally, fill them slightly for shape.
Assembly:
- Place Arms:
- Count rows from the bottom up from the magic ring of the legs: Count to rows 8 – 12.
- Sew arms on the sides of the body between rows 8 and 12.
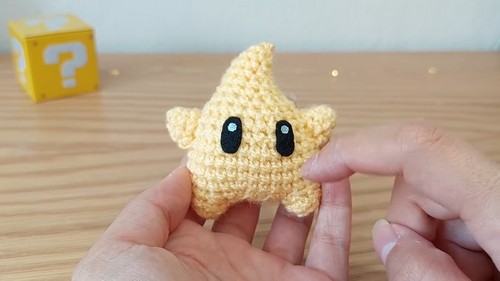
Eyes and Final Touches:
- Eyes:
- Cut small ovals from black fabric or felt and glue them on, placing them at the same height as the arms.
- Lighting and Cheeks:
- Add a small dot of white paint to each eye for sparkle.
- Optionally, apply a bit of blush or pink eyeshadow for cheeks.

Finishing:
Your Mario Bros’ mini star (Luma) is now complete!