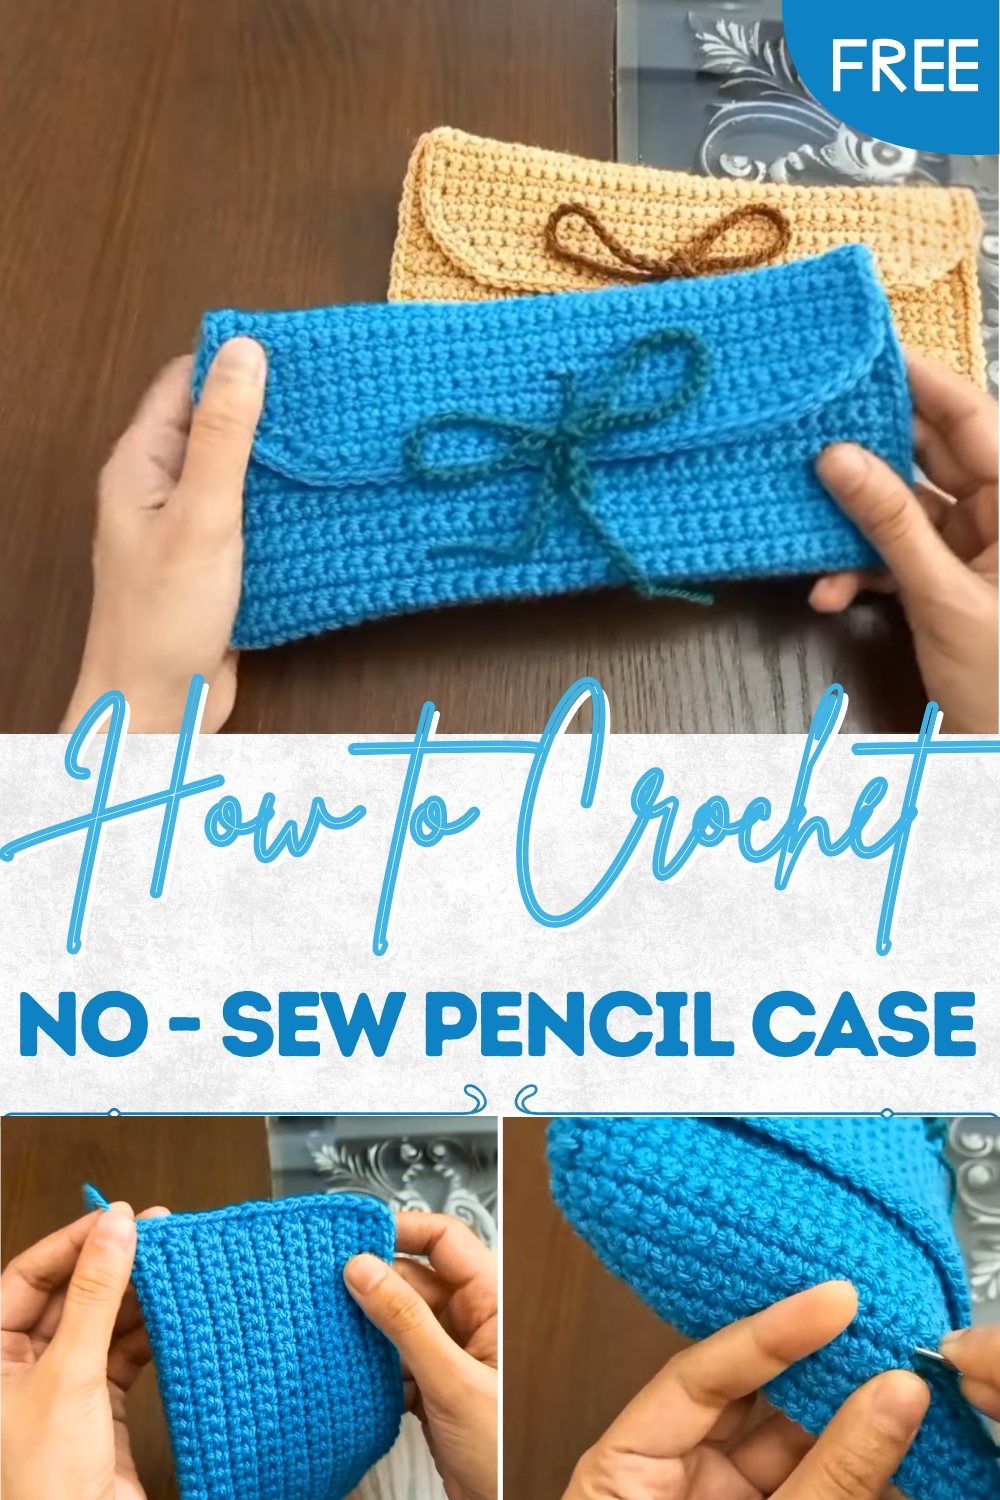
Quick Crochet No-Sew Pencil Case Perfect for Busy Hands
Organize school supplies effortlessly with this Crochet No-Sew Pencil Case Pattern, a quick and stylish solution for neat, creative storage.
During school days or in a busy workspace, keeping writing tools organized has always been a small yet significant challenge. The crochet no-sew pencil case offers a clever solution that combines simplicity, style, and practicality. Unlike traditional pencil cases, this version requires no stitching, making it accessible for anyone who appreciates functional, handmade items without the fuss of complicated assembly. Lightweight and flexible, it comfortably holds pencils, pens, markers, and small stationery essentials, keeping them neatly in one place.
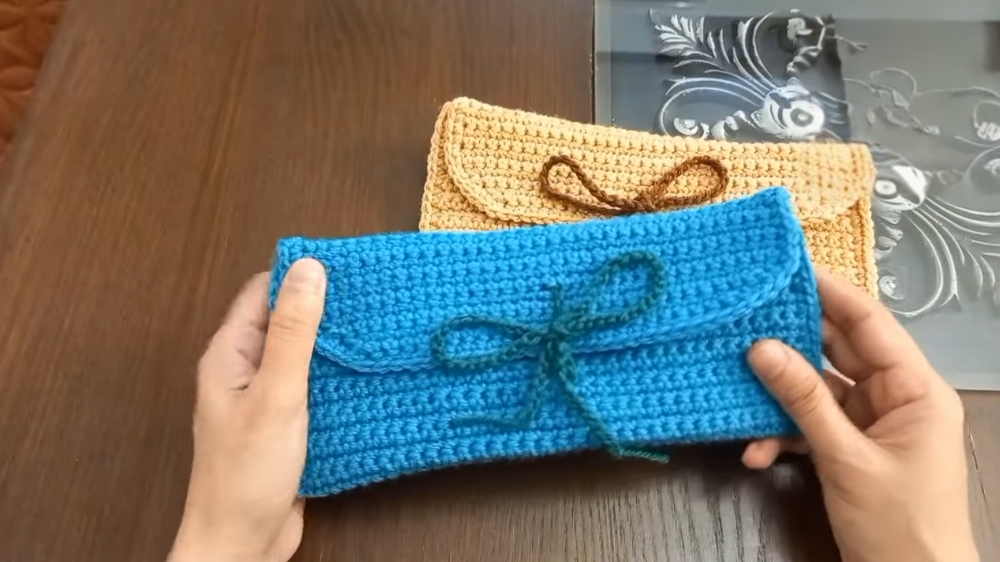
Handmade Crochet No-Sew Pencil Case for Stylish Stationery
Its durable construction ensures long-lasting use, while the textured crochet exterior adds a visually appealing touch that stands out on a desk or in a backpack. The soft yet sturdy material protects delicate items from scratches and minor impacts, while easy-to-use closures keep everything secure. Its charm lies in the combination of practicality and aesthetic appeal, offering a neat storage solution that also expresses personality and taste.
Ideal as a thoughtful gift for students, artists, or office enthusiasts, this pencil case brings convenience and elegance together seamlessly.Beyond functionality, it provides a tactile, pleasing experience whenever accessed, transforming an everyday item into something visually striking and highly useful. With its versatility and enduring appeal, the crochet no-sew pencil case turns ordinary organization into a delightful daily companion.
Materials Needed
- Thread: 3-ply thread (or any size thread as per your preference).
- Crochet Hook: 4mm hook (size 7).
- Scissors: To cut the thread at the end.
- Measuring Tape: To ensure accurate dimensions.
Level of Difficulty
This project is beginner-friendly. The primary technique used is single crochet, with simple increases and decreases for shaping. The tutor provides insightful guidance for correcting mistakes, making it suitable for learners.
Special Features
- Adjustable pouch size: You can customize the pouch dimensions (width and length) based on the threading and chaining measurements.
- Functional flap: The flap adds closure and enhances the pouch’s aesthetic design.
- Cord attachment: The cord allows easy opening, closure, and portability.
- Beginner tips: Includes troubleshooting and suggestions to avoid mistakes while maintaining symmetry in stitching.
Step-by-Step Instructions
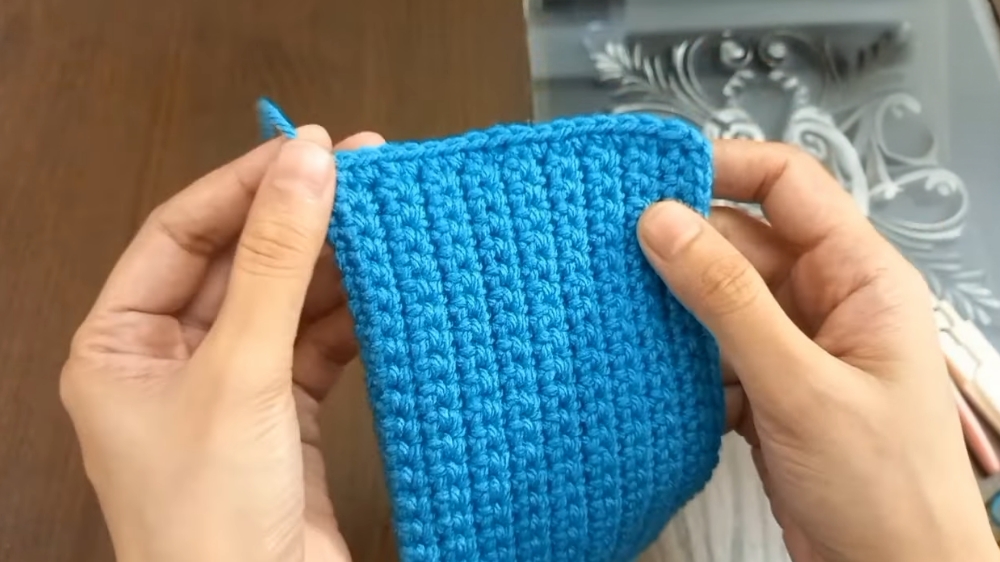
1. Setting Up the Foundation
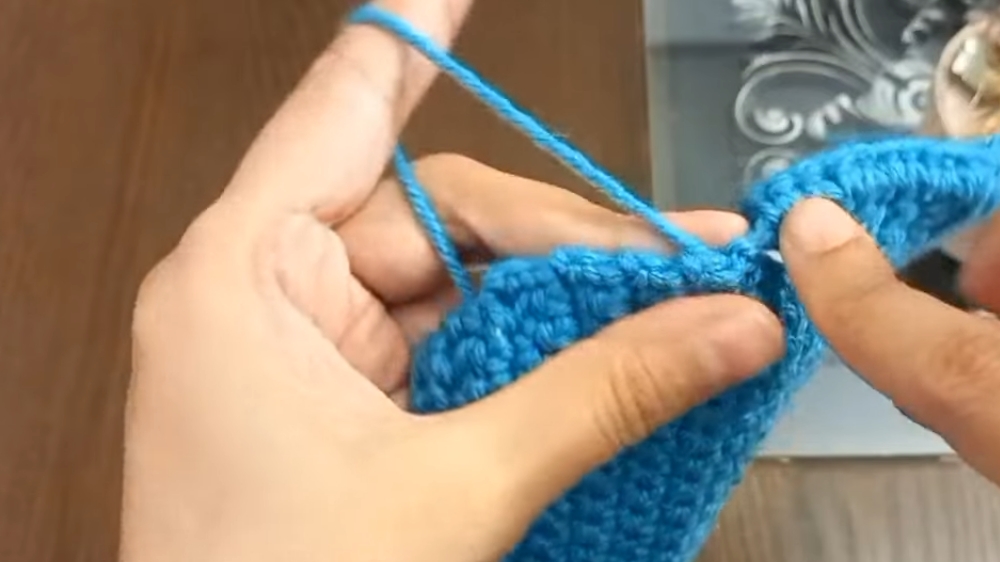
- Create a chain of 35 chains (or adjust the chain count to your desired width).
- Skip the first chain and work single crochet on the second chain and all subsequent chains.
- At the end of the first row, there will be 34 single crochets (due to skipping the first chain).

2. Building the Base
- Turn the work by chaining 1 stitch, skip the first chain, and continue single crochet from the second chain on every chain.
- Repeat this process for subsequent rows until reaching your desired length. The tutor recommends creating a 7-inch length for the pouch.
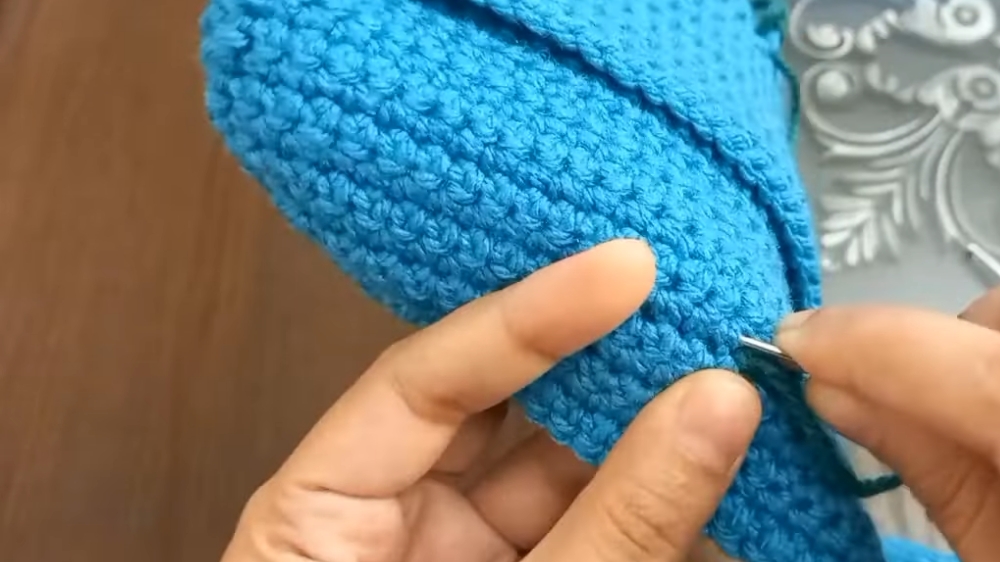
3. Completing the Pouch Body
- At 7 inches, fold the pouch to align both sides.
- Join the sides by performing single crochet stitching, inserting the hook through corresponding loops on both layers.
- Chain 1 stitch, cut the thread, and repeat the joining process for the other side, ensuring symmetry.
4. Adding the Flap
- Start the flap by attaching the thread at the top of the pouch with chain-1 and single crochet.
- For the flap, crochet single rows similar to the pouch body (chain-1, skip the first chain, and single crochet onward).
- Create 8 rows for the flap (approximately 4.5 cm) and perform decreases for shaping:
- In rows 9 to 12, skip the first chain and crochet two chains together using single crochet decreases at the beginning and end of each row.
- In rows 9 to 12, skip the first chain and crochet two chains together using single crochet decreases at the beginning and end of each row.
5. Adding the Border
- Attach the thread to the flap’s edges and crochet a single crochet border. Ensure the border aligns evenly for a clean finish.
- Cut the thread and weave it into the adjoining stitches for a seamless look.
6. Creating and Attaching the Cord
- Measure and chain 8 inches for the cord.
- Attach the cord to the pouch by threading it evenly through the flap rows with a 3.5-inch gap from either side.
- If desired, repeat this process on both sides to create a double cord.
Tutor’s Suggestions
- Measurements: Always confirm the chain count and row numbers for accuracy, especially if using different threads or hooks.
- Corrections: Regularly count stitches at the end of each row to ensure no chains are missed, and refer to past troubleshooting tutorials for fixing mistakes.
- Customization: Adjust pouch dimensions or use contrasting threads for decorative flair.
Uses and Applications
- Ideal for carrying small items like keys, stationery, sewing kits, or even as a wallet for cards.
- Serves as a great crochet gift for family or friends.
- Lightweight and portable, making it useful for travel or everyday organization.
Tip for Success
To ensure even stitching and correct dimensions, count the chains in every row and use measuring tape regularly. This prevents errors in shaping, ensures uniformity, and maintains a clean finish.
Conclusion
This crochet pouch offers an excellent opportunity to improve your single crochet skills while creating a functional and stylish accessory. With customizable dimensions and the addition of a flap and cord, it’s an ideal project for beginners and seasoned crocheters alike. Whether intended for personal use or as a thoughtful gift, the finished product will represent both your creativity and effort.