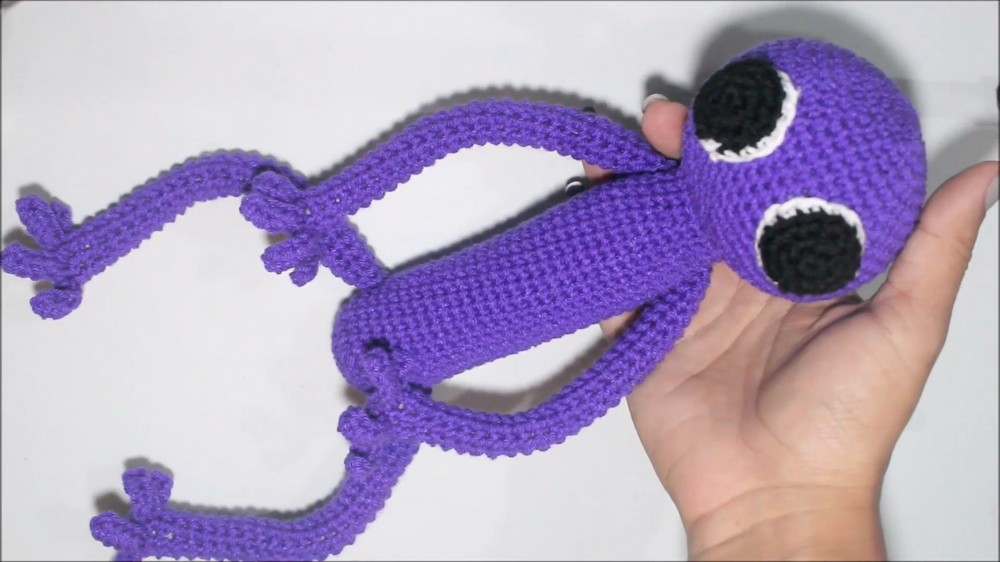
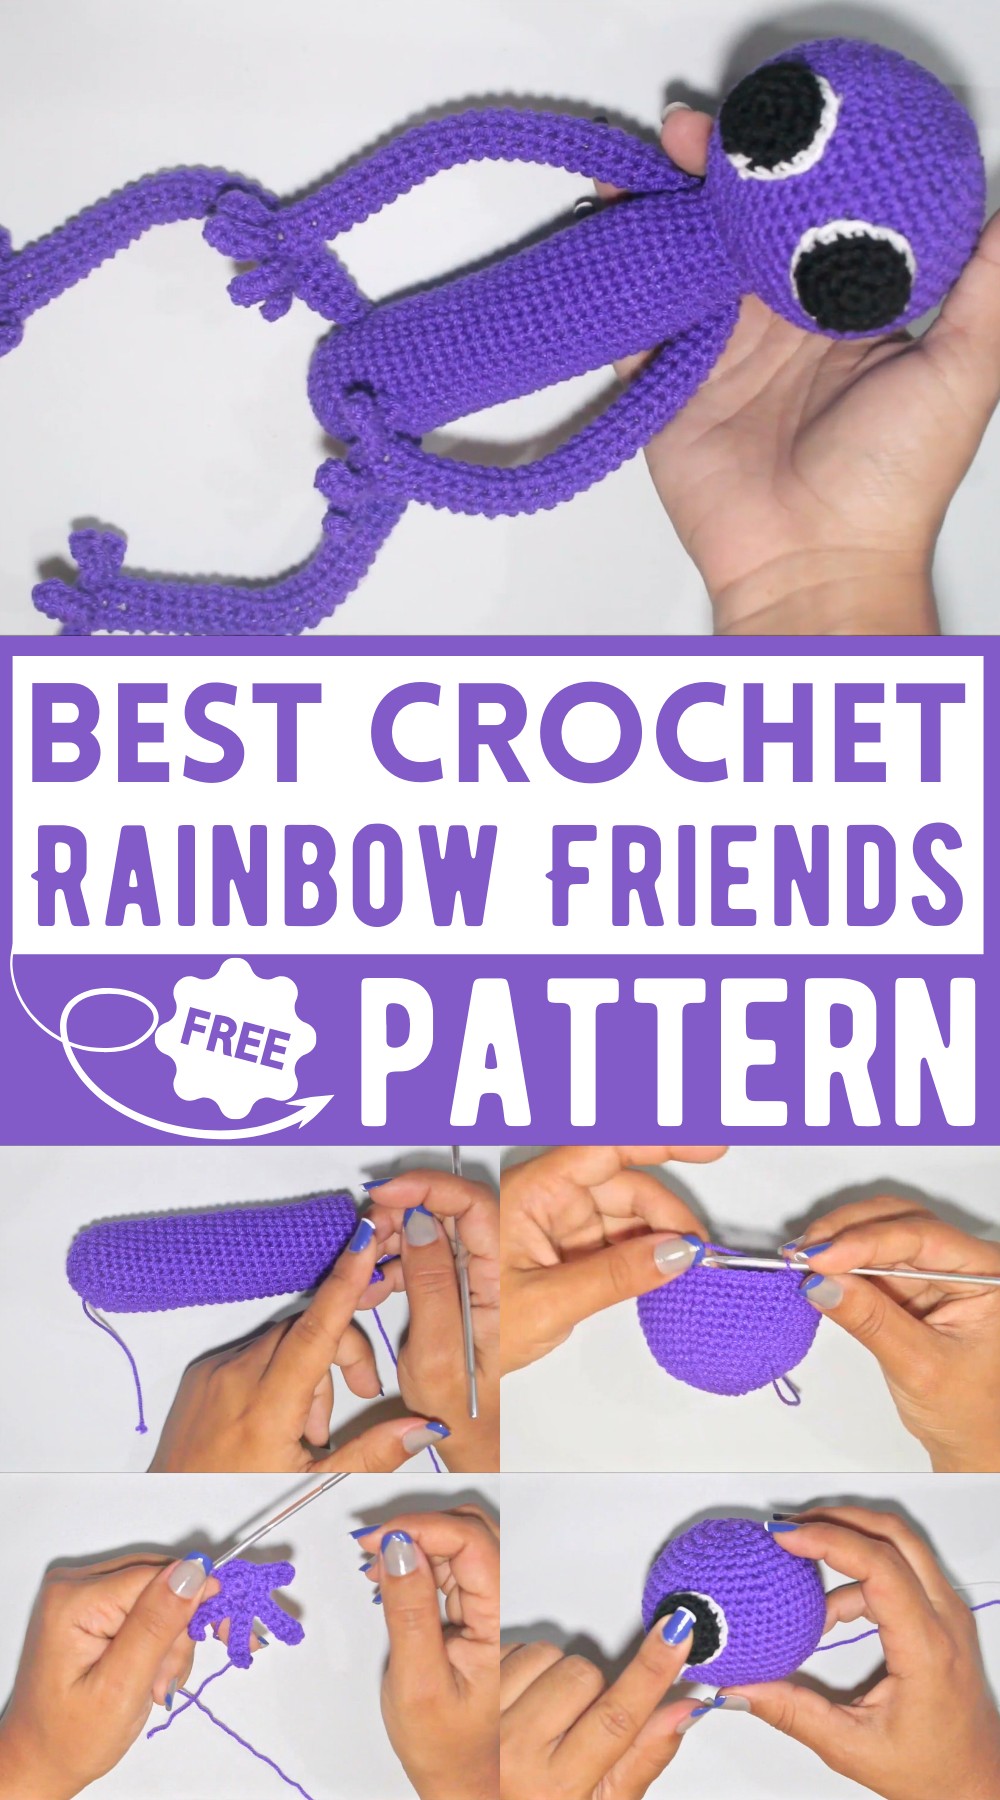
Purple Rainbow Friends Amigurumi Pattern
Tall, goofy, and full of personality, the Purple Rainbow Friends Pattern is a must-make for fun-loving crafters! This pattern creates a long, wobbly character with big, expressive eyes and a wide, playful mouth. Its slender body and quirky shape give it a unique, cartoon-like charm. Perfect as a plush toy, desk buddy, or playful gift, this pattern is simple yet eye-catching. You can customize its size and colors to match your style. A great pick for adding some humor to your creations!
Why Love This Pattern?
- Highly Requested Characters: The tutorial covers the beloved Rainbow Friends characters, which many viewers have been eagerly waiting for. This means you’re not only knitting a piece but bringing a loved character to life.
- Detailed Step-by-Step Instructions: The pattern is laid out in a detailed manner, ensuring that even beginners can follow along. With precise step-by-step instructions, anyone can get started and successfully finish their project.
- High-Quality Finished Product: The final product, with its carefully crafted limbs and detailed features like eyes and fingers, looks impressive. This ensures that the effort put in results in a high-quality, visually appealing amigurumi.
- Customization Options: While the pattern provides a solid structure, there’s room for customization such as adding wire for additional shaping if desired. This flexibility allows crafters to personalize their creations.

How To Crochet Amigurumi Purple Rainbow
Materials
- Purple thread, 2 mm thick
- Crochet hook, 3.5 mm
- Stuffing
- Optional: Some wire for shaping (not recommended for children’s toys)
- Black and white thread for the eyes
Abbreviations
- MR: Magic Ring
- sc: Single Crochet
- inc: Increase (2 sc in the same stitch)
- dec: Decrease (sc two stitches together)
- st: Stitch
- ch: Chain
- hdc: Half Double Crochet
- sl st: Slip Stitch
Instructions
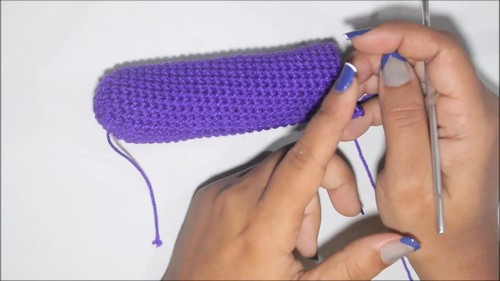
Body
- Round 1: 6 sc in a MR
- Round 2: inc in each st around (12 sts)
- Round 3: (inc, sc) repeat around (18 sts)
- Round 4: (inc, 2 sc) repeat around (24 sts)
- Round 5-31: sc in each st around (24 sts)
- Round 32: (2 sc, dec) repeat around (18 sts)
- Round 33-34: sc in each st around (18 sts)
- Fill the body and cut the thread.
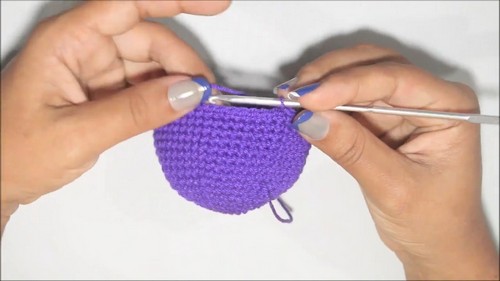
Head
- Round 1: 6 sc in a MR
- Round 2: inc in each st around (12 sts)
- Round 3: (inc, sc) repeat around (18 sts)
- Round 4: (inc, 2 sc) repeat around (24 sts)
- Round 5: (inc, 3 sc) repeat around (30 sts)
- Round 6: (inc, 4 sc) repeat around (36 sts)
- Round 7: (inc, 5 sc) repeat around (42 sts)
- Round 8: (inc, 6 sc) repeat around (48 sts)
- Rounds 9-16: sc in each st around (48 sts)
- Round 17: (6 sc, dec) repeat around (42 sts)
- Round 18: (5 sc, dec) repeat around (36 sts)
- Round 19: (4 sc, dec) repeat around (30 sts)
- Round 20: (3 sc, dec) repeat around (24 sts)
- Round 21: (2 sc, dec) repeat around (18 sts)
- Fill the head and leave a long thread for sewing.
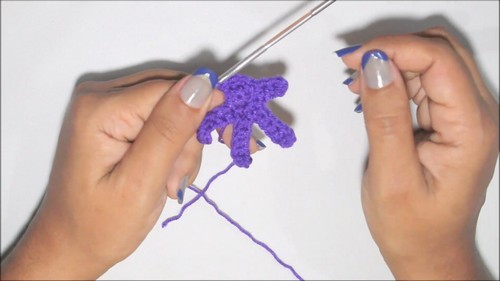
Arms & Legs (Make 4)
- Round 1: 5 sc in a MR
- Round 2: ch 6, 5 hdc in the second ch from hook and all the way back, sl st in the next st, (this creates the first “finger”), repeat three more times, creating four fingers.
- Round 2 (continued): sc in each foundational st around (7 sts, ignoring finger sts)
- Rounds 3-28: sc in each st around (7 sts)
- Fill until firm, leave a long thread for sewing.
Eyes (Make 2)
- Round 1: 5 sc in a MR with black thread
- Round 2: inc in each st around (10 sts)
- Round 3: (2 sc, inc) repeat around (14 sts)
- Round 4 (with white thread): sc in back loop only around (14 sts). This creates the eye rim.
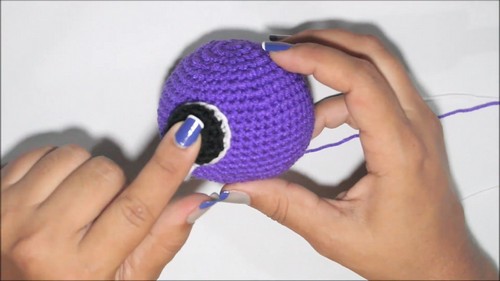
Assembly
- Head to Body: Sew the head to the body.
- Eyes: Position and sew the eyes approximately 9 rounds under the starting MR of the head, with 3 stitches apart between them.
- Arms: Sew the arms two rounds below where the neck ends.
- Legs: Sew the legs 6 rounds up from the base of the body.
Final Touches
- Feel free to shape the character using your fingers.
- You can share your finished work on Instagram or Facebook, tagging the creator.
I hope this helps you recreate the Rainbow Friends character! If any steps are unclear or need further explanation, feel free to ask.