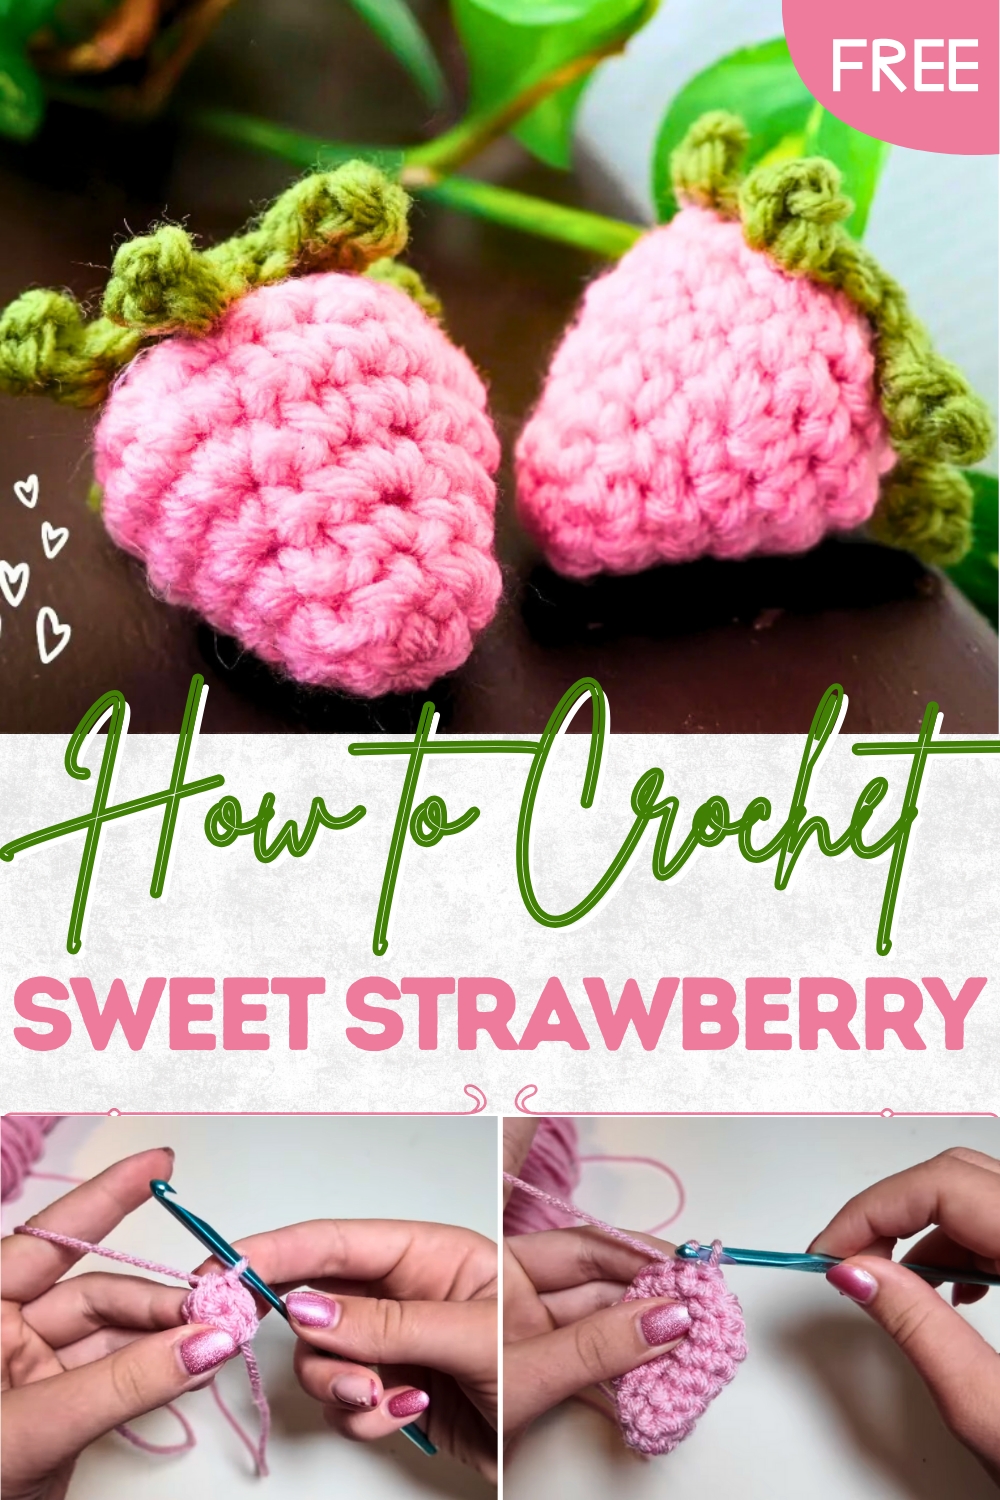
Playful Crochet Strawberry Pattern That Inspires Creativity
Cheerful charm comes to life with this Free Crochet Strawberry Pattern, ideal for keychains, bag charms, clothing accents, or handmade décor.
Strawberries have long been admired for their vibrant color, sweet charm, and universal appeal, making them a favorite motif in both fashion and décor. Translating this natural beauty into a small, hand-stitched form allows for endless creative possibilities. A miniature strawberry can brighten accessories, enhance clothing, or serve as a cheerful decorative accent for home items, offering both aesthetic appeal and functional versatility. Its compact size makes it ideal for keychains, bag charms, appliqués on hats or scarves, or even as playful additions to gift packaging.
Quick Crochet Strawberry Pattern Anyone Can Make
Beyond decoration, this tiny strawberry offers practical benefits as a small embellishment that personalizes items and makes thoughtful handmade gifts. Its versatility allows it to enhance everyday objects or serve as collectible charms. Combining playful aesthetics with functionality, this petite strawberry adds a touch of whimsy and charm to a wide array of creative projects.
Step-by-Step Details
Step 1: Materials Needed
Here are the required materials:
- Medium weight acrylic yarn: Two colors—pink (or red) for the body and green for the stem and leaves.
- 5 mm crochet hook
- Stuffing material: Can be recycled from old pillows for sustainability.
- Scissors
- Glue gun (optional for faster assembly)
Step 2: Start with the Strawberry Base
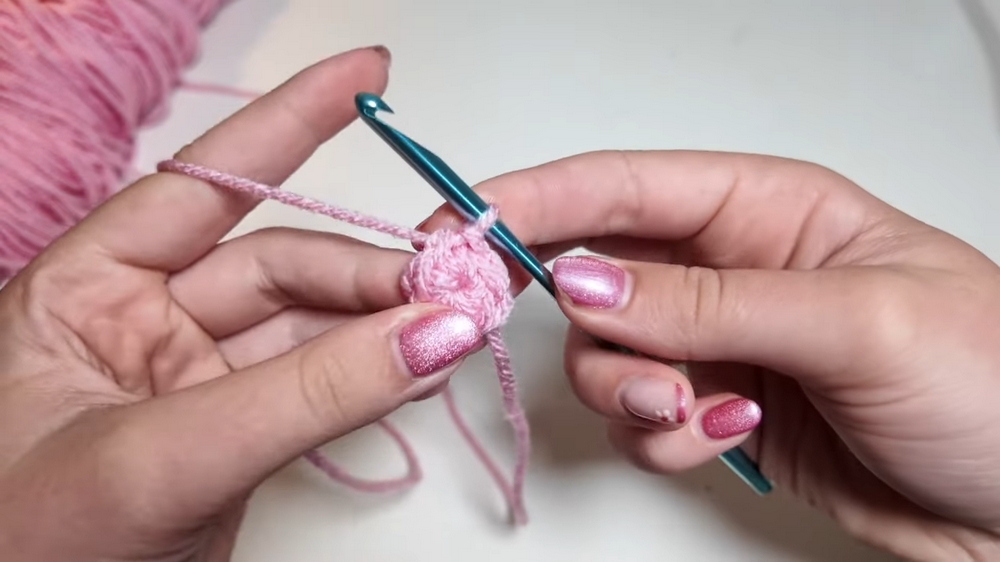
Create a Magic Ring
- Hold the tail end of your yarn in your left hand and wrap the yarn around two fingers of your right hand, creating an X shape.
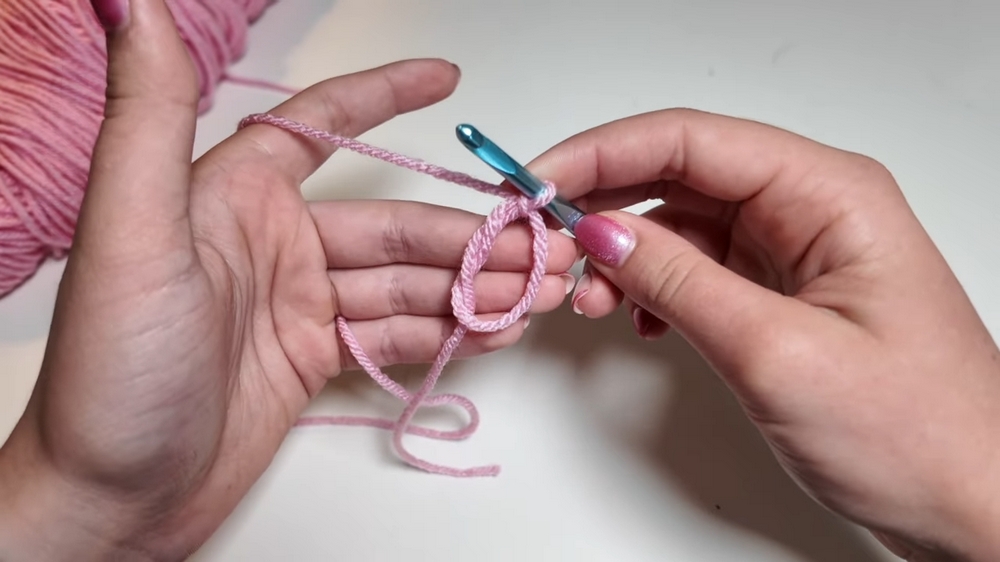
- Insert your crochet hook under the first strand of yarn, grab the long strand, pull it through, and twist the hook upwards.
- Yarn over and pull through the loop to secure it.
- Carefully slide the magic ring off your fingers.
(Note: If the magic ring feels difficult as a beginner, Maddie suggests checking out her separate tutorial for more guidance on this technique).
Row 1: Single Crochets in Magic Ring
- Crochet 6 single crochets (SC) into the magic ring. To make a single crochet:
- Insert your hook into the magic ring.
- Yarn over and pull up a loop.
- Yarn over again and pull through the two loops on the hook.
- Tighten the magic ring by pulling the yarn tail firmly.
Join with a Slip Stitch
To complete the first row, slip stitch into the first single crochet from the beginning of the row. Insert your hook into both loops of the stitch, yarn over, pull through the loop, and pull to secure.
Step 3: Build the Strawberry’s Shape
Row 2: Alternating Two Single Crochets
- Chain 1.
- Alternate 2 single crochets (SC) in one stitch and 1 single crochet (SC) in the next stitch. Repeat this pattern all the way around.
- Slip stitch into the first stitch to close the row.
Row 3: Single Crochet Around
- Chain 1.
- Work 1 single crochet (SC) in every stitch around without increases.
- Slip stitch to join and tighten the row.
Rows 4 & 5: Continue Increasing
- Repeat the increase pattern from row 2: 2 single crochets in one stitch, followed by 1 single crochet in the next stitch, all the way around.
- For row 5, increase in this sequence: 2 single crochets, 1 single crochet, 1 single crochet, and repeat.
- Slip stitch at the end of each row to join them properly.
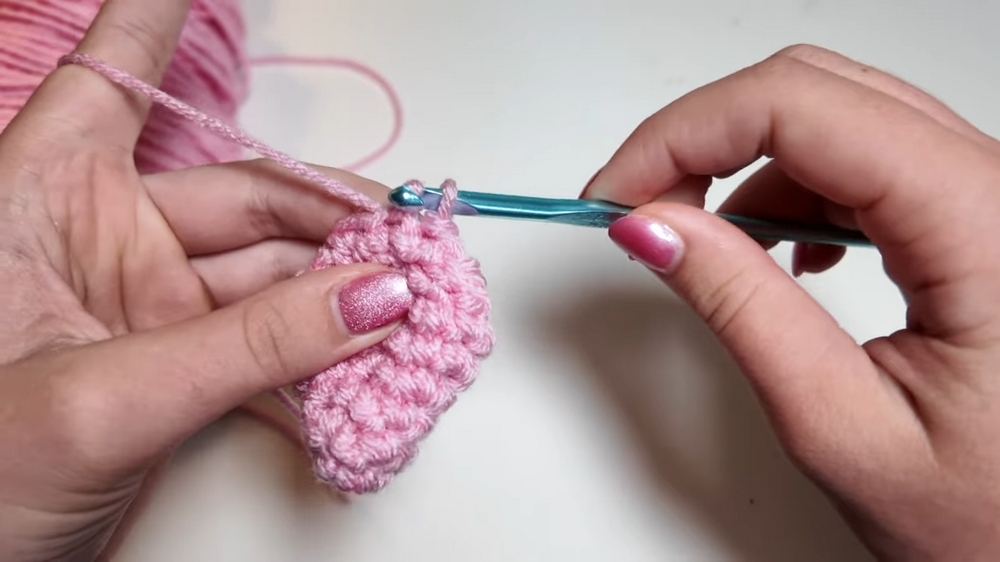
Step 4: Shape and Close the Strawberry
Row 6: Begin Decreasing
- Chain 1.
- Work a sequence of 1 single crochet in one stitch and a decrease (crocheting two stitches together).
- To make a decrease:
- Insert your hook into the front loop of the first stitch and the back loop of the next stitch.
- Yarn over, pull up a loop, yarn over, and pull through both loops.
- To make a decrease:
- Repeat the 1 single crochet + decrease pattern around the row.
Last Row: Decrease Only
- Chain 1.
- Crochet decreases all the way around to close the strawberry.
- Slip stitch into the first stitch to finish and secure.
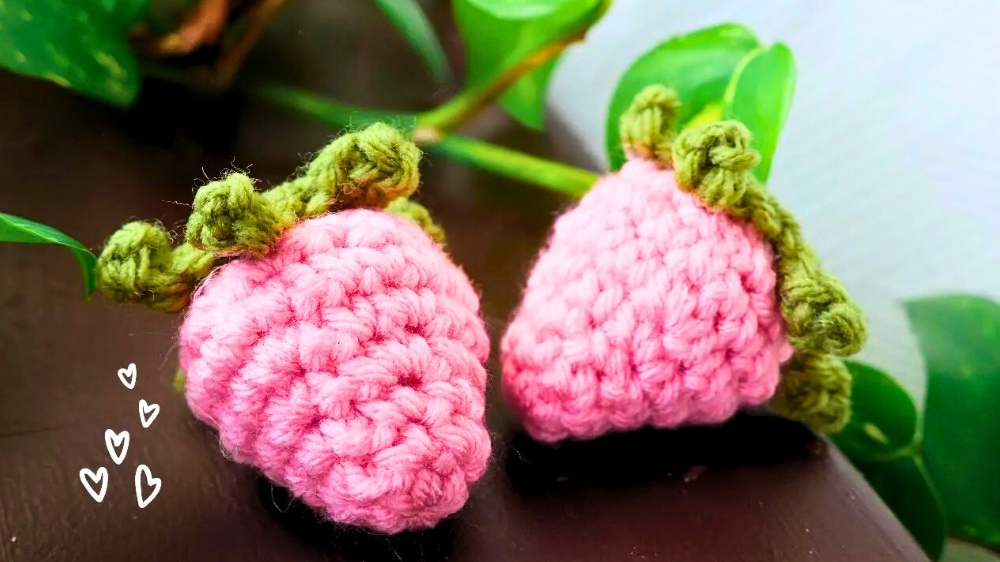
Step 5: Add Stuffing and Finish the Strawberry
- Cut your yarn, leaving a tail. Fasten off the top by pulling the yarn through the final loop and tightening.
- Stuff the strawberry with recycled pillow stuffing (or your choice of filler) to give it shape and volume.
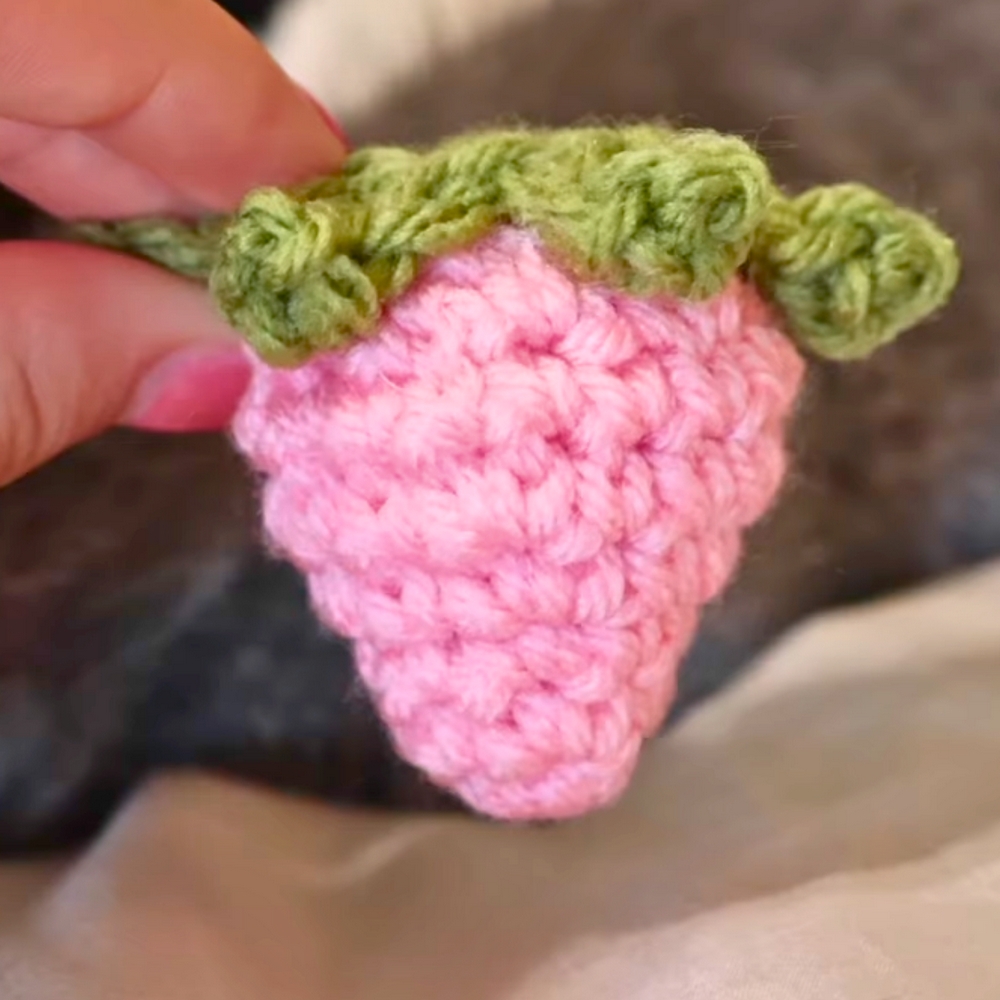
Step 6: Create the Stem and Leaves
Magic Ring Formation
- Create another magic ring using the green yarn, identical to step 2 above.
- Crochet 6 single crochets (SC) into the magic ring and tighten.
Add Leaves
- Chain 4.
- Skip the first chain and crochet 1 single crochet (SC) into the second, third, and fourth chains.
- Slip stitch into the next stitch of the magic ring to attach the leaf.
- Repeat this process to create a total of 6 leaves around the magic ring.

Finish and Secure
- Fasten off the yarn by pulling the hook through the final loop. Clip the excess yarn, leaving some length.
- Pull the yarn tail to secure the stem and tidy up.
Step 7: Attach Stem to Strawberry
- For faster assembly, use a glue gun to attach the green stem to the top of the stuffed strawberry.
- Add extra glue to secure some of the leaves in place (optional).
Special Features
- Quick and Easy Assembly: The project is fast to complete and uses simple techniques.
- Versatile Uses: Can be turned into decor, keychains, or pet toys.
- Beginner-Friendly Design: The steps are simple, though working with a magic ring may take practice.
Level of Difficulty
Beginner – The tutorial uses basic stitches such as single crochet and slip stitches, making it accessible for those new to crochet. Some patience is required when working with the magic ring and decreases.
Tutor’s Suggestions
- If you don’t have the exact color (e.g., red), feel free to experiment with alternatives like pink strawberries or whimsical color combinations.
- For beginners struggling with the magic ring, check Maddie’s dedicated tutorial for extra help.
- Instead of sewing, Maddie recommends using a glue gun for quicker assembly of the leaves and stem.
Uses of the Tiny Strawberry
- Decorative piece for shelves, tables, or other small spaces.
- Can be turned into a keychain or bag charm.
- Fun, handmade toy for pets like cats who enjoy small crochet items.
Tip
When making the leaves, ensure your slip stitches into the magic ring are tight to avoid gaps. This will help the leaves look seamless and tidy once attached to the strawberry.
Conclusion
Crocheting a tiny strawberry is a fun, creative project that is quick to complete and can be tailored to your needs. Whether you make it as room decor, a keychain, or a playful toy for your pets, it is sure to spread joy.