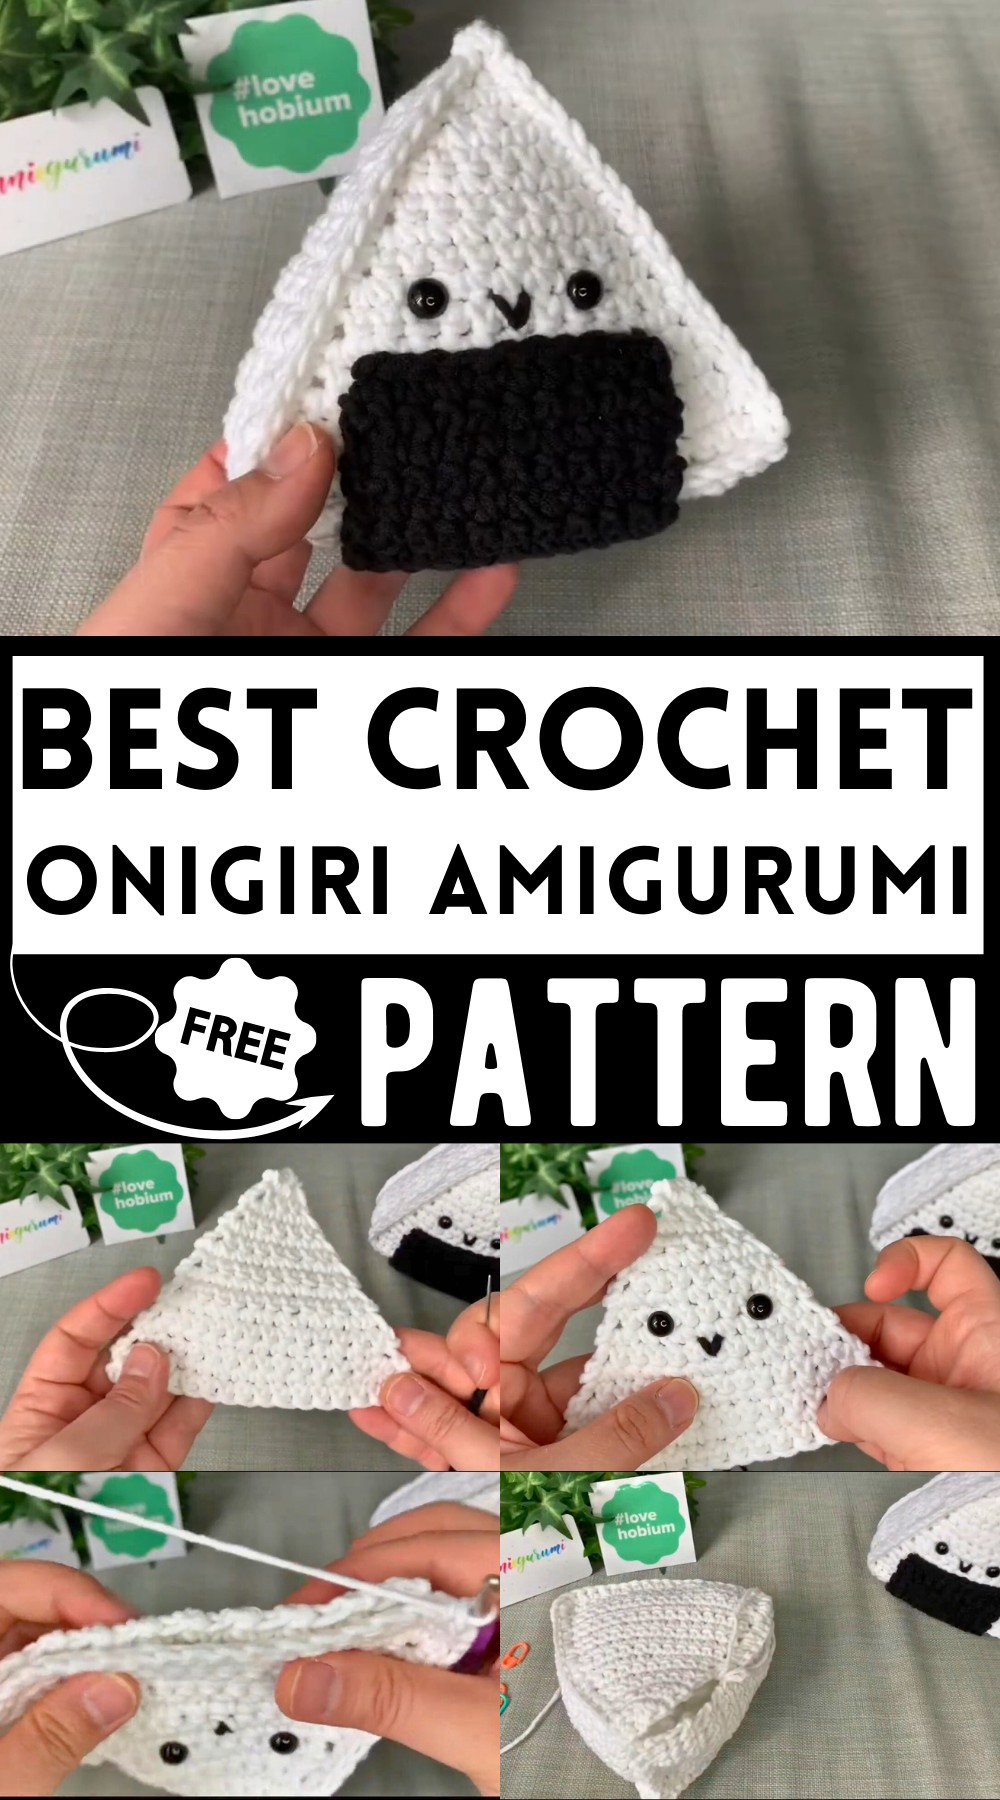
Onigiri Amigurumi Pattern For Japanese Food Lovers
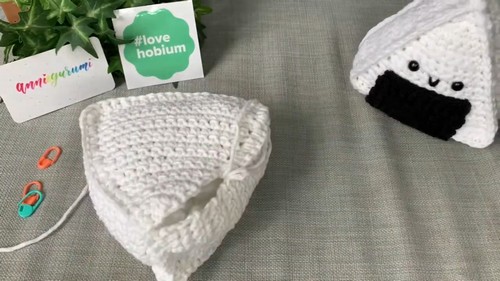
Join us in this engaging tutorial where you’ll learn to crochet a delightful Japanese rice ball, the onigiri. This project features a cute, triangular shape, mimicking the authentic rice ball wrapped in seaweed. Using basic crochet techniques and materials like black and white yarn, a hook, and ami eyes, you’ll create a plush, smiling onigiri that’s perfect for display, cuddly toys, gifting or as a unique decoration.
Why Love This Pattern?
- Cultural Delight: The onigiri pattern is inspired by Japanese cuisine, creating a delightful crochet version of a classic snack. It’s a playful way to engage with cultural motifs and add a bit of kawaii (cute) aesthetic to your crochet collection.
- Quick and Rewarding: Using a thicker yarn like YarnArt Jean Plus, which provides great stitch definition, this pattern works up quickly, allowing for a satisfying and fast project completion.
- Versatile Use: The finished onigiri can serve as a cute decor item, a playful toy, or a charming gift for friends and loved ones.
- Personalization: The pattern allows for personal touches, such as adjusting the placement of eyes or adding blusher for extra cuteness, making each onigiri unique.
How To Crochet Onigiri Amigurumi Pattern
Materials Needed:
- Black and white yarn (YarnArt Jeans Plus recommended)
- 4 mm hook
- Stitch marker
- Pair of 9 mm safety eyes with backings
- Sharp scissors
- Tapestry needles (regular and thin)
- Fiber stuffing
- Blusher and clear craft glue (optional, for adding blush to the cheeks)
Step-by-Step Pattern
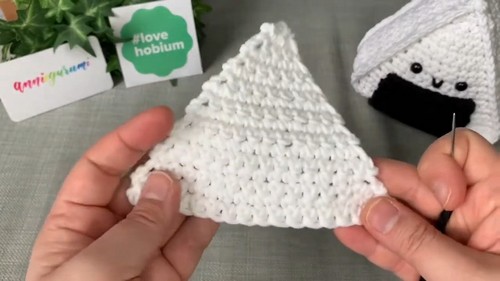
Create the Panels:
- Base Triangle Panel (Make 2)
- Row 1:
- Start with white yarn.
- Make a slip knot and chain 2.
- Work 2 single crochets (sc) into the back bump of the first chain.
- Chain 1 and turn.
- Row 2:
- Increase in both of the stitches (4 sc in total).
- Chain 1 and turn.
- Rows 3-16:
- Repeat alternating rows:
- Row 3: Increase in the first and last stitch, with single crochets in between (6 sc).
- Row 4: Single crochet in every stitch (no increase).
- Continue this pattern, increasing the stitch count by 2 every other row, up to 16 rows.
- Repeat alternating rows:
- Finish:
- Cut the yarn, leaving a tail for weaving in ends.
- Repeat this to create a second triangle panel.
- Row 1:
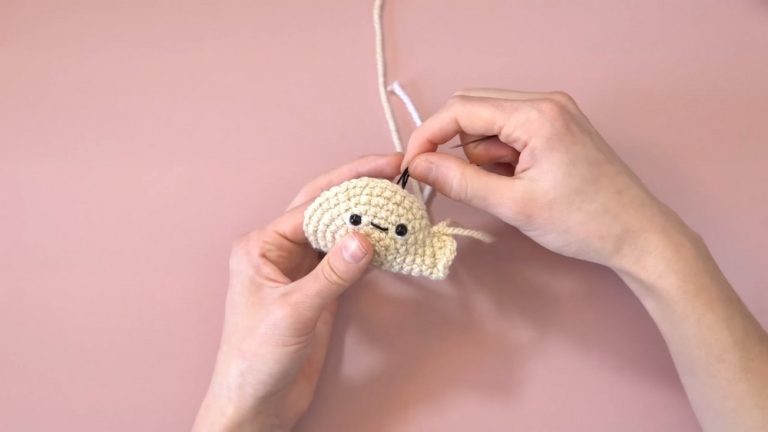
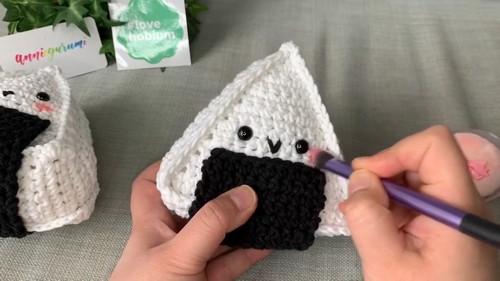
- Create the Eye and Smile:
- Place the eyes (9 mm) about 4 stitches apart, around the middle of one of the triangle panels.
- Using black yarn and a thin tapestry needle, embroider a small smile between the eyes.
- Create the Long Panel for Seam:
- Chain 8:
- Make a slip knot and chain 8.
- Rows:
- Work into the back bumps: single crochet into each chain (7 sc).
- Chain 1 and turn.
- Single crochet across each stitch.
- Continue this process for 54 rows in total.
- Finish:
- Do not cut the yarn, as this panel will be used for seaming the triangles together.
- Chain 8:
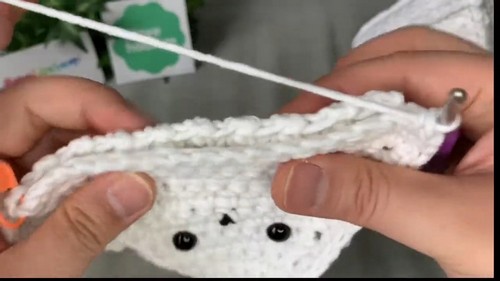
- Assembly:
- Attach the Long Panel:
- Align the long panel with the edge of one of the triangle panels (starting at a corner).
- Use stitch markers to pin in place.
- Single crochet together the edges of the triangle panel and long panel.
- Add extra single crochets in corners for neat turns (3 sc in each corner).
- When the triangle and long panel meet back at the starting point, align them to create a boxed seam.
- Stuff:
- Before closing completely, stuff the inside with fiber stuffing.
- Close:
- Continue single crocheting the remaining open seam.
- Attach the Long Panel:
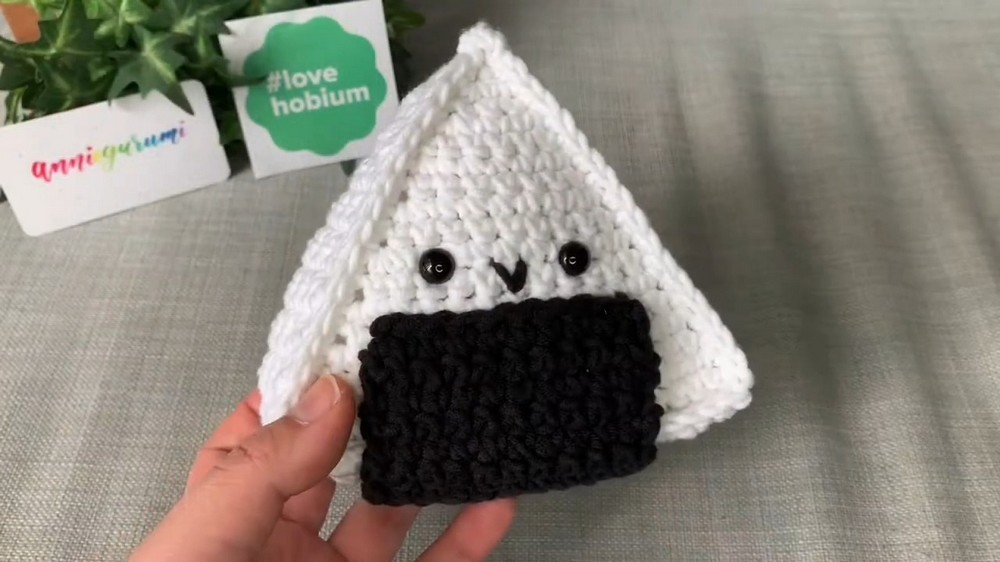
- Add the Seaweed Strip:
- Chain 11:
- Using black yarn, chain 11.
- Rows:
- Work into the back bumps: single crochet into each chain (10 sc).
- Chain 1 and turn.
- Single crochet across each stitch.
- Repeat this for a total of 24 rows.

- Finish:
- Position the strip along the bottom of the onigiri, centering it under the smile.
- Use a long tail of yarn and a tapestry needle to sew the strip securely in place.
- Chain 11:
- Add the Blush (Optional):
- Using a makeup brush and blusher, lightly apply blush to the cheeks beneath the eyes for a cute touch.
- Seal the blush with clear craft glue, if desired, for durability.
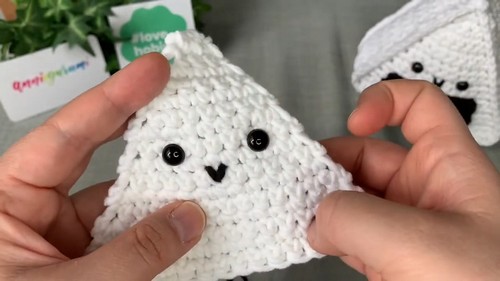
Finishing Touch
- Weave in all ends securely to avoid unraveling and trim any excess yarn.