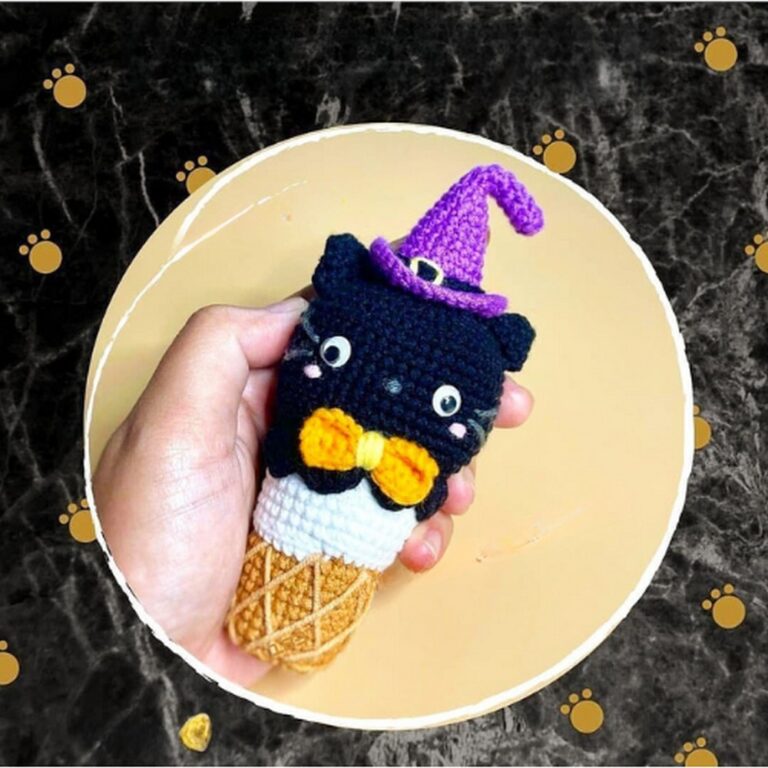
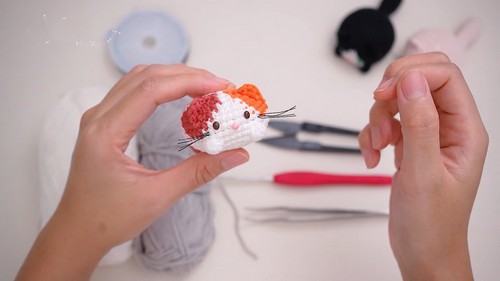
No-Sew Marshmallow Cat Amigurumi For Cutest Pocket Pal
For your cat lover, make this crochet amigurumi that is both charming and easy to create. The No-Sew Marshmallow Cat Amigurumi pattern is perfect for beginners and seasoned crafters alike, requiring no sewing at all. With its plump, marshmallow-like body, tiny ears, and a cute little tail, this pattern captures the essence of feline cuteness. The round, cuddly shape makes it a great toy or a delightful decoration, perfect for gifting or brightening up any room.
Why Love This Pattern?
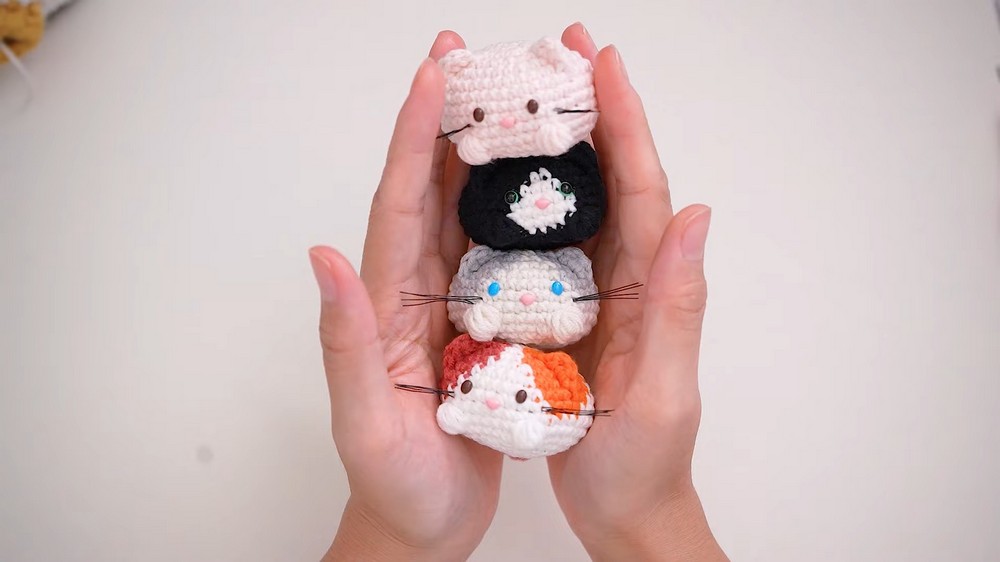
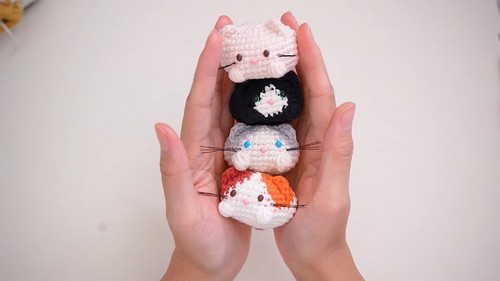
- Adorably Cute Design: The marshmallow kitty pattern results in an incredibly cute and charming crochet kitty that is sure to bring smiles and joy.
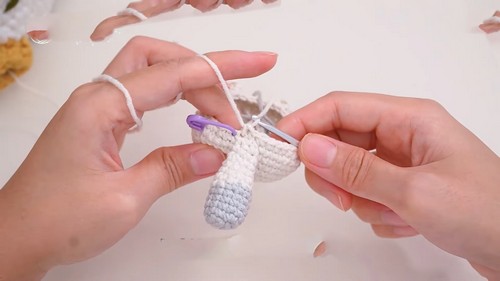
- Creative Use of Colors: The pattern incorporates color changes that make the kitty extra vibrant and appealing. The video shows how to swap between beige and grey yarn seamlessly.
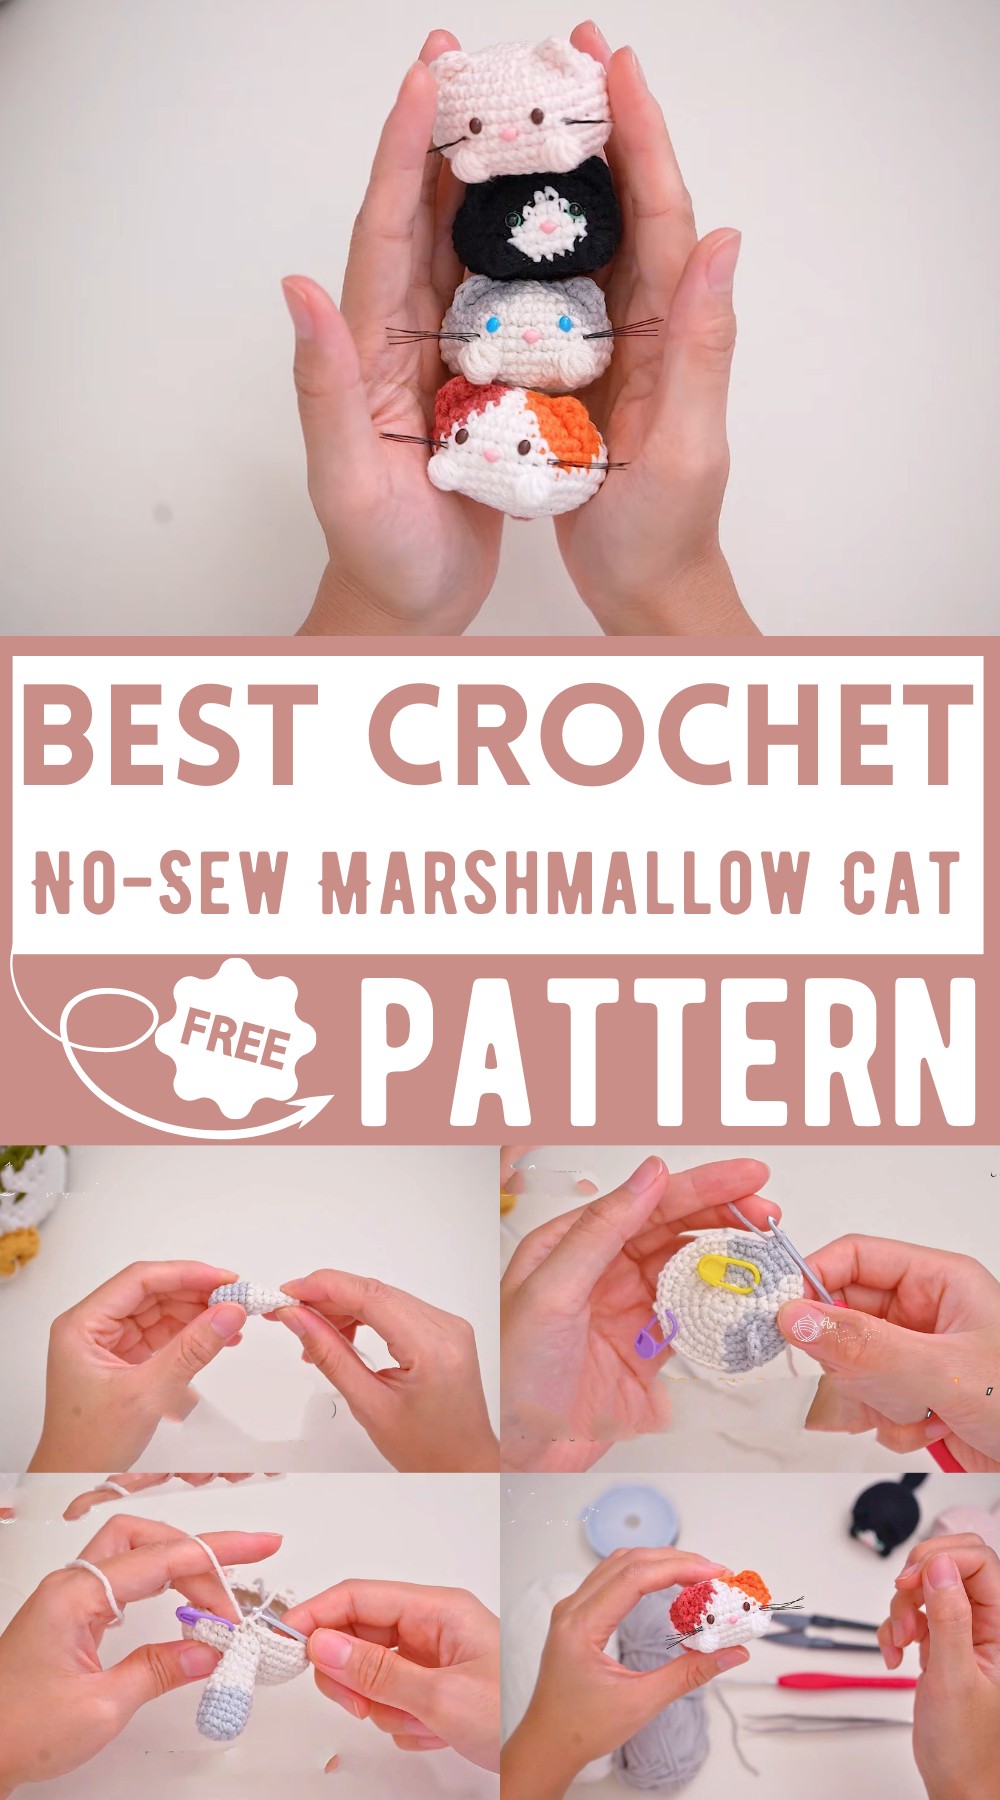
- Handy Tips and Techniques: The video includes useful tips, such as using X stitch instead of V stitch, and techniques like making double crochet without starting with two chains, which can be very helpful for crocheters to learn and use in other projects.
- Personal Touch: The creator’s enthusiasm and encouragement are palpable, providing motivation and a sense of community for viewers and crafters to engage and share their creations.
How To Crochet Marshmallow Cat
Tools You Need:
- 4 ply cotton yarn
- Forceps for stuffing
- 3mm crochet hook
- Pair of scissors
- Wire for making whiskers
- Pair of 4mm eye beads
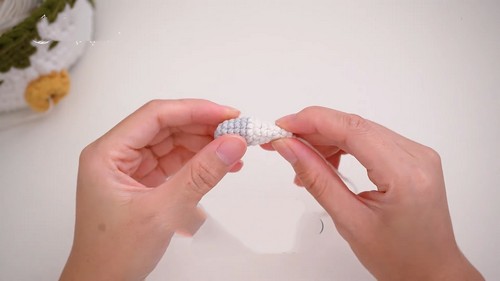
Tail:
- Start with a magic ring:
- Make a knot in a magic ring and do 6 single crochets (sc) into the ring.
- Round 1:
- Increase in every stitch around (12 stitches in total).
- Rounds 2 to 5:
- Single crochet in every stitch around (12 stitches in each round).
- Note: The pattern uses the X stitch instead of the traditional V stitch for sc.
- Round 6:
- Change yarn color and make 12 sc.
- Round 7:
- Do 2 sc, then 1 decrease. Repeat this pattern 3 times for a total of 9 stitches.
Body:
- Start with a magic ring:
- Make a knot in a magic ring and do 7 sc into the ring.
- Round 1:
- Increase in every stitch around (14 stitches).
- Round 2:
- Start with 1 sc, 1 increase, 1 sc.
- Change to grey yarn: 1 increase, 1 sc, 1 increase.
- Change to beige yarn: 1 sc.
- Change to grey yarn: 1 increase, 1 sc, 1 increase.
- Change to beige yarn: Repeat 1 sc, 1 increase twice (21 stitches).
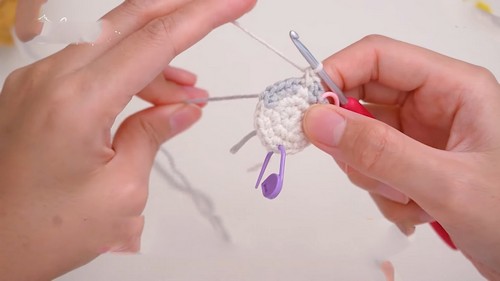
- Round 3:
- Do 1 increase, 2 sc, 1 increase.
- Change to grey yarn: 2 sc, 1 increase, 1 sc in back loop only, 1 sc.
- Mark the front loop stitch.
- Change to grey yarn: 1 increase, 1 sc, 1 sc in back loop only, 1 increase.
- Mark the front loop stitch.
- Change to beige yarn: Repeat 1 increase, 2 sc twice (28 stitches).
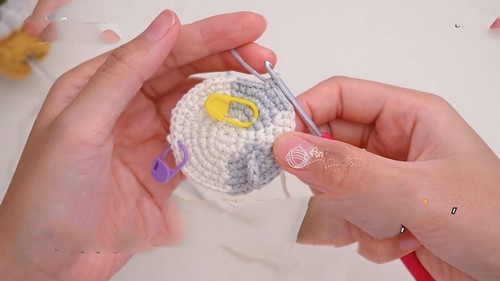
- Round 6:
- Do 9 sc.
- Change to grey yarn: 3 sc.
- Crochet the ear:
- Make 3 chains and slip stitch in the round 3 front loop stitch.
- Pass yarn through the chain: make 1 sc, then another sc on top of it. Continue with half double crochet (hdc) and 1 sc.
- Do 4 sc.
- Change to beige yarn: 6 sc.
- Change to grey yarn: 4 sc.
- Crochet the other ear:
- Make 3 chains and slip stitch in the front loop stitch.
- Pass yarn through the chain: make 1 sc, then another sc on top of it. Continue with hdc and 1 sc.
- Round 10:
- Start to crochet the hand and connect the tail with the body.
- Do 15 sc.
- Do 5 half double crochet puff stitches.
- Do 6 sc.
- Do 5 half double crochet puff stitches.
- Do 16 sc.
- Join the body and the tail together with the last 3 stitches (single crochet).
- Round 11:
- Do 2 sc, 1 decrease, and 2 sc. Repeat this pattern 7 times.
- Note: Remember to skip the chain when you crochet; this stitch is not counted in a round.
Finishing:
- After Round 11:
- Insert eye beads and nose bead. Use thin wire to make the whiskers.
- Following rounds:
- Follow the written pattern until the kitty is complete.
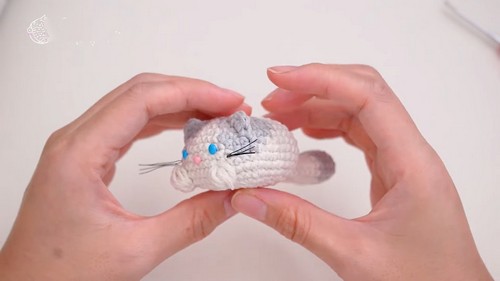
- After Round 14:
- Fasten off and hide any leftover yarn.