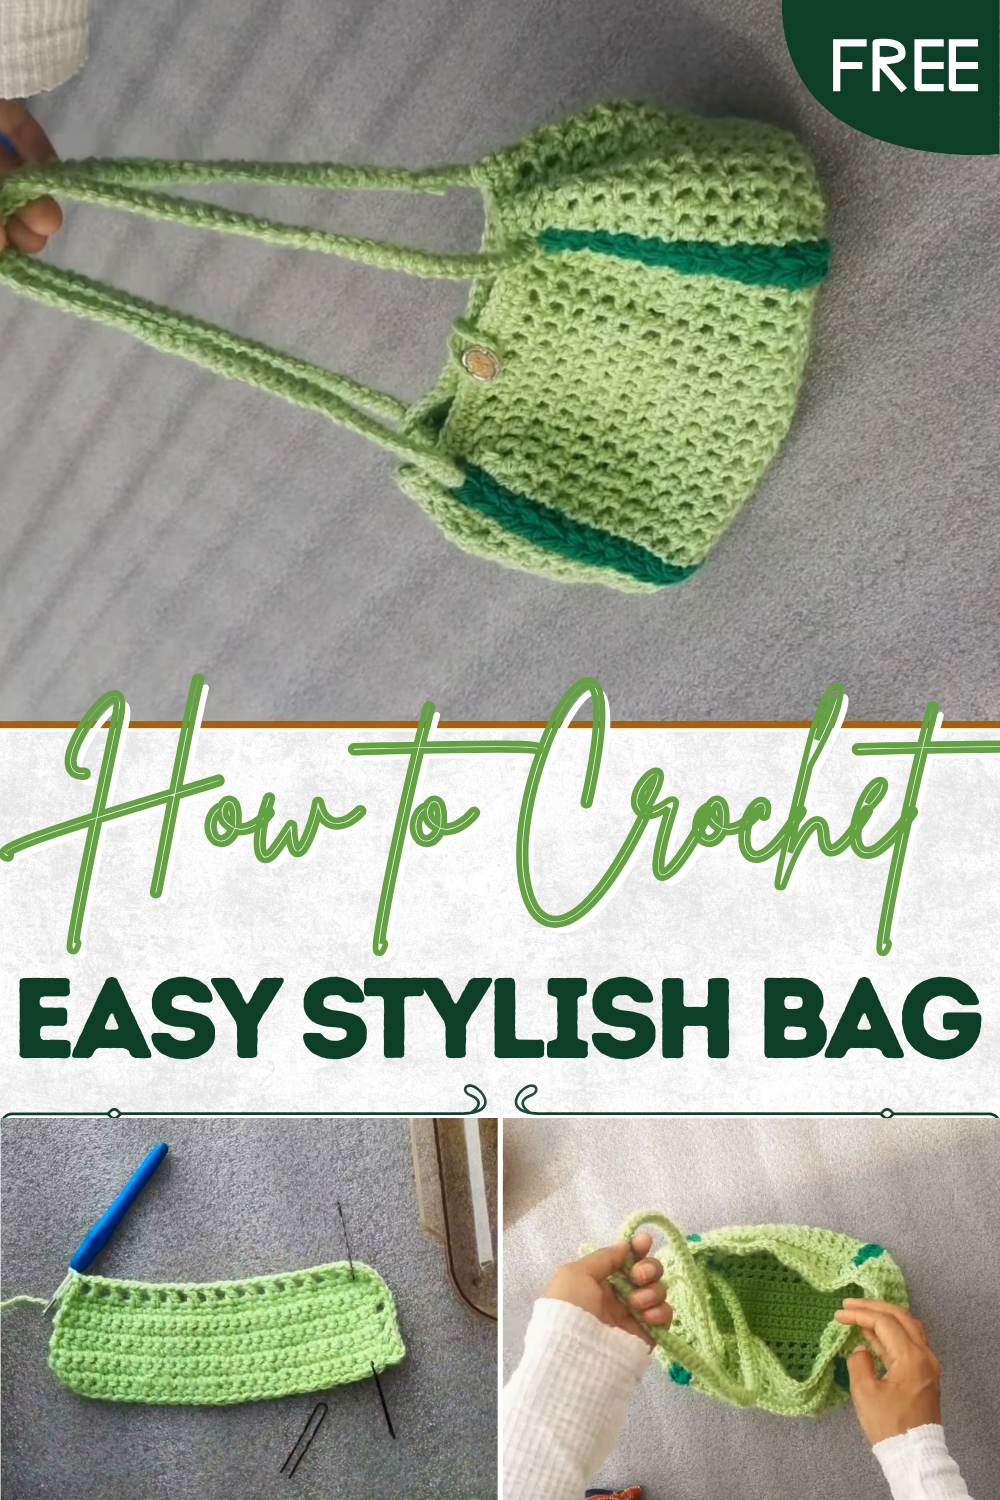
Modern Crochet Bag Perfect on Outfits That Feel Unique
Step out in style with this Crochet Bag Pattern for a chic, versatile accessory that enhances any outfit or outing effortlessly.
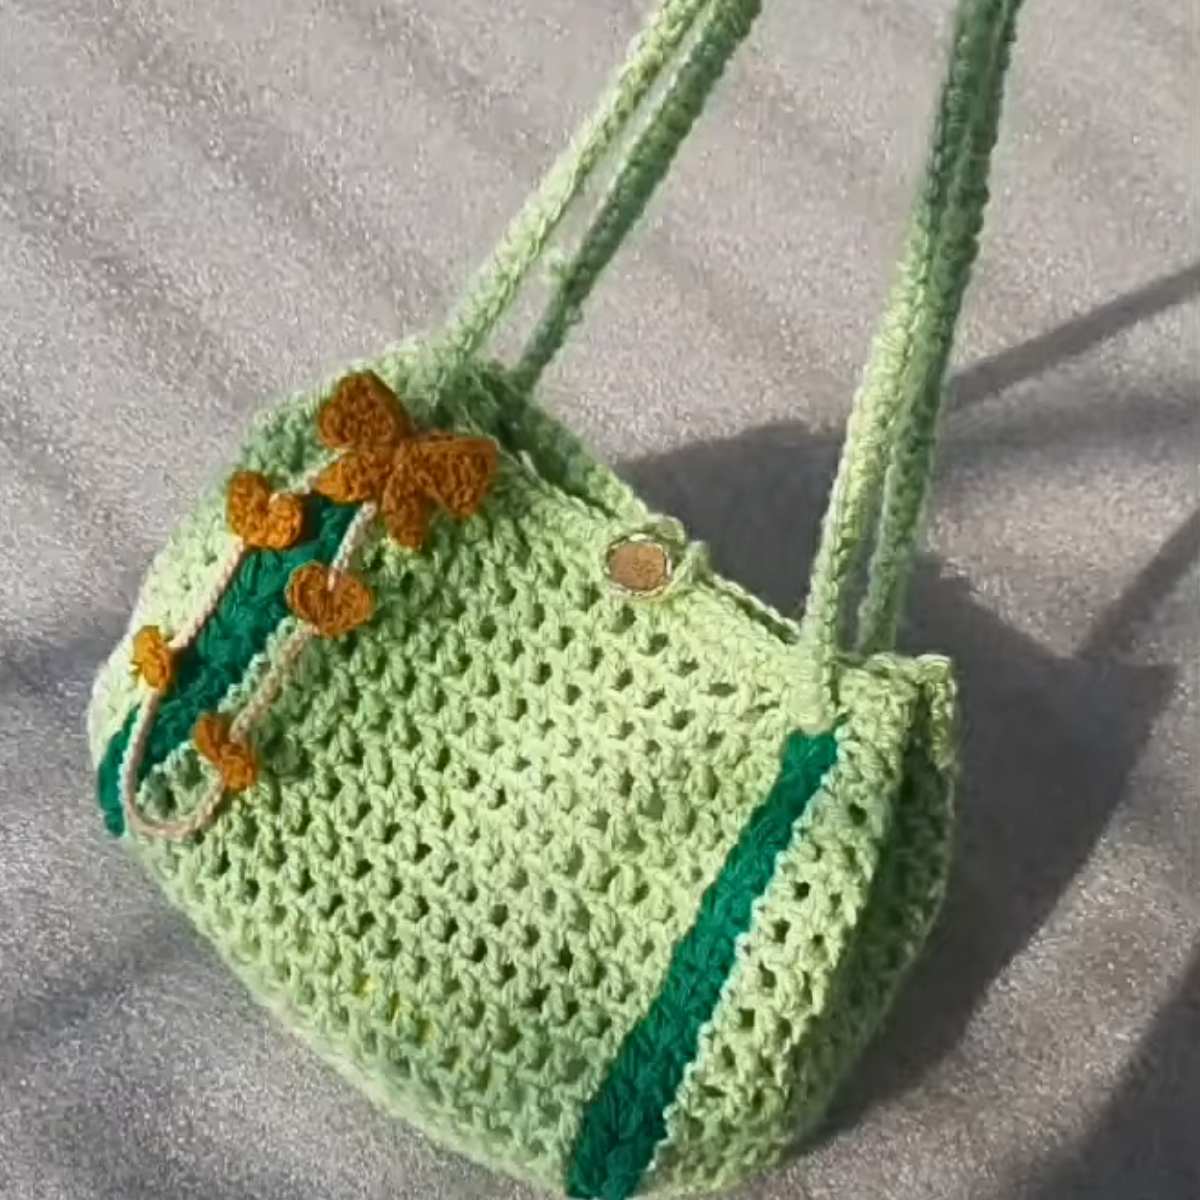
Carrying essentials has always been both a necessity and an opportunity to showcase personal style, and a crochet bag provides a perfect balance of practicality and charm. This pattern allows the creation of a bag that is lightweight yet sturdy, capable of holding everyday items such as wallets, keys, phones, and small notebooks with ease. The textured crochet stitches give the bag a tactile appeal while ensuring durability and long-lasting use. Its versatile form makes it suitable for a wide range of occasions—from casual outings and shopping trips to work or social gatherings—adding a handmade touch that complements any ensemble.
Elegant Crochet Bag Perfect for Everyday Outfits With Style
Beyond utility, the bag can be personalized through color choices, stitch variations, or embellishments, allowing it to reflect individual taste while standing out as a unique accessory. The soft yet structured construction ensures comfort while maintaining its shape, making it practical for frequent use. Additionally, it serves as a thoughtful gift, combining style and function in one elegant package.
The crochet bag pattern transforms simple yarn into a useful and stylish accessory, bringing both beauty and functionality into everyday life. Every stitch contributes to a versatile, durable, and visually appealing piece that enriches daily routines.
Materials Required
- Yarn: Two different-colored yarns (e.g., one base color and one contrasting color)
- Crochet Hook: A size appropriate to the yarn you select
- Scissors: For trimming excess yarn
- Yarn Needle: For weaving in loose ends
- Ribbon or Strap Material: To create the bag’s closure
Step-by-Step Crochet Bag
Step 1: Create the Foundation Chain
- Chain Base:
- Start by creating 39 chains, adjusting the number of chains if you prefer a different bag width.
- This will act as the foundation for the bag’s base.
- Prep for Single Crochet:
- Chain an additional 1 chain, which acts as the turning chain.
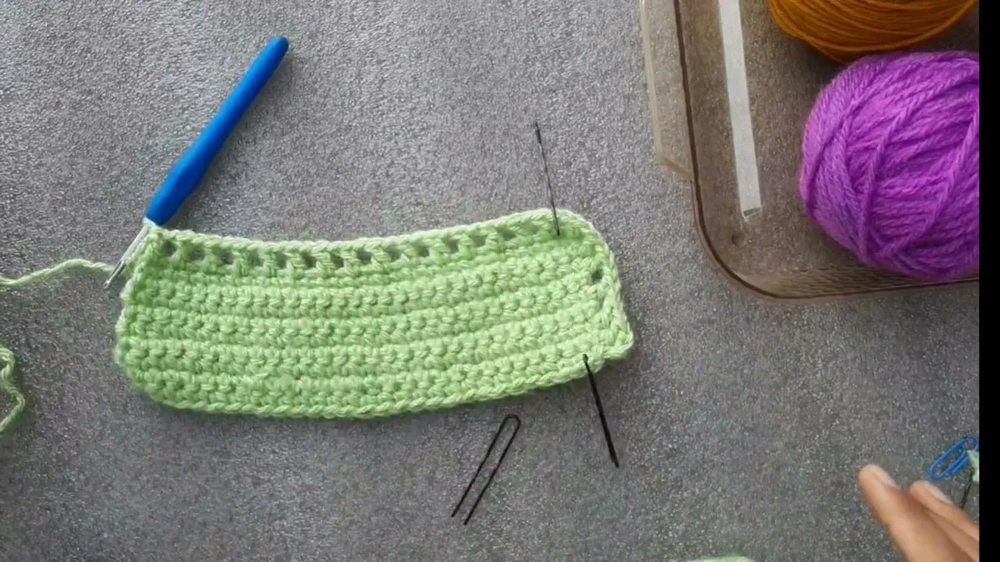
2: Crochet the Bag Base
- First Row of Single Crochets:
- Work 39 single crochets across the chains, one stitch per chain.
- To make a single crochet: Insert the hook into a stitch, yarn over, pull through, yarn over again, and pull through two loops.
- Turn and Continue:
- At the end of the row, chain 1, turn the work, and repeat the row of single crochets.
- Continue repeating this for 4 rows to establish the base of the bag.
3: Adding Double Crochet Rows
- Transition to Double Crochet:
- After completing the base, chain 4 and begin the next set of rows using double crochets.
- Create a double crochet in each chain of the previous row.
- Adding Chains and Skipping Spaces:
- Chain 1, skip a stitch, and double crochet into the next stitch. Continue alternating double crochets and skipped stitches.
- Create Multiple Rows:
- Repeat the double crochet pattern for several rows (e.g., approximately 7 double crochet rows) across the body of the bag.
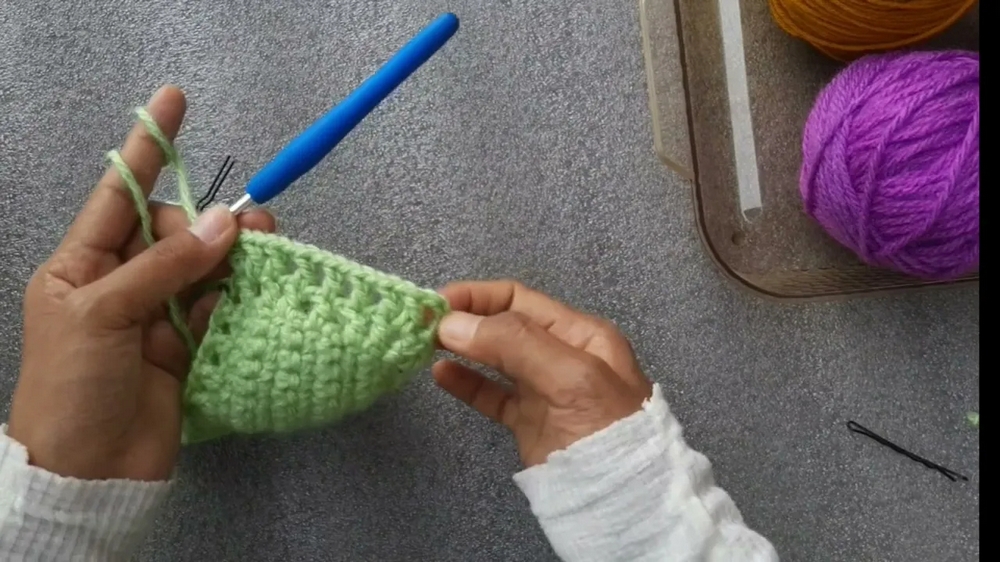
4: Increasing Stitches
- Increasing Double Crochets:
- To increase the width of the bag, add 2 double crochets at key points in a row (e.g., on the sides).
- You may increase across successive rows to achieve a broad structure.
- Keep Count of Stitches:
- Ensure symmetry by tracking the number of increased stitches—start with 7, and progress through 9, then 11 double crochets on the sides.
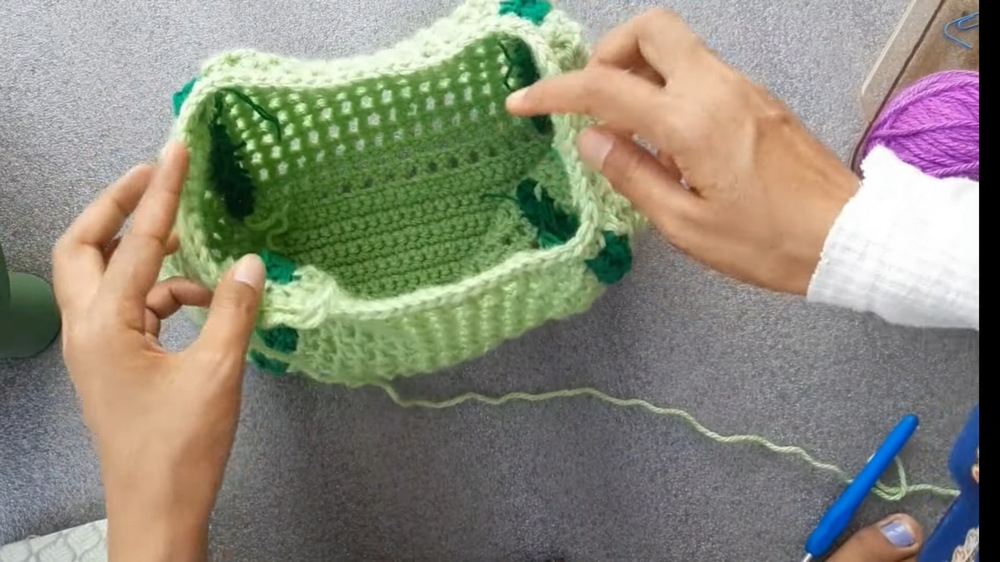
5: Color Changes and Puff Stitch Details
- Change Yarn Color:
- At specific rows or corners, switch to the secondary yarn color. Secure the new yarn and trim excess if needed.
- Add Puff Stitches:
- Incorporate puff stitches in the corner sections for texture and design.
- This involves yarn overs and pulling loops through multiple times before completing the stitch.
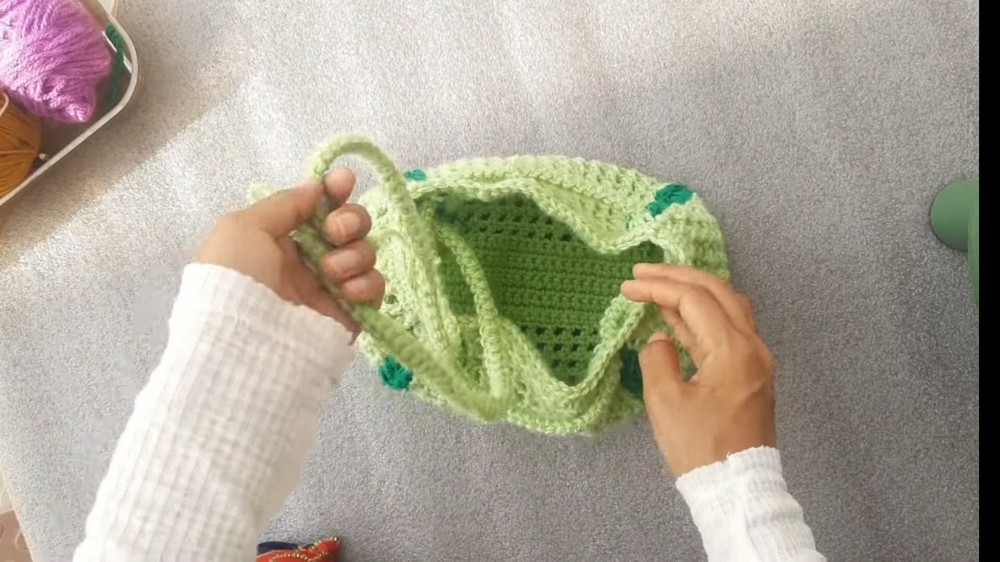
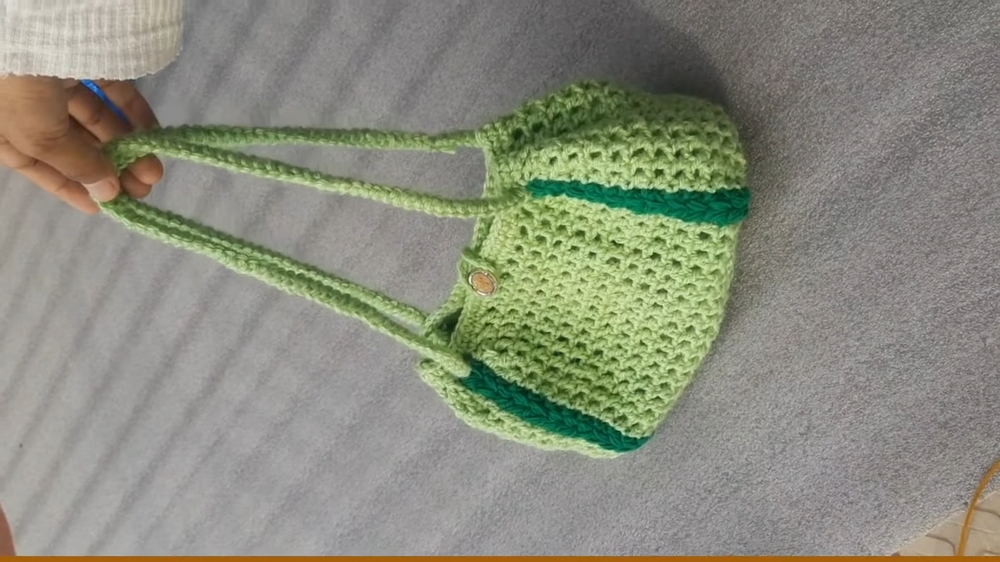
6: Creating the Ribbon Section
- Add a Drawstring Closure or Ribbon Strap:
- After finishing the bag body, crochet a long chain (or multiple chains) to create a ribbon strap.
- The length can be customized as per preference.
- Thread the Ribbon:
- Insert the ribbon through holes at the top of the bag, skipping stitches as needed to create an even lace-like threading.
- Secure the Ribbon Ends:
- Tie the ribbon ends together or loop them for ease of opening and closing the bag.
Special Features
- Customizable Design: You can easily adjust the bag’s dimensions, colors, and strap length to suit your needs.
- Puff Stitch Detailing: Adds a stylish and textured look to the corners.
- Drawstring Closure: The ribbon-based closure is simple and functional, adding charm to the final product.
- Durable and Functional: The thick base and sturdy double crochet rows ensure the bag can hold its shape and carry small items.
Level of Difficulty
This project is ideal for advanced beginners or intermediate crocheters. Basic skills such as chaining, single crochet, double crochet, and puff stitches are required. The tutorial covers these techniques step by step, but those familiar with increases, decreases, and color changes will find this easier.
Tutor’s Suggestions
- Keep Stitch Counts Consistent: Carefully count stitches after each row to maintain the shape and symmetry of the bag.
- Tighten Your Magic Ring (if used): For a sturdy base structure, pull your magic ring (if applicable in your design) tightly closed to avoid gaps in the stitches.
- Handle Yarn Changes Neatly: When switching colors, secure knots at the back of the work and neatly weave in the ends to create a professional finish.
- Use Stable Yarn: Opt for durable cotton or blended yarn to ensure the bag remains sturdy and holds its shape.
Uses of the Crochet Bag
- Everyday Use: Ideal for carrying small daily essentials.
- Gift Option: A thoughtful handmade present perfect for friends and family.
- Storage: Use it as a decorative basket for storing small items like makeup, stationery, or accessories.
- Fashion Accessory: Complements casual outfits when styled as a tote bag or side bag.
Tip
If you’re new to color changes or puff stitches, practice these techniques on a small swatch before incorporating them into your main project. A bit of practice will ensure a smoother, neater finish.
Conclusion
This crochet bag pattern provides a creative and fun way to craft a practical accessory while learning new crochet techniques. With its customizable features and elegant construction, the bag serves both functional and decorative purposes. Whether used as an everyday bag or a stylish gift, this crochet project enables you to express your creativity while building on your crochet skills. Take your time with the stitches, follow the steps, and enjoy the process of making this beautiful handmade bag!