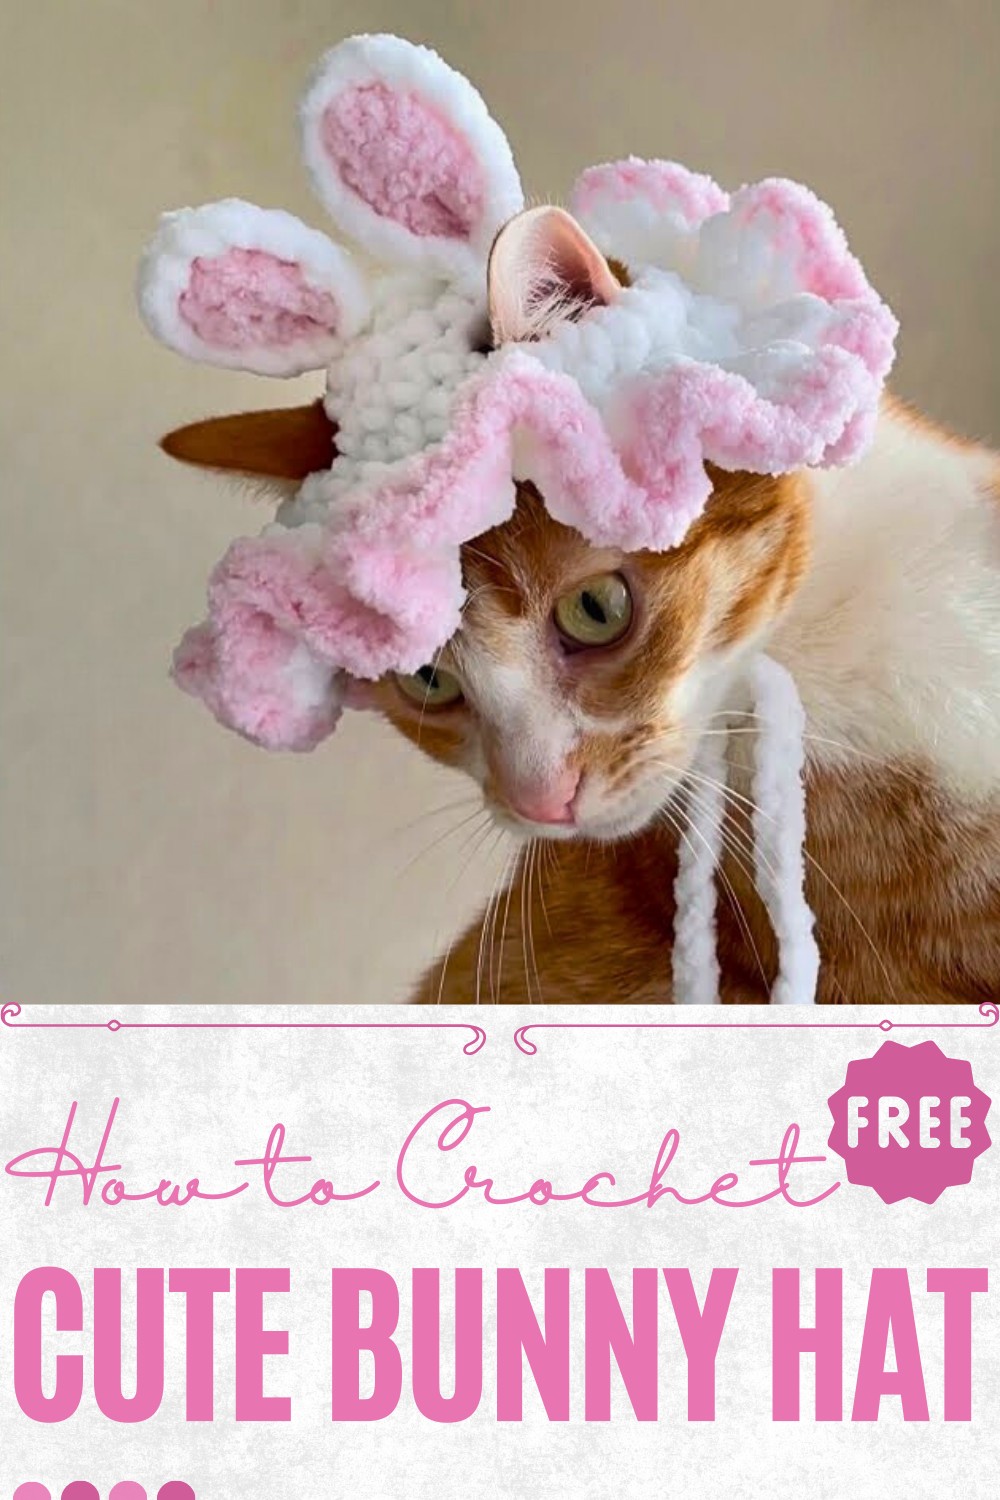
Minimalist Crochet Bunny Hat Pattern Must-Haves
Bring playful charm to any outfit with this Crochet Bunny Hat Pattern, offering cozy warmth, adorable style, and handmade delight.
Tiny baby giggles under a soft, hand-knit bunny hat, its long ears playfully standing upright as warmth gently wraps around little cheeks. The Crochet Bunny Hat pattern offers more than just a cozy cover; it’s a charming accessory that adds personality and comfort to any wardrobe. Its soft yarn construction provides gentle protection against the cold, making it ideal for babies and toddlers during outdoor walks, photo sessions, or casual outings. The hat’s playful shape captures attention, turning ordinary moments into memorable snapshots, while the snug fit ensures it stays comfortably in place.
Vibrant Crochet Bunny Hat Accents for Playful Looks
Beyond its adorable appearance, the hat encourages sensory engagement, as the texture and form delight both children and onlookers. Its versatility allows it to pair beautifully with everyday outfits, festive attire, or even themed celebrations, offering a practical yet whimsical addition to any child’s wardrobe. The simple structure allows for easy maintenance, washing, and repeated use without losing its shape or charm.
Parents and gift-givers find it a thoughtful present, blending usefulness with charm, while its playful appeal brings smiles to any occasion. Lightweight yet insulating, the Crochet Bunny Hat merges style and function effortlessly, making it an essential accessory for warmth, comfort, and a touch of joyful character.
Materials Required
- Yarn:
- White yarn (Himalaya Dolphin Baby Yarn, for the main hat).
- Pink yarn (for the inner section and edging of ears).
- Crochet Hook:
- Size 6 for the main yarn.
- Size 4 for the pink yarn.
- Tools: Scissors, stitch marker, and yarn needle.
Special Features
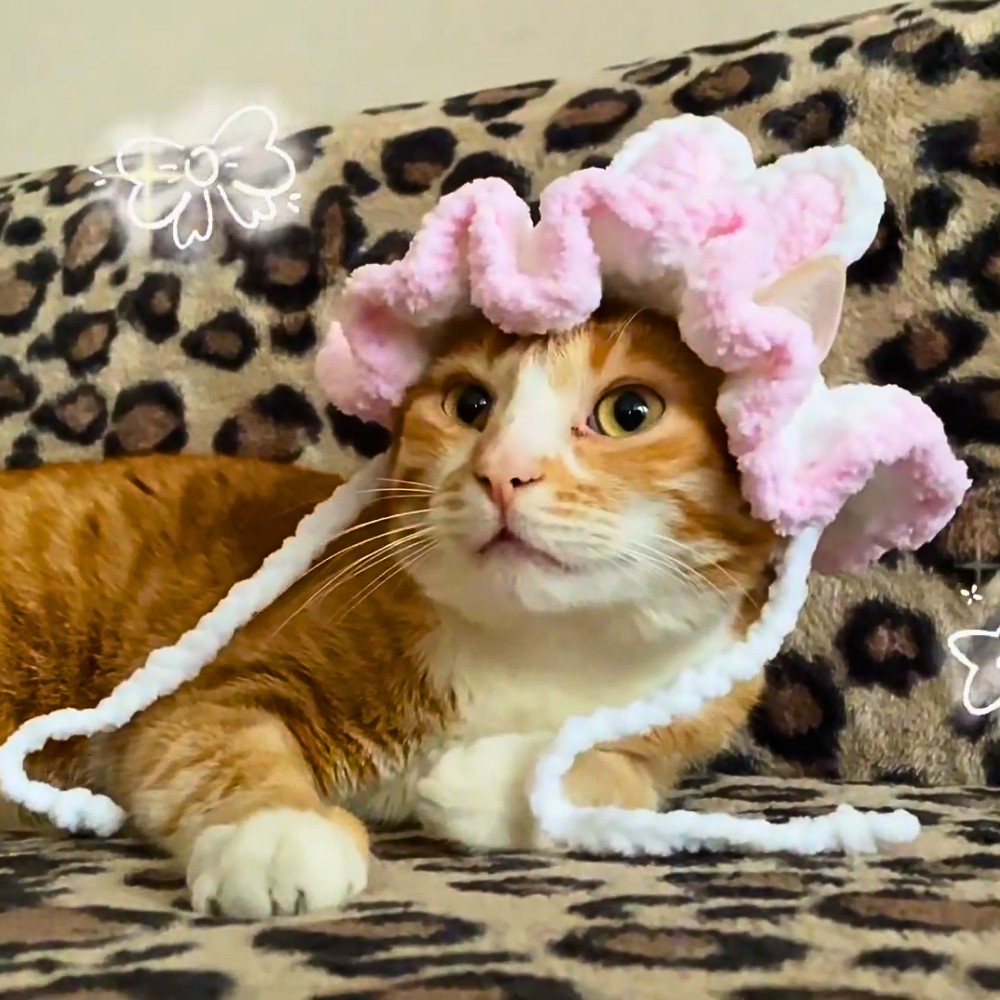
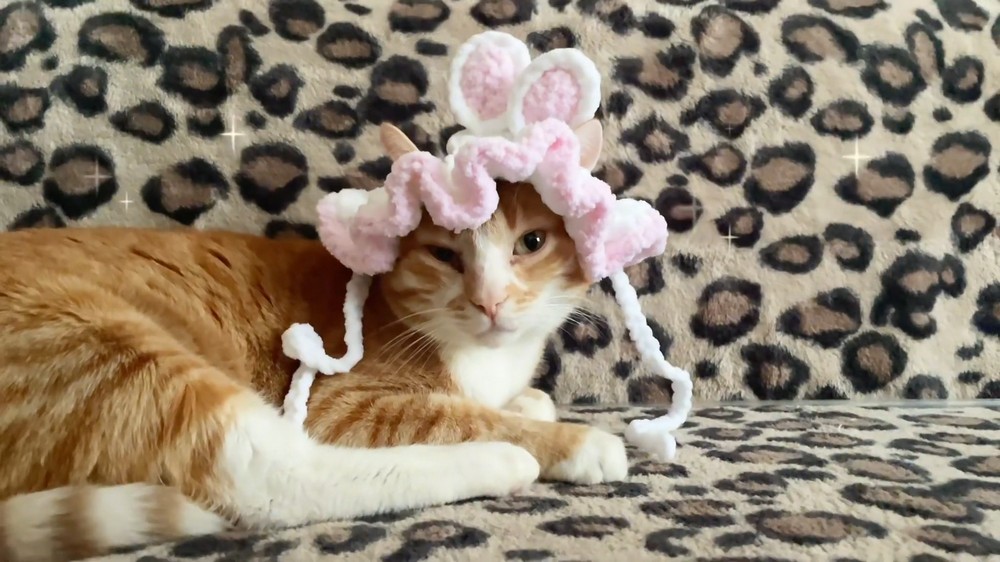
- Adorable Design: The bunny-ear hat is playful and designed to fit snugly on your cat’s head, including holes for their ears.
- Beginner-Friendly: The pattern utilizes basic stitches, making it accessible to crocheters who are new to the project.
- Customization: Adjust the hat size, ear placement, or yarn color to fit your cat’s unique measurements and personality.
- Functional and Cute: Acts as a photo-worthy accessory while being soft and comfortable to wear.
Step-by-Step Instructions
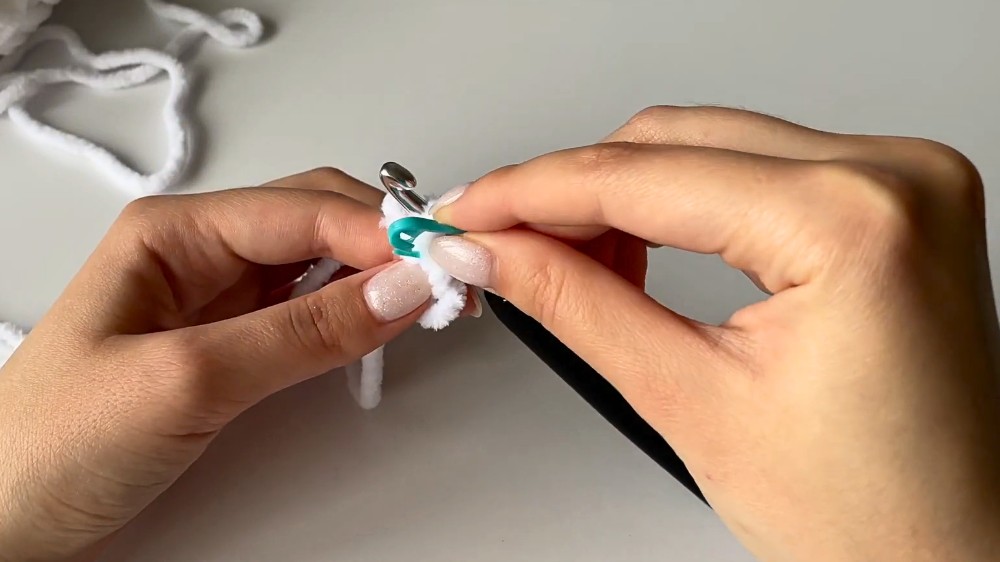
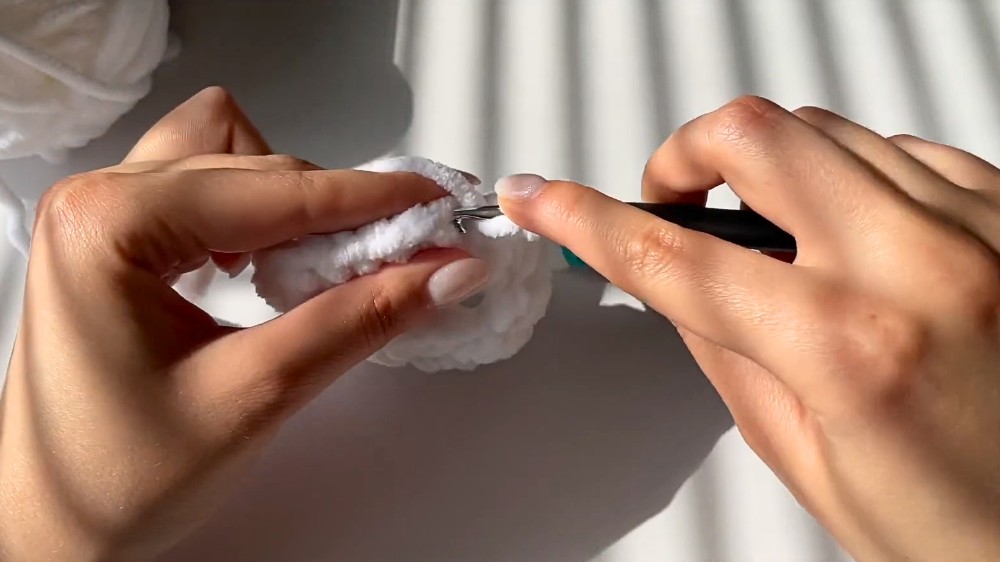
1. Starting the Base of the Hat
- Magic Ring Alternative:
- If your yarn (like Dolphin Baby yarn) is delicate, you can start with a slip knot instead of a magic ring.
- Create a slip knot, then chain 2.
- First Round:
- In the first chain, make 8 single crochets (SC).
- Place a stitch marker in the first stitch to mark the beginning of the round.
- Pull the short yarn end to close the ring. Join the round with a slip stitch.
- Second Round – Increases:
- Chain 1. In each stitch, make 2 half double crochets (HDC), doubling the stitch count to 16 HDCs.
- Third Round – Expanding:
- Continue increasing by alternating:
- 1 HDC in the first stitch, then
- 2 HDC in the next stitch.
- Repeat the pattern, ending with a slip stitch. You can add more rows if your cat’s head needs more coverage (e.g., one row of “1 HDC in 2 stitches, then increase”).
- Continue increasing by alternating:
- Preparing for Ear Holes:
- Once the base width is complete (usually around 5 cm for most cats), divide the stitches into sections for ears, forehead, and back of the head.
- Once the base width is complete (usually around 5 cm for most cats), divide the stitches into sections for ears, forehead, and back of the head.
2. Creating the Holes for Cat’s Ears
- Segmenting the Hat:
- Use a stitch marker to divide the stitches into four equal parts:
- The front forehead section,
- Spaces for two ears,
- The back of the head.
- Use a stitch marker to divide the stitches into four equal parts:
- Making the Ear Holes:
- Chain 1, then crochet HDCs around until you reach the ear section.
- For each ear, make 10 chain stitches, skip 4 stitches, and join back with an HDC. Continue for the second ear hole.
- Reinforcing the Holes:
- In the next row, crochet 12 HDCs around each ear chain space. Adjust the number of stitches if the chain length is different.
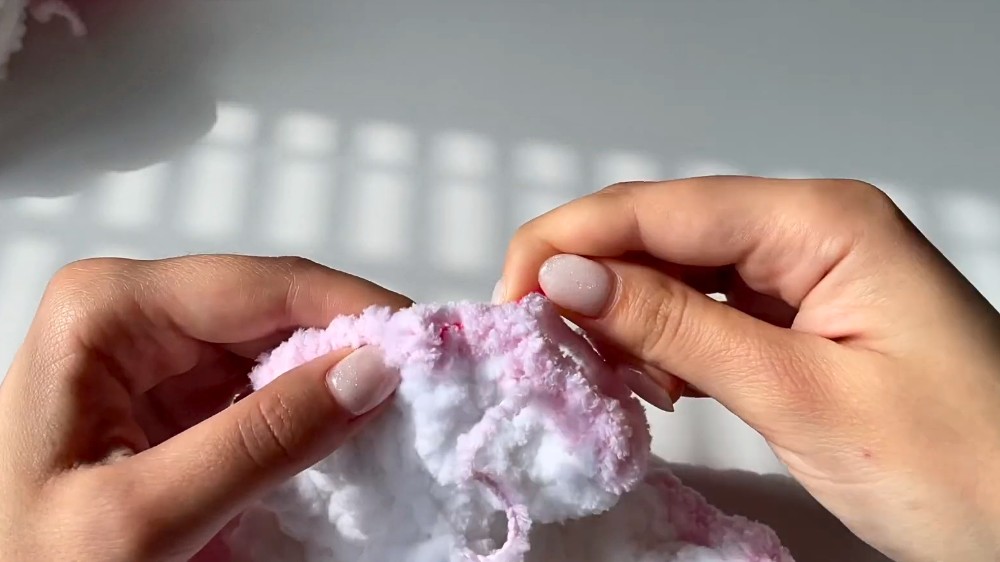
3. Adding the Ruffle Brim
- Brim Stitch Pattern:
- Chain 1, then make 3 double crochets (DCs) in each stitch around.
- Add plenty of double crochets for a ruffled, decorative brim effect.
- Finishing the Brim:
- Once complete, make a slip stitch to secure the row.
- Once complete, make a slip stitch to secure the row.
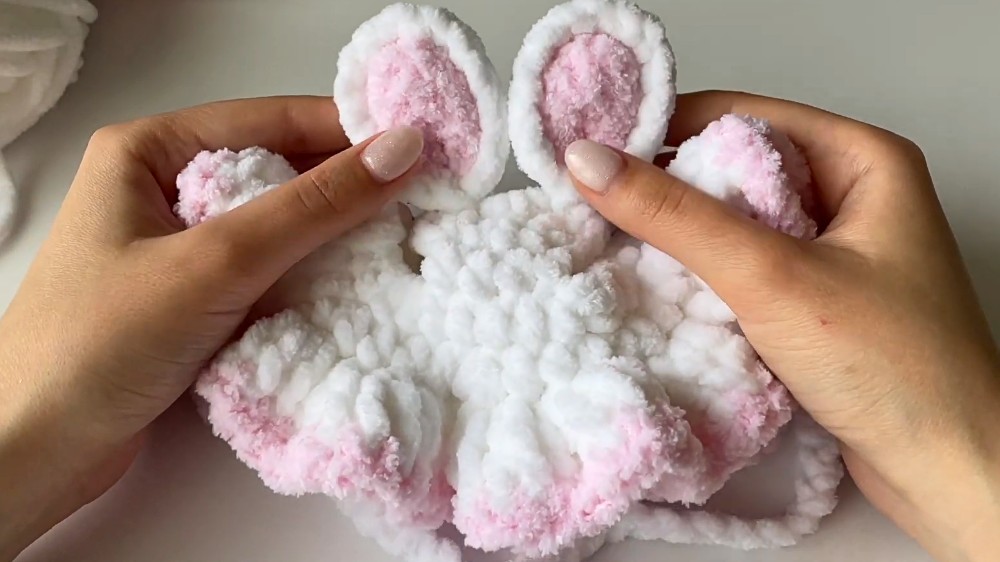
4. Crocheting the Bunny Ears
- Outer White Ears:
- Using the white yarn, chain 6 and crochet 5 SCs in the chain.
- Continue working back and forth, increasing in the last stitches of each row to shape the ear.
- Leave a long tail for sewing.
- Inner Pink Ears:
- Follow the same steps as the white ears, but only complete two rows (instead of the full three).
- Assembling the Ears:
- Sew the pink inner panel onto the white outer piece, ensuring the pink is not visible from behind.
- Fold the ear slightly to create dimension, then attach it to the hat in your desired position.
5. Adding the Ties
- Ties for the Hat:
- Find the center bottom of the hat and attach the yarn.
- Chain 35 stitches, then finish by cutting and weaving in the ends.
- Repeat for the other side.
Level of Difficulty
This pattern is beginner-friendly. The pattern builds on basic stitches like single crochets, half double crochets, and double crochets. While simple, it requires some attention to detail, especially for customizing the measurements and assembling the ears neatly.
Tutor’s Suggestions
- Adjust for Your Cat: Every cat is unique, so periodically try on the hat as you crochet to ensure it fits properly.
- Take Care With Delicate Yarn: If you’re using soft yarn like Dolphin Baby yarn, avoid tightening the yarn too much to prevent tearing.
- Use Stitch Markers: Mark the first stitch of each row to prevent losing your place and maintain consistent rounds.
Uses of the Bunny Hat
- Photo Opportunities: Capture playful and adorable moments with your cat.
- Gifts for Pet Owners: A bunny hat makes a thoughtful handmade gift for cat lovers.
- Special Occasions: Perfect for costumes, themed photo shoots, or simply showing off your crocheting creativity.
Conclusion
This crochet bunny hat is a delightful project to showcase your love for crocheting and your furry friend. With its customizable design, attention to detail, and simple stitch work, it’s an enjoyable and rewarding pattern for beginner and experienced crocheters alike. Whether for everyday fun or a holiday accessory, your cat is sure to enjoy its new cozy and adorable hat.
Final Tip
When sewing the ears and ties, ensure the stitches are secure, but hidden. This ensures the hat stays durable while looking professionally finished.