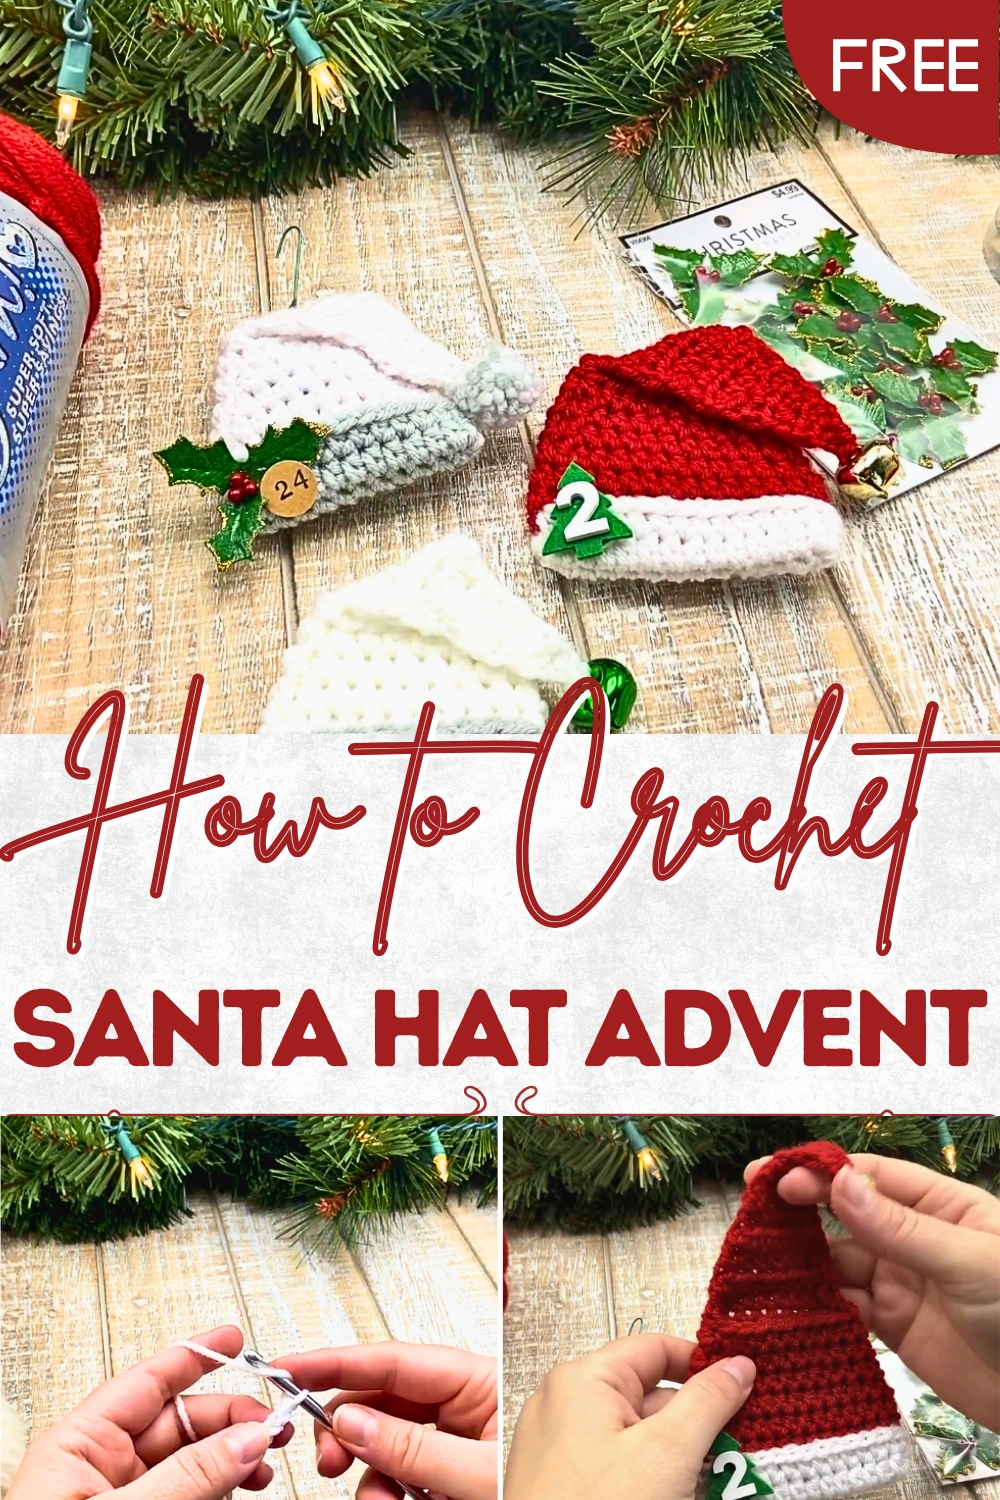
Magical Crochet Santa Hat Advent with Festive Glow
Count down to the holidays with a Crochet Santa Hat Advent Pattern that brings festive cheer and playful charm to every day.
Holiday traditions often center around anticipation and small daily joys, and few items capture that sense of excitement better than an advent calendar. The Crochet Santa Hat Advent Pattern brings this festive spirit to life in a handcrafted, whimsical form, combining the charm of crochet with the thrill of countdown celebrations. Each mini Santa hat becomes a tiny treasure, perfect for holding treats, notes, or small surprises, adding both function and festive cheer to the holiday season.
Festive Crochet Santa Hat Advent for Holiday Cheer
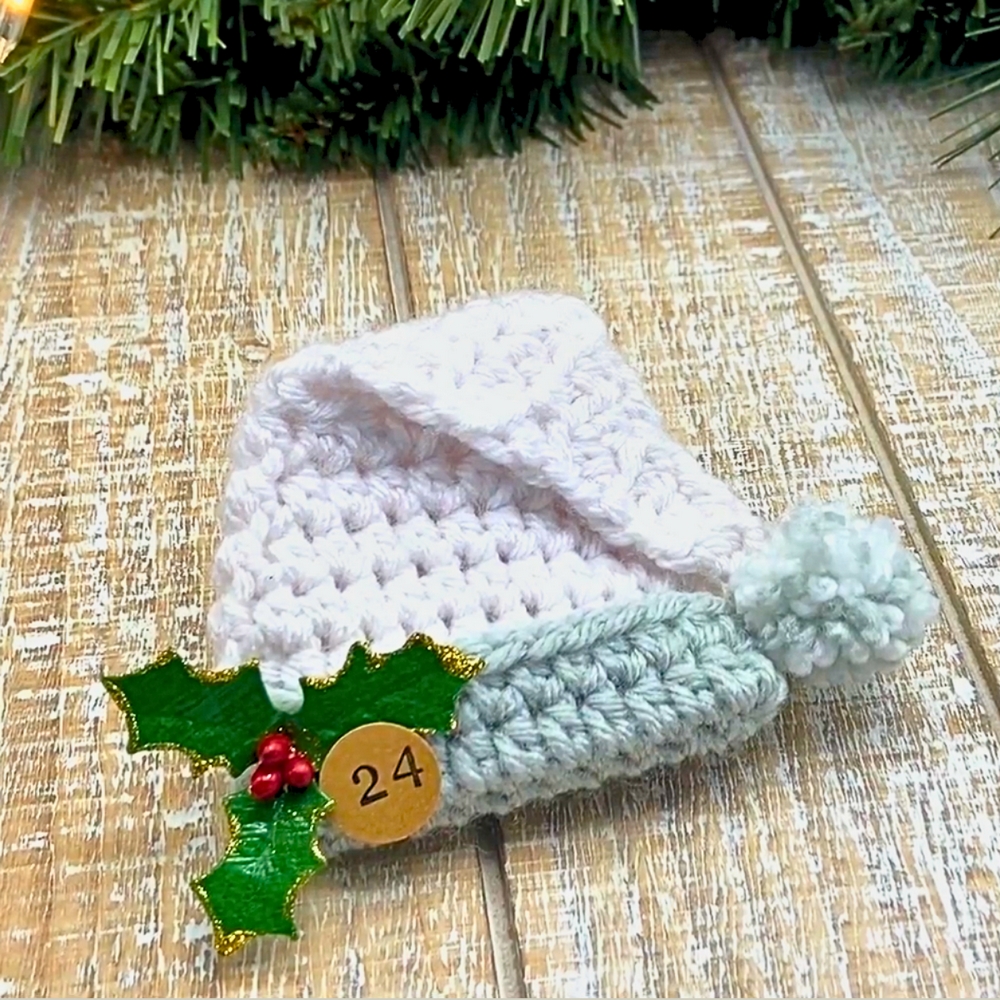
The construction begins with forming a classic pointed hat shape, accented with a fluffy brim and pom-pom that embody the iconic Santa look. Each hat can be customized in traditional reds and whites or playful alternative shades, allowing creativity while maintaining a cohesive, charming collection. Lightweight and durable, the hats can be arranged on a mantel, hung from a garland, or placed individually for interactive daily discoveries, enhancing the sense of anticipation and joy throughout December.
The Crochet Santa Hat Advent Pattern offers more than decorative appeal; it encourages creativity, patience, and mindful crocheting, turning simple yarn into a daily celebration. Each carefully stitched hat carries warmth, charm, and holiday cheer, transforming the countdown to Christmas into a hands-on, engaging experience. This handmade advent set blends artistry, practicality, and festive spirit into a delightful seasonal tradition.
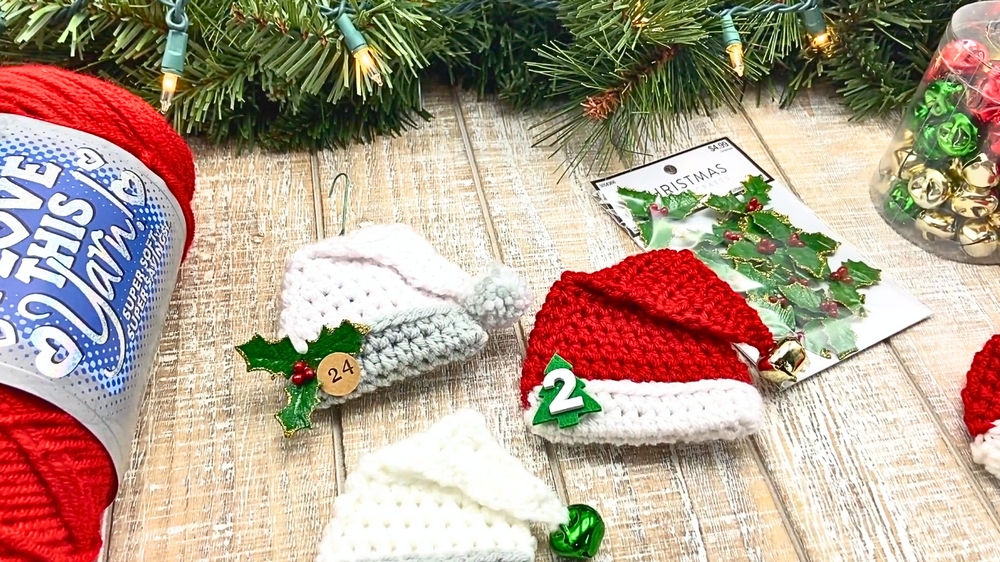
Materials Needed
- Yarn:
- Red yarn for the main hat color (Creator uses “I Love This Yarn” from Hobby Lobby).
- White yarn for the accent brim.
- Crochet Hook:
- 5mm hook (smaller than the suggested 5.5mm to create tighter stitches).
- Accessories:
- Scissors for cutting yarn.
- A darning or tapestry needle for weaving ends.
- Treats to fill the advent pocket (e.g., candies or notes).
- Optional Decorations:
- Bells, holly embellishments, cardstock for personalized numbers, and ornament hooks.
Special Features
- Pocket Design: The Santa Hat includes a pocket, allowing you to pack treats or notes for an advent countdown.
- Decorative Brim: A textured rim adds a professional finish to the hat design.
- Customizable: Easily decorate the ornament with bells, holly, or personalized numbers to suit your holiday theme.
- Three Available Sizes: Katie has created small, medium, and large versions, with written instructions available in her Etsy shop.
Level of Difficulty
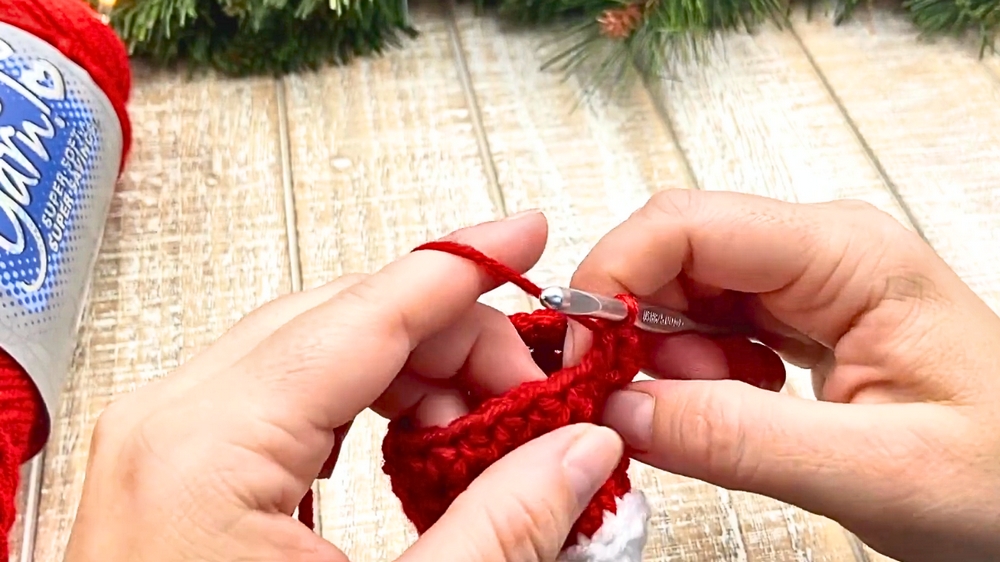
The project is categorized as beginner to intermediate, requiring basic familiarity with stitches like slip stitch, half-double crochet, and invisible decreases. Attention to detail in shaping and weaving ensures a polished result.
Step-by-Step Instructions
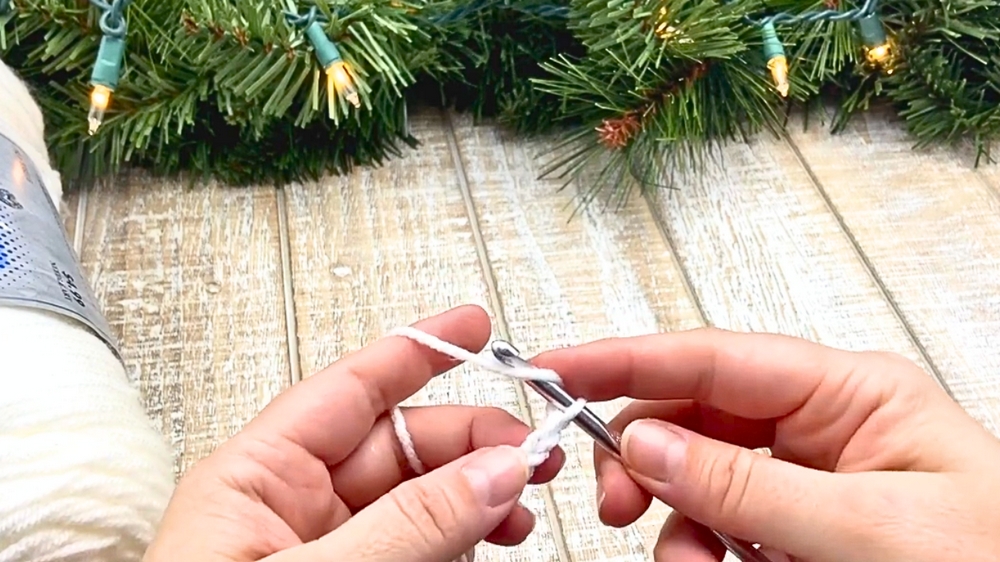
1. Crochet Base (Start With the Brim)
- Chain 12:
- Begin with a slip knot, then chain 12.
- Half-Double Crochet (HDC):
- Work into the second chain from the hook and make 10 HDC stitches along the chain.
- Increase Stitches:
- In the last chain, create 3 HDC stitches. Start to turn the chain and work on the other side.
- In the last chain, create 3 HDC stitches. Start to turn the chain and work on the other side.
- HDC on the Other Side:
- Crochet 9 HDC stitches along the opposite side.
- Final Increase:
- Place 2 HDC stitches into the last chain to complete the round. You should now have 24 HDC stitches.
- Slip Stitch and Chain 1:
- Slip stitch into the first HDC and chain 1 to begin the next row.
- Work a round of HDC stitches (24 total).
2. Switch to Red Yarn (Main Hat Color)
- Cut White Yarn:
- After completing the brim, cut the white yarn and attach the red yarn to transition to the main color of the Santa Hat.

- Complete the final stitch using red yarn to secure the color change.
- After completing the brim, cut the white yarn and attach the red yarn to transition to the main color of the Santa Hat.
- Work into Back Loops Only:
- Slip stitch and chain 1, then work HDC stitches into the back loops only. This technique creates a lip effect for the brim’s edge.
- Complete Rounds:
- Follow the pattern for two more rounds with 24 HDC stitches.
3. Decreasing for the Hat Shape
- Invisible Decrease:
- Begin the row with a decrease using an invisible method:
- Insert the hook into the front loop of the next two stitches.
- Yarn over, pull through both loops, and finish the HDC stitch.
- Begin the row with a decrease using an invisible method:
- Decrease Pattern:
- Alternate between decreasing and regular HDC stitches to shape the hat:
- Work 10 HDC, decrease, then 10 HDC again.
- Follow this pattern in subsequent rows, reducing stitches evenly.
- Examples:
- Row 2: 9 HDC, decrease, 9 HDC.
- Row 3: 8 HDC, decrease, 8 HDC.
- Alternate between decreasing and regular HDC stitches to shape the hat:
- Continue Reducing:
- Gradually decrease rows until a flap is formed for the stocking hat’s top.
4. Create the Hat Flap
- Start the Flap:
- After finishing decreases, begin working on the stocking hat flap.
- Chain and Turn:
- Chain 1, turn, and work across the stitches using decreases and structured rows.
- As the flap narrows, continue reducing rows with fewer HDC stitches:
- Examples: 7 HDC, decrease, 5 HDC, decrease, and so on.
- Finalize Flap:
- Complete the final row with a last decrease. Fasten off the yarn securely.
5. Weave Ends and Add Decorations
- Weaving:
- Use the darning needle to weave yarn ends neatly into the project. Katie recommends securing ends with knots to ensure durability.
- Optional Embellishments:
- Decorate the hat with cardstock numbers, bells, holly leaves, or glitter for a festive touch.
- Attach an ornament hook to convert the hat into a tree decoration. Katie suggests positioning the hook between rows to create balance.

Tutor’s Suggestions
- Hook Size Adjustment: Using a smaller hook (5mm instead of the recommended 5.5mm) creates tighter and firmer stitches, which are ideal for this project.
- Consistent Counting: Verify stitch counts after each row to prevent misalignments in the pattern.
- Secure Decorations: Creator recommends fabric glue to ensure embellishments like bells and holly don’t fall off the hat during use.
- Experiment with Sizes: Try creating different-sized hats (small, regular, large) to suit your decorations or gifting needs.
Uses of the Santa Hat Advent Ornament
- Holiday Advent Calendar: Fill with treats or small notes for a fun advent celebration.
- Tree Decoration: A festive addition to your Christmas tree.
- Gift Packaging: Use the pocket as a creative way to wrap small presents.
- Holiday Craft Sale Item: A unique handmade piece to sell at holiday fairs.
Conclusion
This Santa Hat Advent Ornament is a wonderful project for the holiday season. With its creative design and functional pocket, it combines aesthetic charm with practicality, making it perfect for gifting, decorating, or celebrating the advent countdown. The step-by-step pattern ensures crocheters of various skill levels can enjoy crocheting this festive piece.
Tip
When working with color changes, always pull the yarn tight to prevent gaps where the new yarn is attached. This makes the transitions clean and professional-looking.