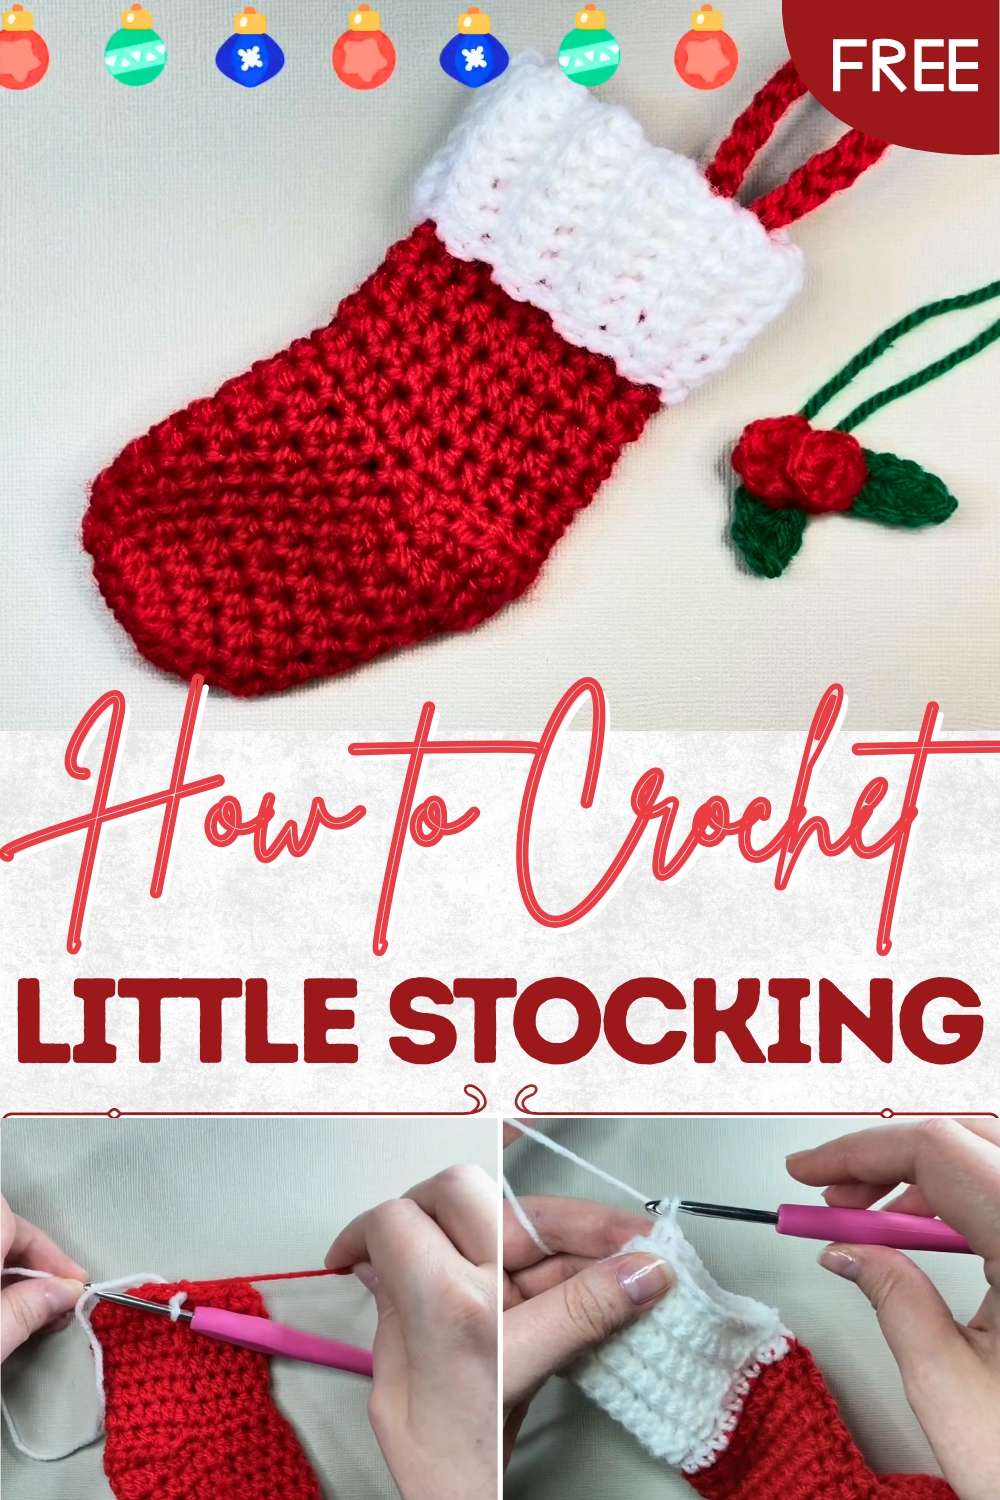
Lovely Crochet Little Stocking Perfect for Seasonal Homes
Charm the holidays with this Crochet Little Stocking Pattern for a festive, cozy accessory that adds warmth to seasonal décor.
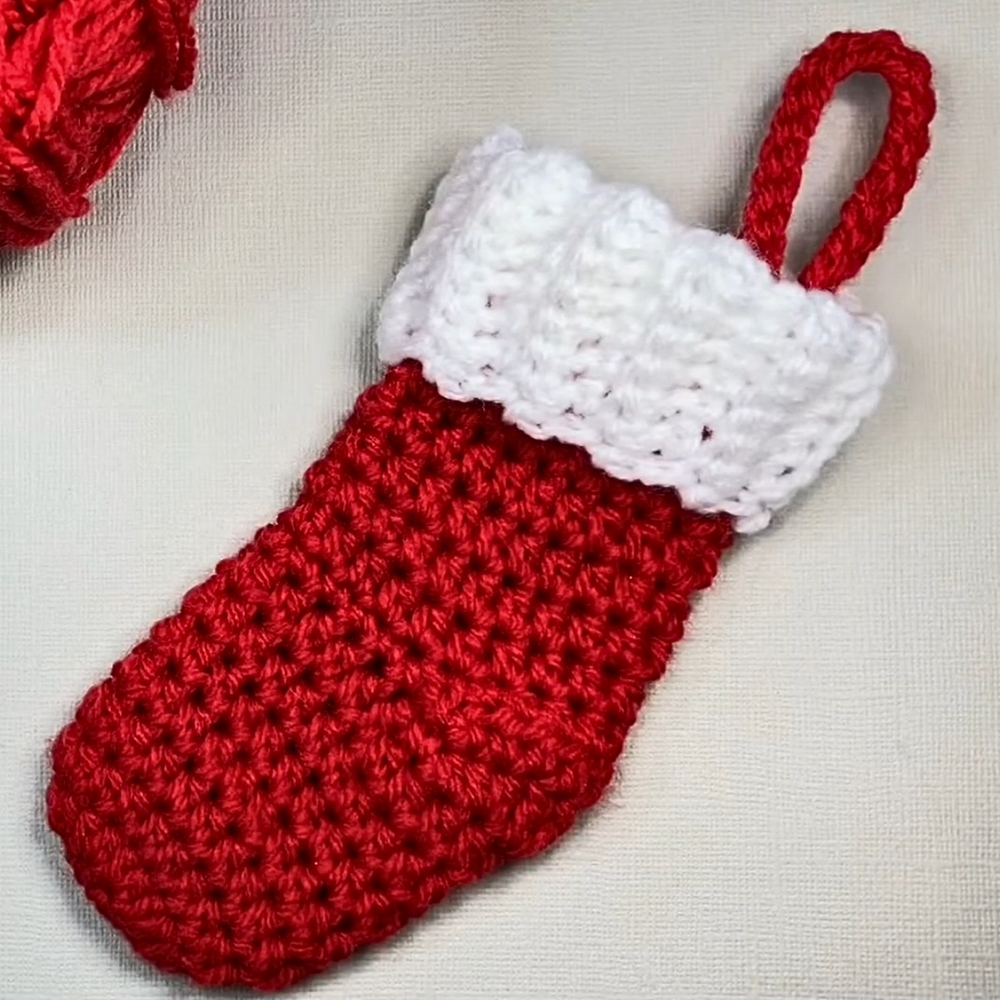
simple stocking by the fireside became a cherished emblem of anticipation, carrying with it the joy of small surprises and thoughtful tokens. The crochet little stocking pattern captures that same sense of wonder in a beautifully detailed handmade form, bringing warmth and tradition into every stitch. Compact in size yet full of charm, it serves as a versatile accent piece, perfect for hanging on the tree, adding a festive touch to a table setting, or offering as a thoughtful keepsake to friends and family.
Beautiful Crochet Little Stocking Ideal in Christmas Magi
Its petite structure makes it an ideal choice for holding small treats, notes of affection, or even tiny trinkets, turning ordinary moments into memorable gestures. With its textured body and classic shape, this stocking blends both practicality and charm, offering endless possibilities in personalization through color and finishing details.
The beauty lies not only in its festive appearance but also in its ability to carry meaning, symbolizing generosity, celebration, and togetherness. Year after year, these little stockings can become part of cherished traditions, offering a timeless touch of warmth and elegance to holiday décor. Beyond decoration, they embody joy, thoughtfulness, and the enduring spirit of giving in the most delightful way.
Materials Needed
- Yarn:
- 8-ply yarn (also called DK or light worsted), in red and white.
- Any yarn weight can be used but will alter the size of the stocking.
- Crochet Hook: 4 mm hook (or as suggested on your yarn label).
- Other Supplies:
- Yarn needle for weaving in ends.
- Scissors.
Special Features
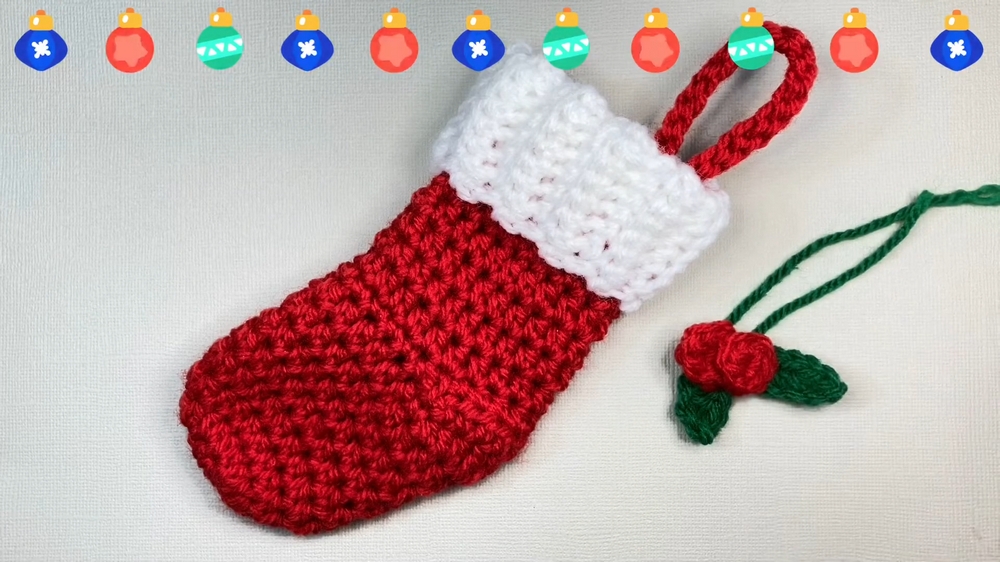
- Ribbed Top: Gives the stocking a classic, textured look.
- Versatile Loop: Allows the stocking to be conveniently displayed on a tree, hook, or doorknob.
- Compact Size: Ideal for small gifts or edible treats.
- Customizable Design: Change the length of the loop or adjust the ribbing to suit your style.
Level of Difficulty
This project is suitable for confident beginners, as it uses basic crochet stitches like half double crochet, single crochet, and slip stitch. However, the alternating starting technique and working with ribbing may challenge absolute beginners, making it a great project for those ready to explore new techniques.
Tutor’s Suggestions
- Magic Circle Alternative: If you’re not comfortable with magic circles, you can chain 4, slip stitch into the first chain to form a circle, and work into it.
- Stitch Consistency: Alternate starting points in specific rounds to keep the seam straight and neat, which is especially important near the heel.
- Securing Tails: Reinforce areas like the loop attachment with extra stitches to ensure durability when used by children.
- Custom Length: Adjust the starting chain for ribbing or the loop to make the stocking fit your preference.
Step-by-Step Instructions
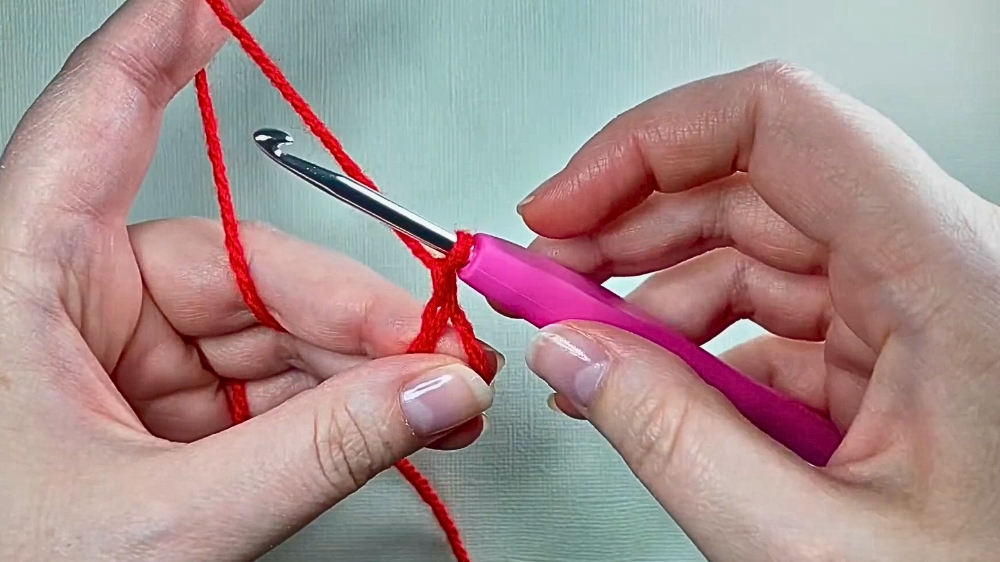
Step 1: Start with a Magic Circle or Alternative
- Create a Magic Circle: Begin with 10 half-double crochets (HDC) worked over the tail of the circle.
- If using chains: Chain 4, slip stitch to form a circle, and work 10 HDC into it.
- Tighten: Pull the tail to close the circle loosely at first, and then slip stitch into the first HDC to finish the round. Tighten completely after slip stitching.
2: Build the Base of the Stocking (Rounds 2–8)
- Round 2:
- Chain 1 to get to the working height.
- Place 2 HDC into each stitch of the previous round (20 HDC total).
- Slip stitch to the first HDC to close the round.
- Round 3:
- Chain 1 then skip the first stitch. Work 1 HDC into each space for 19 stitches.
- Insert the 20th stitch either into the slip stitch or the skipped space—pick one method and stick with it throughout the stocking.
- Rounds 4–8:
- Alternate the starting technique as described in Round 3 to keep the seam straight.
- Work 1 HDC into every stitch of the round (20 stitches each round).
3: Shape the Heel (Rounds 9–11)
- Round 9:
- Chain 1, skip the first space entirely. Begin shaping:
- Single crochet → Half-double crochet → Pair of HDC → Pair of double crochets → Pair of double crochets (next stitch) → Pair of HDC → Single crochet.
- Skip the last stitch and slip stitch to finish the round.
- Chain 1, skip the first space entirely. Begin shaping:
- Round 10:
- Chain 1 and turn. Skip the first space and work a single crochet decrease (crocheting two stitches together).
- Work 6 HDC, another single crochet decrease, skip the stitch, and slip stitch to finish the round.
- Round 11:
- Chain 1 and turn again. Work a single crochet, 6 HDC, a single crochet, and then a single crochet decrease over the next two stitches.
- Finish with single crochets to restore the stitch count to 20.
4: Body and Ribbed Top of the Stocking (Rounds 12–18)
- Rounds 12–17:
- Alternate your starting points as in previous rounds. Work 1 HDC into each stitch (20 stitches per round).
- Round 18:
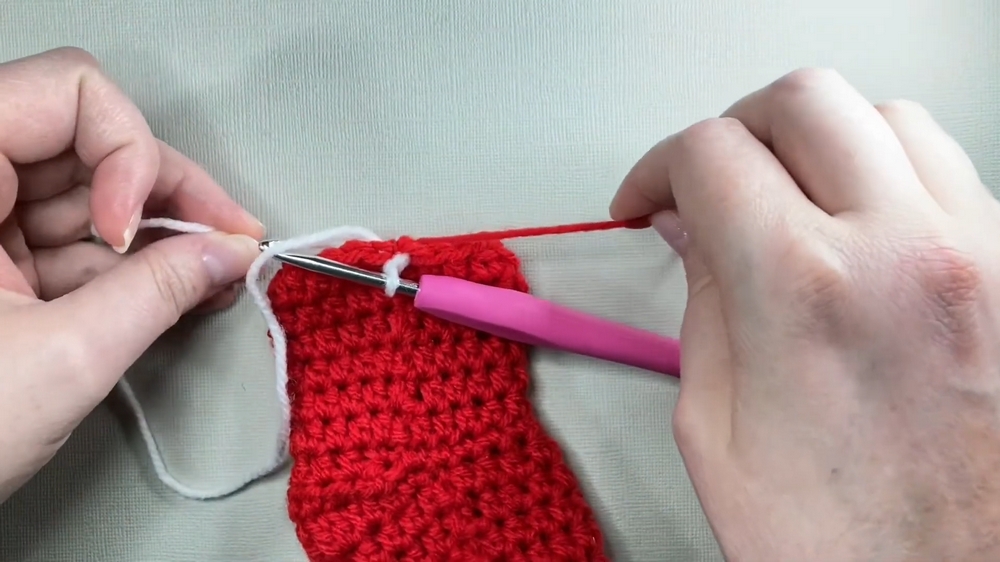
- Switch to white yarn to begin the ribbed section by joining it during your last stitch.
- Place 20 HDC into the round.
- Start Ribbing:
- Chain 10 to form the ribbed top (adjust this length as desired). Work single crochets back down the chain, leaving one stitch empty for each new row to create the ribbing pattern.
- End the Rib Section:
- Slip stitch both ends together and fasten off.
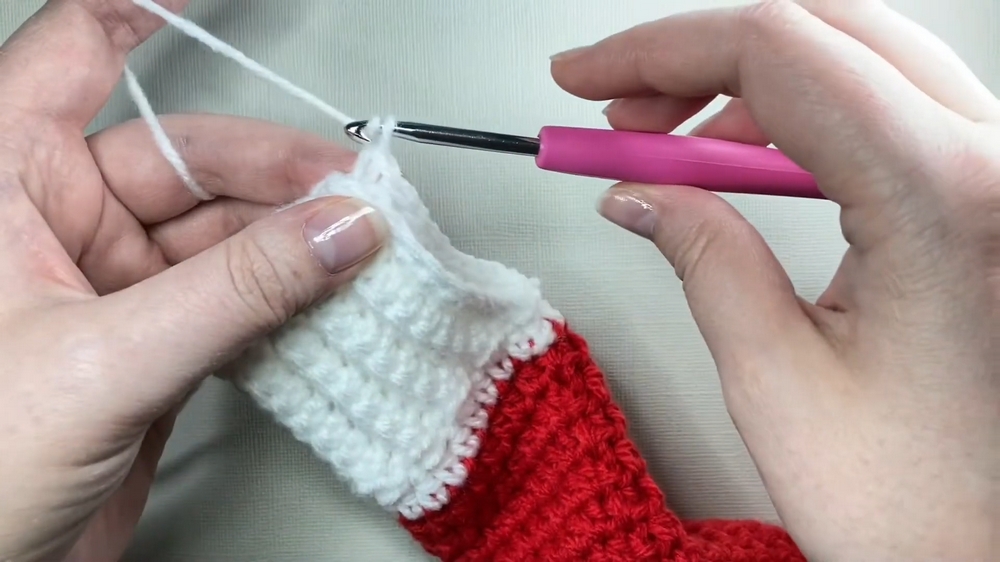
- Slip stitch both ends together and fasten off.
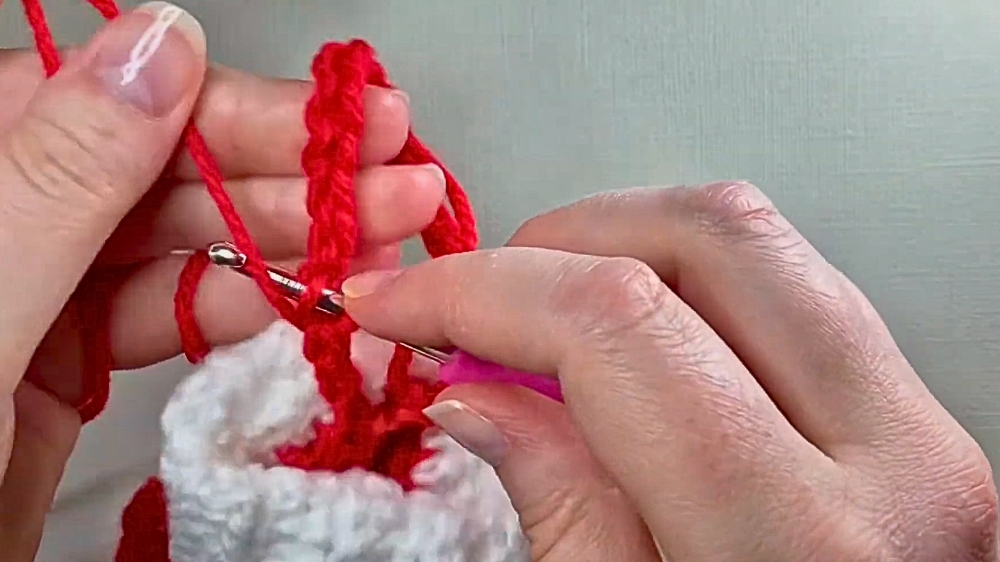
5: Create and Attach the Hanging Loop
- Reattach Red Yarn: Slip stitch into the stocking’s top edge near its halfway crease.
- Chain 25: Adjust the chain length depending on where you plan to hang it.
- Reinforce: Slip stitch back along the chain to strengthen the loop, then cut and fasten off.
Uses
- Tree Decoration: Adorable mini stockings to hang on the Christmas tree.
- Gift Holder: Perfect for small gifts such as candy, cookies, or little surprises.
- Personalized Gifts: Add holly sprigs or other crochet embellishments to elevate the design.
Final Tip
To keep the stocking sturdy, especially if you’re gifting it to children, pay close attention to reinforcing areas like the loop and the seam. Additionally, work in good lighting to ensure stitches are neat, especially when changing colors and creating ribbing.
Conclusion
This mini Christmas stocking crochet pattern is the perfect seasonal project to combine functionality with festive joy. Whether you’re crocheting these adorable stockings as decorations, gift holders, or surprises for loved ones, following the step-by-step guide ensures a flawless finish. With just a bit of yarn, a needle, and your creativity, you’ll create a holiday keepsake that’s sure to bring holiday cheer to your home or your friends.