Joyful Crochet Chicken Perfect for Rustic Holiday Styling
Cluck into fun with this Crochet Chicken Pattern for a playful, charming accessory that adds joy to gifts, décor, and collections.
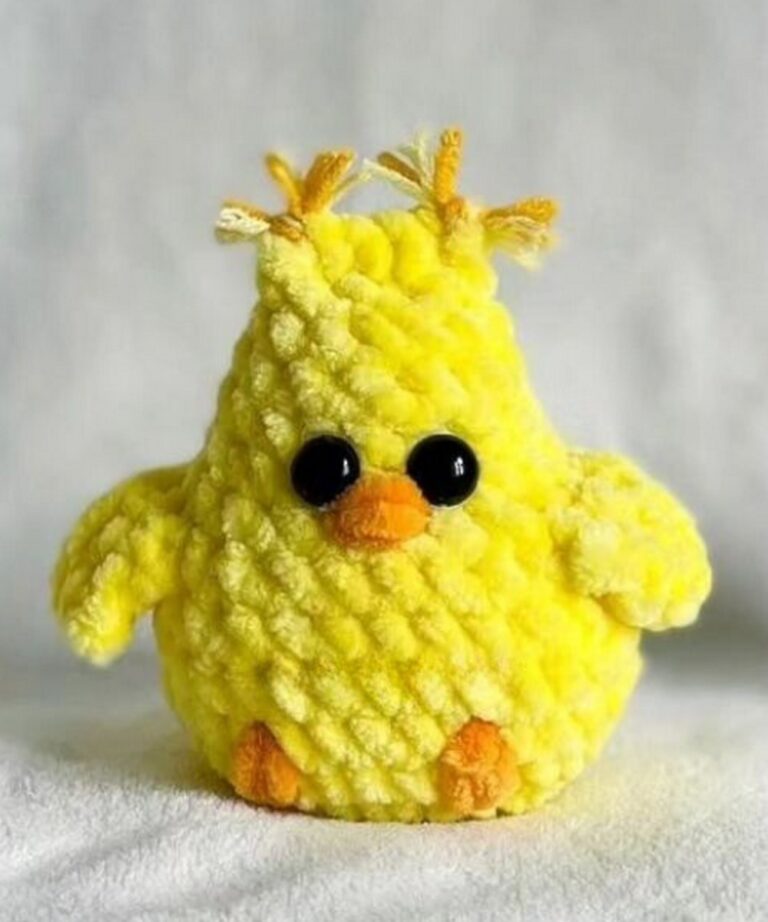
On quiet mornings when the sound of clucking drifts across a farmyard, the sight of a hen pecking contentedly at the ground has long been a symbol of simplicity and warmth. The crochet chicken pattern captures this charm in a soft and whimsical form, offering a piece that is both playful and versatile. With its rounded body, bright details, and character-filled features, this chicken brings a sense of rustic cheer wherever it is placed. It can serve as a delightful toy for children, a cheerful addition to farmhouse décor, or even a thoughtful handmade gift that carries the spirit of homeliness.
Lovely Crochet Chicken Pattern Ideal in Home Decor
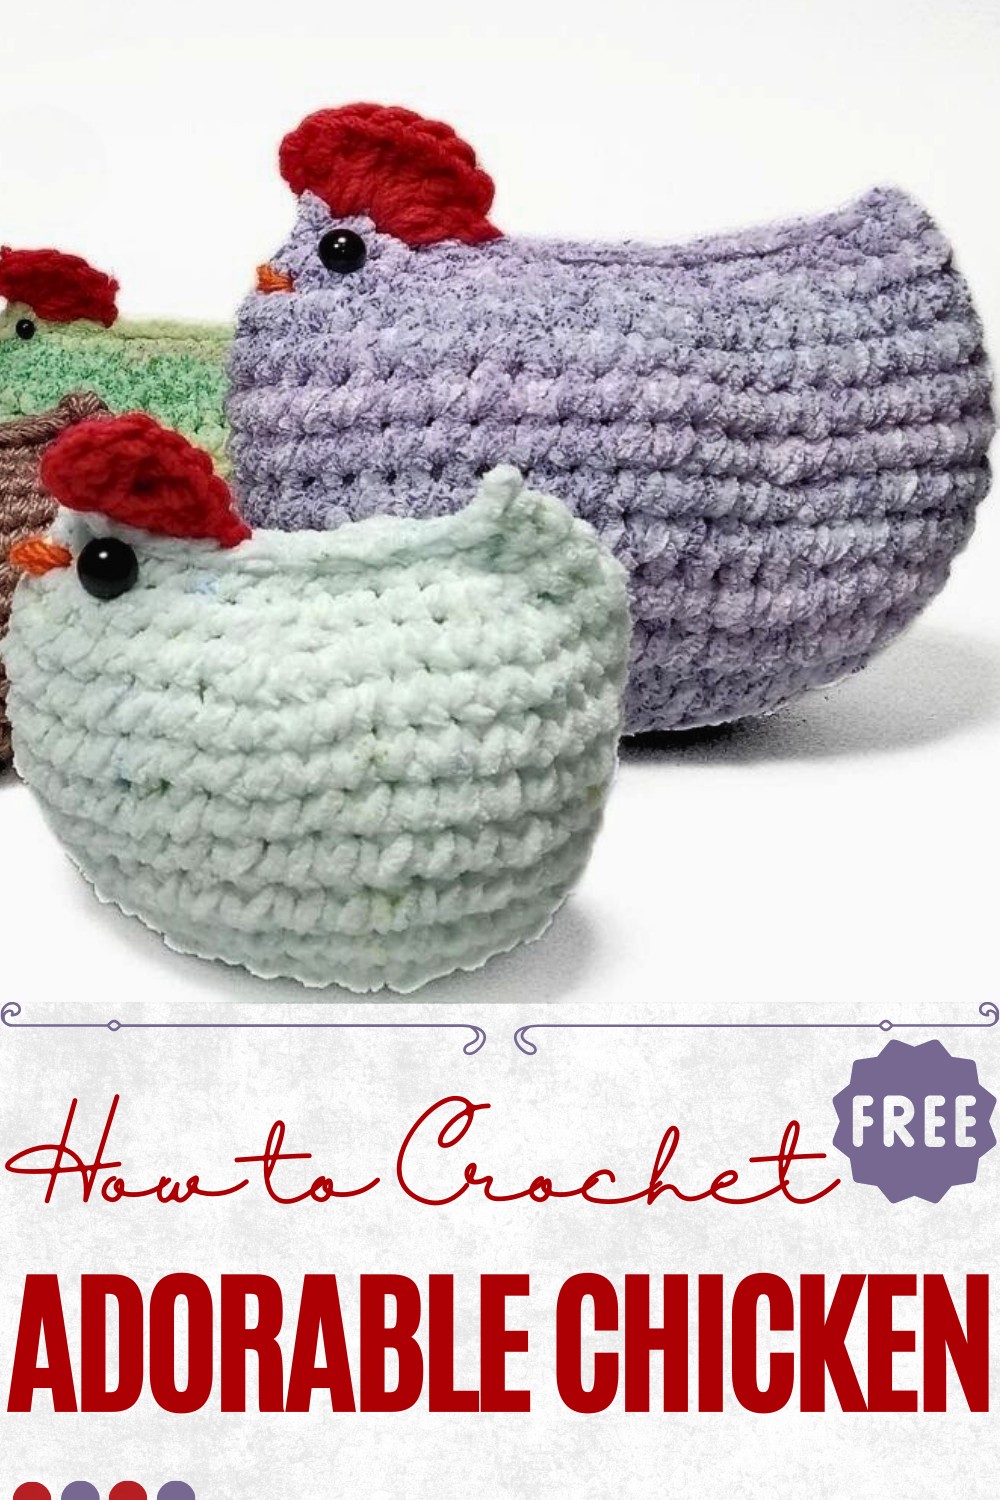
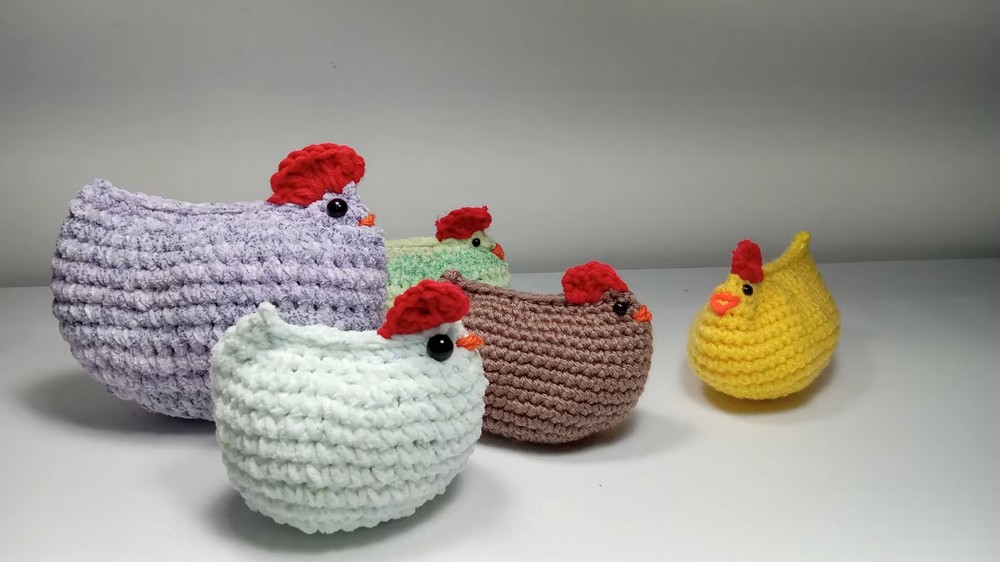
The pattern allows room for variation in colors and sizes, making each chicken a reflection of personal style or seasonal themes. Whether perched on a shelf, nestled in a basket, or used as part of festive displays, it brings lighthearted beauty to everyday surroundings.
Beyond decoration, its softness makes it safe and comforting for little hands, while its durability ensures it remains a keepsake for years. A crochet chicken is more than a charming ornament; it is a small celebration of simplicity, joy, and the warmth that thoughtful handiwork brings into daily life.
Materials Needed
To make the crochet chicken, you will need:
- Yarn:
- Acrylic yarn (for a smaller chicken).
- Plush yarn (for a softer texture or larger chicken; you can double the yarn to increase the size further).
- Hook: Choose the hook size that matches the yarn you are using (e.g., 4mm for acrylic yarn).
- Safety eyes: Add character to your chicken. Alternately, you can embroider the eyes if safety eyes aren’t available.
- Fiberfill: For stuffing the chicken.
- Tapestry needle: Used for sewing and weaving in ends.
- Scissors: To cut yarn.
- Stitch marker or scrap yarn: To help track rows, like using a yarn tail or contrasting yarn.
Step-by-Step Instructions
Creating the Chicken Body
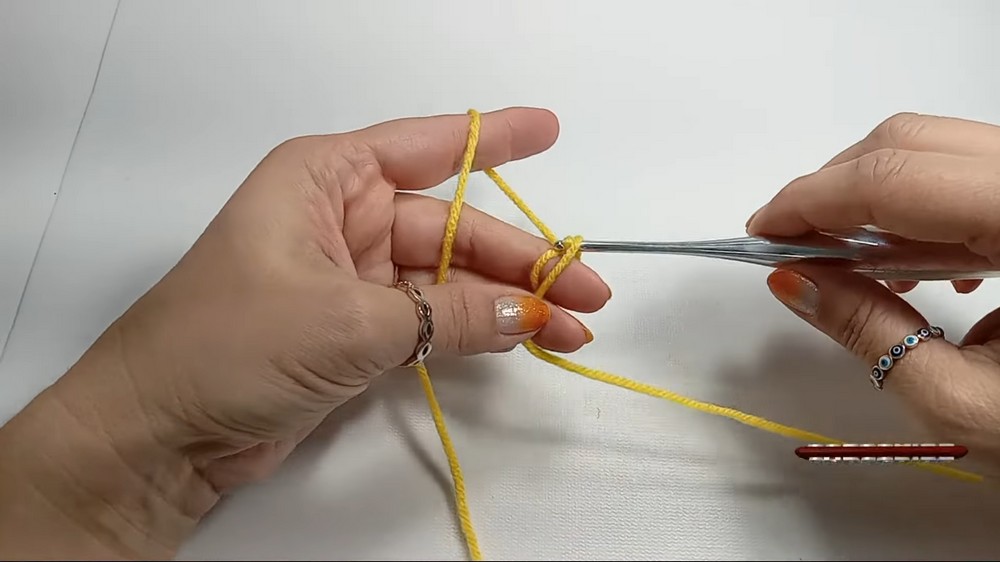
- Row 1: Start with a magic ring. Wrap the yarn around your middle finger, insert the hook, pull up a loop, and chain 1. Work 8 single crochets (SC) into the ring. Tighten the ring by pulling the tail.
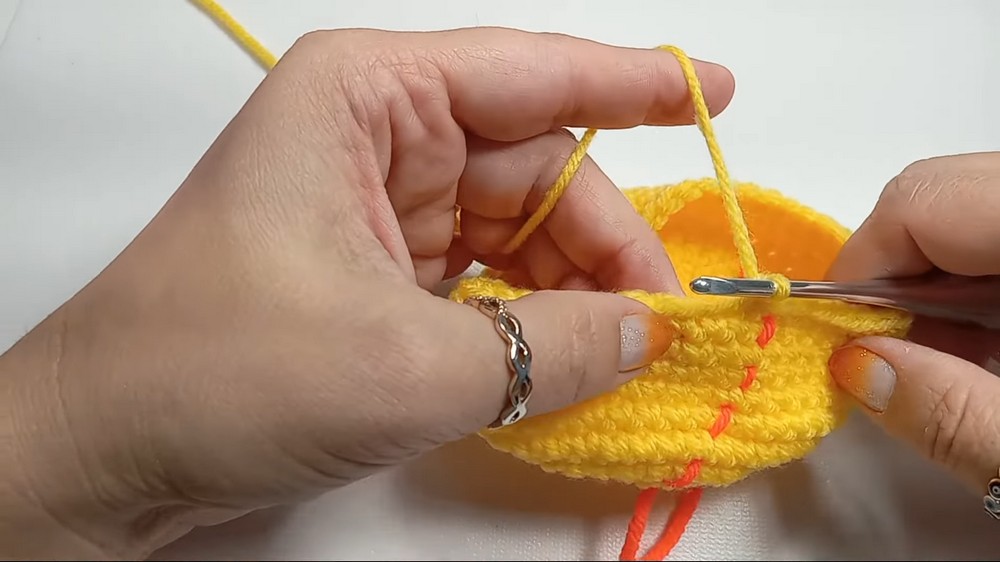
- Row 2 (Increase): Work 2 SC into each stitch (16 SC). Use a yarn tail as a stitch marker to track the first stitch of each row.
- Row 3: Work 1 increase (2 SC in the same stitch), 1 SC in the next stitch, and repeat around (24 SC).
- Row 4: Work 1 increase, 2 SCs (repeat) for a total of 32 SC.
- Row 5: Work 1 increase, 3 SCs (repeat) for a total of 40 SC.
- Row 6: Work 1 increase, 4 SCs (repeat) for a total of 48 SC.
- Rows 7-13: Work 1 SC in each stitch (continuous rows with 48 SC per row). This creates the height of the chicken’s body.
Shaping and Decreasing
- Row 14: Work 1 decrease (in next 2 stitches, pull up loops to the front loops only, then complete SC), followed by 4 single crochets (repeat). You’ll end up with 40 SC.
- Row 15: Work 1 decrease, followed by 3 single crochets (repeat). You’ll end up with 32 SC.
Closing and Stuffing the Body
- Finishing the Body: Once you’ve completed the last round, fold the chicken’s body in half to close the top.
- Insert the hook through stitches on both sides of the body to create slip stitches and close the opening.
- Stop stitching midway to firmly stuff the chicken with fiberfill, ensuring it maintains its shape.
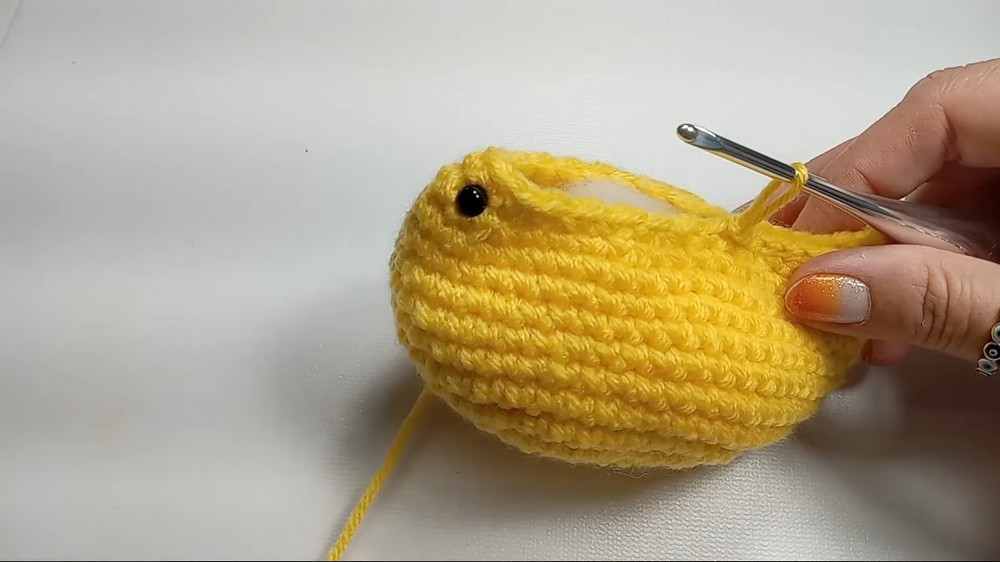
- Attach safety eyes under the final stitches before fully closing, ensuring they are symmetrical. If needed, use a small tool, like a needle measure, to secure the safety eyes.
- Once stuffed, continue slip-stitching until the opening is fully closed.
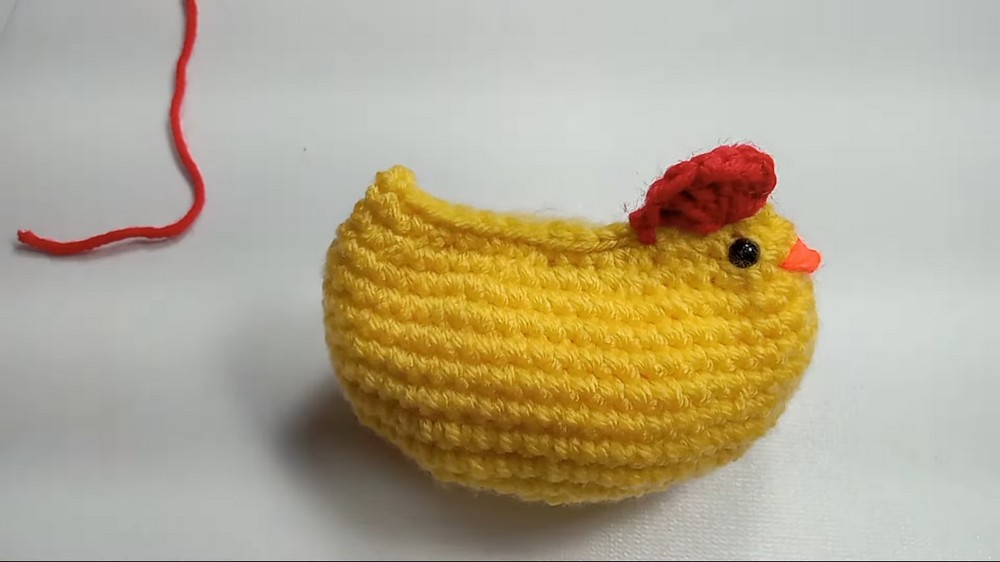
Adding the Beak
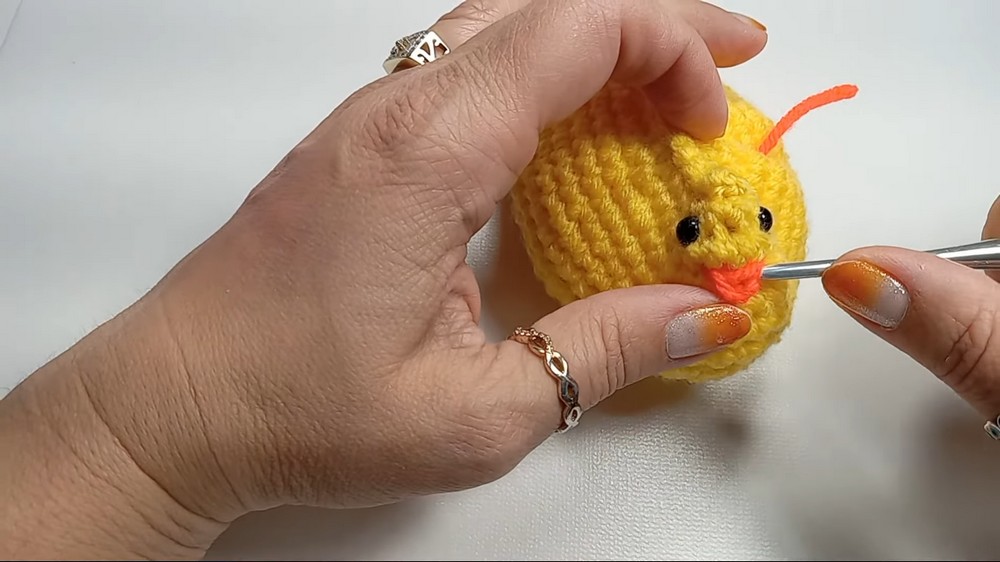
- Beak: Insert the hook under the body (in the middle, below the eyes) and pull a loop of orange yarn.
- Chain 1, then crochet through the body to create the triangular shape of the beak.
- Secure the yarn, tie knots, and hide the tail inside the body.
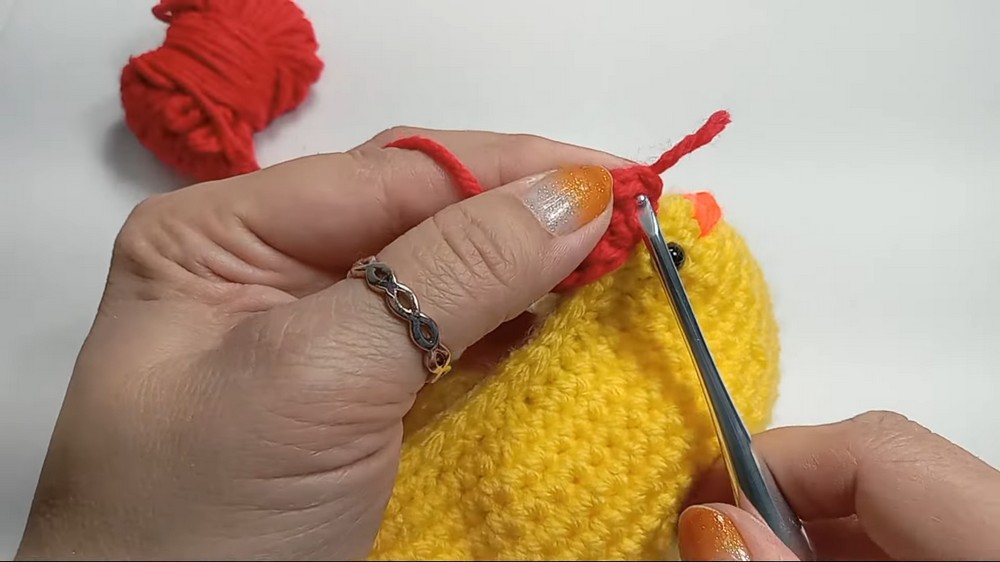
Adding the Comb (Top of the Head)
- Comb (Crest):
- Insert the hook into the head’s top center and pull a loop of red yarn. Chain 1.
- Work 5 double crochets (DC) in the same tiny area to form a wavy comb. If space is tight, continue into the adjacent stitch.
- Secure the comb with a slip stitch behind it, ensuring it is sturdy. Hide any remaining yarn tail in the body.
Special Features
- Adjustable Sizes: By using different yarn types (e.g., plush or acrylic) or holding the yarn double, the chicken can be made smaller or larger.
- Customizable Facial Features: Add an embroidered face or include variations like a larger comb for a rooster.
- Beginner-Friendly: Simple stitches (magic ring, SC, DC, and slip stitch) make this approachable for those new to amigurumi.
- Practicality: Can be used as holiday decor, gifts, keychains, or even novelty “emotional support chickens.”
Tutor’s Suggestions
- Use a Marker: Always track your first stitch of each row to avoid confusion while working in continuous rounds.
- Tight Stitches: Keep your stitches snug to prevent the fiberfill from peeking through.
- Incorporate Stuffing Early: For better shaping, begin stuffing before finishing the last few rows.
- Check Eye Placement: Symmetry is crucial, so check eye alignment carefully before securing.
- Secure the Comb: Reinforce the top comb to ensure durability, especially for gifts or kids’ items.
Difficulty Level
- Beginner to Intermediate: While the pattern primarily uses basic stitches, techniques like working into the front loops for decreases and creating three-dimensional shapes may require intermediate skills or careful attention.
Use Cases
This crochet chicken is perfect for:
- Fun desk ornaments.
- Keychains or accessories.
- Children’s toys.
- Cute “emotional support” plushies or stress-relief items.
- Unique handmade holiday gifts or decorations.
Tip
For a sturdier finish and a professional look, weave your yarn ends multiple times into the body using a tapestry needle to ensure they stay hidden and secure. This is especially important if the chicken is intended as a gift or for sale.
Conclusion
This adorable crochet chicken is a delightful project for crocheters of various skill levels and offers a lot of creative flexibility. With straightforward stitches and clear instructions, it’s a quick and rewarding project that can be customized to your preferences. Whether you make it small and simple or large and plush, this project is sure to bring a smile to anyone’s face.