How to Crochet Pencil Free Pattern for Charming Accessories

Make an everyday item extra special with a free crochet pencil pattern that’s perfect for unique gifts, decorations, and creative accents.
Turning everyday school supplies into cozy crochet art brings a unique kind of joy. A creative maker from Enchanted Yarn Works recently shared a delightful project inspired by a back-to-school mystery story—a soft, colorful pencil made entirely from yarn. This playful piece sparks imagination and shows how crochet can bring simple objects to life in fresh and charming ways.
Best Free Crochet Pencil Pattern with Creative Flair
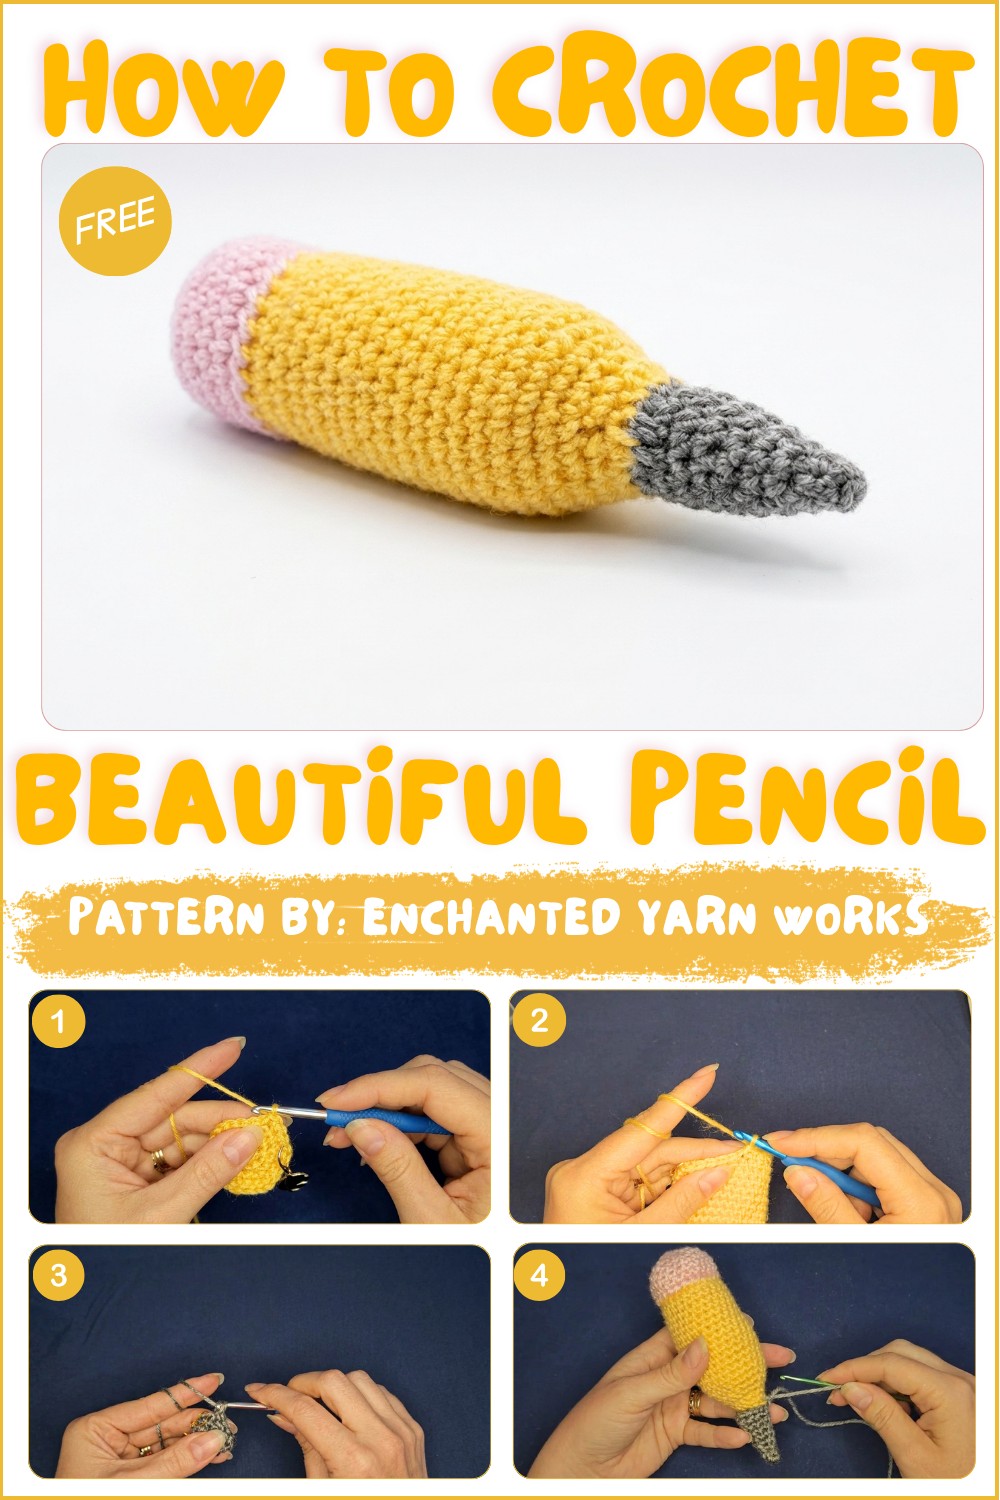
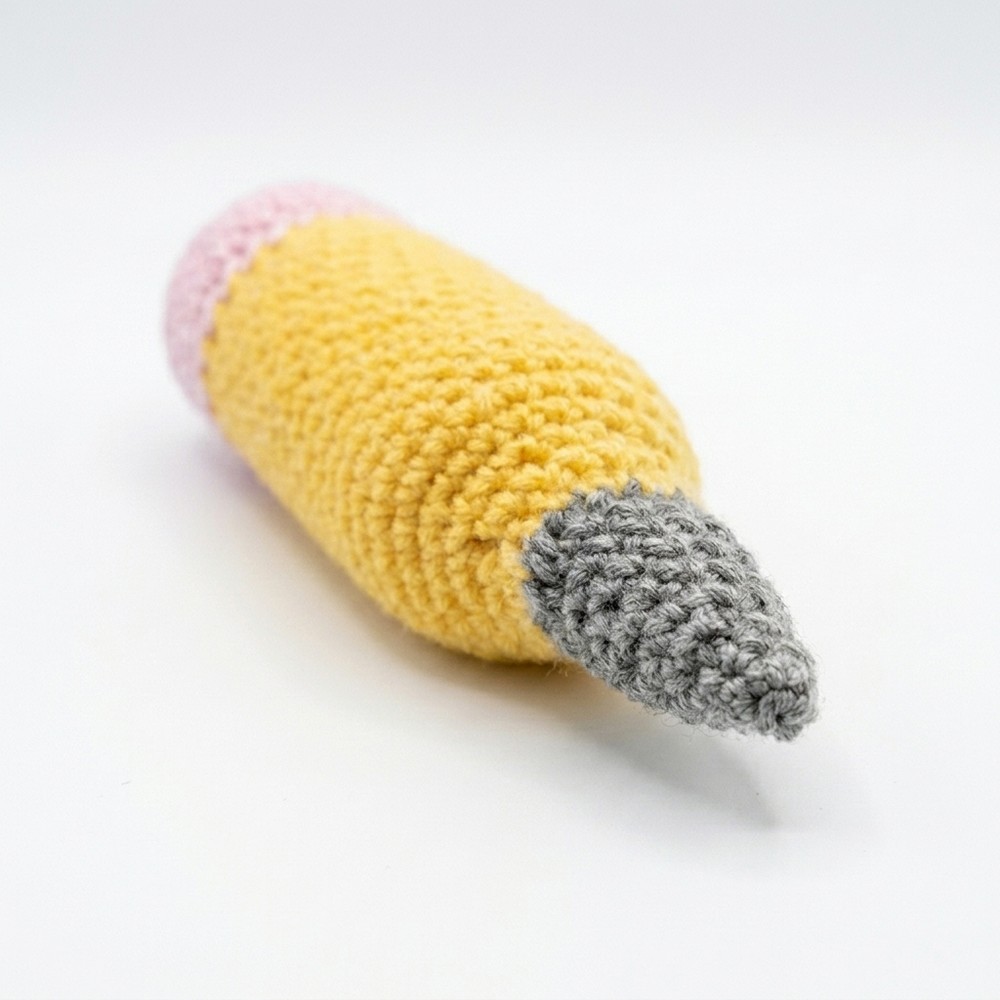
The pencil design features three parts: a long, bright yellow body, a soft pink “eraser” end, and a pointed gray tip. Its slender, cylindrical shape closely resembles a real pencil but has a squishy, stuffed texture that feels comfy and friendly. Tight single crochet stitches worked in the round create a sturdy yet smooth finish. Clever use of back loop stitches adds a subtle ridge, mimicking the metal band holding the eraser, an attractive detail that adds dimension and interest.
Versatile and fun, this crochet pencil can become a cozy toy for kids, a whimsical pillow for a classroom, or even a giant pencil case with a zipper added. Bright colors and soft texture invite touch and play, making it a perfect handmade gift for teachers or students. Ideal for decorating a study corner or creating a unique back-to-school surprise, this pattern offers an easy-to-make yet charming project that will brighten any space. With some yarn and creativity, this pencil brings a joyful twist to traditional crochet crafts.
Giant Crochet Pencil
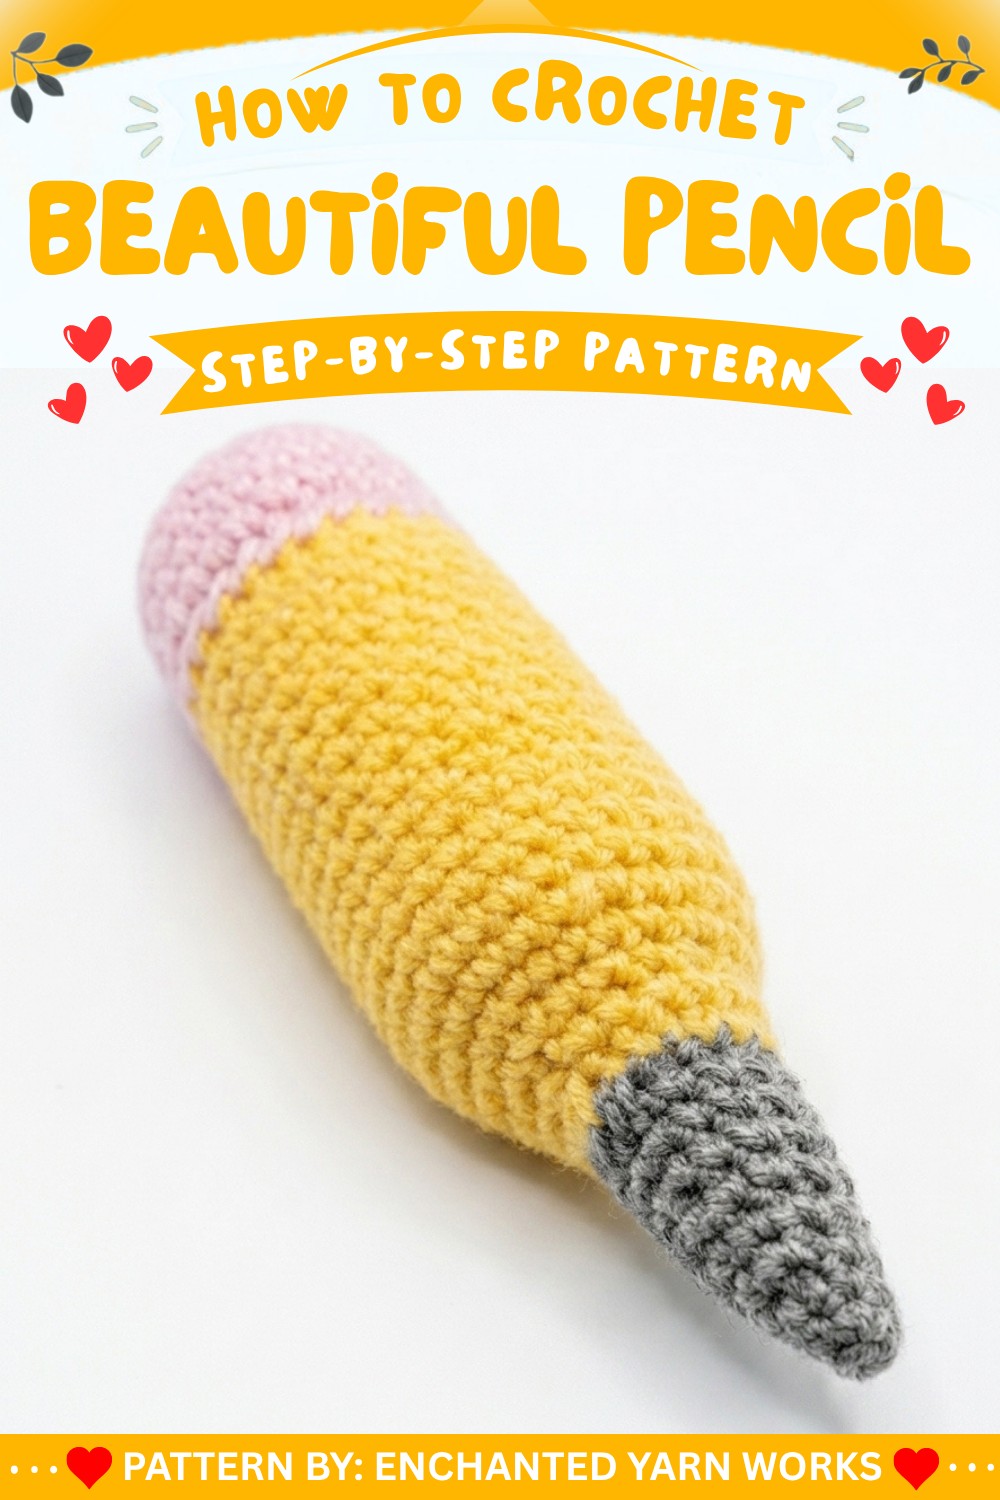
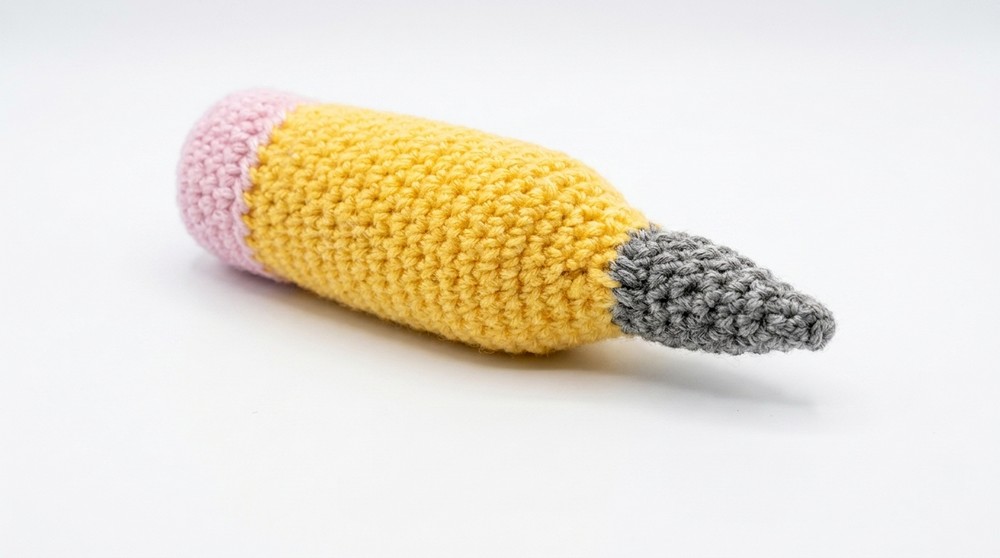
A giant crochet pencil is a fun, three-dimensional amigurumi project that captures the realistic details of a classic school pencil. Featuring a bright yellow body, a plump pink eraser, and a pointed gray tip, this pencil makes a playful gift, decorative desk companion, or teaching tool. Each section is crocheted separately and then assembled, resulting in a soft and sturdy plush with distinct color banding and form.
Pattern Basic Points
- Pencil constructed in three separate parts: yellow body, pink eraser, and gray tip
- Stitched primarily in the round using single crochet increases, decreases, and standard amigurumi techniques
- Tight, even stitches recommended to prevent stuffing from showing
- Sections are assembled with visible, well-defined joins and ridges for realism
- Amigurumi skills (magic ring, invisible decrease) are used throughout
Special Notes
- Use stitch markers to keep track of rounds, particularly as the project works in a spiral without joining rounds
- Stuff each section firmly to retain shape but avoid over-filling, which could stretch the stitches
- Keep tension even for smooth amigurumi fabric
- When sewing pieces together, use long yarn tails for durability and a neat finish
- Each step notes color changes for clear transitions at pencil eraser, body, and tip
- The piece is child-friendly and safe when all ends are secured; fiberfill should be clean and hypoallergenic
Skill Level
Beginner to Intermediate
Perfect for adventurous beginners who have mastered the single crochet and are ready for shaping, increases, and sewing, or intermediate crafters looking for a whimsical, rewarding project.
Materials
- Yarn: Worsted weight yarn (Bright Yellow, Soft Pink, Dark Gray or Black)
- Hook: 4mm crochet hook
- Notions: Fiberfill stuffing, yarn needle, scissors, stitch markers
Measurements / Sizing
- Finished pencil measures approximately 9–10 inches (23–25 cm) in length and 1.5–2 inches (4–5 cm) in diameter, depending on stuffing and tension
- Size may be altered with lighter or heavier yarn or a different hook size
Gauge and Stitch Pattern
- Gauge is not critical. Use firm tension for a neat amigurumi structure.
- Main stitch: Single crochet in continuous rounds (amigurumi style)
- Occasional use of increases and invisible decreases for shaping
Stitch Abbreviations
- ch – chain
- sc – single crochet
- inc – increase (work 2 sc in same st)
- dec – decrease (single crochet two together)
- inv dec – invisible decrease
- st(s) – stitch(es)
- rnd – round
- sl st – slip stitch
- rep – repeat
Special Stitches
- Magic Ring: Wrap yarn into a ring, insert hook, pull up a loop, and work stitches into the circle as instructed.
- Invisible Decrease (inv dec): Insert hook into the front loop only of the next 2 sts, yarn over and pull through both loops, yarn over again, pull through both loops on hook.
Pattern Instructions
Part 1: Yellow Body
- Rnd 1: Make a magic ring, 6 sc into the ring.
- Rnd 2: Inc in each st around (2 sc in each st) – 12 sts.
- Rnd 3: [1 sc, inc] around – 18 sts.
- Rnd 4: [2 sc, inc] around – 24 sts.
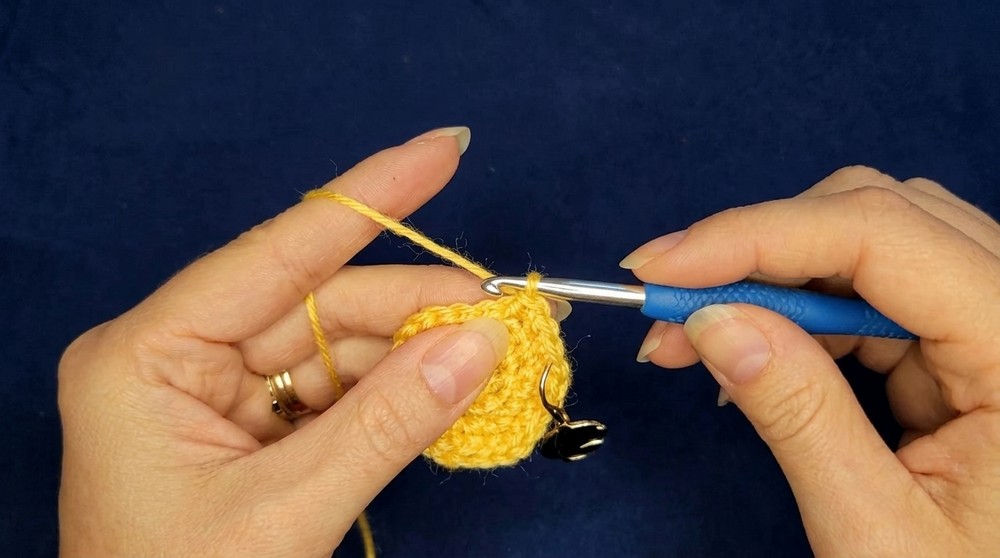
- Rnd 5: 24 sc around.
- Rnd 6: 24 sc in back loop only (creates a subtle ridge for eraser join).
- Rnd 7–20: 24 sc around in both loops (14 rounds).
- Rnd 21: [2 sc, inv dec] around – 18 sts.
- Rnd 22: 18 sc around.
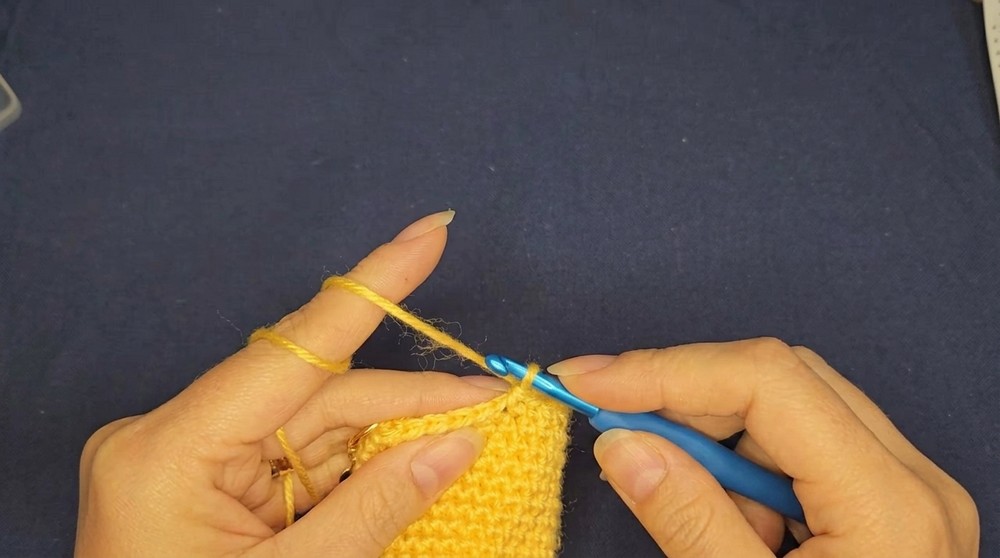
- Stuffing: Begin to firmly stuff the tube with fiberfill as you work.
- Rnd 23: [1 sc, dec] around – 12 sts.
- Rnd 24: 12 sc around.
- Fasten off, leaving a long tail for sewing.
Part 2: Pink Eraser
- Rnd 1: With pink, make a magic ring, 6 sc into the ring.
- Rnd 2: Inc in each st around (2 sc in each st) – 12 sts.
- Rnd 3: [1 sc, inc] around – 18 sts.
- Rnd 4: [2 sc, inc] around – 24 sts.
- Rnd 5–7: 24 sc around (3 rounds).
- Fasten off, leaving a long tail for sewing.
Part 3: Gray Tip
- Rnd 1: With gray (or black), make a magic ring, 4 sc into the ring.
- Rnd 2: 4 sc around.
- Rnd 3: [1 sc, inc] around – 6 sts.
- Rnd 4: [2 sc, inc] around – 8 sts.
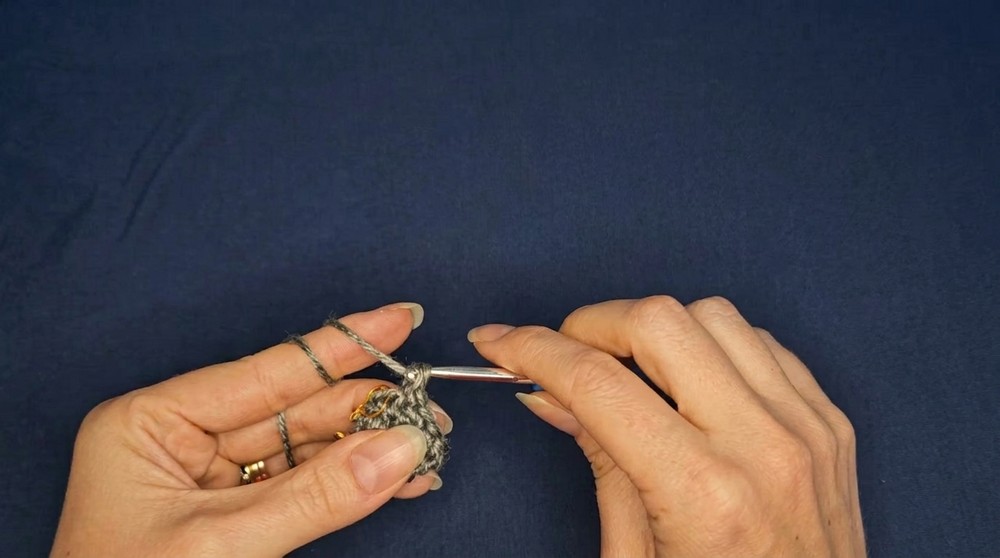
- Rnd 5: 8 sc around.
- Rnd 6: [3 sc, inc] around – 10 sts.
- Rnd 7: 10 sc around.
- Rnd 8: [4 sc, inc] around – 12 sts.
- Fasten off, leaving a long tail for sewing.
- (Lightly stuff the tip if desired for a plump finish; do not overstuff.)
Assembly
- Eraser to Body:
- Align the pink eraser with the bottom edge of the yellow body, matching the ridged back loop row.
- Using the long pink tail and a yarn needle, whipstitch the eraser to the yellow body, going through both thicknesses all around for a neat join.
- Add any final stuffing before closing the seam completely.
- Gray Tip to Body:
- Center the gray tip onto the pencil’s narrower end.
- Using the long gray (or black) tail and yarn needle, sew the tip securely to the yellow body, sewing around each stitch of the opening.
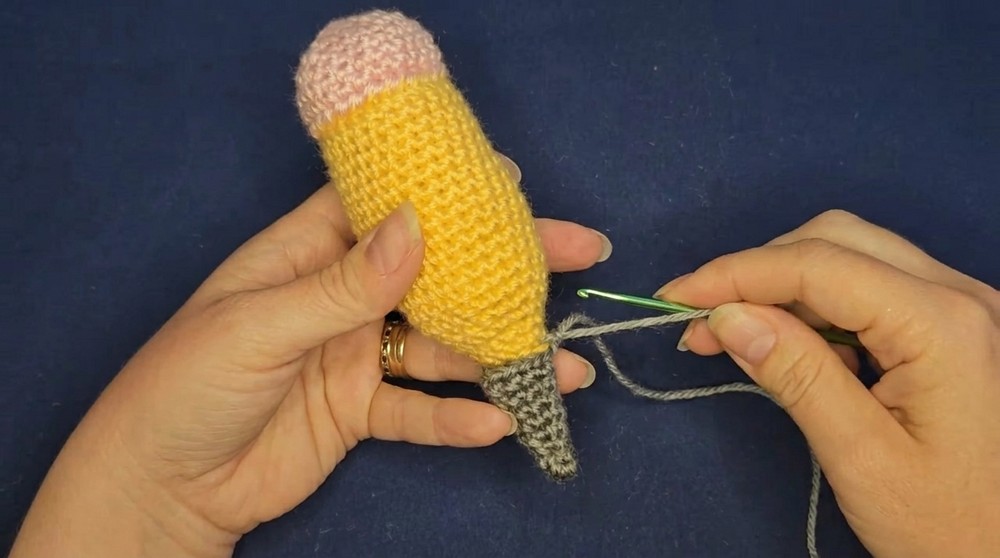
- Adjust stuffing if required for correct shape before closing.
- Finishing:
- Weave in all ends on the inside to keep the surface smooth.
- Shape the pencil gently, rolling to align the tip and body if necessary.
Conclusion
The giant crochet pencil brings playful creativity to life with clear construction, familiar shaping techniques, and satisfying color changes. Thoughtful rounds of single crochet and effective use of increases and decreases offer solid amigurumi fundamentals, while detailed finishing and assembly instructions ensure a professional result. With just a few colors and simple tools, this cheerful, oversized stationery icon works up beautifully as a gift, prop, or decor item, and is easily customized in length or color choice for a personalized touch.