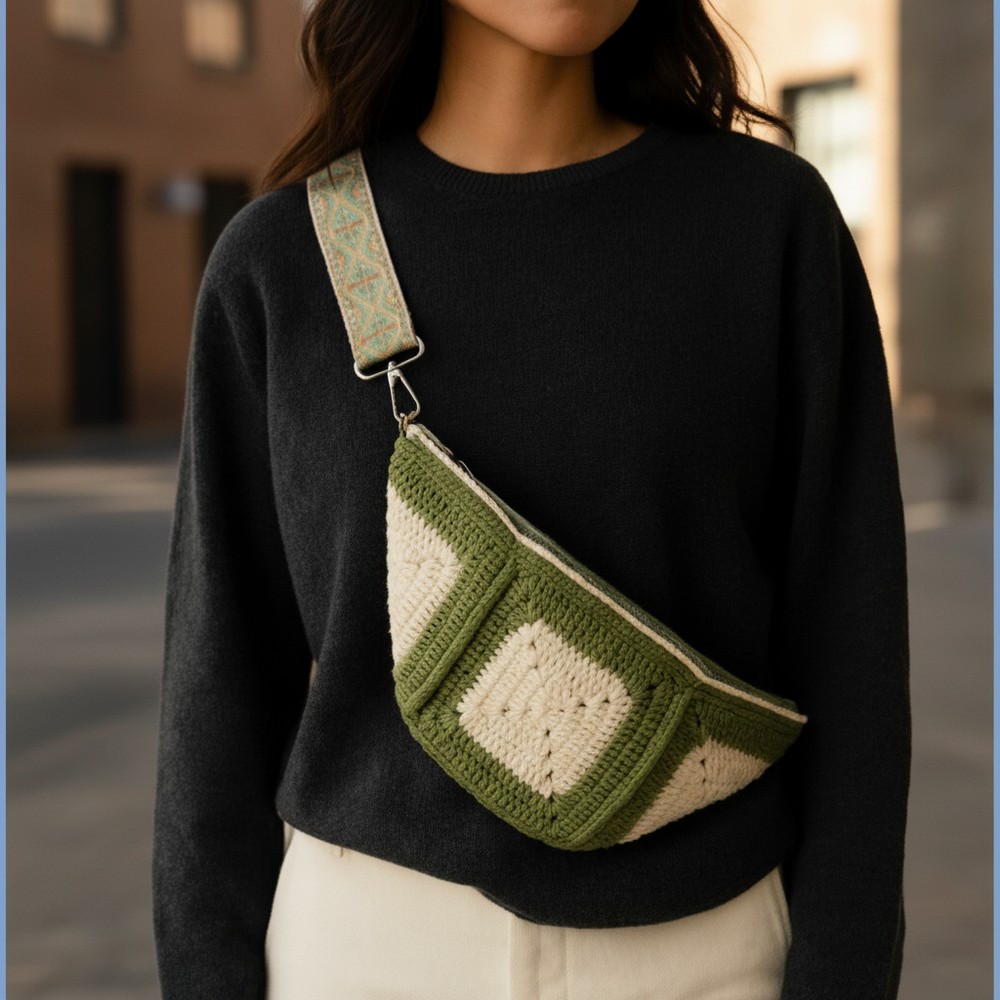
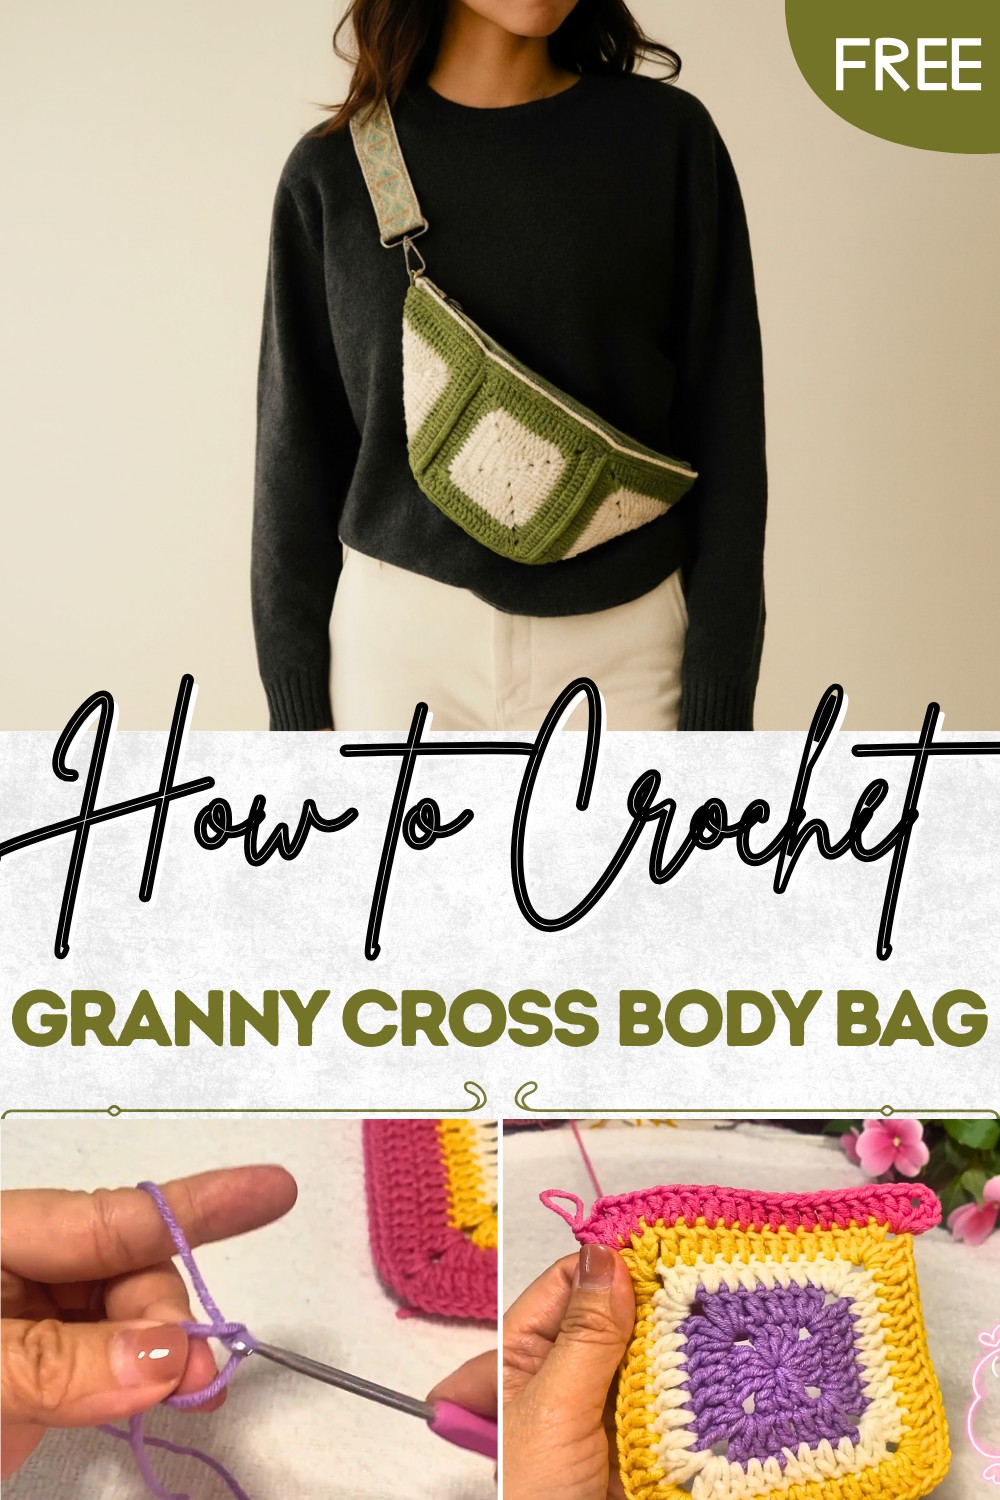
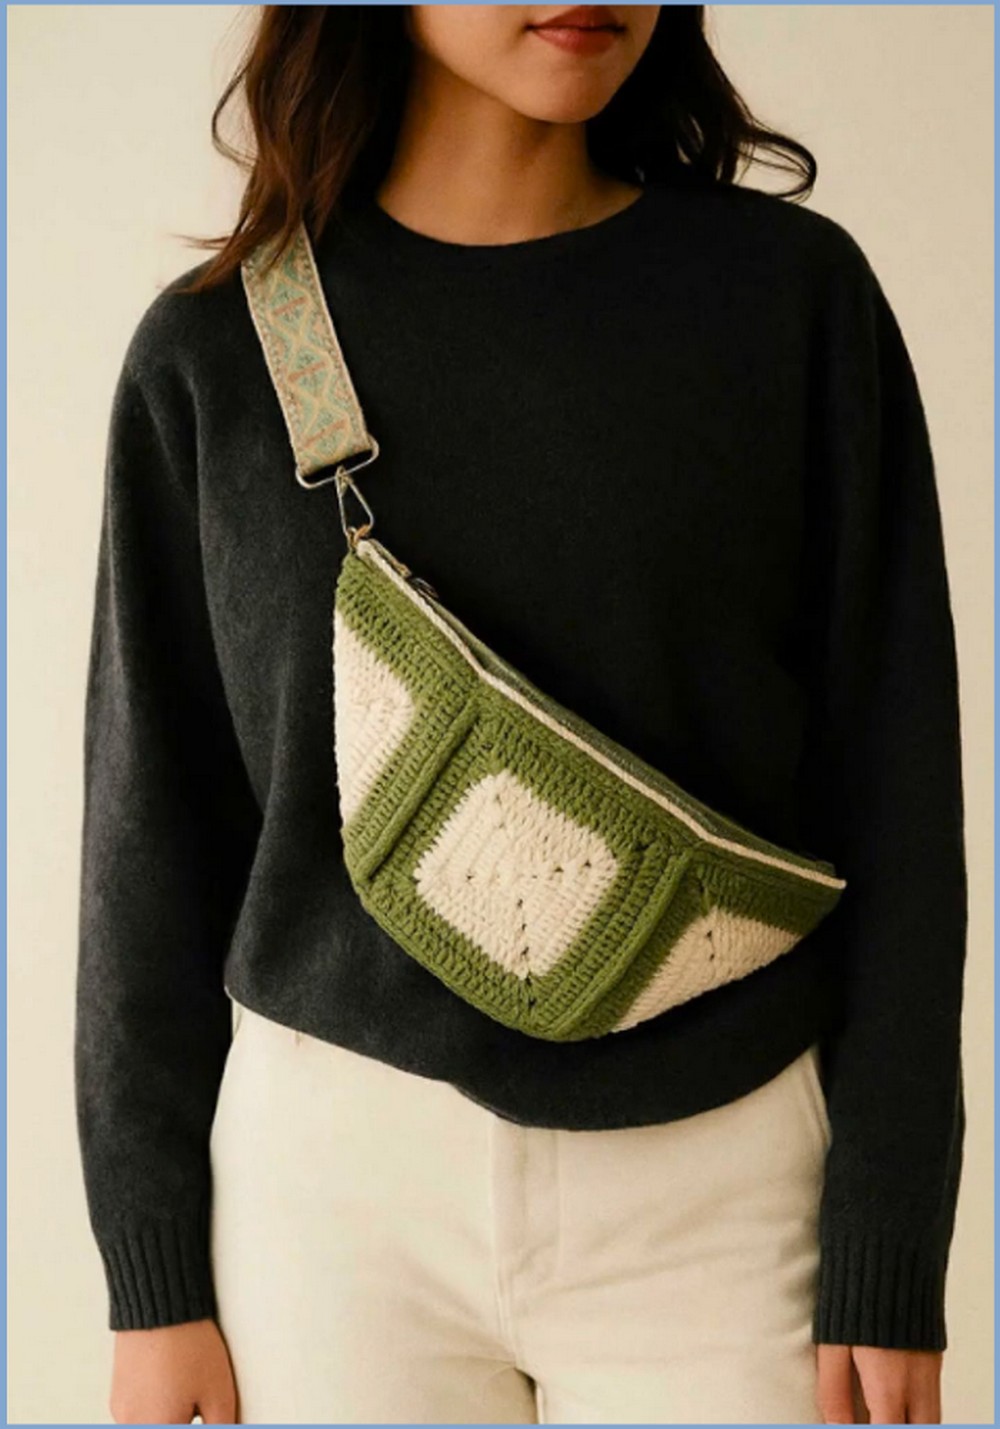
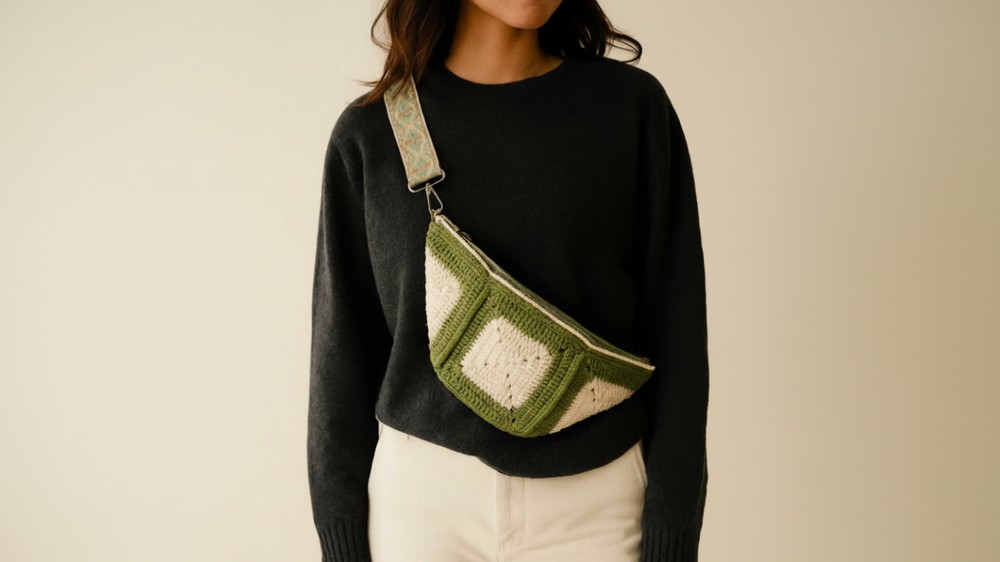
How to Crochet Cross Body Bag Pattern for Stylish & Casual Vibes
Free Crochet Cross Body Bag Pattern for Effortless Beauty
On top of its convenience and charm, this project is a great way to relax and learn new crochet skills. Suitable for crocheters of varying experience levels, it offers an enjoyable and rewarding challenge with results that are both beautiful and durable.
It’s perfect for gifting, selling, or simply enjoying the satisfaction of making something special with your own hands. A crochet pattern effortlessly combines style, comfort, and practicality, offering a seamless solution to modern needs while showcasing your creativity in every stitch.
Materials Needed
- Yarn: Any type of yarn works; select colors based on your style and desired aesthetic.
- Crochet hook: Choose a hook size that complements your yarn thickness.
- Scissors: To trim excess yarn.
- Stitch markers: To keep track of where to join and stitch.
- Bag handles or strap materials: Optional, you can purchase handles or crochet your own.
Step-by-Step Instructions
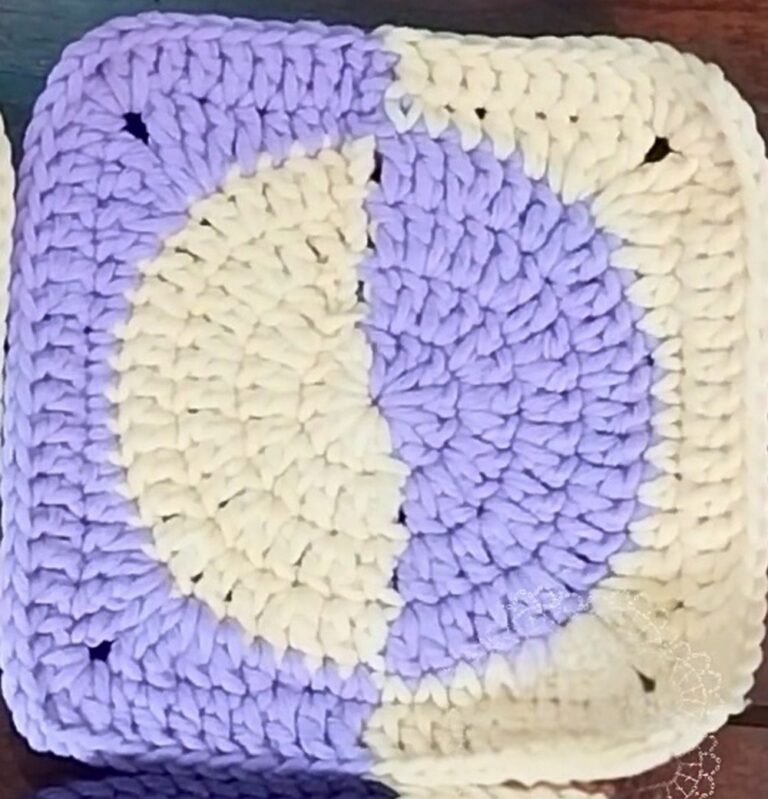
1: Starting the Granny Squares
- Begin by creating a magic ring or by chaining four stitches and joining them into a loop.
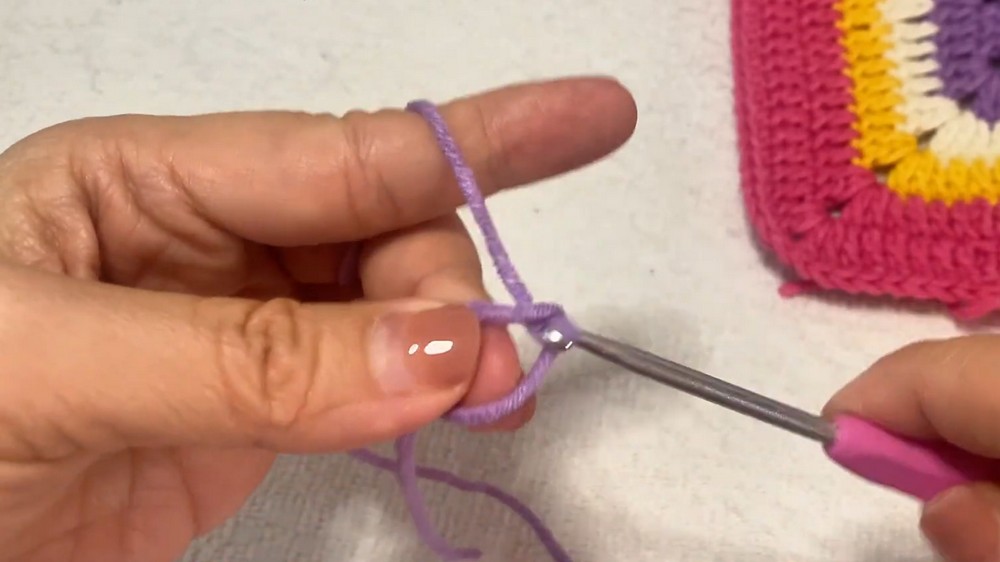
- Start with a chain three; this will count as your first double crochet.
- Add two more double crochet stitches into the magic ring, chain two, and then crochet three double stitches again into the loop. Repeat this sequence to form a rounded square pattern with four corners.
- Slip stitch to join the row.
- For each subsequent round, in the corner spaces, create a cluster using two double crochets, chain two, and two double crochet stitches. Repeat these steps to grow the pattern in the corners, increasing the number of double crochet stitches across each straight edge for every new round.
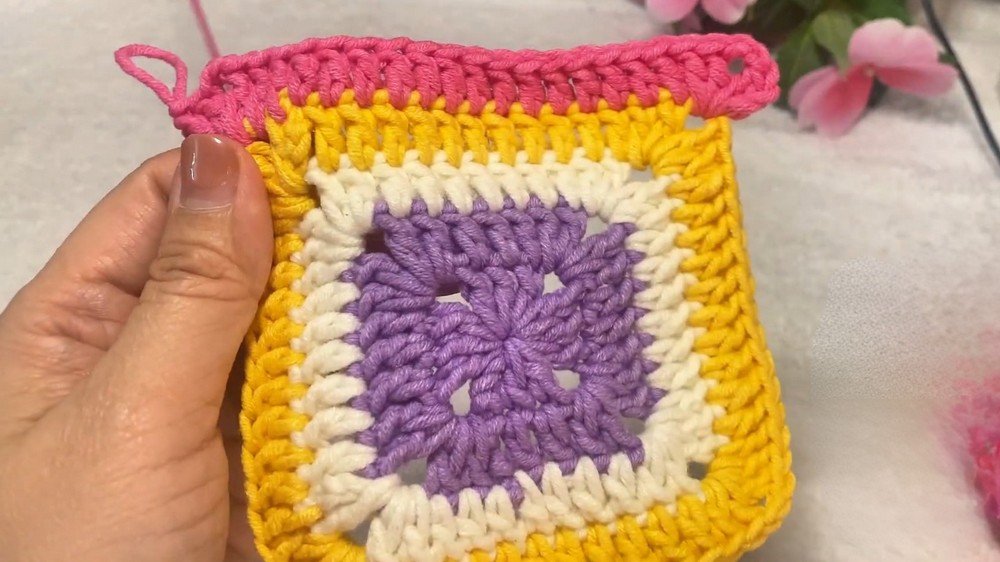
2: Adding Borders to Granny Squares
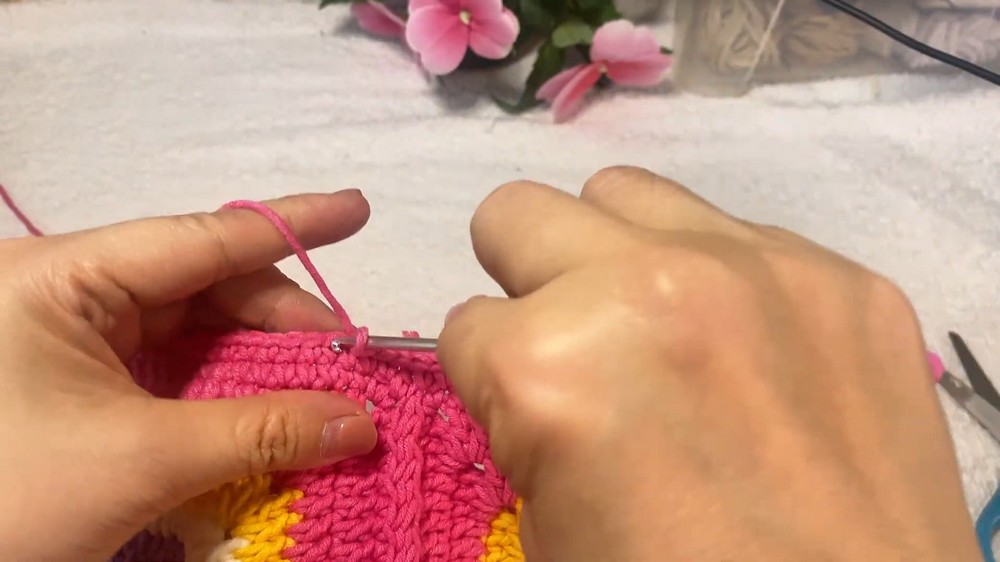
- Once a granny square size is achieved, crochet a round of single crochet stitches around the edge of each square to form a clean border and smooth finish.
- At the corners, add two single crochets in the corner space to ensure proper alignment.
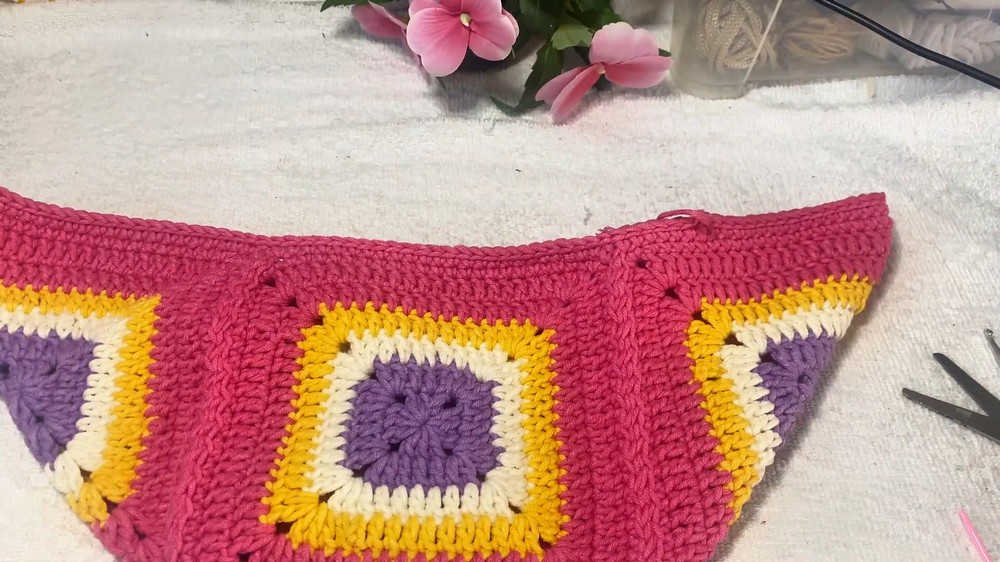
3: Joining Granny Squares
- Arrange four square pieces into a layout resembling the body of the bag—two for the front, two for the back, and a folded rectangle for the sides and bottom.
- Align the squares carefully, ensuring consistent placement.
- Use a needle to stitch corresponding sides together. Pay attention to matching the edges correctly.
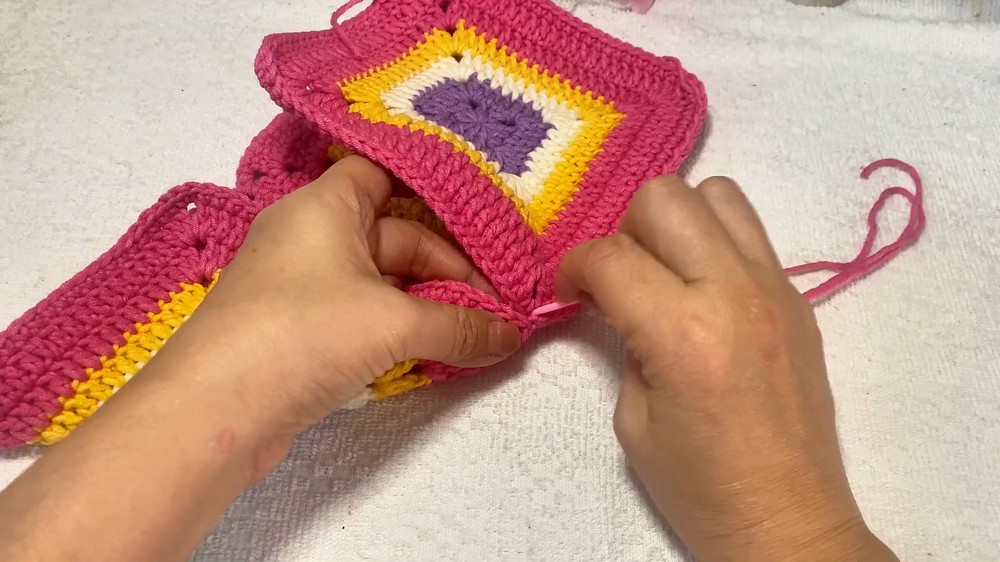
- Secure all sides to form the main body of the bag. Don’t leave gaps—tighten loose stitches to achieve a clean finish.
4: Adding Edges for Structure
- Crochet single stitches around the edges of the completed bag to strengthen its structure.
- Use slip stitches for a clean finish, ensuring the edges are neat.
- Add a strap, either by crocheting your own with single crochet stitches or using a pre-made handle for convenience. Stretch the bag slightly to hook or attach the strap securely to both sides.
Special Features
- Choose any granny square pattern or customize your own. The size of the squares determines the size of the bag.
- The pattern offers a perfect combination of style and practicality—ideal for teenagers and anyone seeking a trendy, lightweight accessory.
- Crochet a unique handle with personalized crochet patterns or opt for a pre-made store-bought strap.
Level of Difficulty
This project is suitable for beginners and intermediate players, as the instructions primarily use basic stitches like single crochet, double crochet, chain stitching, and slip stitching.
Tutor’s Suggestions
- Use lighter yarn colors, such as white or pastel, as they are easier to stitch, especially for beginners. Darker colors, like black, can make identifying stitches more challenging.
- Consider asking a professional tailor to install lining or a zipper in the bag for added functionality.
- Block your granny squares before assembling the bag to give it a neat, professional look.
Uses
- Serves as a fashionable accessory for teenagers or anyone seeking stylish, everyday wear.
- Can be customized and sold as handmade creations for a small business.
- Excellent for carrying lightweight essentials, such as phones, wallets, and makeup items.
Conclusion
This crochet cross-body bag is more than just a project; it is a display of creativity and practicality merged into one accessory. With simple stitches, you can design a bag that reflects your personal style, matches every outfit, and serves a functional purpose. Whether you’re using bright colors, classic patterns, or adding a unique strap, the opportunities for personalization are endless.
Tip
Always carry your yarn behind as you crochet to ensure a clean and polished look for your granny squares. This small detail enhances the overall appearance of the completed bag.