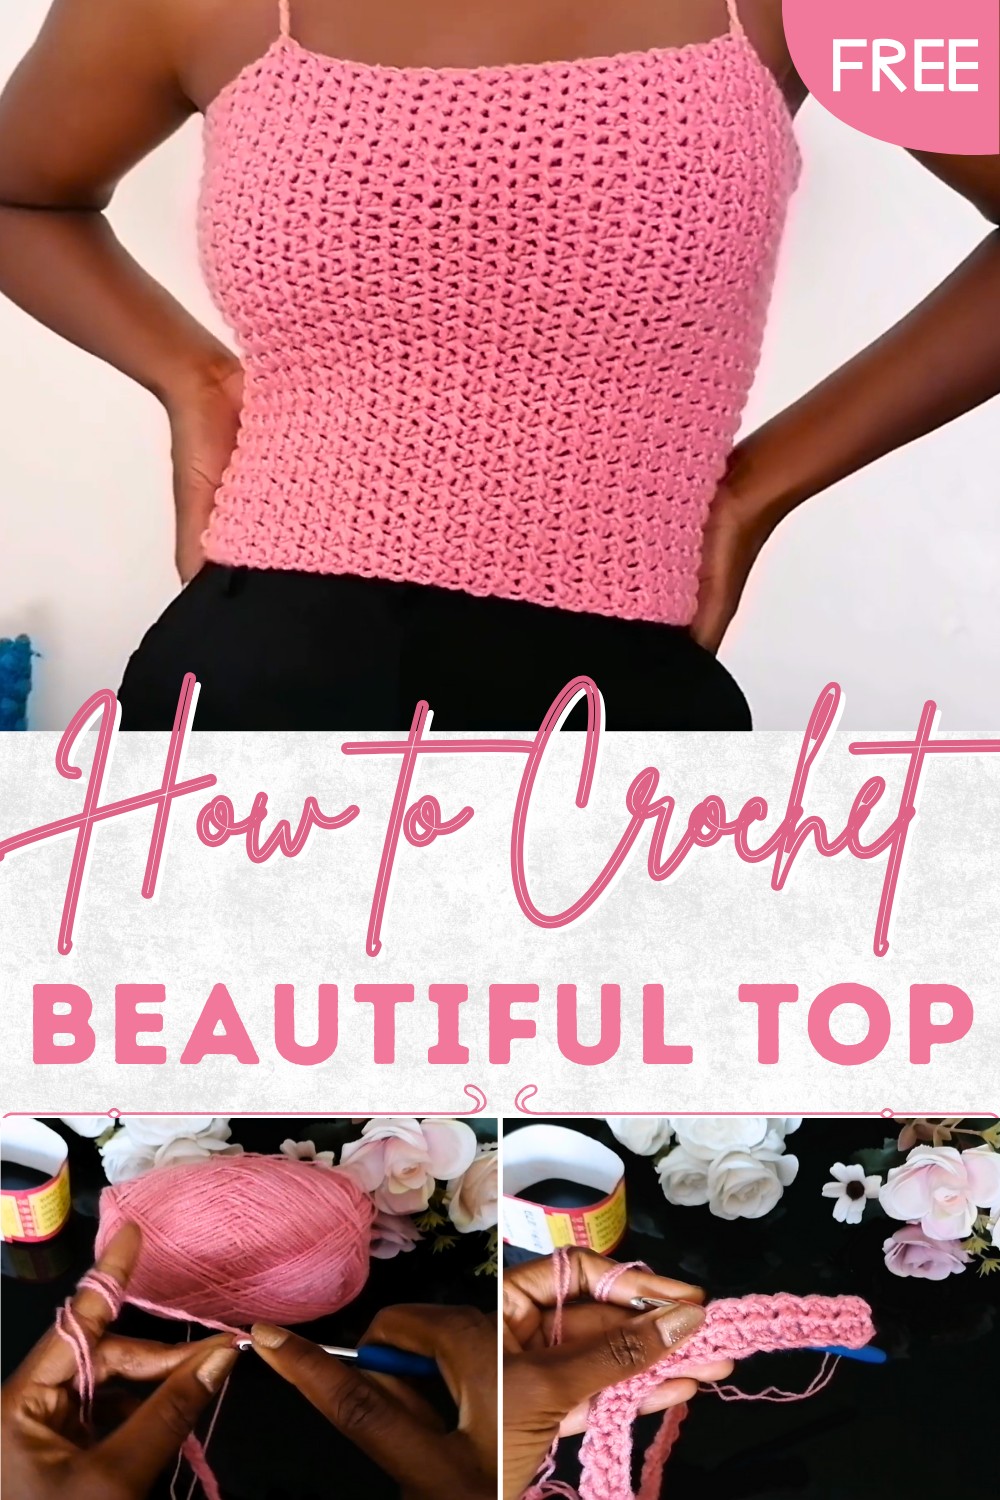
Free Detailed Crochet Top Pattern for Stylish Everyday Wear
Learn Easy Steps to Crochet Top Pattern Perfect for Any Occasion
Whether you’re aiming for a polished appearance or a breezy outfit, this pattern adapts beautifully to any occasion. Its beginner-friendly instructions make it accessible to those just starting their crochet journey, while the simplicity ensures quick results even for seasoned makers. The pattern is not only stylish but also functional, offering stretch and adjustable straps for a flattering fit.
Use this pattern to design thoughtful handmade gifts, or simply as a practical piece for lounging in comfort without compromising on style. The stitchwork aligns seamlessly, achieving a textured yet smooth finish that mimics a tailored look. Perfect for you or loved ones, it’s easy to make, trendy, and a lasting addition to any wardrobe; simplicity meets sophistication for everyday elegance.
Materials Needed
- Yarn: 100% acrylic yarn (double strand) or lightweight yarn, optionally cotton yarn for a softer finish.
- Crochet Hook: 5 mm (adjust hook size to match your yarn choice).
- Tape Measure: For accurate sizing.
- Scissors: To trim ends.
- Tapestry Needle: To weave in yarn ends neatly.
Special Features
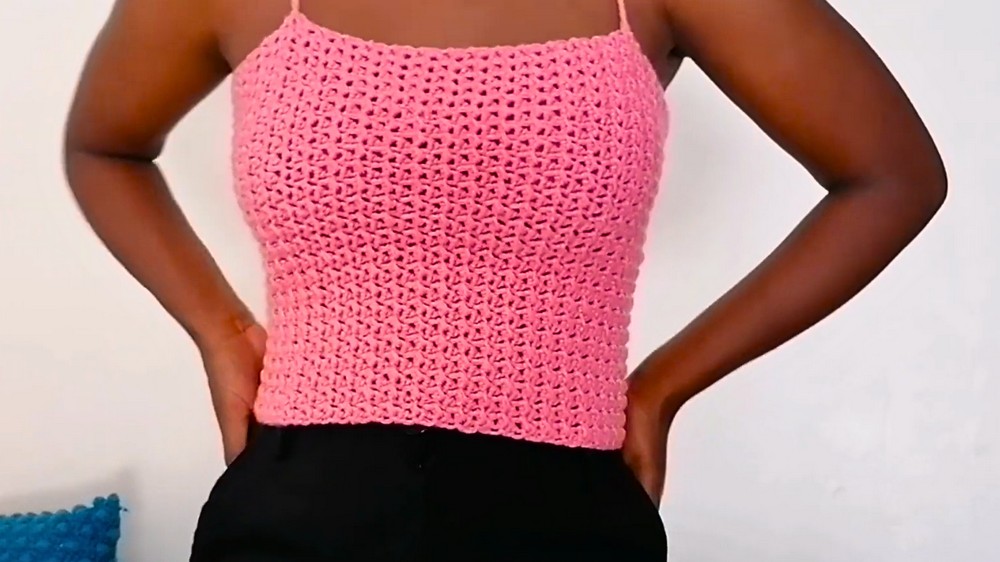
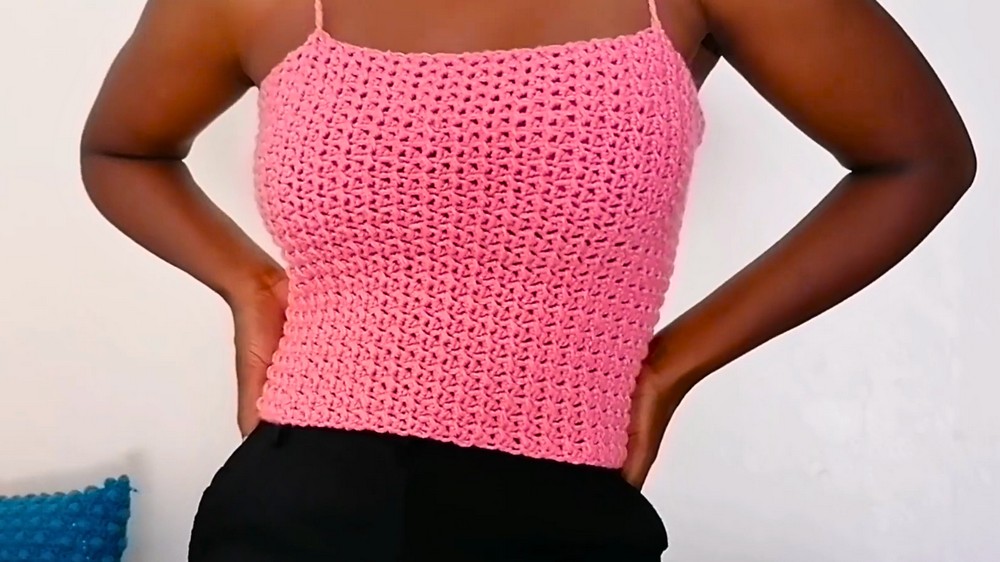
- Design: A versatile top with criss-cross straps tied at the back and shoulders, creating an adjustable and stylish appearance.
- Texture: The crocheted pattern resembles a knitted look, offering aesthetic appeal.
- Versatile Fit: Stretchy fabric ensures it fits snugly for different body shapes.
- Quick to Make: Completed within 3 hours, making it a fast and satisfying crochet project.
- Layering Options: Can be worn alone as a top or layered with shirts for extra warmth and style.
Step-by-Step Instructions
Step 1: Prepare a Slip Knot and Foundation Chains
- Start by making a slip knot, leaving a long tail.
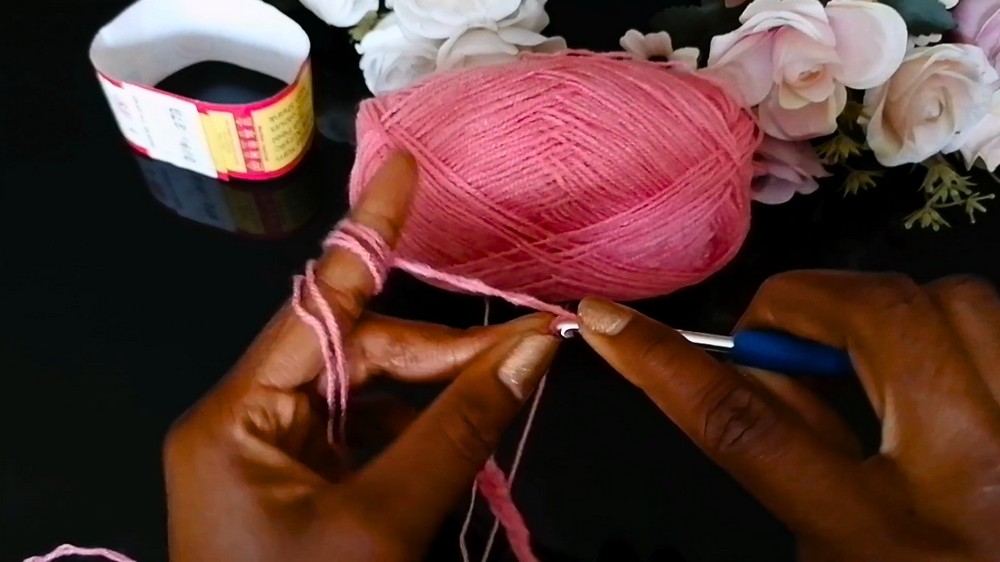
- Create a series of chain stitches to achieve your starting height. For reference, 50 chains equal approximately 12 inches. Consider shrinkage when crocheting additional rows, as the fabric may reduce slightly in size.
2: Row 1
- Skip the First Two Chains: Begin crocheting into the third chain from the hook.
- Create Alternating Stitches:
- Make a half double crochet in the third chain.
- In the next chain, make a slip stitch (ensure it is not tight).
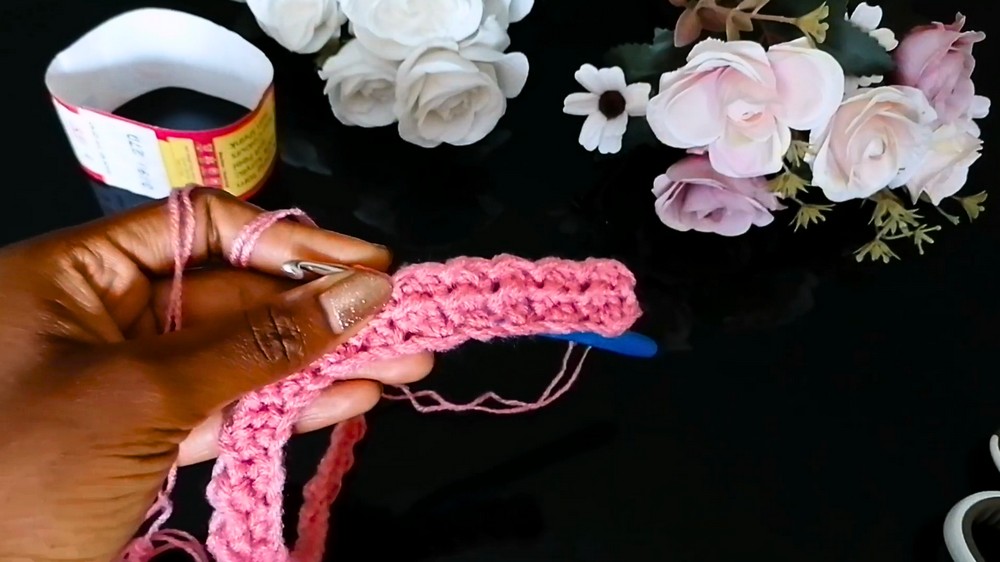
- Alternate between half double crochet and slip stitch.
- Continue alternating across the entire row. Finish with either a slip stitch or half double crochet—it does not affect the pattern.
3: Row 2 and Beyond
- Chain 1: Chain one and turn your work (the chain does not count as a stitch).
- Alternate Stitches by Row Position: Check the last stitch of the previous row:
- If the row ended with a slip stitch, begin the next row with a half double crochet.
- If the row ended with a half double crochet, start with a slip stitch.
- Alternate stitches accordingly:
- Where you have a half double crochet, make a slip stitch.
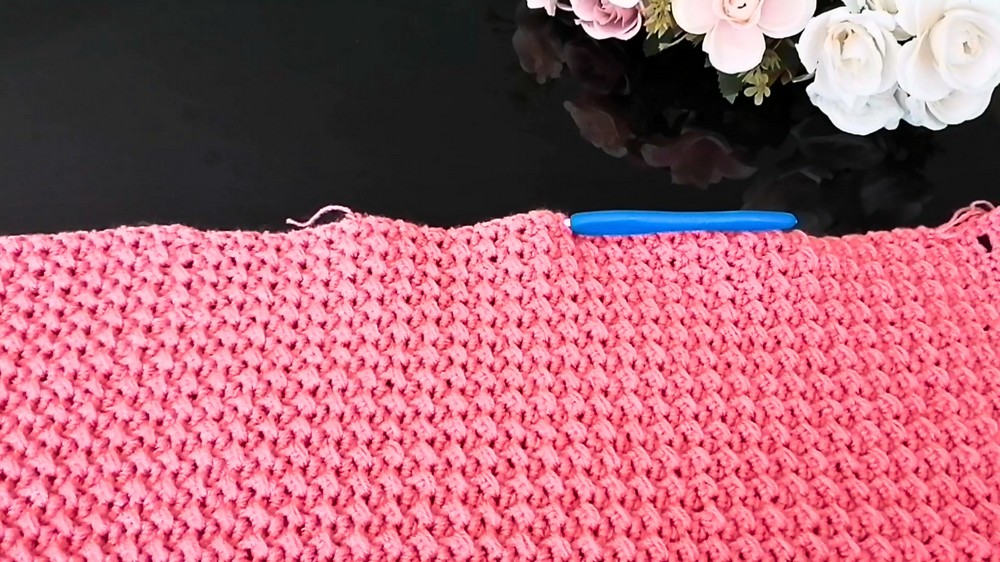
- Where you have a slip stitch, make a half double crochet.
- Where you have a half double crochet, make a slip stitch.
- Repeat this pattern for every row until the piece covers the circumference of your fuller bust. Stretch the work periodically to check size accuracy.
4: Create Loops for Adjustment
- Once the piece reaches the correct size, chain 3 to mark loops along the edges.
- Skip Two Stitches and create a single crochet in the third.
- Repeat chaining and single crocheting to form loops until the edge is complete.
5: Bind the Loops
- On the next row, work inside each loop to bind them:
- Insert 3 single crochets into the first loop.
- Then make 4 half double crochets across the next stitches.
- Repeat this binding method across the row.
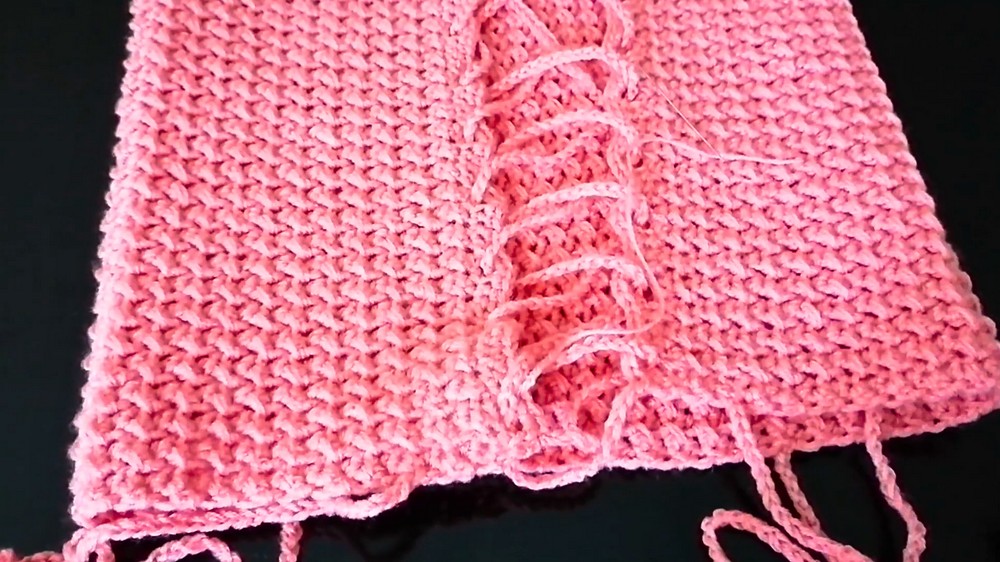
Step 6: Create Long Strings
- At the end of the row, crochet a long string that will tie the back of the top. Ensure the string is long enough for criss-cross tying.
7: Replicate on Opposite Side
- Repeat the same process on the second edge to ensure symmetry. Use your tape measure to confirm both edges match in loop counts and appearance.
Step 8: Add Shoulder Straps
- Attach yarn at the shoulder points of the front and back panels.
- Crochet enough chain stitches to create straps that are tied over the shoulders.
- Secure the straps neatly with single crochet stitches.
Tutor’s Suggestions
- Sizing Tip: Adjust stitch count carefully at the beginning to fit your bust size perfectly. The top’s stretchy nature allows for slight flexibility.
- Neat Work: Always weave in yarn ends properly for a clean finish, ensuring the needle stays hidden within the stitches.
- Be Consistent: Ensure symmetry on both sides to avoid mismatched designs.
Level of Difficulty
- Beginner-Friendly: Simple stitches (half double crochet, slip stitch, single crochet) make this pattern accessible to beginners.
- Fast and Simple: Requires basic crochet techniques and tools, making it ideal for quick projects.
Uses
- Fashionable Attire: Works great as a chic, casual top or layering piece.
- Customized Gifts: Perfect for handmade holiday or birthday gifts.
- Cool Weather Wear: Provides warmth due to its unique pattern.
Tip for Best Results
When measuring the bust circumference, stretch the fabric to ensure an accurate fit. This step is key due to the flexibility of the crochet pattern.
Conclusion
The Crochet Strap Top is a stylish and functional design, perfect for beginners or experienced crocheters searching for a quick and rewarding project. Its knitted-like texture, stretchy fit, and versatility make it a go-to piece for layering or wearing solo. With minimal materials and effort, you can crochet a personalized top that stands out, making it an ideal choice for gifting or upgrading your own wardrobe.