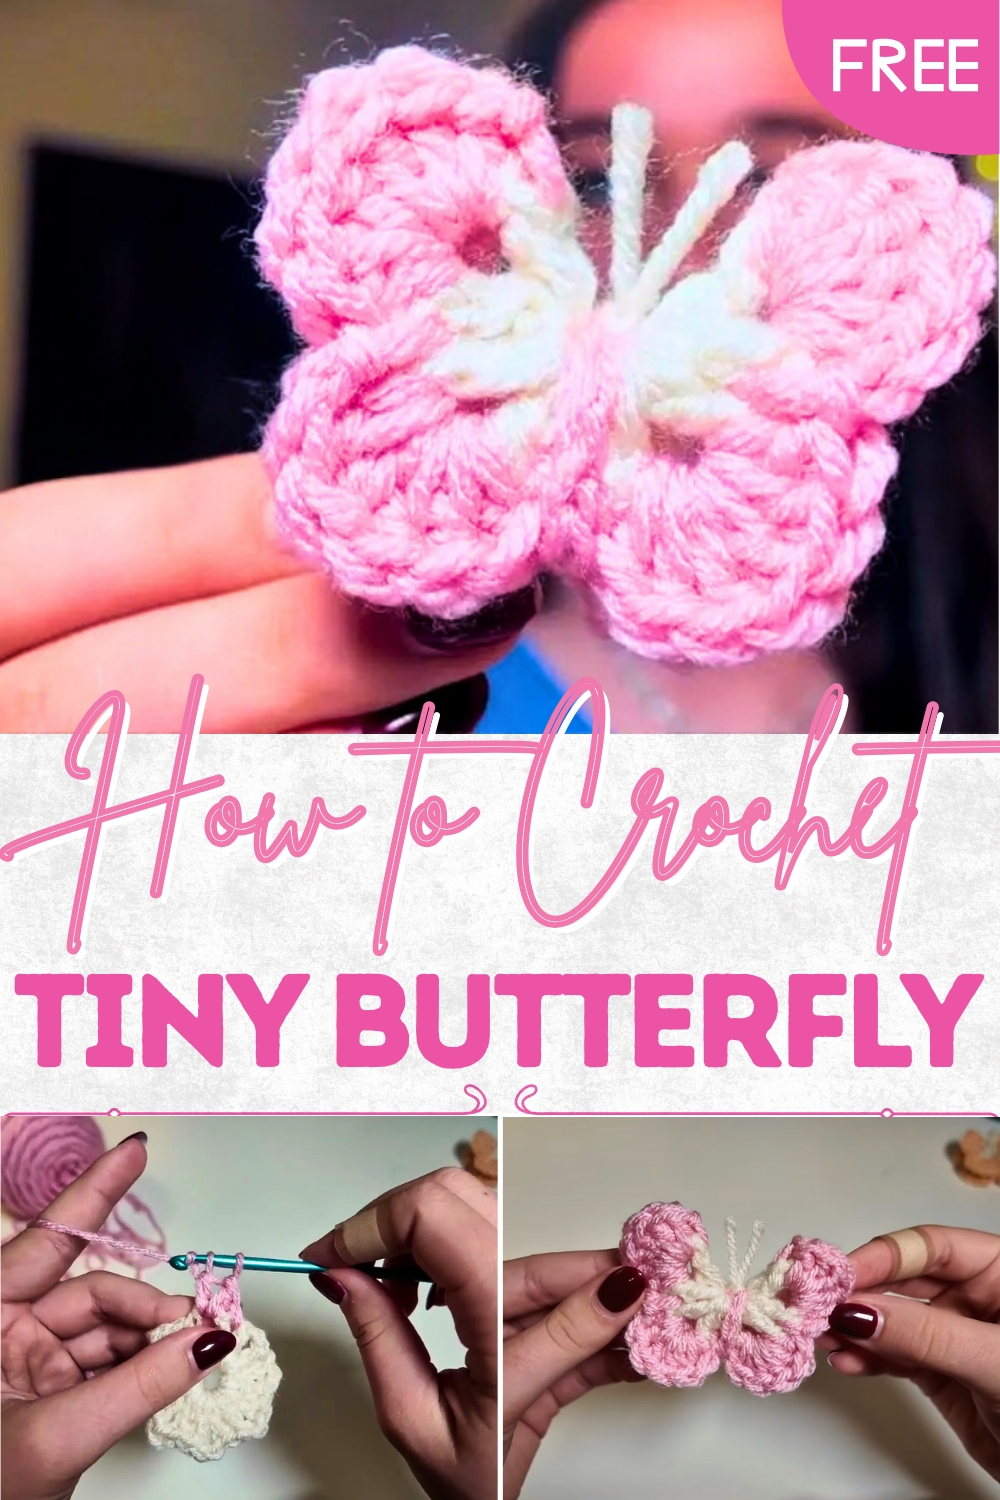
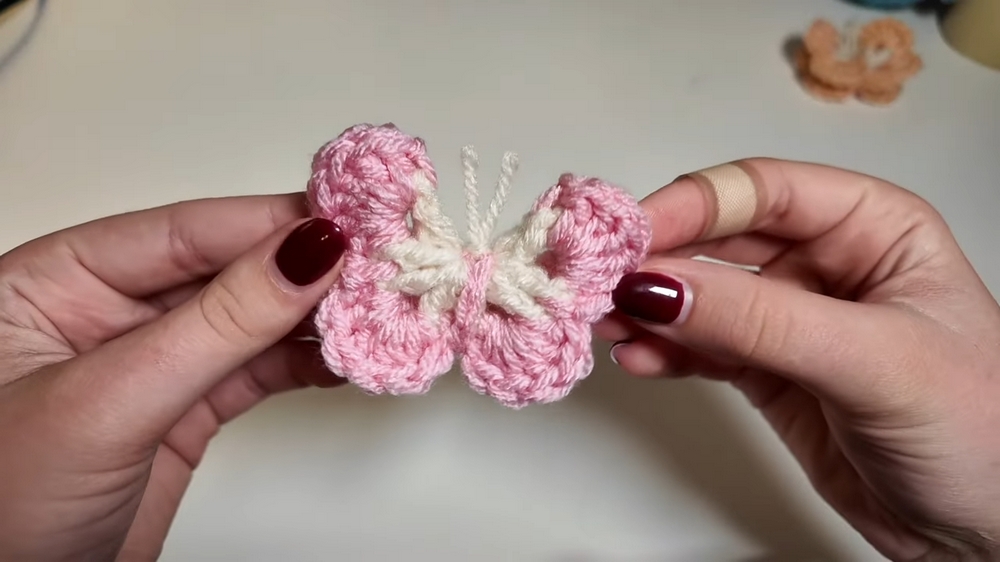
Free Crochet Tiny Butterfly Pattern to Embellish Clothing
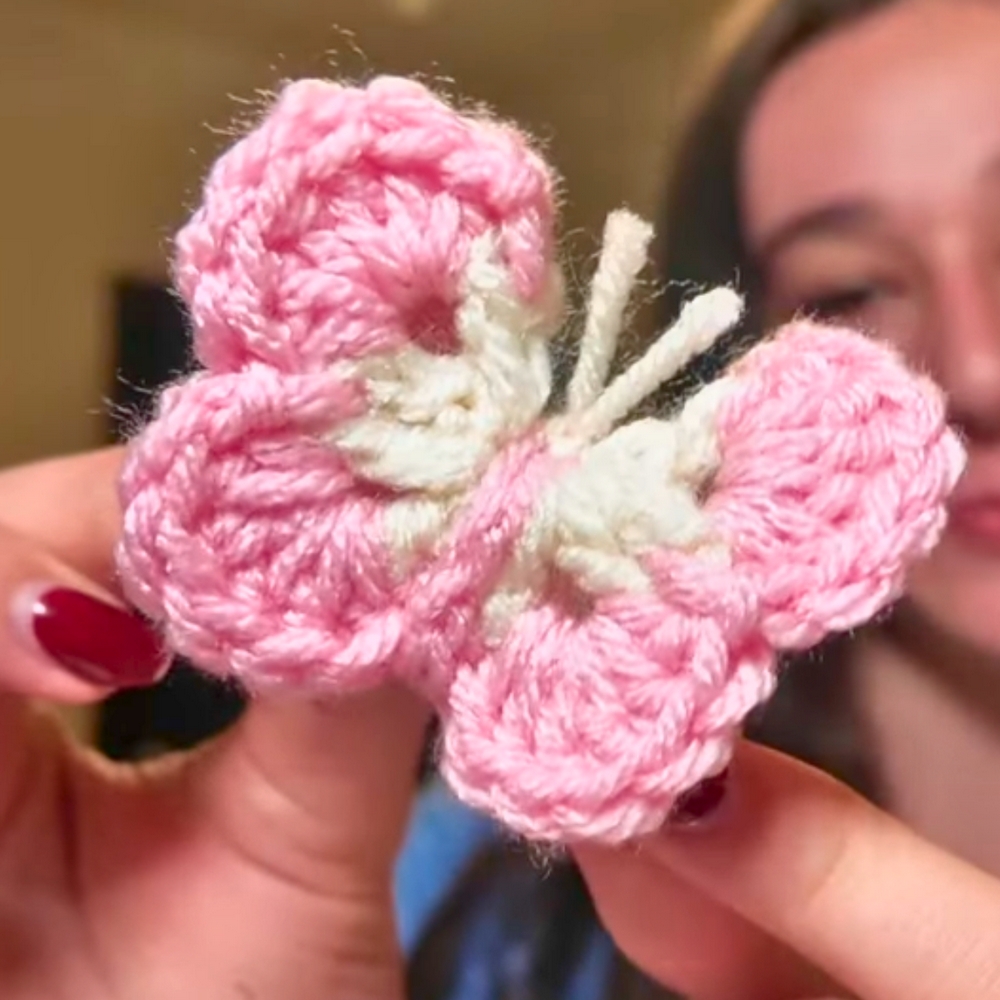
Whimsical charm comes to life with this Free Crochet Tiny Butterfly Pattern, ideal for adorning accessories, clothing, home décor, or handmade gifts.
Butterflies have long fascinated people with their delicate wings and vibrant colors, symbolizing transformation, beauty, and grace. Capturing this natural charm in a miniature, hand-stitched form allows enthusiasts to bring a touch of whimsy and elegance to everyday items. A Crochet Tiny Butterfly adds personality and subtle charm to clothing, accessories, home décor, and gift items. Its compact size makes it versatile, suitable for embellishing hats, bags, notebooks, or even framed as decorative wall accents.
Mini Crochet Tiny Butterfly Pattern for Unique Gifts
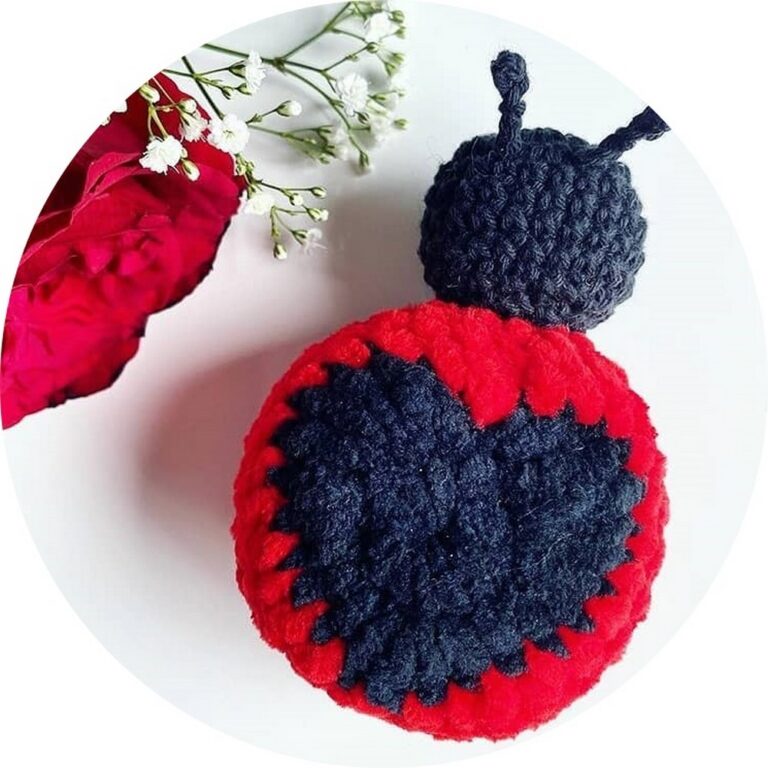
The creation process begins with forming the butterfly’s wings using simple crochet stitches, carefully shaping each side to achieve symmetry and a delicate appearance. The body is then stitched in a contrasting or complementary color, connecting the wings securely. Additional details, such as antennae, can be added with fine yarn or thread, completing the miniature form. Each step encourages patience and precision, making it a satisfying and mindful project for both beginners and experienced crocheters.
Beyond decoration, these tiny butterflies can serve as thoughtful gifts or charming additions to handmade cards and scrapbooks. Their portability and lightweight nature allow for endless applications, offering a creative way to personalize items. The tiny butterfly’s beauty lies not only in its aesthetic appeal but also in its ability to bring joy, color, and a sense of playful elegance to everyday life.
Step-by-Step Details
Step 1: Materials Needed
Gather the following materials:
- Yarn in two contrasting colors (e.g., one for the center and one for the wings)
- Crochet hook
- Scissors
- Tapestry needle
Step 2: Create the Base Ring
- Start with a slip knot: Form a loop with the yarn, insert your hook, and tighten the knot.
- Chain 6: Create 6 chain stitches by yarning over and pulling through the loop on your hook.
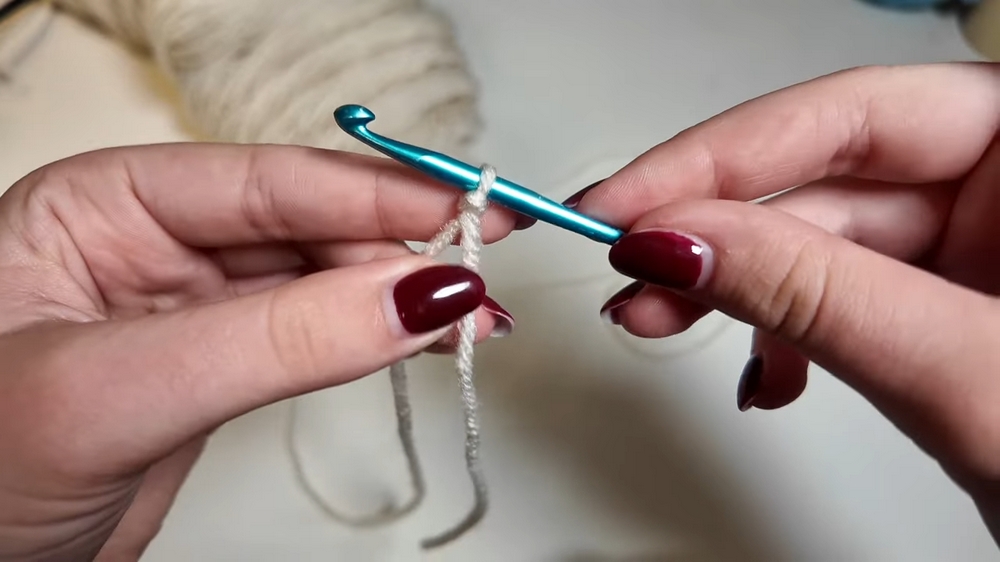
- Form a ring: Join the beginning and the end of the chain with a slip stitch by inserting your hook into the first chain and pulling the yarn through both loops.
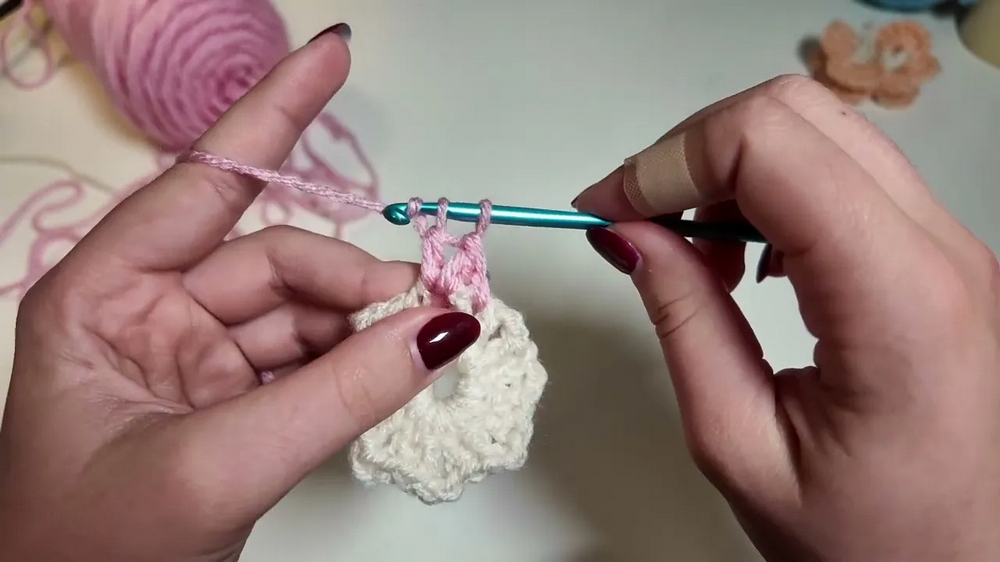
Step 3: Make the Butterfly’s Body
- Chain 3: This will count as your first double crochet.
- Double Crochet (DC) into the Ring: Yarn over, insert your hook into the ring, yarn over and pull up a loop (3 loops on hook); yarn over and pull through two loops, then yarn over and pull through the remaining two loops.
- Chain 2, then repeat steps to create alternating double crochets and chain-2 spaces. Keep repeating this process until you have 8 chain-2 spaces in total.
- Finish the Round: Slip stitch into the top of your first chain-3 to close the circle.
- Chain 1 and Fasten Off: Cut your yarn, pull the tail through the loop, and secure tightly.
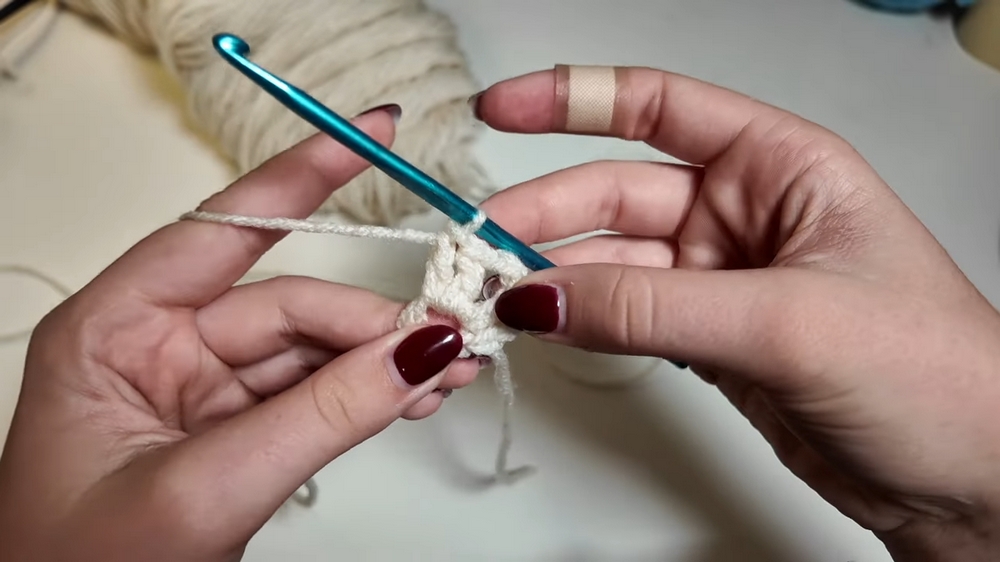
Step 4: Add the Wing Color
- Attach the Second Yarn: Insert your hook in between any of the double crochets from step 3. Pull the new yarn color through and tie a secure knot.
- Work into a Chain-2 Space: Insert 6 double crochets into the first chain-2 space.
- Slip Stitch Between the Next Pair of Double Crochets: This reinforces the structure and creates a butterfly wing effect.
- Repeat Around: Continue working 6 double crochets into each chain-2 space and slip stitching between the double crochets in each section of the ring.
- Complete the Round: Slip stitch into the space where you first joined the wing color.
Step 5: Shape the Butterfly
- Chain 8 for the Body Wrap: Create a set of chains that will secure the butterfly’s folded shape.
- Fold the Butterfly: Hold the circle by folding it in half along its middle axis, shaping it like a butterfly.
- Wrap the Chain Around the Body: Wrap the chain section tightly around the center portion to secure the fold.
- Slip Stitch to Secure: Pull the chain through the starting loop and slip stitch to lock everything in place.
Step 6: Add the Antennas
- Prepare the Yarn: Cut a small piece of yarn (the same color as the butterfly’s center). Fold it in half.
- Attach to the Top of the Body: Thread the folded yarn through the top stitches of the butterfly (above the chain).
- Form the Antennas: Insert the two loose ends through the loop and tighten. Trim the ends to your desired antenna length.
Special Features
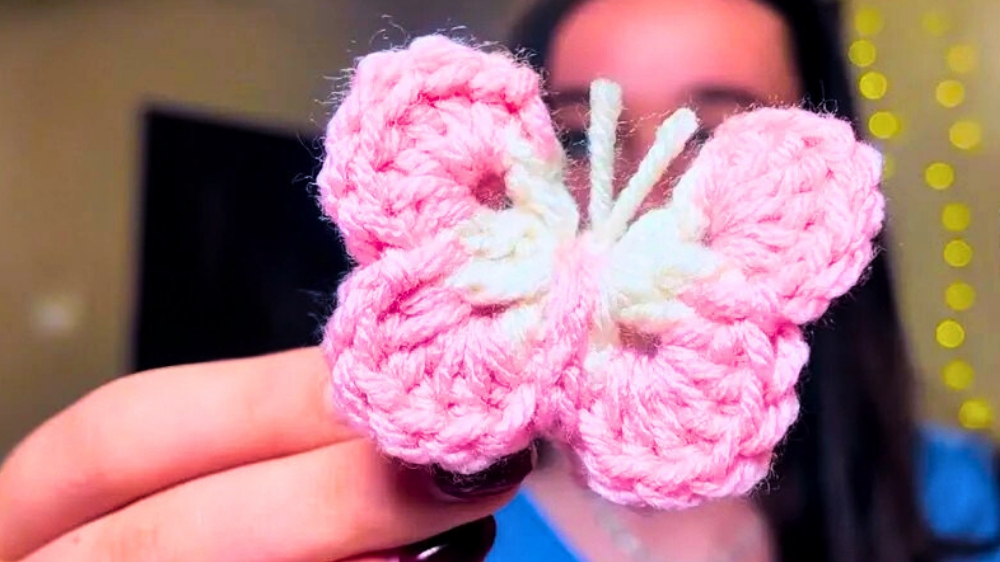
- Two-Toned Design: The use of two yarn colors makes the butterfly’s wings stand out beautifully.
- Compact Shape: The butterfly is small, detailed, and ideal for embellishment purposes.
- Creative Finishes: Adding antennas or experimenting with color variations offers a lot of flexibility to personalize the design.
Level of Difficulty
Beginner to Intermediate – This project is simple yet requires basic knowledge of crochet techniques (e.g., slip stitches, double crochets, and chain stitches). It’s perfect for beginners ready to expand their skills slightly.
Tutor’s Suggestions
- Use a yarn needle to weave in ends after cutting to give the finished product a polished look.
- Work loosely (not overly tight) to ensure a smooth and even design, especially when working into chain spaces.
- Take your time when folding the butterfly to ensure symmetry.
Uses
- Decorative pieces for baby clothes, hats, or bags.
- Home decor embellishments (e.g., garlands, curtains, or bookmarks).
- Gifts for loved ones or craft fair inventory for sale.
Tip
When creating your butterfly, be extra mindful of the chain-2 spaces as the areas where the wings will go. Consistent stitch tension in these spaces ensures that your butterfly looks even and professional when folded.
Conclusion
Crochet Tiny Butterfly is a delightful and rewarding project that lets you play with colors and textures while honing basic crochet stitches. It’s simple to create, takes little time, and produces a versatile and charming piece for personal use or gifting.