Free Crochet Side Tie Top Pattern For Summer Outfits
Switch up your go-to outfits with the Crochet Side Tie Top Pattern, an easy project featuring adjustable tie sides and endless styling potential.
The versatility of handmade fashion shines when practicality meets style. A perfect example is the Crochet Side Tie Top Pattern, designed to complement a wide range of wardrobes. This beautiful top features a trendy tie detail on the sides, giving it a playful edge while ensuring a customizable fit. Whether styled for summer outings or paired with layers during cooler months, its lightweight and airy texture makes it ideal for day-long comfort. By choosing your preferred yarn colors, this design transitions effortlessly from casual to dressy.
Stylish Crochet Side Tie Top
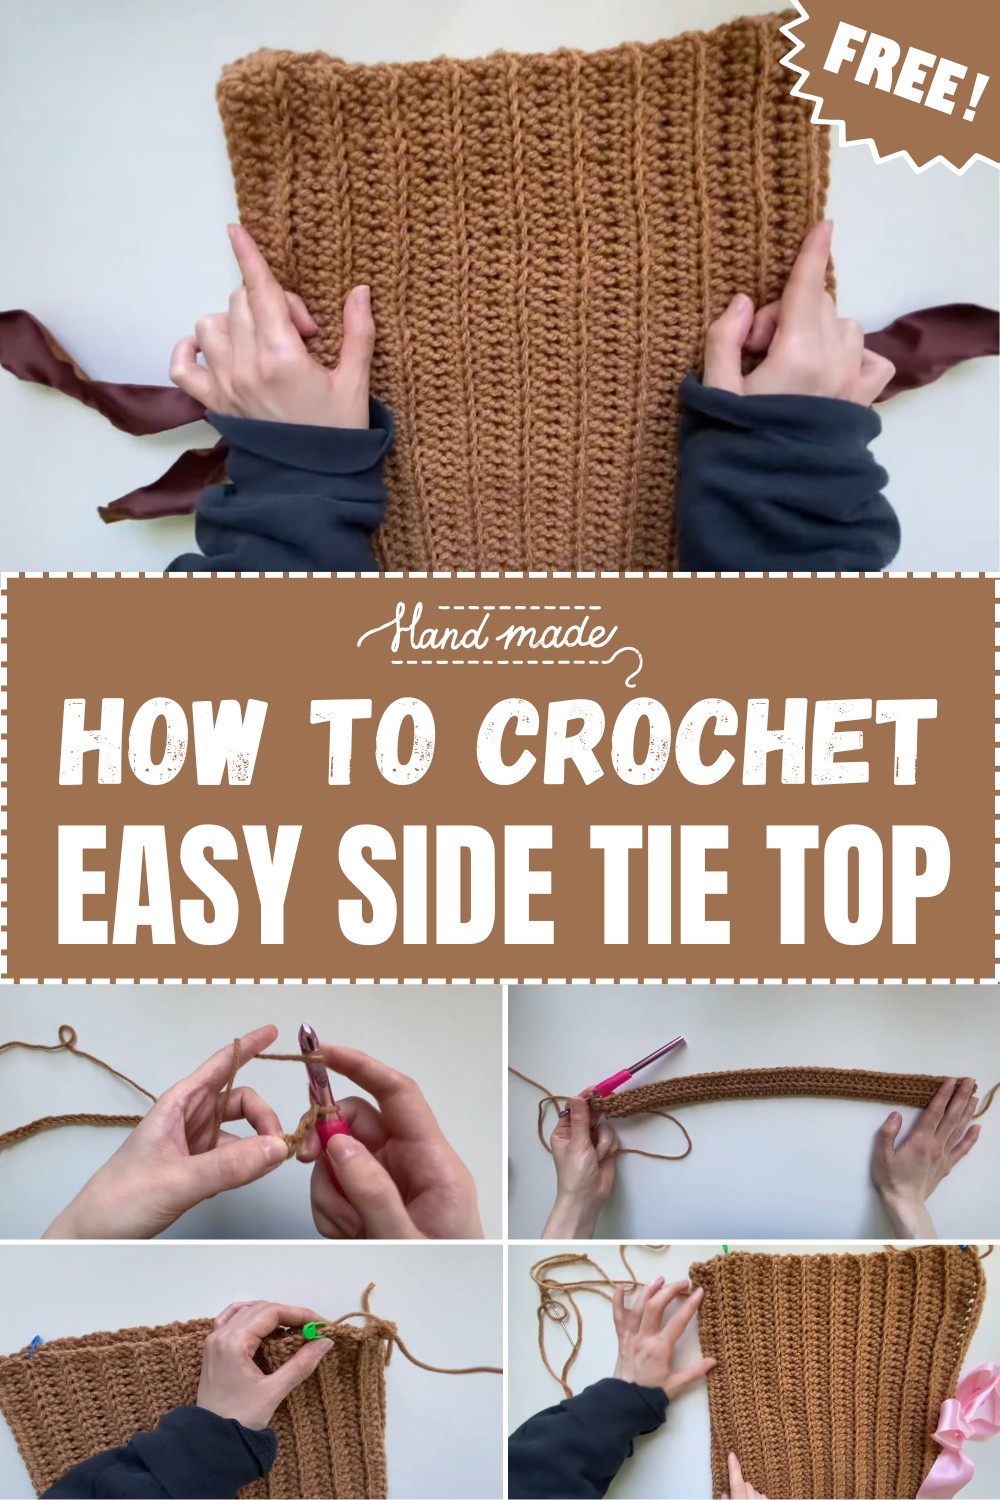
How To Crochet Ribbed Halter Top
This is a simple and quick pattern for creating a stylish ribbed halter top made exclusively using half double crochets (hdc). It involves making two rectangular panels that are sewn together, with optional ribbon ties for added aesthetic. The project is perfect for beginners, as it features a one-row repeat and uses basic stitches. The tutorial allows adjustments for any size and desired length.
Materials Needed
- Yarn: 4-weight acrylic yarn
- Hook: 8 mm crochet hook
- Other Tools:
- Darning needle
- Scissors
- Stitch markers
- Measuring tape
- Ribbon (optional)
Abbreviations
For this tutorial, the following standard abbreviations are used:
- ch: Chain
- hdc: Half Double Crochet
- st(s): Stitch(es)
- sl st: Slip Stitch
- yo: Yarn Over
- BLO: Back Loop Only
Gauge and Size Information
- Top in the tutorial is designed for a women’s size XS.
- Final dimensions of the top:
- Length (shoulder to bottom): 16 inches
- Width of the panel: 12 inches
- Armhole: 8 inches
- Neck hole: 10 inches
- Adjustments: This is a customizable pattern. You can create longer/shorter tops by varying the chain length or adjust the width by increasing or decreasing the number of rows.
Step-By-Step Instructions
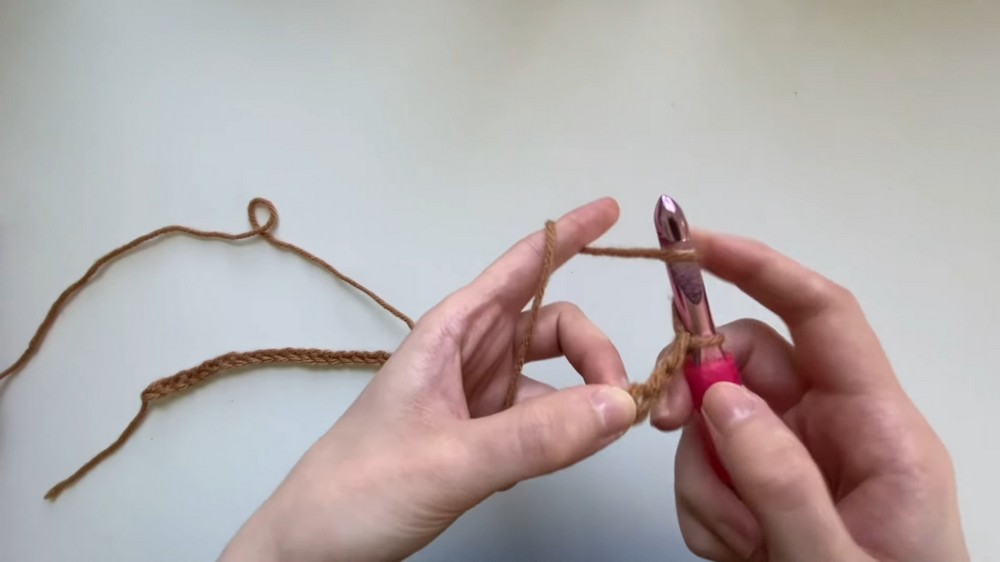
1. Creating the Foundation Chain
- Start by making a slip knot on your hook.
- Create a foundation chain that measures the desired length of the top (shoulder to bottom of your top). In the tutorial, the chain is 51 ch, which measures 16 inches for a cropped top.
2. Row 1: Half Double Crochet Across
- Skip the first 2 chains (counts as turning chain).
- Work 1 hdc into the 3rd chain from the hook.
- To work an hdc:
- Yo, insert the hook into the specified stitch, pull up a loop.
- You’ll have 3 loops on your hook.
- Yo, pull through all 3 loops.
- To work an hdc:
- Work 1 hdc into each chain across the foundation chain.
- At the end of Row 1:
- Total stitch count = 49 sts (for size XS).
- Ch 2 and turn your work.
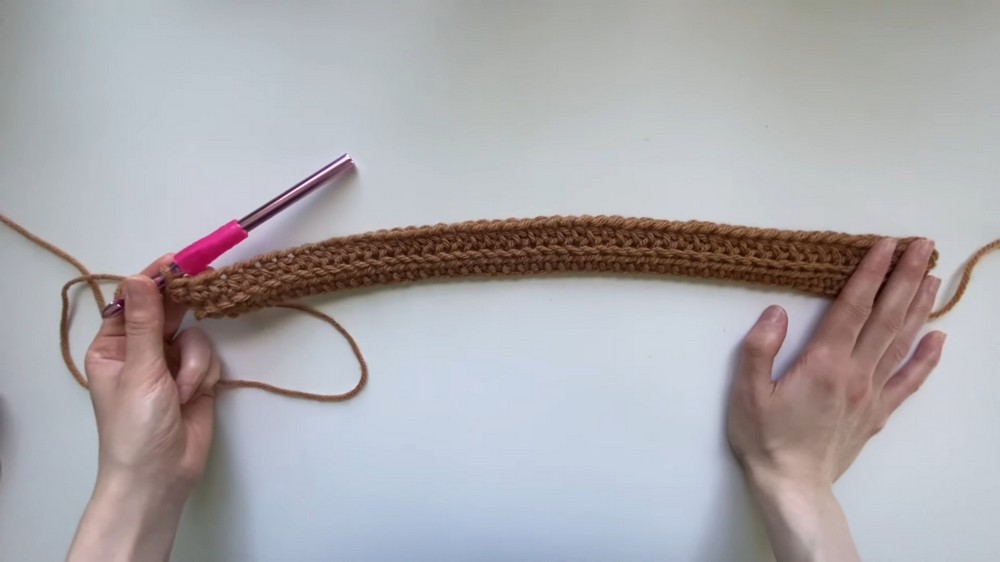
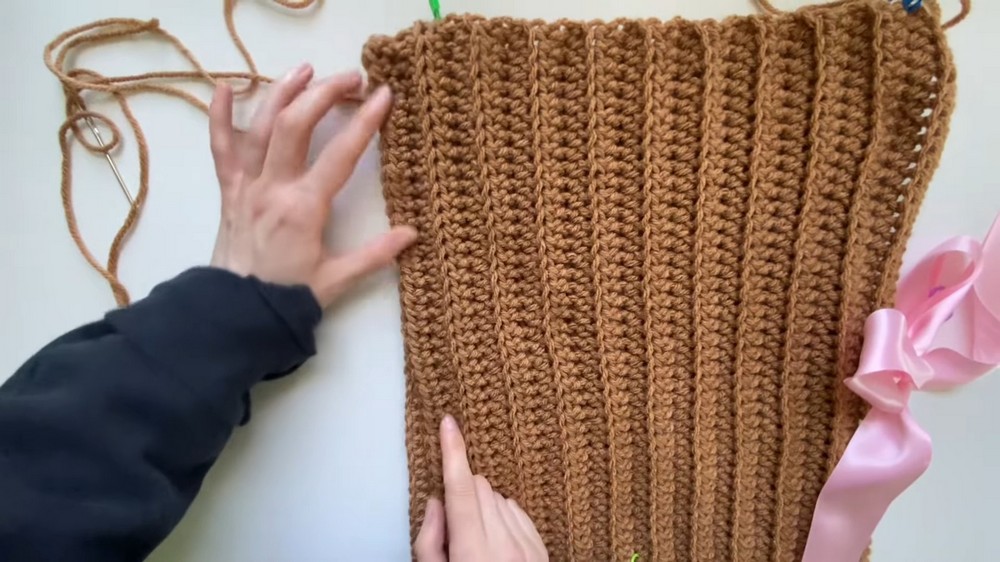
3. Row 2: Back Loop Only (BLO) Half Double Crochet
- Starting in the first st, work 1 hdc into the back loop only (BLO) of every stitch across.
- The back loop is the one furthest away from you when looking at the “V” of the stitch.
- Continue to work 1 hdc BLO across the row.
- At the end of Row 2, you should have the same number of stitches as Row 1.
- Ch 2 and turn your work.
4. Repeat the Pattern
- Repeat Row 2 (hdc BLO row) until the top reaches your desired width. This will create the second dimension of the rectangular panel.
- For the tutorial, 21 rows were worked to achieve a 12-inch wide panel (size XS). Adjust the number of rows for different sizes.
- Once the first panel is complete, fasten off.
5. Make the Second Panel
- Repeat Steps 1–4 to create a second identical panel.
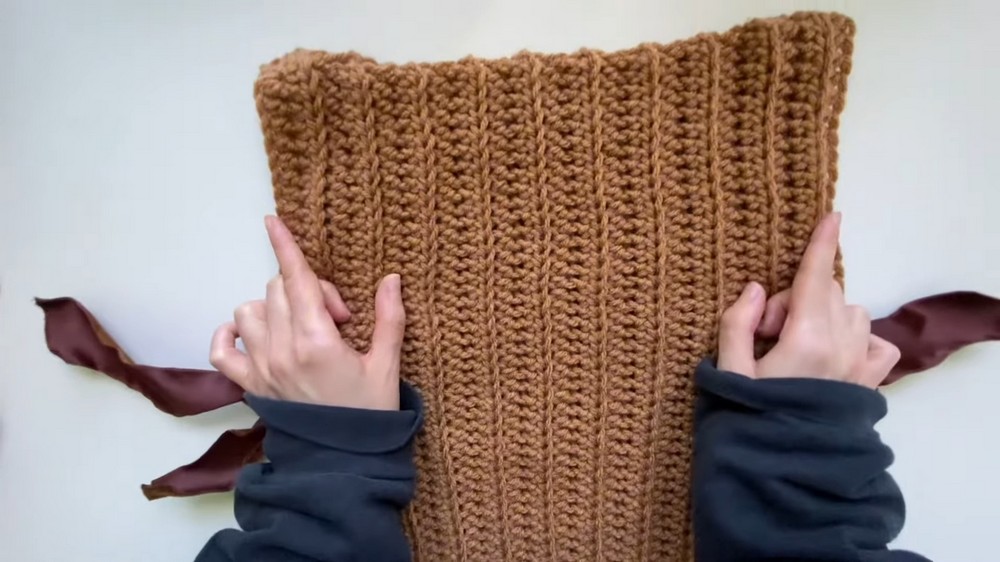
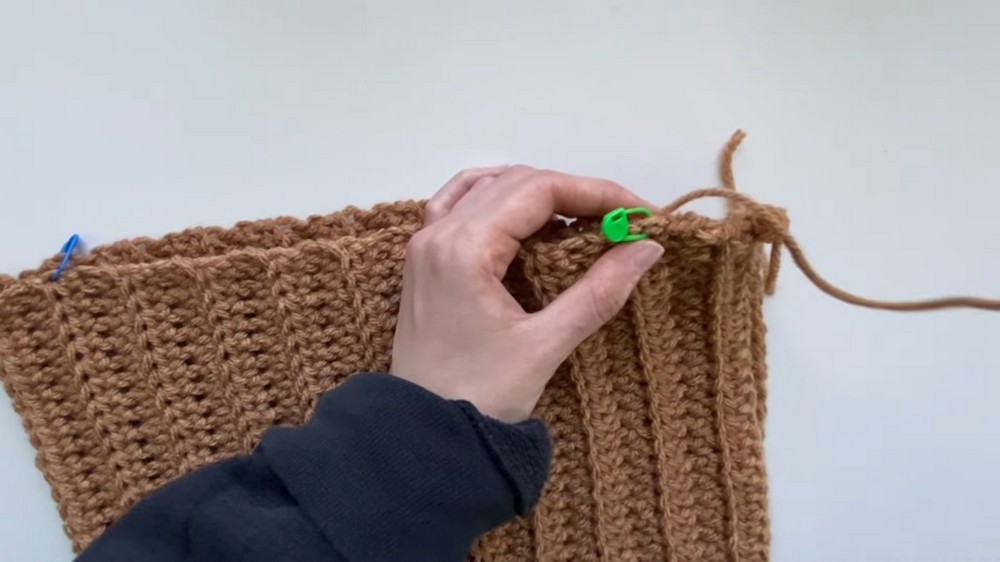
6. Assembling the Panels
- Lay both panels on top of each other, aligning the edges.
- Use stitch markers to:
- Mark the neck opening (center 1.5 inches from the top on each side).
- Mark the armholes (8 inches down from the shoulder). Test out your preferred location for armholes by trying on the panel.
- Use a darning needle to sew the panels together along the sides:
- Sew from the bottom up, stopping at the armhole markers.
- Secure with knots at the ends of the seams.
- Optional: For the neck opening, you can sew it closed or tie it using ribbon for a decorative touch.
7. Adding Ribbon (Optional)
- Thread the ribbon through stitches near the armhole using your desired spacing.
- Tie the ribbon into a neat bow for a pretty look.
Completion
Once the panels are assembled, the top is ready to wear! Try it on and adjust any armhole, neck, or side seams as needed. You can also experiment with different ways to style the ribbon or leave it out entirely for a cleaner look.
Conclusion
This ribbed halter top pattern is easy to customize and works up quickly with its simple one-row repeat. The minimalist design allows for creative adaptations by using different yarn colors, adding embellishments, or adjusting its size for cropped or full-length variations. We hope this pattern inspires you to create your next favorite top!