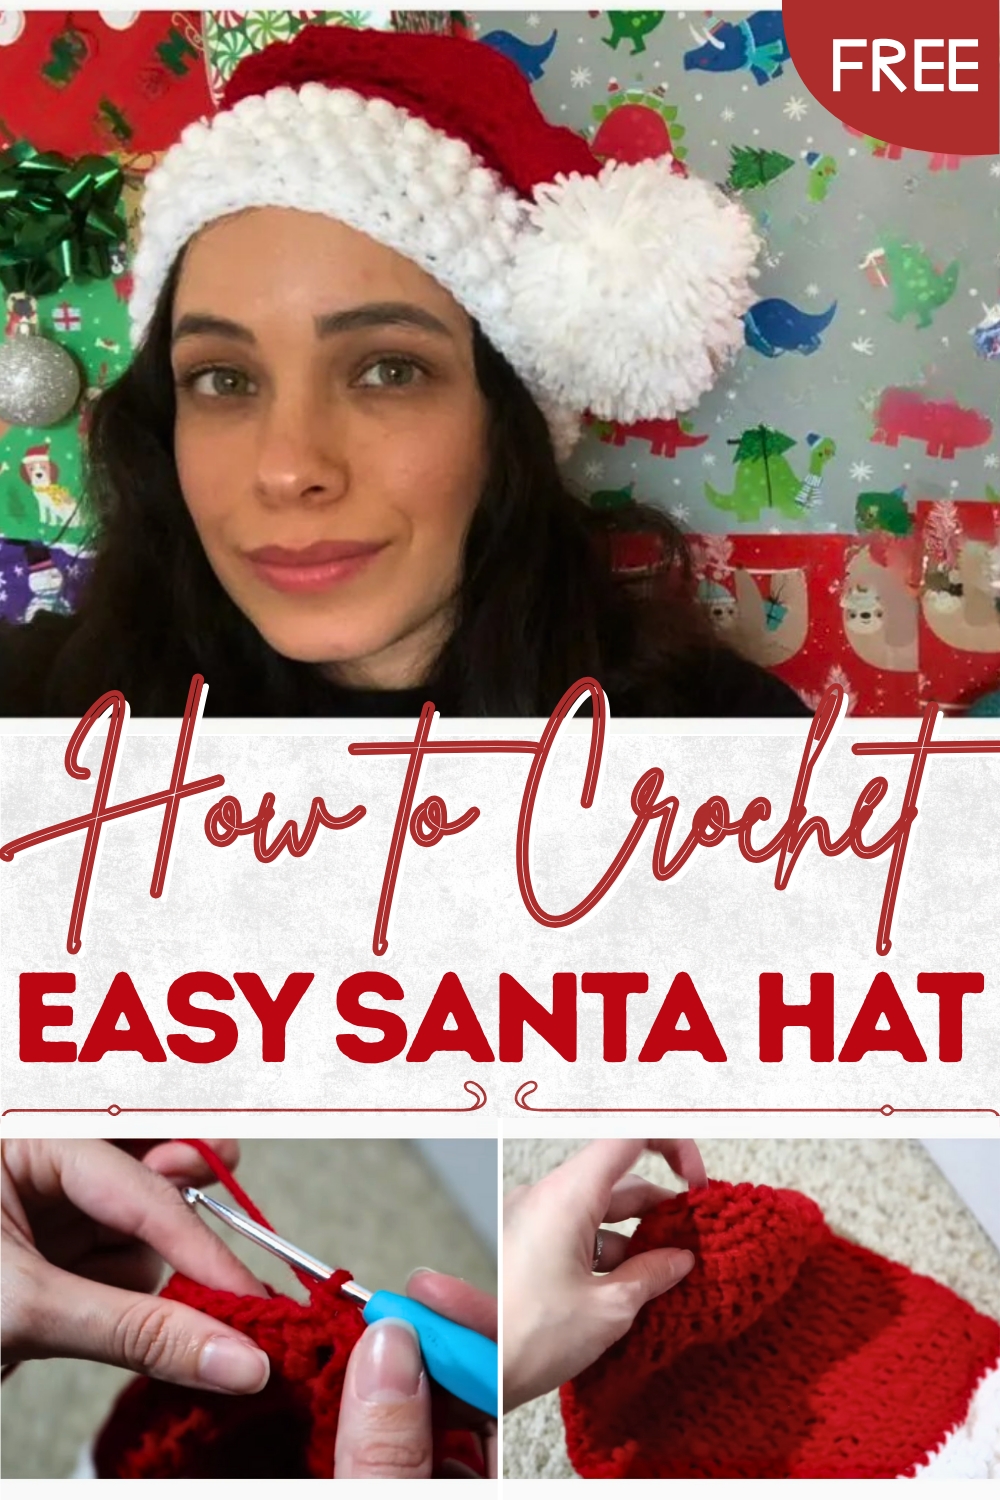
Free Crochet Santa Hat Laura Pattern to Spread Seasonal Joy
Cheer up your holidays with this Free Crochet Santa Hat Laura Pattern, bringing cozy warmth and playful charm to festive outfits and winter gatherings
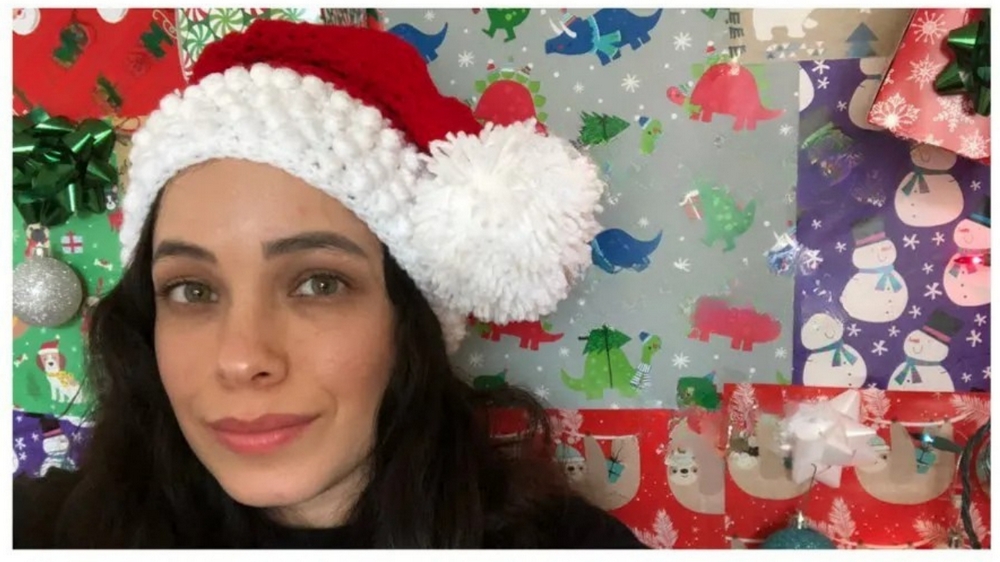
Holiday cheer often begins with the smallest traditions, and a handmade hat has a way of sparking smiles across every age. The Free Crochet Santa Hat Laura pattern offers a cheerful project that brings seasonal spirit to life while remaining practical and comfortable. Its classic red and white color scheme instantly signals celebration, while the soft texture provides warmth on chilly winter evenings. Perfect for family photos, festive gatherings, or thoughtful gifts, this hat can be customized for children and adults alike by simply adjusting yarn weight or sizing.
Cute Crochet Santa Hat Laura Pattern with Fluffy White Trim
The gentle rhythm of each stitch invites relaxation, making the process as enjoyable as the finished piece. Once complete, the hat becomes more than a festive accessory, it turns into a keepsake that carries memories of shared laughter and cozy nights spent indoors.
Whether worn during holiday parades, given as a heartfelt handmade present, or used as a decorative accent on a mantle, it spreads seasonal charm throughout the home. For those who enjoy meaningful projects that combine style with sentiment, this pattern provides a way to share warmth and joy. Each finished hat tells a quiet story of patience and care, making it a treasured part of any winter celebration.
Special Features of the Santa Hat
- Festive Puff Stitch Details: The hat incorporates puff stitches to add texture and embellishment.
- Customizable Design: Adjust the band size and the placement of puff stitches for a personalized look.
- Decreasing Technique: Proper guidance is included to shape the tip of the hat accurately.
- Optional Pom-Pom: Add a yarn pom-pom or crocheted pom-pom for a playful finishing touch.
Materials Needed
- Yarn: Medium-weight acrylic yarn in red and white.
- Crochet Hook: 4.0 mm hook.
- Thread Needle: For sewing and securing ends.
- Scissors: For trimming yarn.
Level of Difficulty
This project is beginner to intermediate-friendly, as it includes simple stitches such as single crochet, double crochet, puff stitch, and slip stitch, along with basic decreasing techniques. It’s an excellent opportunity for beginners to practice puff stitches and shaping a hat.
Step-by-Step Instructions
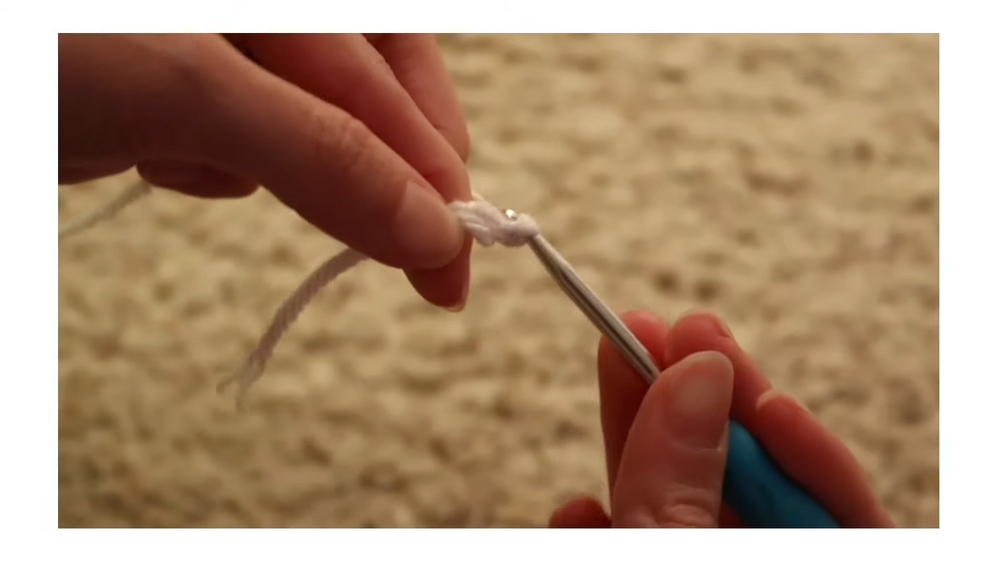
1. White Band for the Hat
Foundation Chain:
- Begin with white yarn and create a slip knot.
- Chain enough stitches to measure the circumference of your head. For reference, the creator used 82 chains but suggests adjusting as needed.
Row 1 – Base Single Crochet:
- Add one extra chain, then single crochet into each chain stitch across.
- At the end, chain one, turn your work over, and single crochet into the first stitch.
Row 2 – Puff Stitches:
- Begin by crocheting a single stitch into the first stitch of the row.
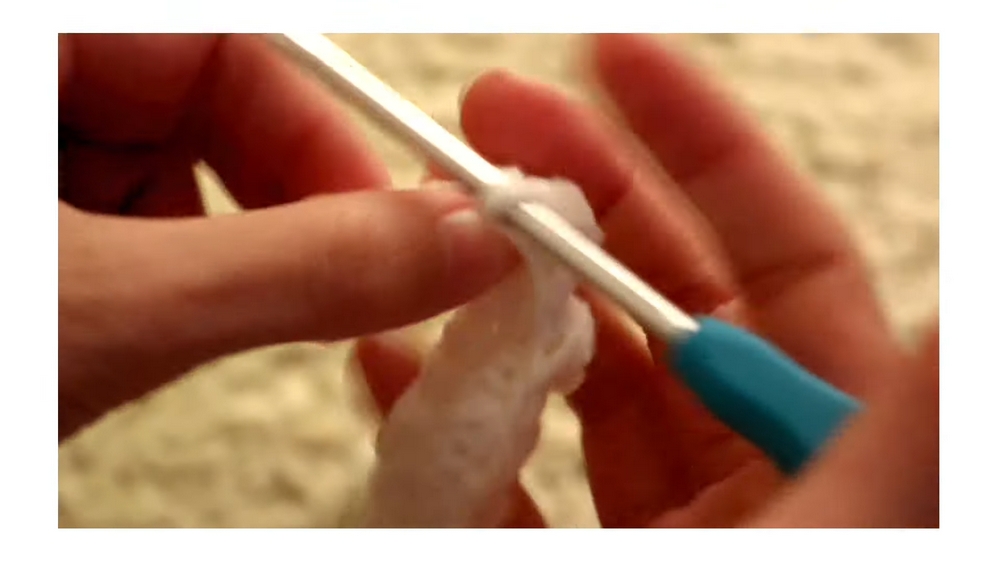
- In the next stitch, start the puff stitch:
- Yarn over, insert hook into the stitch, pull through; repeat this process four times until you have nine loops on your hook.
- Yarn over, pull through all nine loops, and create a single crochet into the next stitch.
- Repeat this puff stitch-single crochet sequence all the way to the end of the row.
Row 3 – Alignment Change for Puff Stitches:
- Chain one, turn your work over, and single crochet the next row entirely to stabilize the puff stitches.
- On the following row with puff stitches, offset the alignment by crocheting them in between puff stitches from the previous row, rather than directly on top.
Creator’s Suggestion: Repeat these rows depending on how thick you want the white band to be, ensuring neatness with single crochet rows between puff stitch rows.
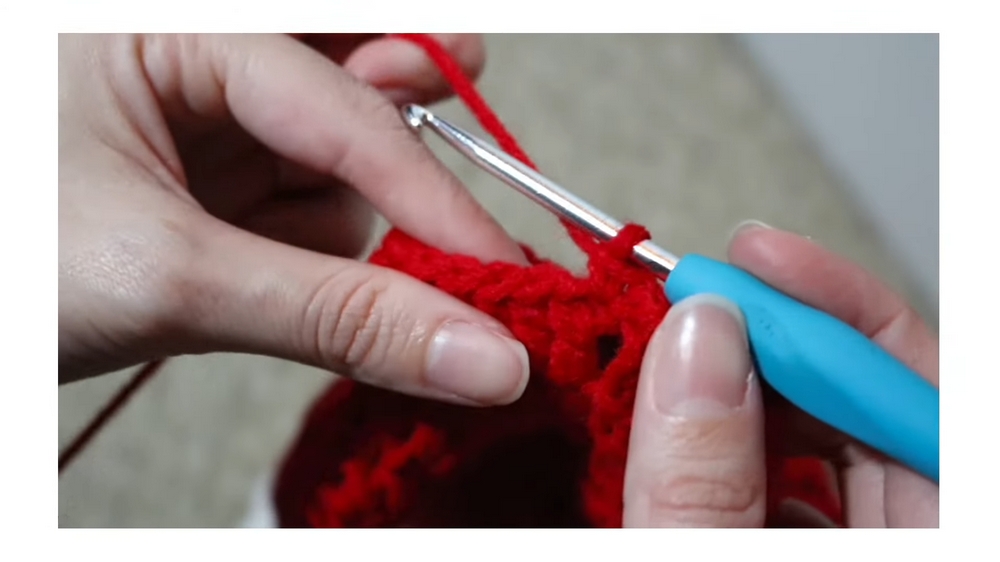
2. Red Body of the Hat
Adding Red Yarn:
- Tie the red yarn securely onto the band and start with double crochet stitches.
- Begin with a chain 3, then yarn over and crochet double stitches into every stitch around the hat band.
- Join the last stitch to the first using a slip stitch.
Random Puff Stitch Placement:
- Crochet the next row in double crochet but randomly sprinkle puff stitches for added texture and festive flair.
- Continue this pattern until the hat reaches the desired height.
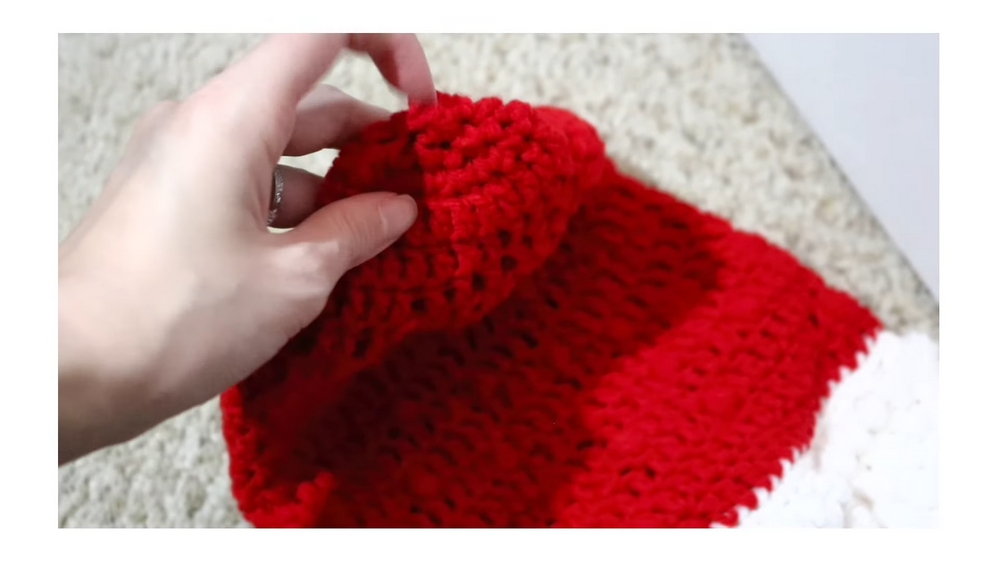
3. Decreasing at the Tip
Shaping the Tip:
- Begin decreasing by skipping one stitch after every two double crochet stitches:
- For each row, double crochet into the next two stitches, skip one stitch, and continue.
- Repeat two rounds of decrease following this pattern.
Final Rows:
- Once the hat’s tip is nearly closed, finish the remaining rows using single crochet stitches:
- Crochet two stitches into one for the final rows until the opening at the tip closes completely.
- Secure the stitch with a slip knot and cut the yarn.
4. Finishing Touch – Pom-Pom
- Attach a pom-pom of your choice to the top of the hat using either a pre-made yarn pom-pom or a crocheted one.
- Secure it with a thread needle for durability.
Tutor’s Suggestions
- Take Your Time with Puff Stitches: Wiggle the hook gently through all loops to prevent tension issues.
- Custom Fit: Adjust the chain for the band based on your head size.
- Placement of Puff Stitches: Align them between rows for a pleasing, staggered texture.
Uses of the Santa Hat
- Perfect Christmas accessory for parties, photos, or winter celebrations.
- Thoughtful handmade gift for family and friends.
- Decorative element for holiday displays.
Tip for Success
Ensure neat edges by adding a row of single crochet around the entire band and body to refine appearance before slip-stitching for closure.
Conclusion
This crochet Santa hat is both fun and rewarding to make, allowing you to personalize its texture and design. Whether gifted to loved ones or worn on festive occasions, this cheerful piece adds warmth and joy to winter celebrations.