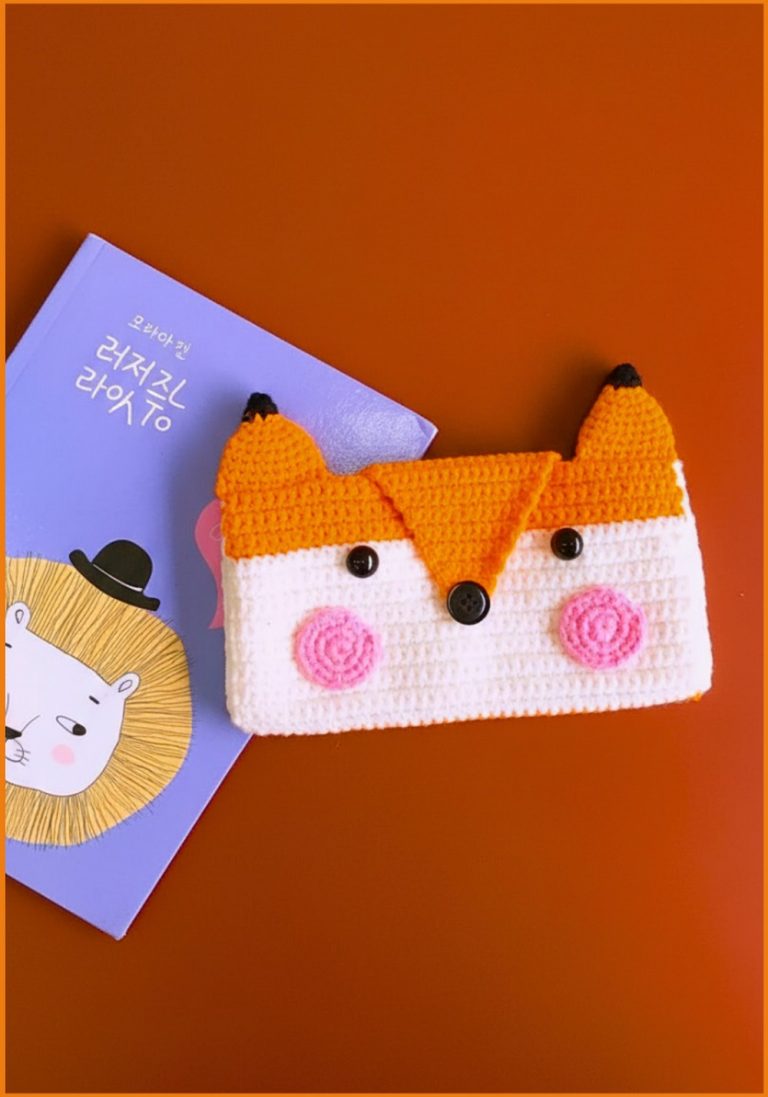
Free Crochet Garden Cat Pattern For Beginners
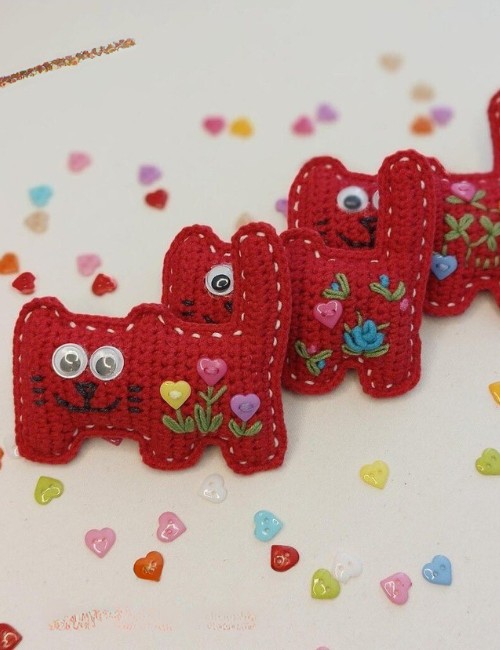
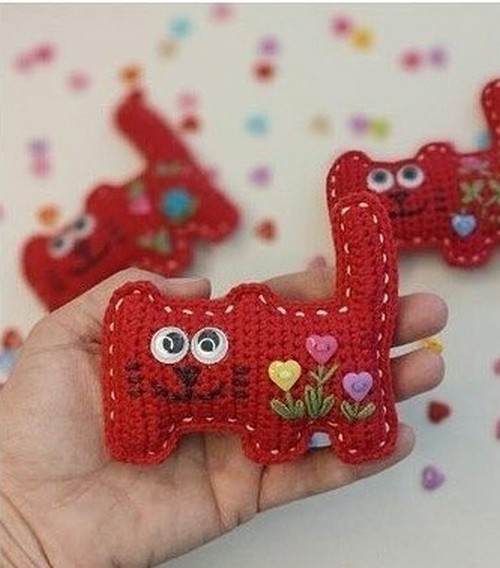
Want a unique cat amigurumi idea that needs less yarn? Grab your crochet hook and try this free crochet Garden Cat Pattern you can complete using yarn scraps. It will be a very basic shape of a cat with embroidered mouth expressions and plants, heart-shaped flower buttons and cute eyes. Perfect for beginners, whip them up as playful keychains, adorable home decor, or cuddly companions for imaginative adventures. Let’s get started!
Making Your Free Crochet Garden Cats Patterns
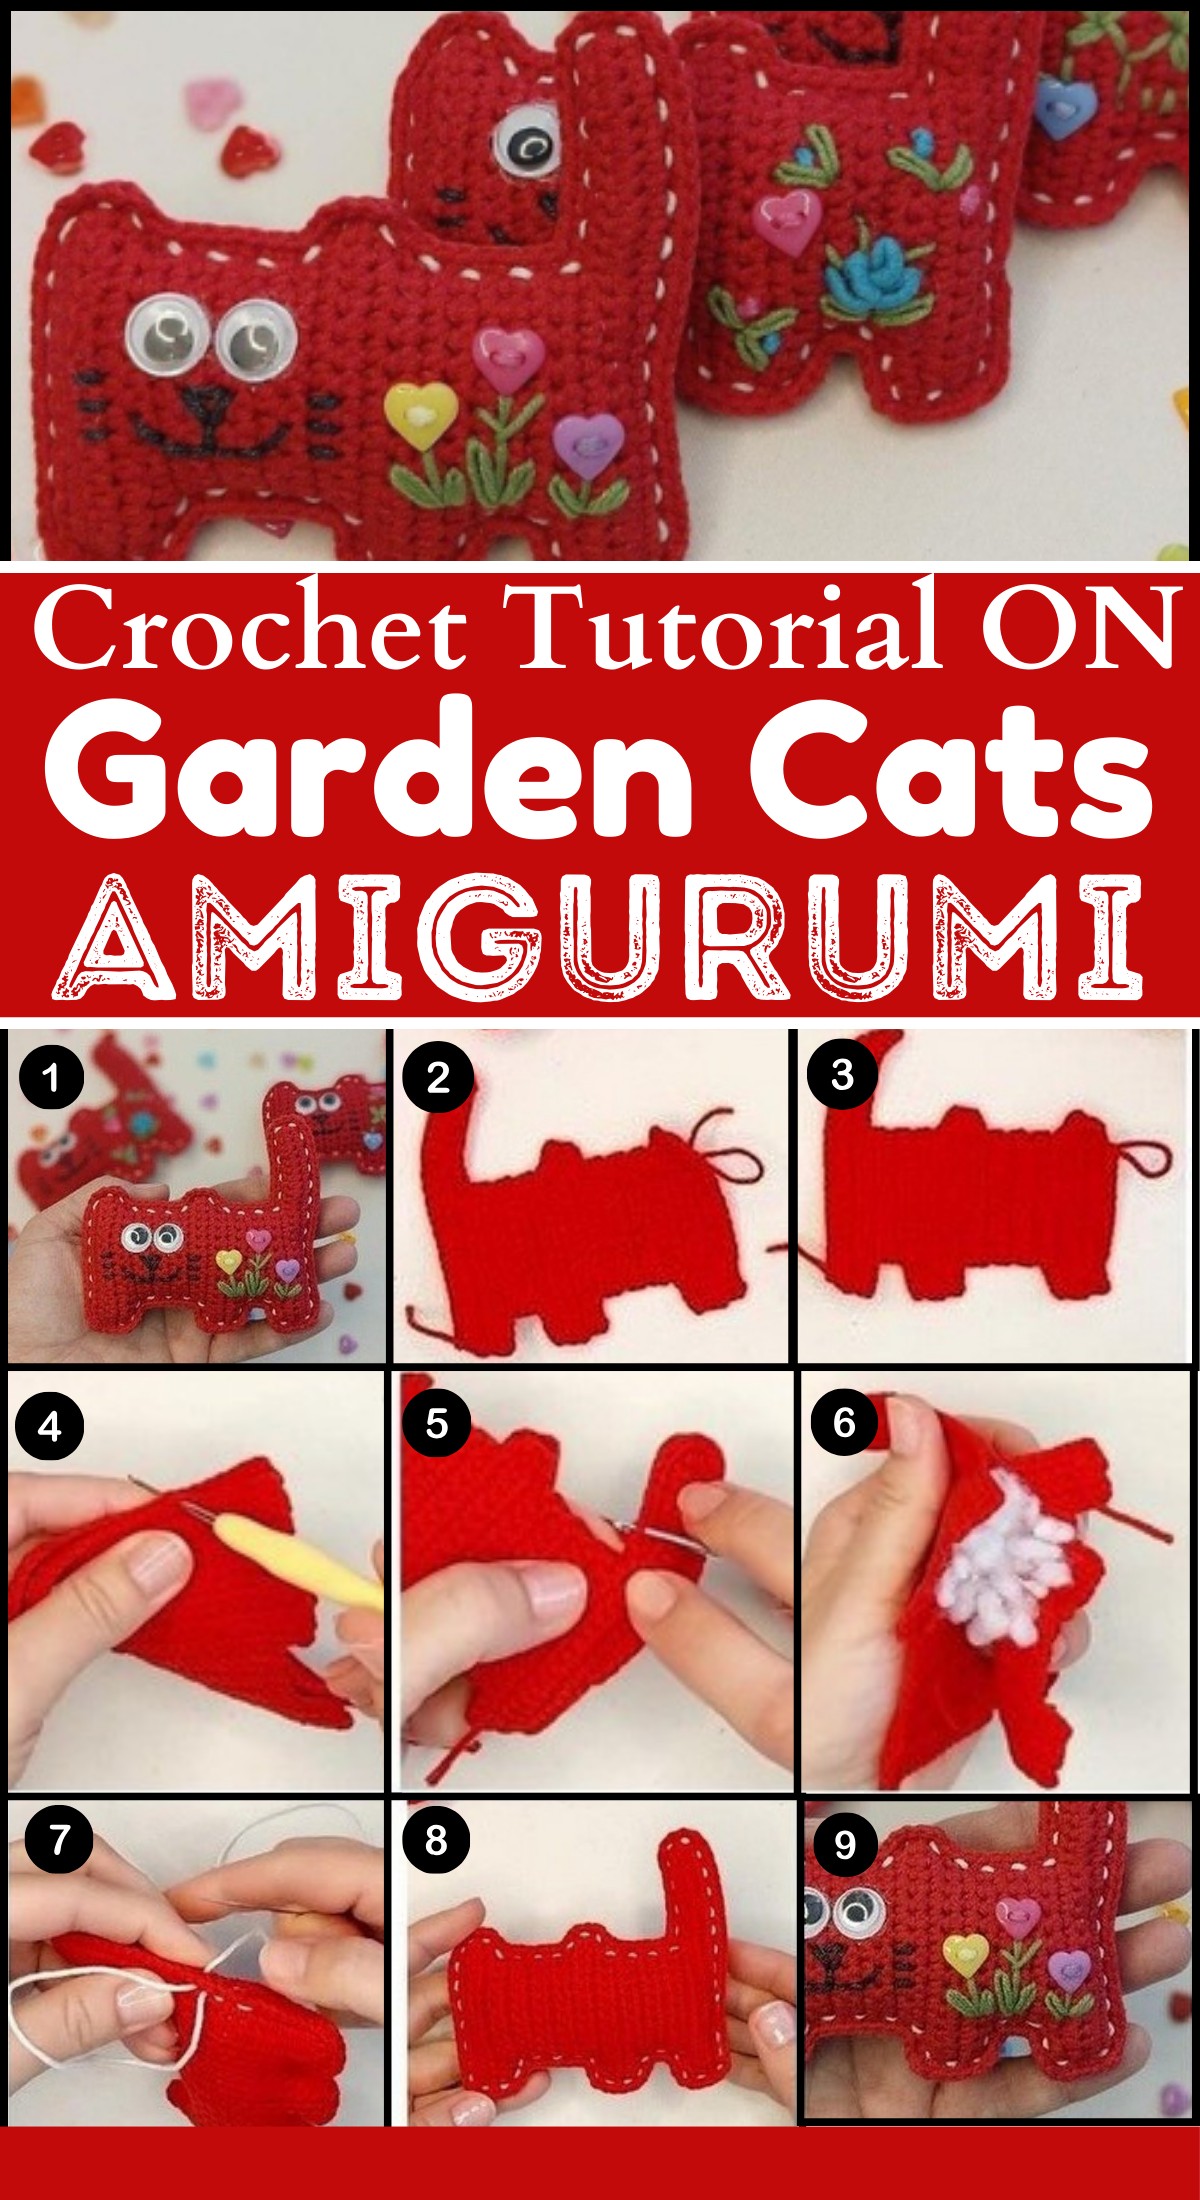
Learn how to crochet 2d looking garden cat with this step-by-step tutorial:
Materials & Tools
- Yarn Art Jeans: (50g/160m)
- Color Palette:
- Red (90)
- Milky (03)
- Dark Gray (28)
- A 1.5mm crochet hook for precise stitching.
- Eyes & Buttons: 12mm self-adhesive eyes and decorative buttons bring your cats to life.
- Stuffing
- Sewing & Embroidery Needle
Abbreviations
- “ch st” refers to a Chain Stitch, a foundational technique to begin most crochet projects.
- “Sc” signifies a Single Crochet, a basic stitch creating tight and firm fabric.
- “dec” stands for Decrease, a method to reduce the number of stitches.
- “sl st” denotes a Slip Stitch used to join work in a seamless manner.
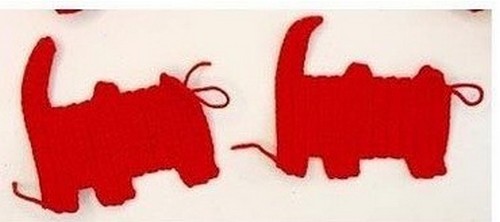
Body
(2 pcs)
Start (hook 2 mm): Yarn Art Jeans – red color (90).
Crochet turning rows.
R1 ch st 27, from the second loop from the hook sc 26, ch st 1, turn R2 sc 26, ch st 1, turn
R3 skip 1 loop, sc 2, dec 1, sc 2, dec 1, sc 2, dec 1, sc 13, ch st 1, turn
R4 sc 14, ch st 1, turn
R5 sc 11, ch st 1, turn
R6 sc 11, ch st 1, turn
R7 sc 11, ch st 4, turn
R8 from the second loop from the hook sc 14, ch st 1, turn
R9 sc 14, ch st 1, turn
R10 sc 14, ch st 3, turn
R11 from the second loop from the hook sc 16, ch st 1, turn R12 sl st 3, sc 13, ch st 1, turn
R13 skip 1 loop, sc 12, ch st 1, turn
R14-18 (5 rows) sc 11, ch st 1, turn
R19 sc 11, ch st 4, turn
R20 from the second loop from the hook sc 14, ch st 3, turn R21 from the second loop from the hook sc 16, ch st 1, turn 22 sc 16, ch st 1, turn
R23 skip 1 loop, sc 15, ch st 1, turn
R24 sl st 3, sc 10, sl st 1
Cut the thread and fix it with a knot.
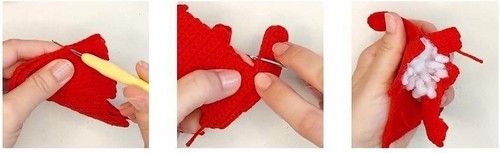
Place two parts together (wrong side inward), crochet in a circle, use the “loop-to-loop” method.
Stuff the body with the filler as you crochet.
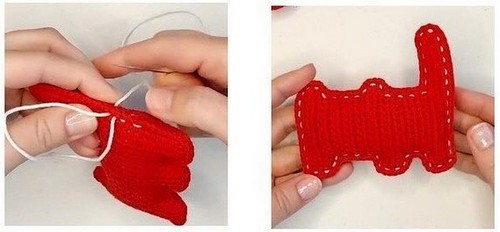
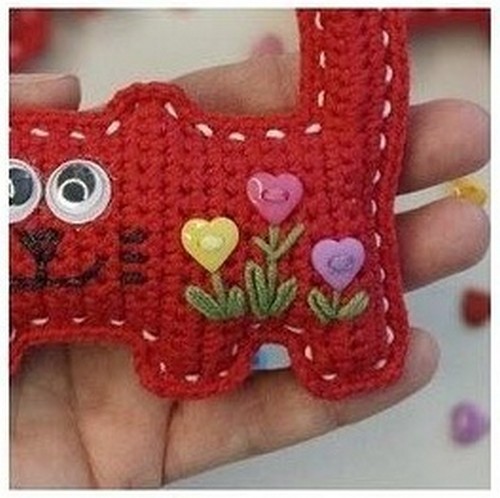
Embroider along the outline.
Embroider a face from a photo.
Glue the eyes.
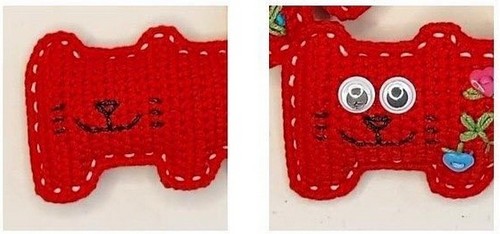
Make embroidery or sew on decorative buttons.
 Designer:by @_funny_toy_ On Instagram
Congratulations, your toy is ready!
DO