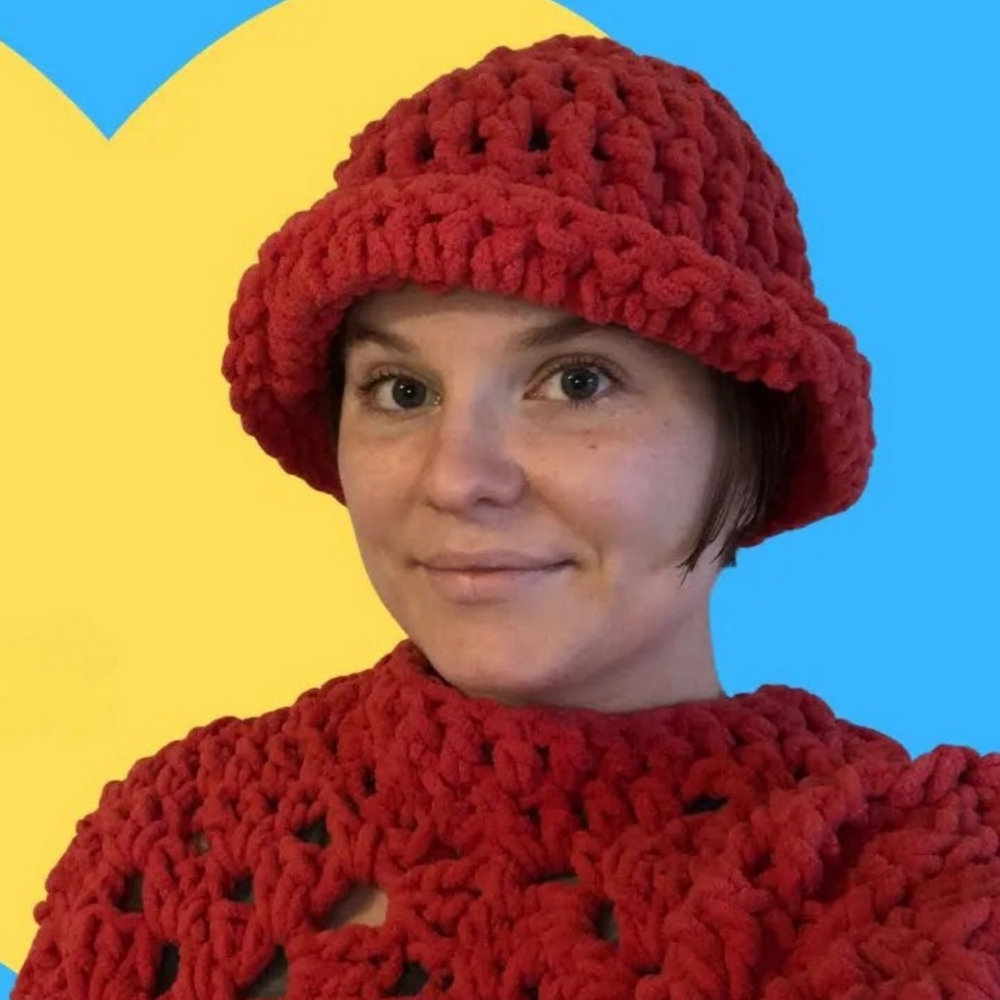
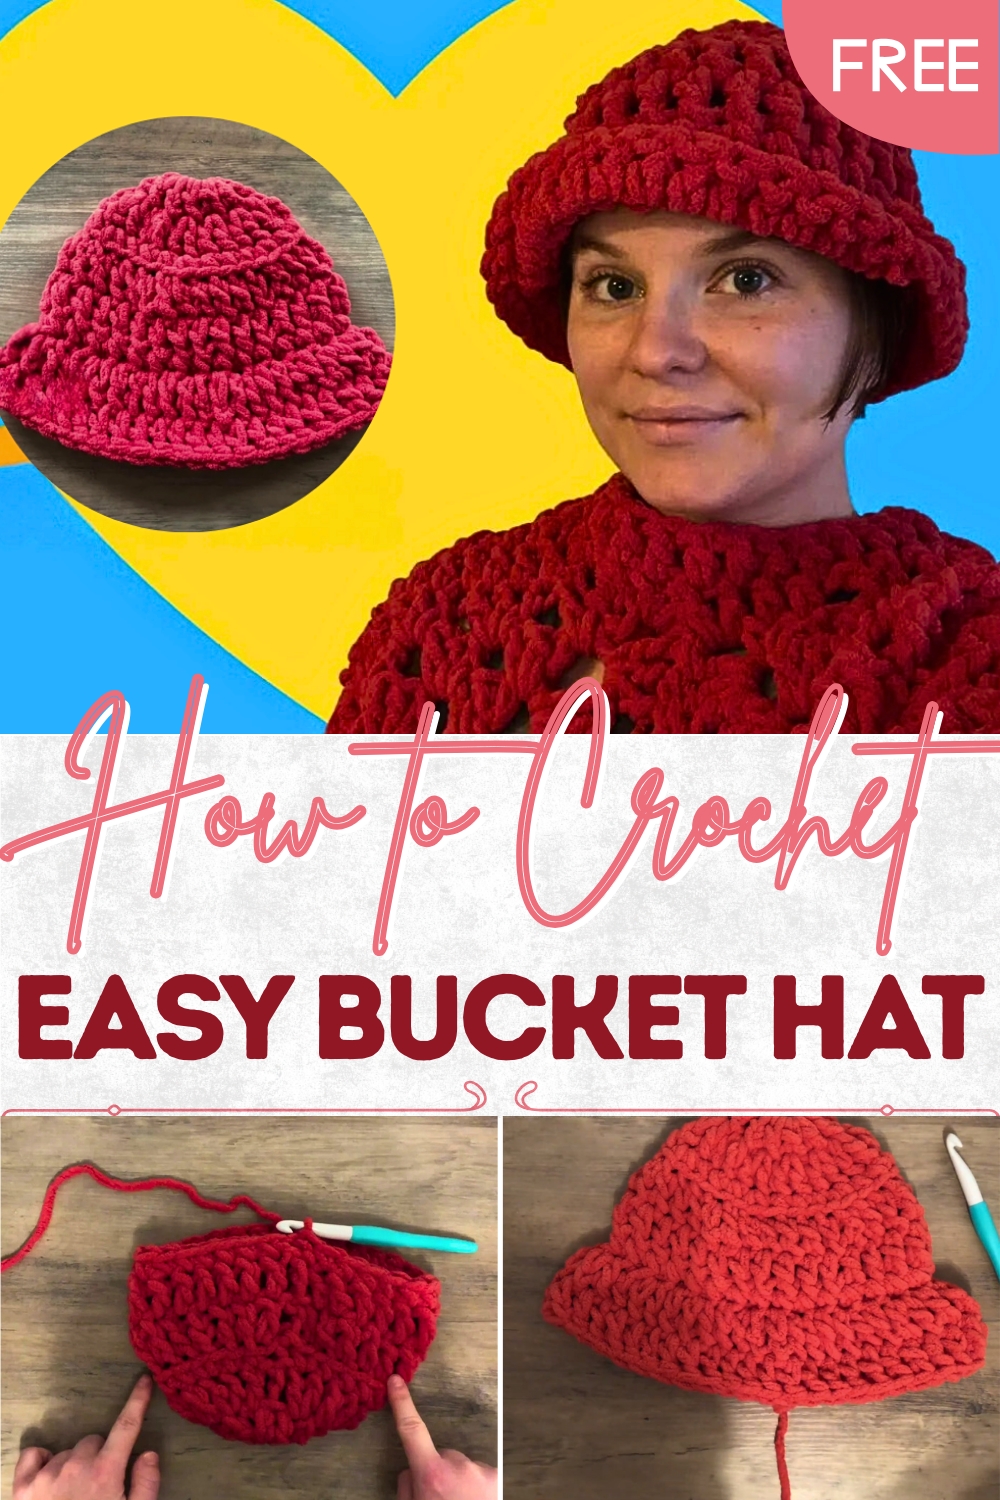
Free Crochet Bucket Hat Pattern for Trendy Streetwear
Breezy charm starts with this Free Crochet Bucket Hat Pattern, offering a stylish handmade accessory perfect for sunny outings and effortless everyday wear
Sun protection and style often meet in the simplest accessories, and few are as timeless as a wide-brimmed hat. The Free Crochet Bucket Hat pattern delivers a lightweight layer that keeps harsh rays at bay while lending a relaxed charm to everyday outfits. Its airy texture allows heat to escape, making it a smart choice for warm afternoons in the garden, at the beach, or during casual city walks. The flexible brim offers comfortable coverage, shielding eyes and face without feeling heavy or restrictive.
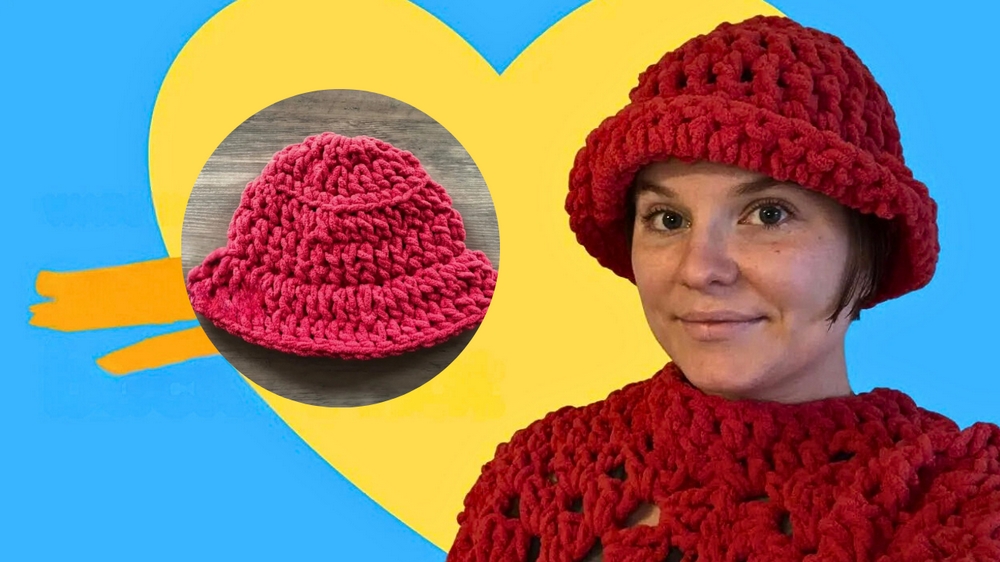
Elegant Crochet Bucket Hat Pattern for Simple Outfits
This hat folds easily into a bag or suitcase, ready to travel without losing its shape, and different yarn choices let each maker customize color and weight for any season. Gentle, repetitive stitches provide a soothing rhythm as the project progresses, turning quiet hours into moments of calm.
Once finished, the hat becomes a practical companion for vacations, weekend errands, or breezy evenings outdoors, pairing effortlessly with everything from sundresses to denim jackets. Its classic silhouette ensures lasting appeal, offering both function and understated elegance for years of wear. Whether given as a thoughtful gift or added to a personal wardrobe, this handmade piece brings comfort and confidence to any sunny outing.
Special Features
- Textured Rim: Utilizes unique stitch placement for a flared brim.
- Seamless Transition: Effective use of slip stitches for smooth row connecting.
- Structured Shape: Back loop and front loop techniques are employed to shape the hat.
Materials Needed
- Yarn: Choose a medium-weight yarn; acrylic or cotton are great options for durability.
- Crochet Hook: 4.0 mm hook, suitable for the chosen yarn gauge.
- Scissors: For cutting yarn.
- Thread Needle: To weave in ends and secure finishes.
Level of Difficulty
This project is suitable for intermediate crocheters. It involves basic stitches like single crochet, double crochet, and slip stitch, alongside loop-specific techniques for shaping. Familiarity with increases is important for achieving the desired hat flare.
Step-by-Step Instructions
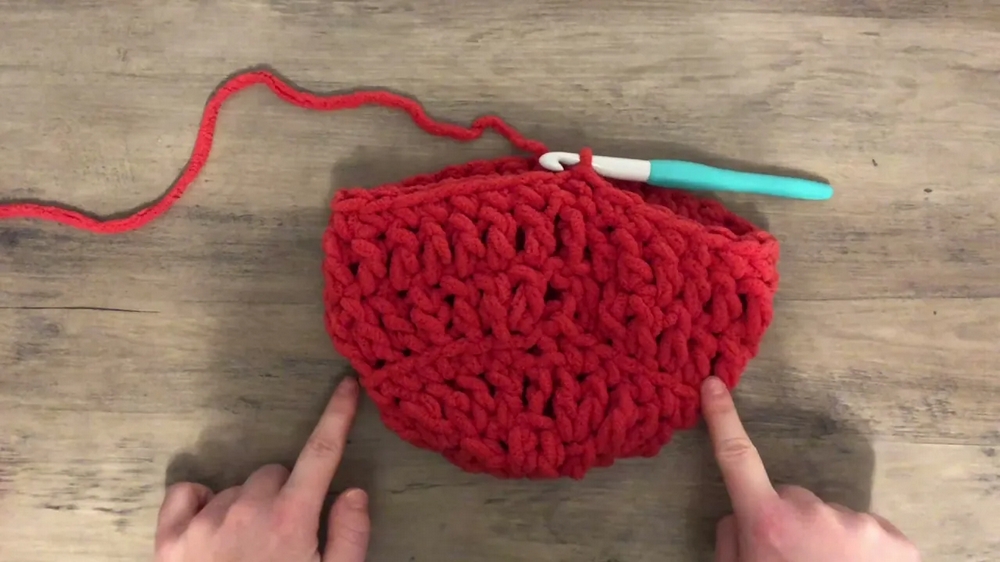
1. Creating the Top of the Hat
Foundation Circle:
- Begin with a slip knot and place it on the hook.
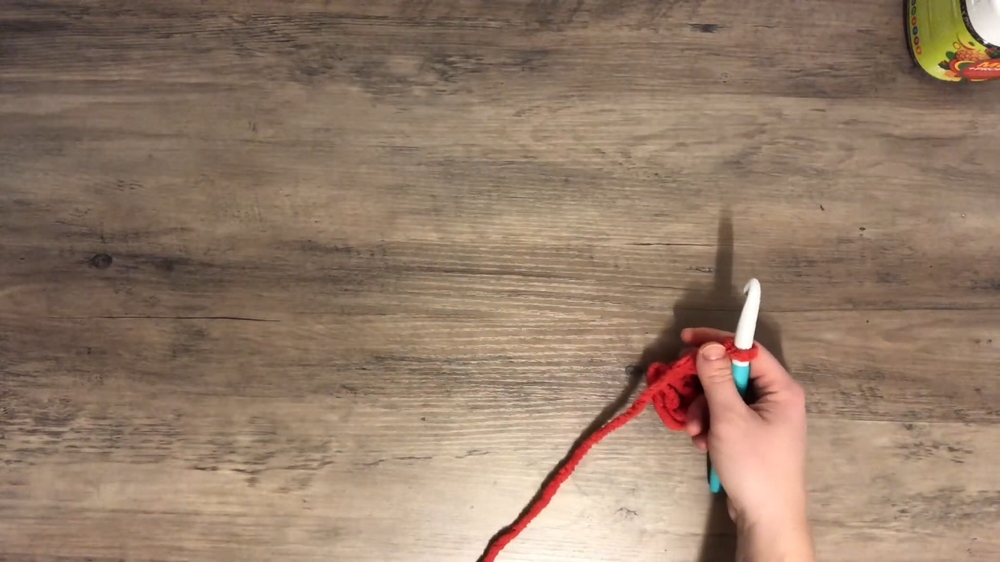
- Chain 4, and connect the chain’s ends by slipping through the first stitch to form a loop.
- Chain 3 to start your row of double crochets.
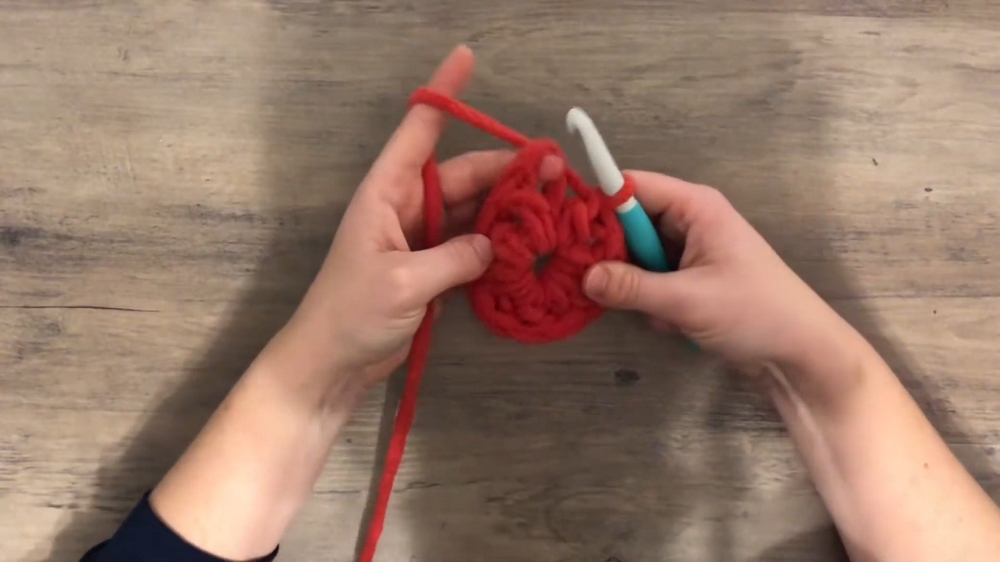
Round 1 – Double Crochets:
- Work 12 double crochets into the newly formed loop. Check your count by ensuring you have 12 including the chain 3.
- Pull the slip knot tightly to close the loop’s center.
- Complete the row by inserting the hook into the third chain and executing a slip stitch.
Round 2 – Increases:
- Chain 3.
- Work 2 double crochets into each double crochet from the previous row, totaling 24 double crochets.
- Link the end of the row with a slip stitch through the chain 3.
Round 3 – Single Crochet Increases:
- Chain 2 (counts as a single crochet).
- Increase 6 stitches from 24 to 30 single crochets by adding 2 single crochets every fourth stitch.
- Connect this row using slip stitch in the second chain of the chain 2.
2. Forming the Sides of the Hat
Back Loop-Only Double Crochets:
- Chain 3 and begin double crochet row, working only through back loops to create a structured edge—practically splitting the top stitch and going through the loop farthest away.
- Repeat this for a complete row, joining the end using slip stitch.
Standard Double Crochets:
- Work a row using regular double crochets after chaining 3.
- Complete this round using the slip stitch method.
Single Crochet Finish:
- Chain 2, then work a row of single crochets to conclude the hat’s side.
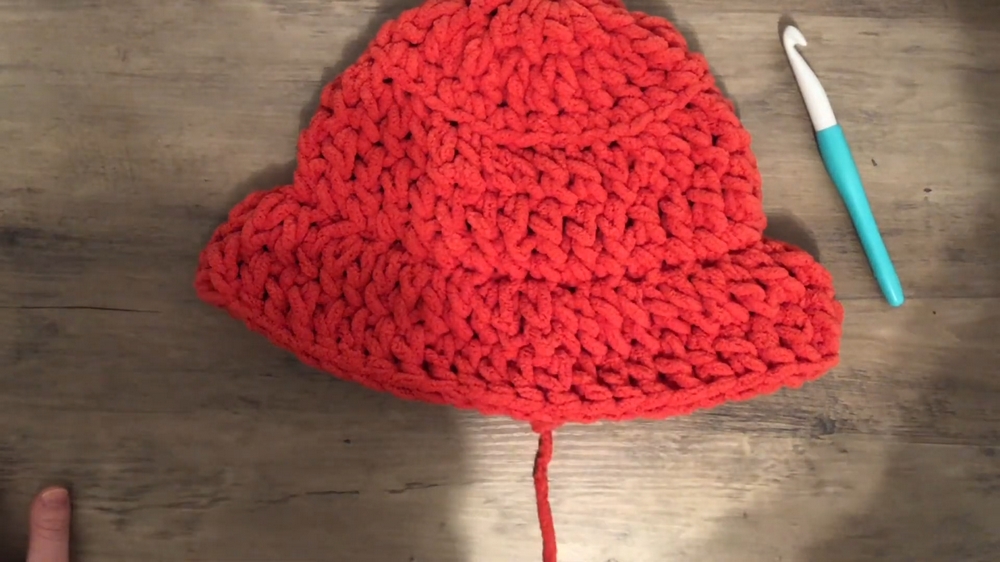
3. Forming the Brim
Front Loop-Only Increases:
- To ensure the brim flares out, work in front loops, increasing from 30 to 45 stitches.
- Repeat with a sequence of one single, one increase.
- Secure the row by slip stitching at the third chain.
Final Double Crochet Row:
- Chain 3 and complete a round of double crochets to finish the brim.
- Link the row’s beginning to its end using slip stitch.
Tutor’s Suggestions
- Check Stitch Count Regularly: This ensures the structured shape and sizing are as desired.
- Loop Techniques: Utilize front and back loop practices to successfully create the brim flare and hat structure.
- Tension Consistency: Maintain even tension throughout to prevent uneven edges.
Uses of the Bucket Hat
- Excellent sun protection with stylish coverage.
- Practical and fashionable addition to your crochet accessory collection.
- Personalized gift idea by choosing unique yarn colors and textures.
Tip for Success
Take your time to properly count stitches on each round, especially when implementing increases or working loop-specific stitches. This ensures a smooth and correctly shaped final product.
Conclusion
Crafting a bucket hat from scratch is both a rewarding and educational process, allowing you to master crochet techniques that focus on shaping and texture. This versatile hat makes for a stylish accessory and offers protection from the sun, combining functionality with a fun crocheting journey.