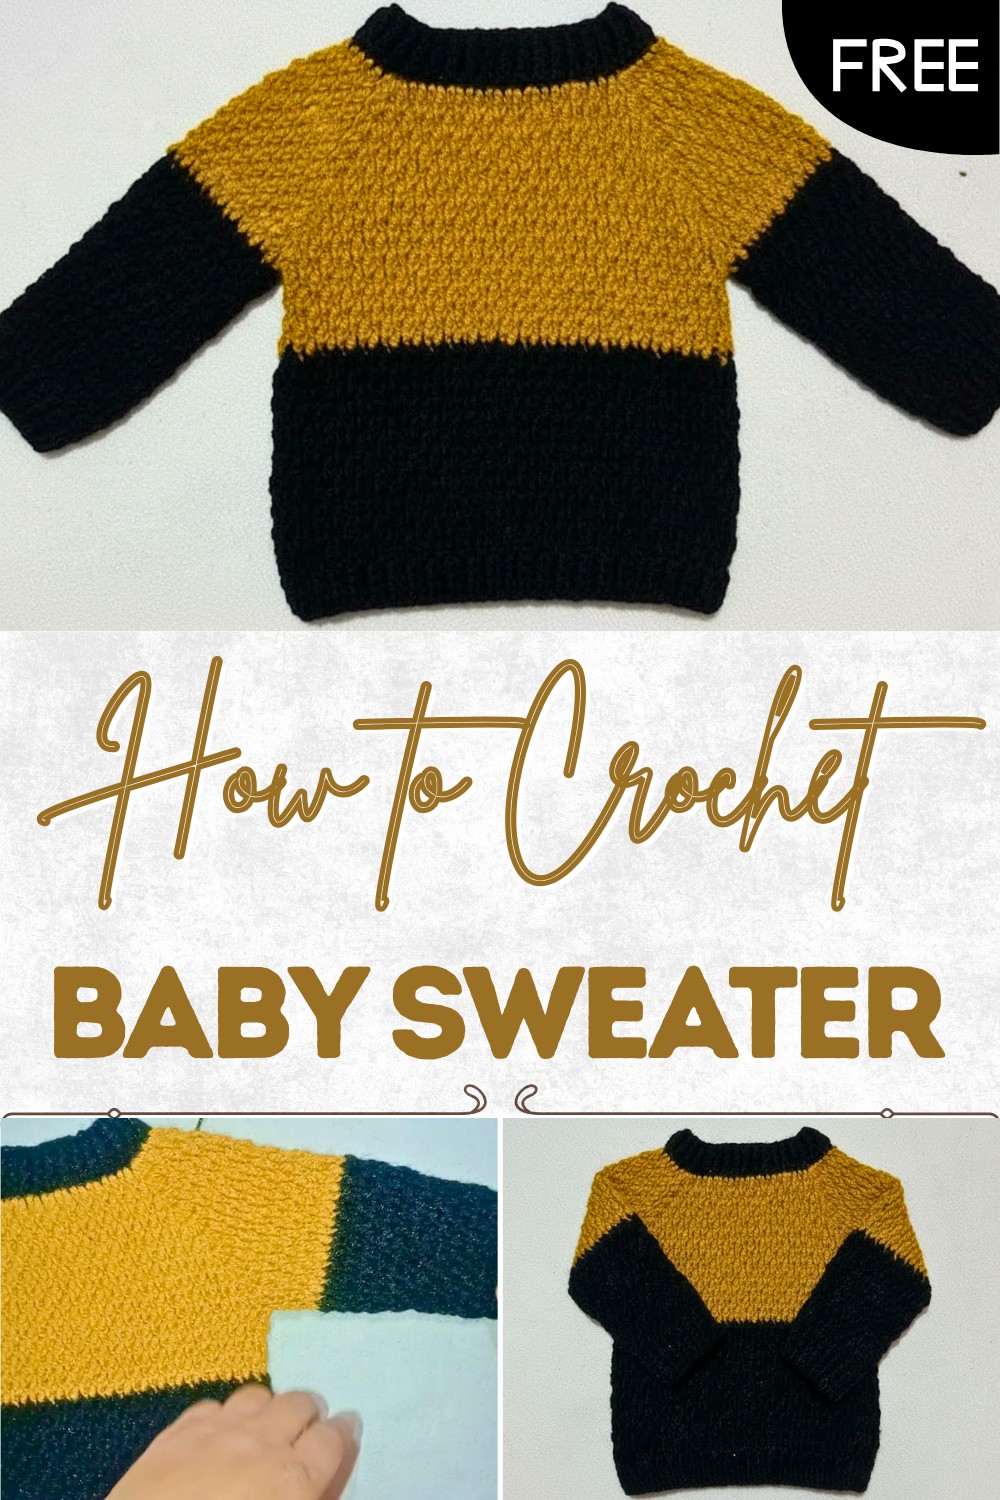
Free Crochet Baby Sweater Pattern with Modern Style
Warm hearts with this free crochet baby sweater pattern, featuring soft texture and styles that make every baby sweet and feel comfortable.
Imagine wrapping a little one in a cozy sweater made with your own hands. Soft and gentle on delicate skin the Crochet Baby Sweater pattern brings warmth and comfort to your precious child. The sweater comes in bright colors and sweet designs making babies look even cuter while keeping them snug. It is perfect for everyday wear or special occasions and can easily be matched with different outfits. Many people enjoy making this sweater because it is a simple project that can be finished quickly and gives a feeling of accomplishment.
Free Crochet Baby Sweater Pattern for Little Ones
This pattern is helpful for families with newborns as it can be used as a loving gift or passed down from generation to generation. With easy steps, the Crochet Baby Sweater pattern allows anyone to make a beautiful garment that keeps your baby safe and happy. Watching a baby smile in this soft sweater brings joy to everyone around.
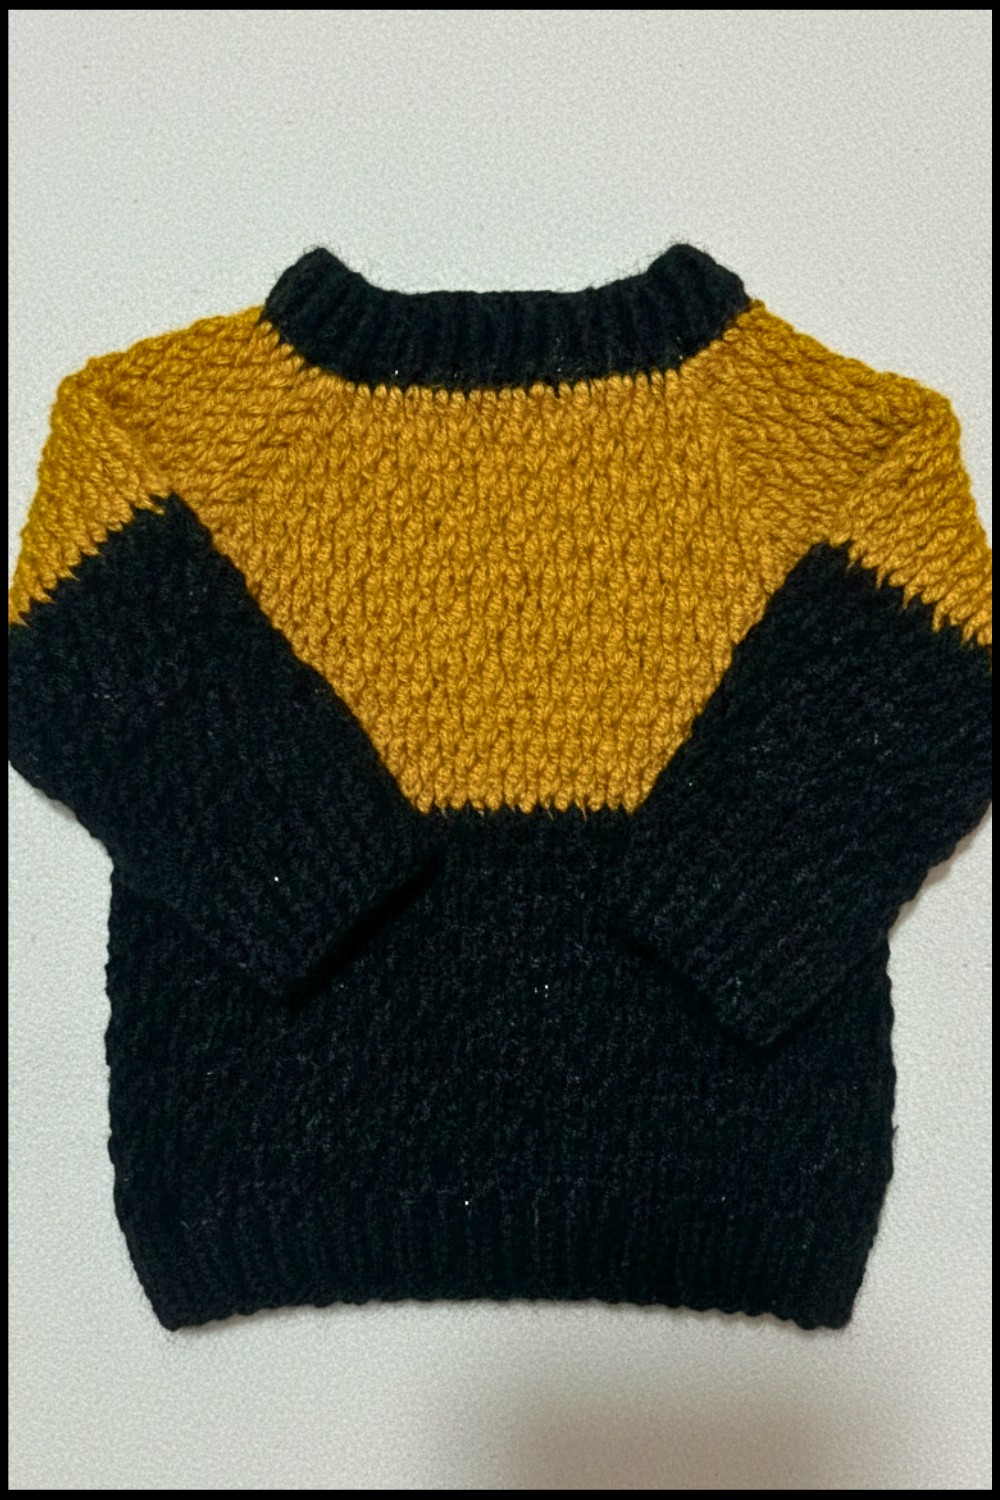
Crochet Sweater (Ages 1–2 Years) Pattern
Materials
- Yarn: Two colors, medium (worsted) weight yarn (suggested acrylic for durability)
- Hook:
- 4 mm crochet hook (body and sleeves)
- Smaller hook (size 9 steel or 2.75 mm for borders/cuffs/necks, as mentioned)
- Notions: Scissors, yarn needle, stitch markers (optional), measuring tape
Key Abbreviations (US Terms)
- ch: chain
- dc: double crochet
- fpdc: front post double crochet
- bpdc: back post double crochet
- sl st: slip stitch
- rep: repeat
- yo: yarn over
- st(s): stitch(es)
Special Notes
- Sizing: Adjust chain count to fit older/younger children; test the foundation chain around child’s neck before beginning.
- Design: The sweater is worked in rounds from the neckline down with raglan increases for sleeves and body. Borders are made with post stitches for a ribbed look.
- Post Stitches: fpdc and bpdc create ribbed texture for borders and cuffs.
Pattern
Neckline & Ribbed Border
Foundation Chain:
- Make a slip knot, then ch 72 – check around the child’s neck for correct size. Adjust as needed.
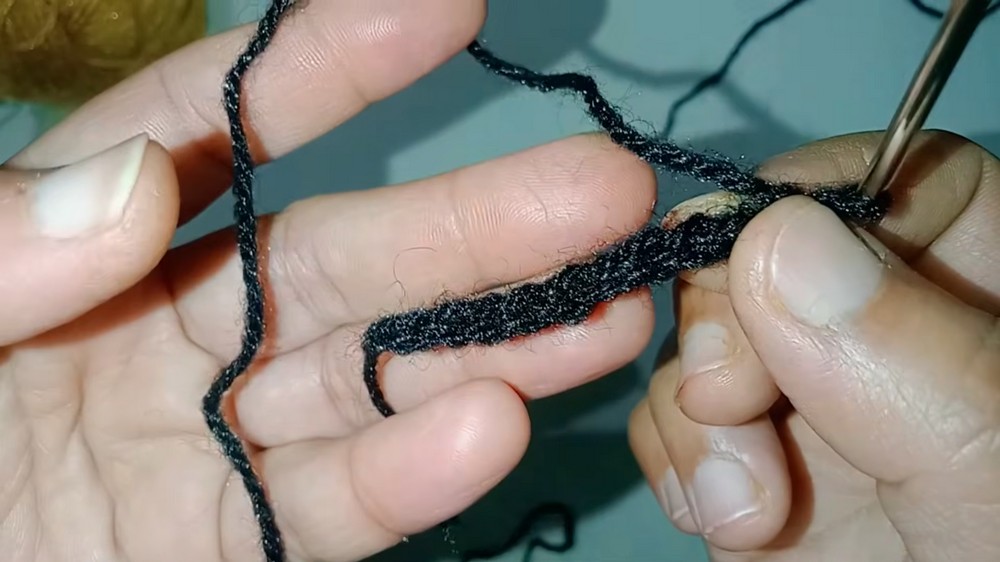
- Join with sl st to form a circle (ensure not twisted).
Ribbed Border:
3. Round 1: Ch 3 (counts as dc). Dc in each ch around. Join with sl st to top of beg ch 3.
- Rounds 2–5: Ch 3, fpdc in next st, bpdc in next st; rep * around. Join with sl st.
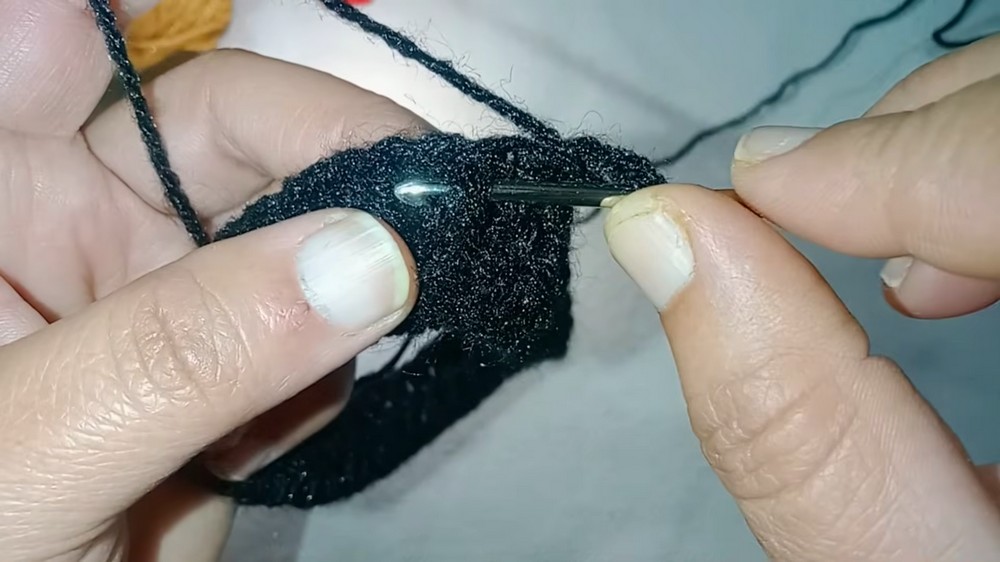
- Total: 4 rounds ribbing (including round 1). Adjust for desired thickness.
Raglan Yoke
Color change: Join second color if desired.
- Round 1 (Setup for Raglan):
- Ch 3, dc in each st, arranging as follows:
- 22 dc for front
- 3 dc for corner (first raglan increase)
- 12 dc for sleeve
- 3 dc for corner (second raglan increase)
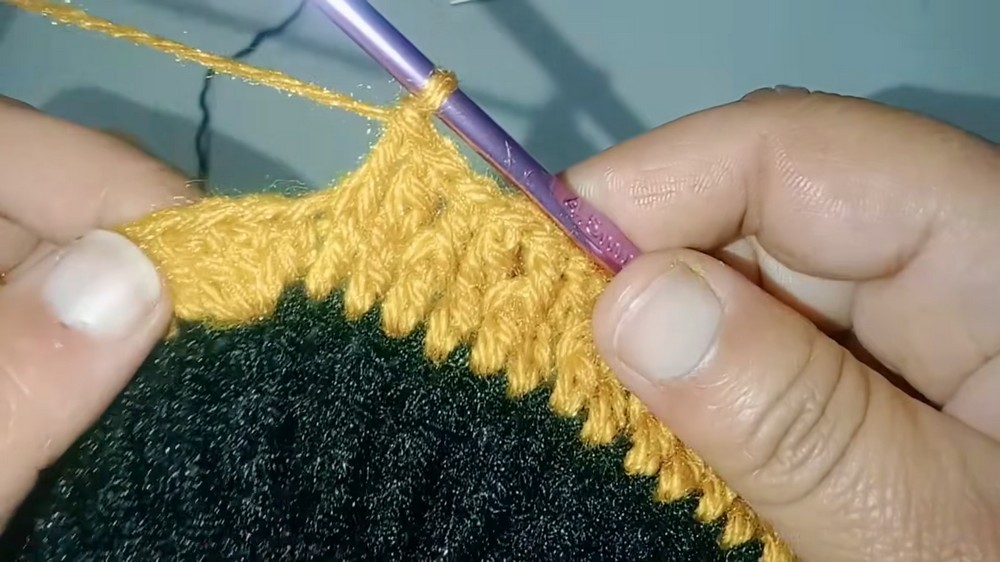
- 22 dc for back
- 3 dc for corner (third raglan increase)
- 12 dc for second sleeve
- 3 dc for corner (fourth raglan increase)
- Join with sl st.
- If making larger, adjust front/back/sleeve counts accordingly.
- Ch 3, dc in each st, arranging as follows:
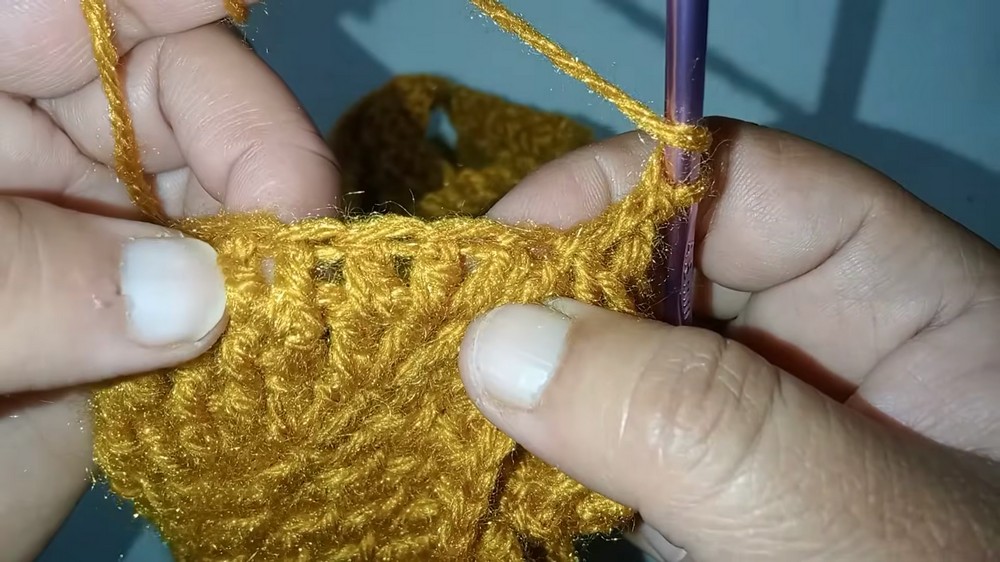
- Raglan Pattern (Rounds 2–10):
- Ch 3, work fpdc in next st, dc in next st; rep (alternating post/simple stitches).
- At each corner, in the middle dc of each corner group, increase: (dc, ch 2, dc) or work 3 dc in the middle st. This forms “corners” for raglan shaping.
- Continue following this sequence for each round: alternate fpdc/dc along body, work increases at each raglan corner.
- Total: 10 rounds for raglan yoke (count increases and armhole depth for fit).
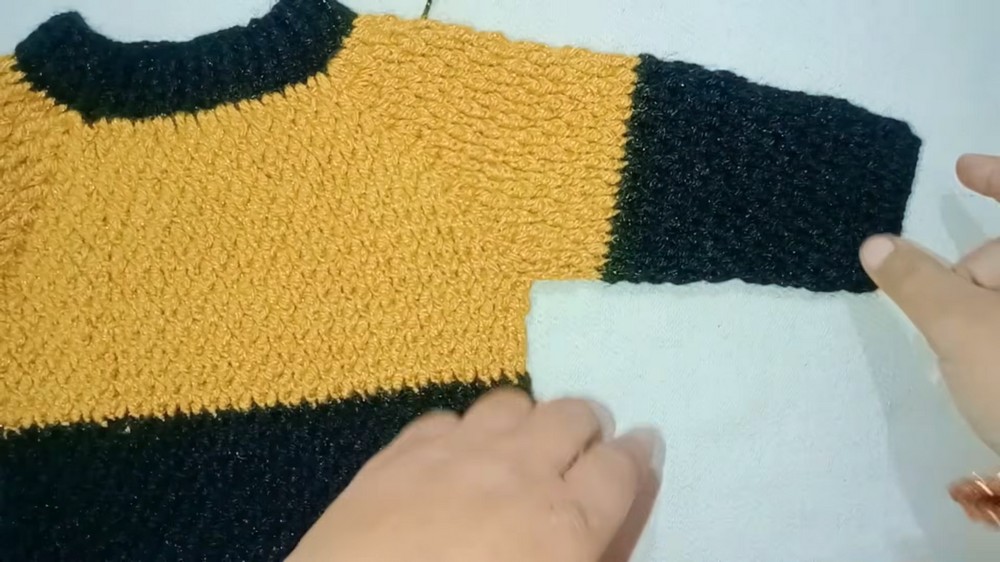
Dividing for Sleeves & Body
- After completing yoke, separate sleeve and body stitches at corners.
- Join front and back by working across body stitches, leaving sleeves unworked.
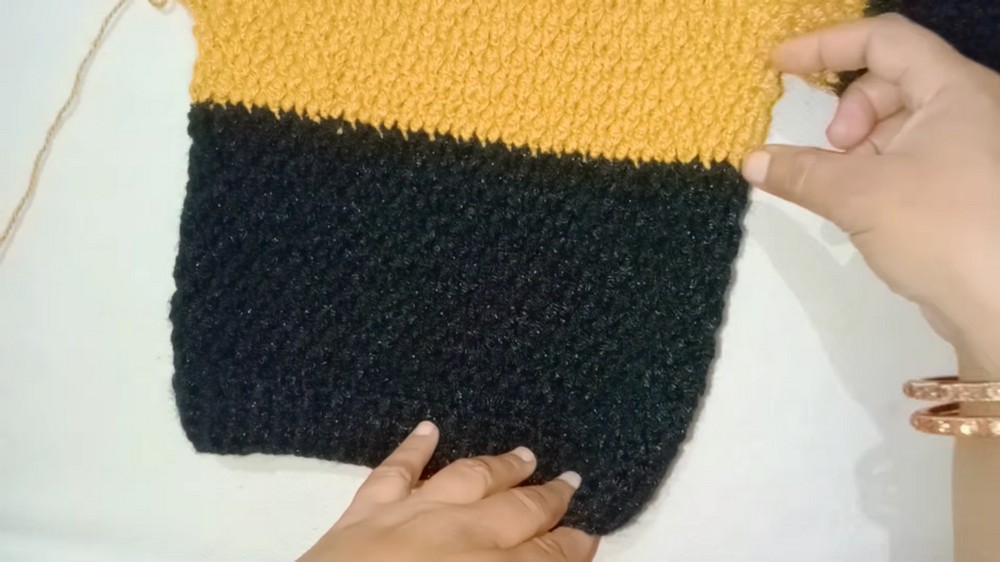
- Work 1–3 rounds to lengthen the body further if desired, alternating fpdc and dc for ribbed effect.
- Add border to hem with smaller hook (size 9), using fpdc/bpdc for rib effect (approx. 3 rounds).
Sleeves
- Attach yarn at armhole, pick up sleeve stitches in a round.
- Work sleeves in rounds, alternating fpdc and dc.
- Shape sleeve with decreases as needed for a tapered fit.
- Add ribbed border with smaller hook (size 9), using fpdc/bpdc for rib effect (approx. 3 rounds).
Finishing
- Weave in ends with yarn needle.
- Try on and adjust to preference.
- Block lightly if needed.
Conclusion
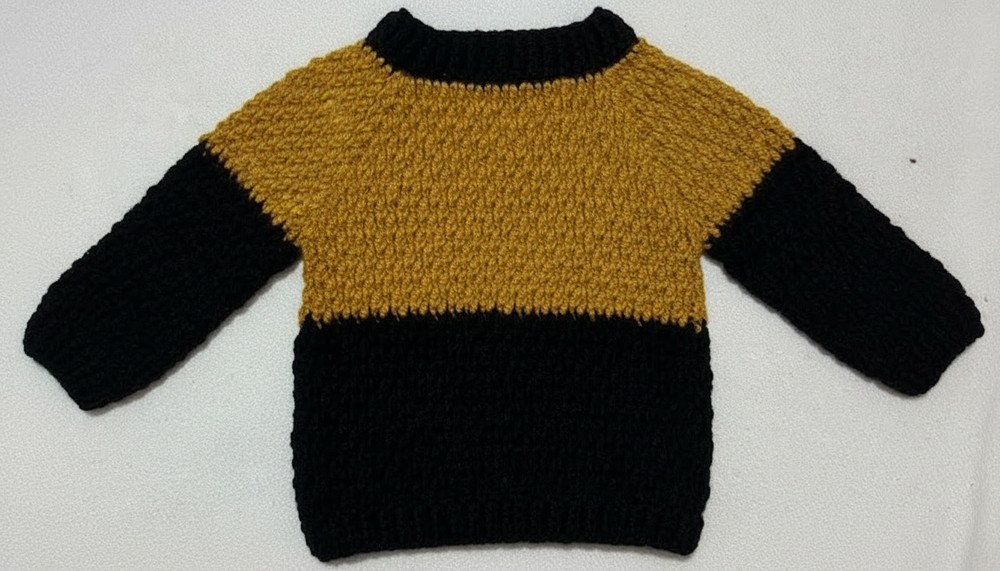
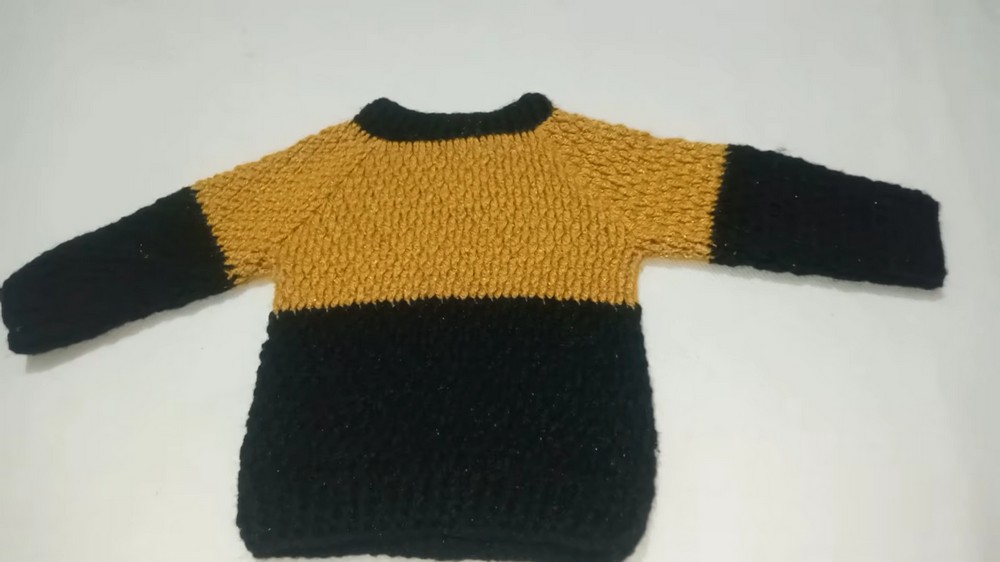
This classic raglan sweater is designed for 1–2 year old boys and features customizable size via the foundation chain and raglan increases. The ribbed post-stitch borders, neckline, and cuffs provide a snug, professional finish. Color-blocking offers playful styling.
Pattern Corrections & Tips
- Customization: Adjust foundation chain and stitch counts for different sizes; check fit at neckline and after raglan increases.
- Corners: If making for older child, increase corners to 5 dc instead of 3 dc.
- Borders: Use smaller hook and alternate fpdc/bpdc for neat ribbing.
- Try On: Always check fit before dividing for sleeves and body.
- Blocking: Acrylic yarn may not block as aggressively as natural fibers, but gentle steaming can help shape.
- Pattern Adjustment: If you want a looser fit, add more chains to the neck and more rounds to the armhole; for tighter, remove chains and rounds.