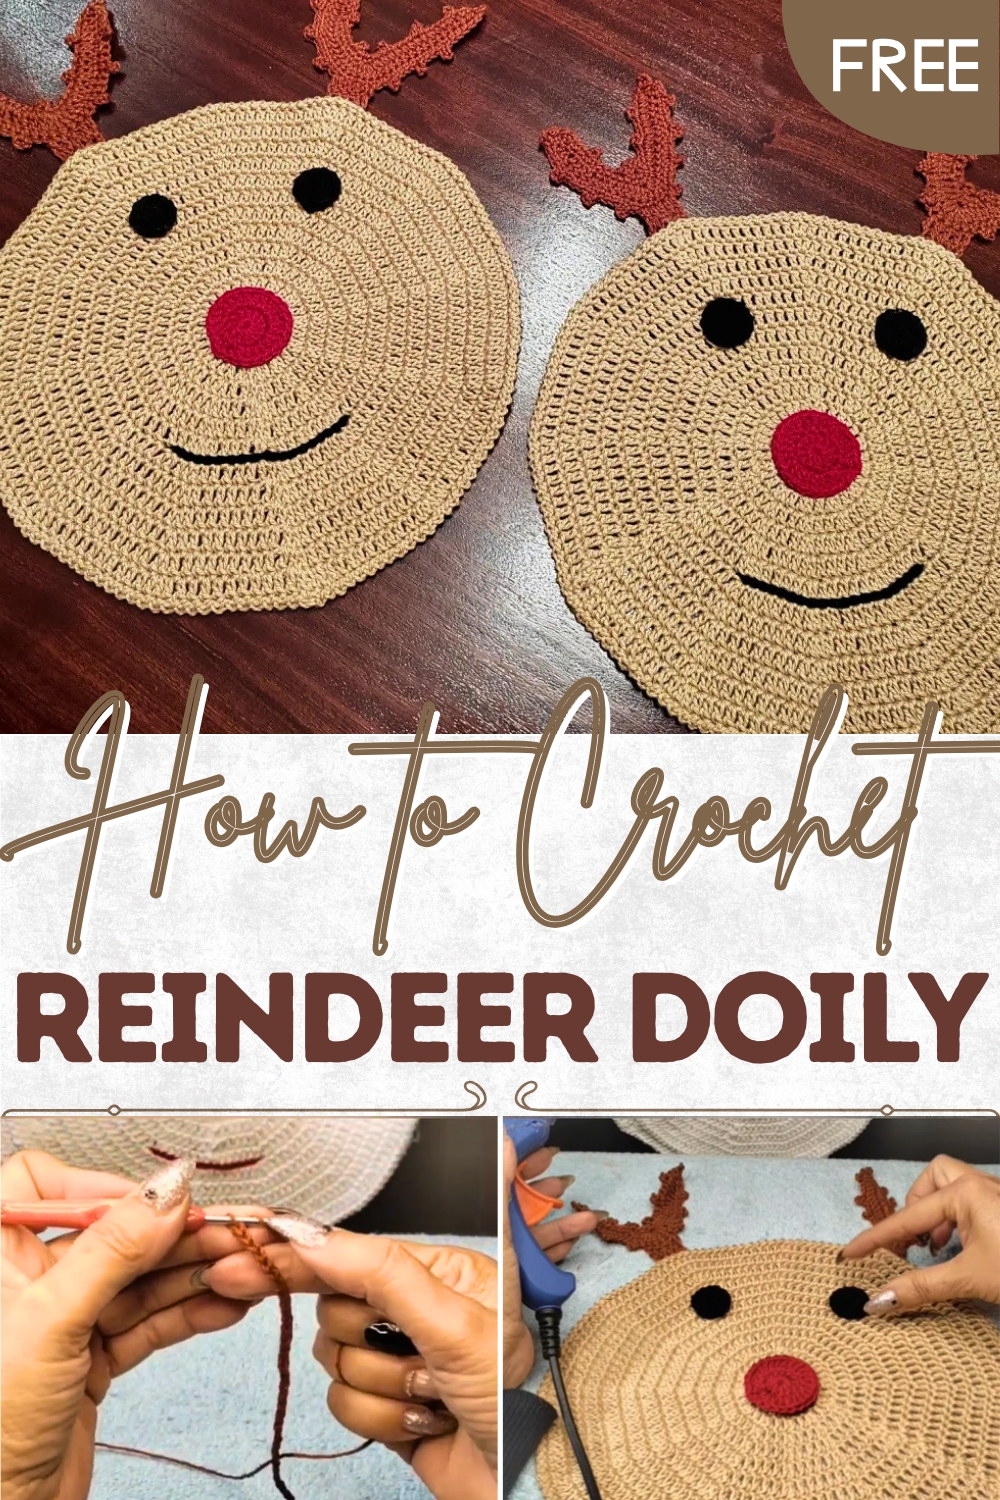
Elegant Crochet Reindeer Doily Pattern to Highlight Centerpieces
Brighten your holidays with this Free Crochet Reindeer Doily Pattern, adding festive charm and elegant protection to tables and seasonal décor
Holiday tables often tell a story of warmth and tradition, where every small detail adds to the festive atmosphere. A delicate doily with a seasonal motif can bring a sense of charm that lingers long after the meal is over. The Free Crochet Reindeer Doily pattern offers a beautiful way to introduce this magic into any setting, combining practicality with timeless appeal. Its intricate shapes highlight the playful reindeer silhouette, while the soft texture protects wooden or glass surfaces from scratches and heat.
Free Crochet Reindeer Doily Pattern for Cozy Holiday Homes
Perfect for centerpieces, under holiday candles, or beneath a serving dish, it enhances gatherings with subtle elegance. This doily can be customized in classic reds, greens, or neutral tones to suit a variety of décors, making it an adaptable accent for both rustic and modern homes. Working on each stitch offers a calming rhythm, allowing quiet reflection during the busy season.
Once complete, it becomes more than a decorative accessory, it’s a keepsake that can be passed down or given as a thoughtful gift. Whether gracing a dining table, sideboard, or coffee table, this reindeer doily brings festive cheer and a touch of handmade charm, ensuring every celebration feels warm, personal, and memorable for years to come.
Special Features
- Christmas-Themed Design: The reindeer placemat completes a delightful holiday collection, making it an ideal festive home accessory.
- Customizable Elements: Includes guidance on creating separate design components such as horns, eyes, and nose, which can be customized to suit personal preferences.
- Layered Components: The tutorial sets a foundation for learning how to piece together different parts to form a cohesive design.
- Simplified Facial Features: Details such as the reindeer’s eyes, nose, and mouth are explained step by step using basic crochet stitches.
Materials Needed
- Yarn/Thread: 4-ply, 100% cotton threads in:
- Black (#11) for facial details (eyes).
- Red for the nose.
- Light Brown and Dark Brown for the face and horns.
- Quantity: 100g threads (approximately 300–325 yards) are suggested, with a minimum order of 6 balls for shipping purposes.
- Hook: 2.75 mm to 3.25 mm crochet hooks (depending on tension and pattern).
- Scissors: For cutting thread.
- A Smaller Hook/Needle: For tucking in loose ends.
- Glue: To attach small pieces (eyes, nose, etc.) securely to the placemat.
Level of Difficulty
The project is beginner-friendly but may also suit intermediate crocheters seeking to improve their detailing or learn how to combine multiple sections of a design. The tutorial uses essential crochet techniques like magic circles, chains, slip stitches, double crochets, increases, and picots.
Step-by-Step Instructions
1. Making the Reindeer’s Centerpiece
- Foundation Magic Circle:
- Start with a magic circle and chain two.
- Work 12 double crochets into the circle. Alternatively, you can chain 4, close the loop, and then crochet 12 stitches into it.
- Rows 2 to 13 – Increasing Gradually:
- Row 2: Increase to 14 double crochets by working 2 double crochets in each stitch.
- Subsequent rows: Alternate between increasing and crocheting into single stitches. For every new row, increase the number of individual stitches between two double-crochet clusters.
- Row 13: You should have 11 single stitches between the increases at this point.
- Finishing the Edges:
- Create a neat border by going around the circle with a row of slip stitches and chains.
- Tie off your yarn and tuck in loose ends.
2. Creating the Reindeer Horns
- Begin with Chains:
- Use the dark brown yarn. Chain 30 stitches.
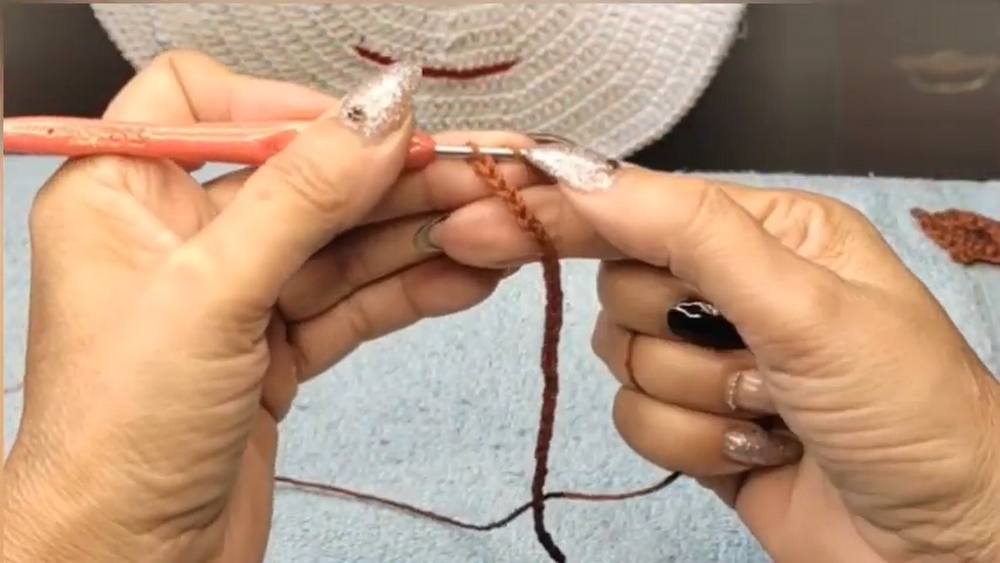
- Crochet the Horn Structure:
- Starting in the 4th chain, work 15 double crochets, followed by 5 double crochets in the same stitch at the curve (to shape the horn).
- Continue double crocheting down the chain to the end.
- Adding Details with Picots:
- Add picot stitches along the edges. For each segment, work 4 single crochets, then a picot, and repeat this pattern along the horn’s length.
- On the opposite side of the chain, mirror this picot pattern to complete the horn’s structure.
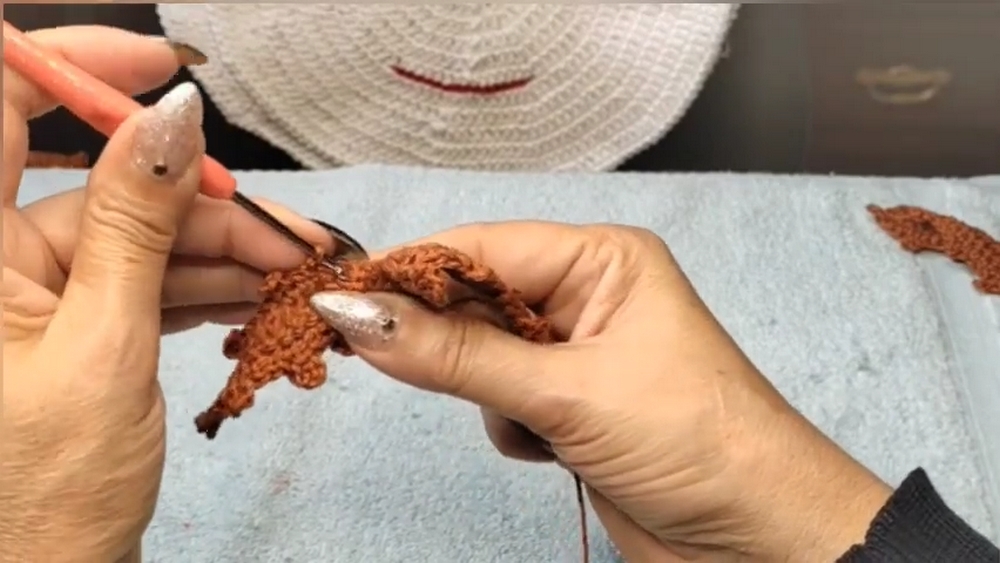
- Tidy Up:
- Finish with slip stitches, and cut the thread, leaving ample length to tuck in loose ends securely.
3. Crafting the Reindeer’s Eyes and Nose
- Eyes (Black Thread):
- Use a magic circle or a 4-chain loop. Crochet 14 double crochets into the circle. Make 2 circles for the eyes.
- Nose (Red Thread):
- Use a magic circle. Crochet 12 double crochets for the nose. For extra definition, make a second row, working 2 double crochets into each stitch for a total of 24.
- Use a magic circle. Crochet 12 double crochets for the nose. For extra definition, make a second row, working 2 double crochets into each stitch for a total of 24.
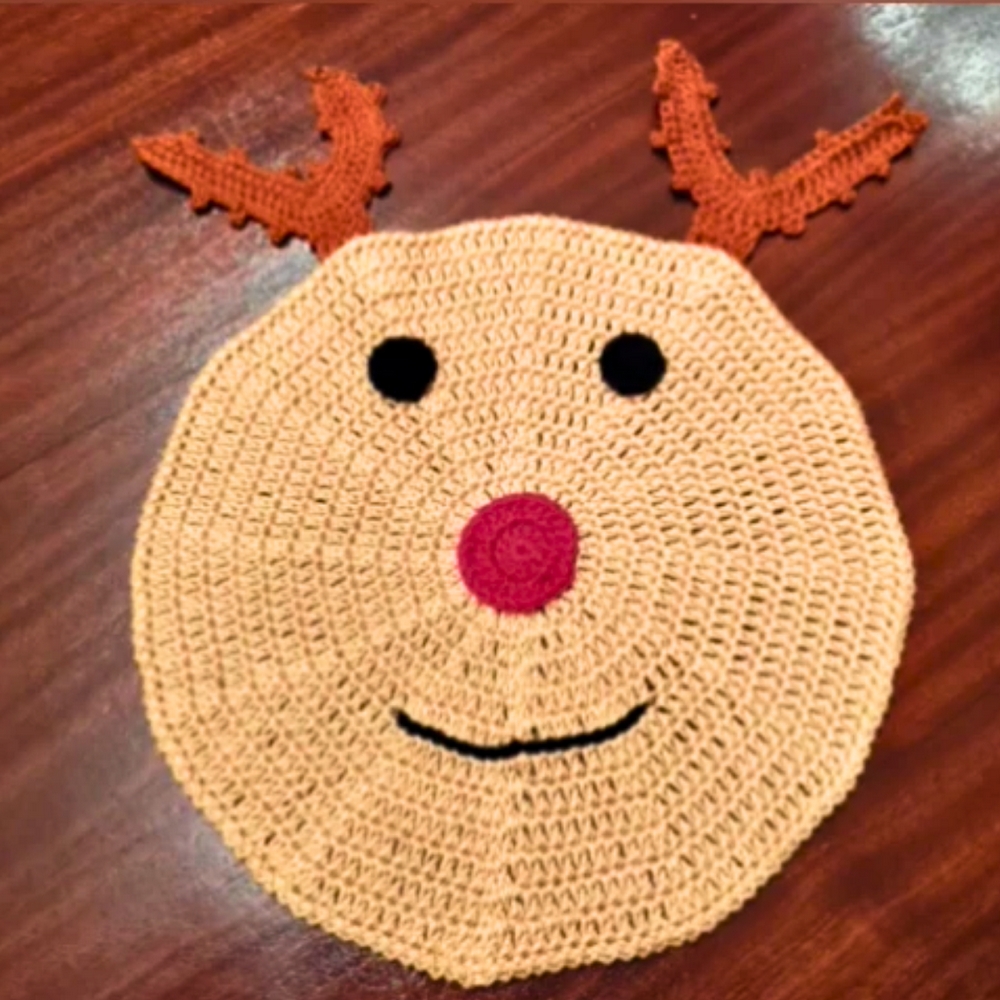
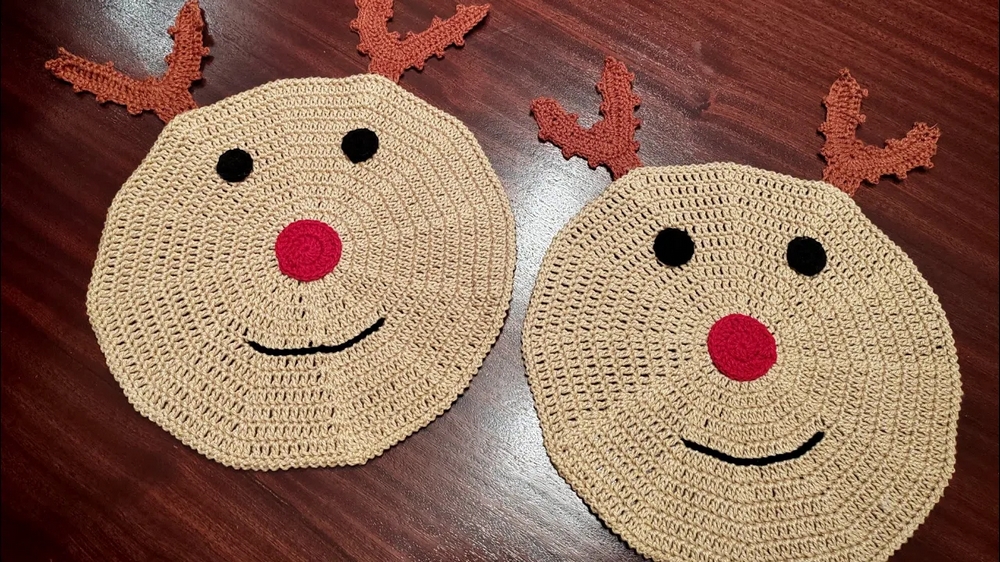
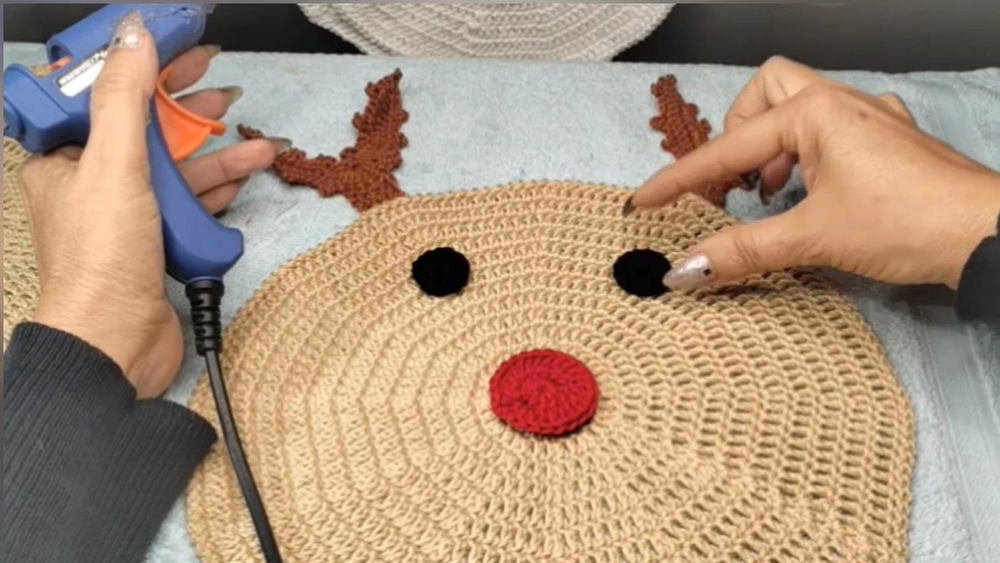
4. Assembling the Placemat
- Position the Components:
- Place the horns at the top of the circle. Align the eyes and nose symmetrically on the face, leaving 5-6 rows between the eyes.
- Glue the Features:
- Use a small amount of glue to attach the eyes, nose, and horns securely. Be careful not to overapply glue to avoid staining.
- Adding the Mouth:
- For the mouth, make 19 slip stitches in black yarn, working them in a curved shape between the nose and the bottom of the placemat.
- Knot, secure, and weave in loose ends.
Tutor’s Suggestions
- Thread Recommendations: Use high-quality cotton thread to ensure the placemat is durable and washable.
- Pay Attention to Shape: When making the horns, ensure one is slightly smaller to create an asymmetrical, natural appearance.
- Align Features Carefully: The glue step demands precision. Align and secure parts before pressing to avoid shifting.
Uses of the Reindeer Placemat
- Holiday Décor: Perfect as a table centerpiece for Christmas-themed setups.
- Festive Gifts: Makes a lovely handcrafted gift for friends and family.
- Creative Expression: Expand the design by personalizing it with beads or embroidery for added flair.
A Handy Tip
When adding components like lips or horns, align them with stitch rows to avoid crooked placements. Use stitch markers or pins temporarily before applying glue for precision.
Conclusion
The crochet Reindeer Placemat is a delightful and festive addition to your Christmas décor. As the final piece of a fun holiday collection, it allows beginners and intermediates alike to build key skills in shaping, detailing, and assembling crochet projects.