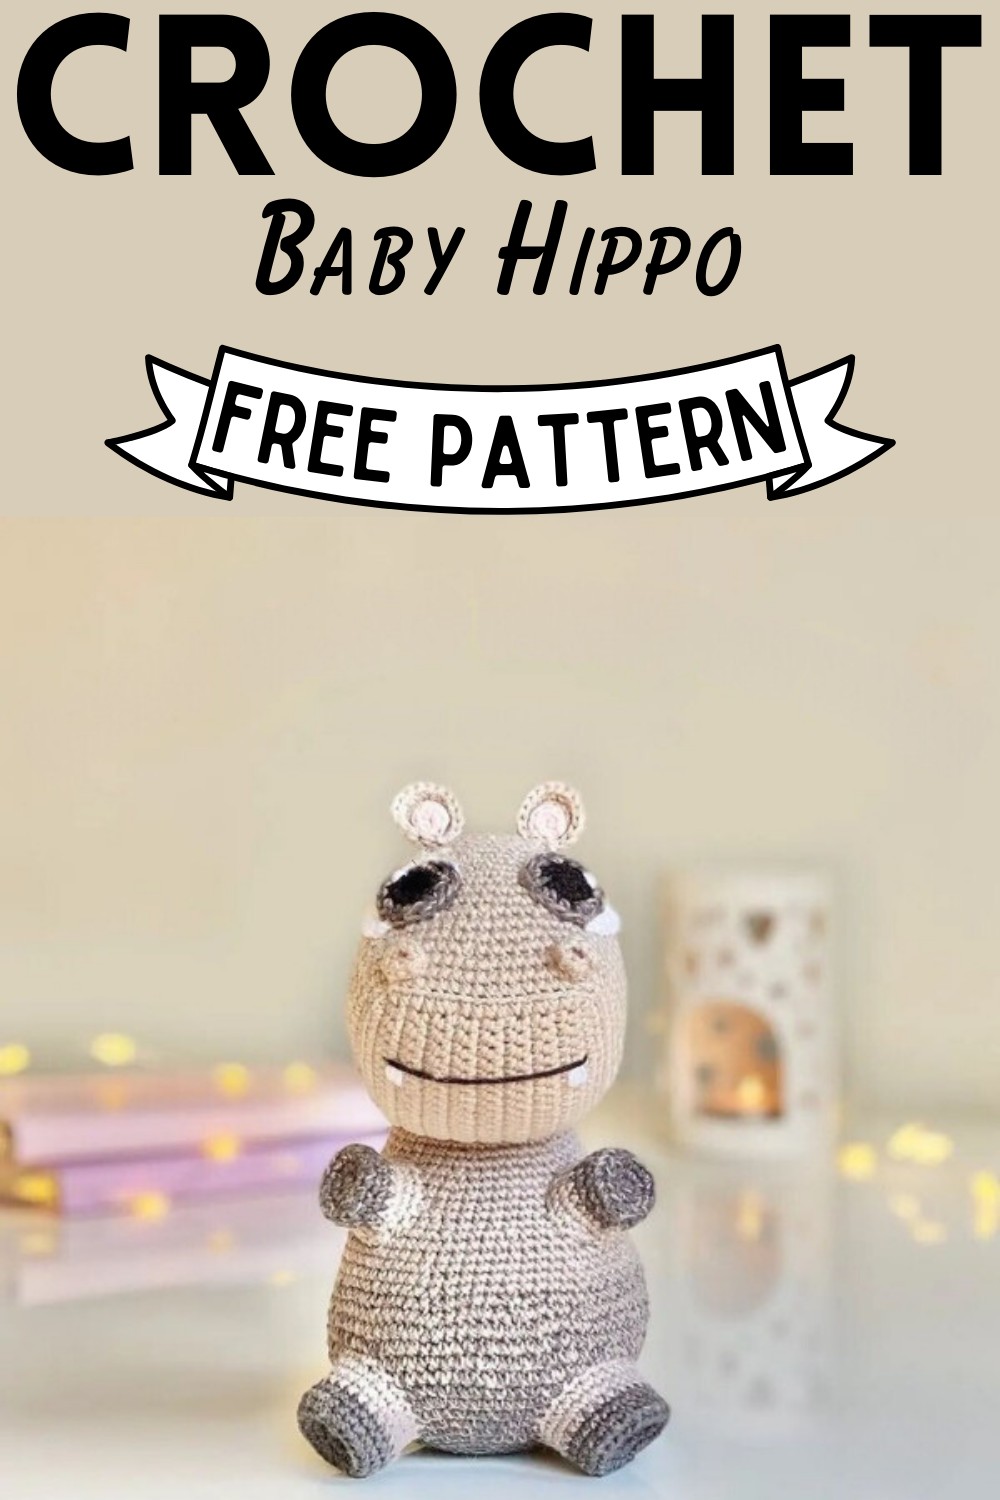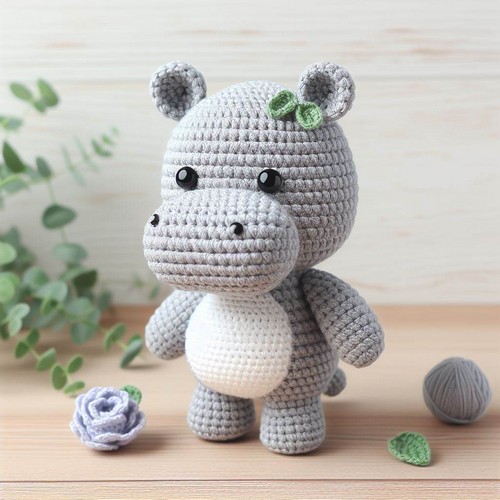
Free Crochet Baby Hippo Pattern For Kids To Play
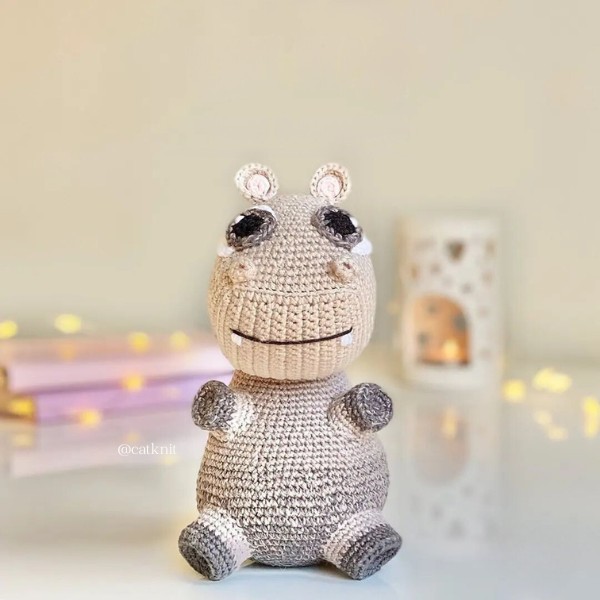
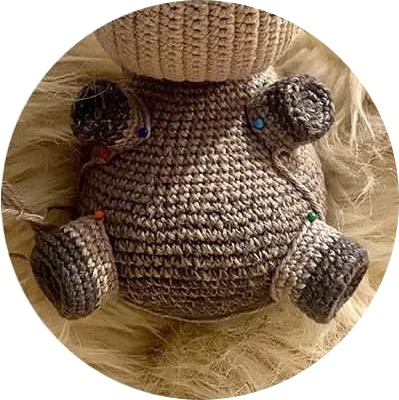
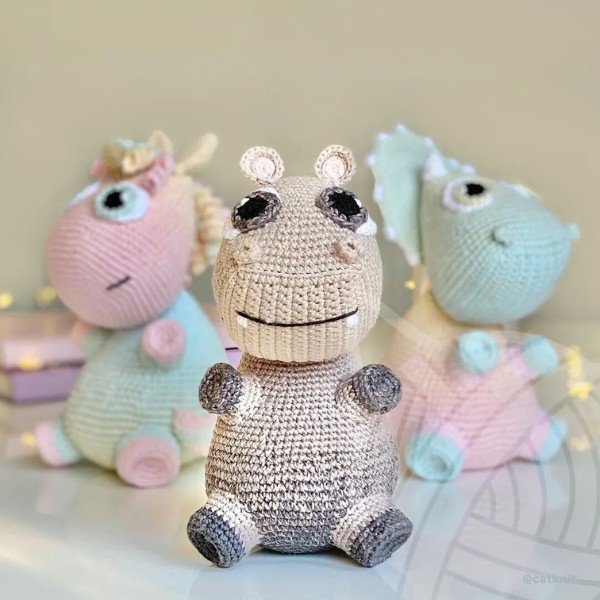
Let’s make a super cute Crochet Baby Hippo Amigurumi that’ll be a perfect addition to any little one’s toy collection. You’ll learn how adorable it would be for a kid to have this little friend! We’ve put together an easy-to-follow pattern just for you. You’ll be astonished at how simple it is to bring this cuddly hippo to life with your hands. So, grab your crochet hook, and let’s create some magic together! With each step, you’re not just making a toy; you’re crafting a bundle of joy for a special little someone.
Crochet Baby Hippo Pattern Free
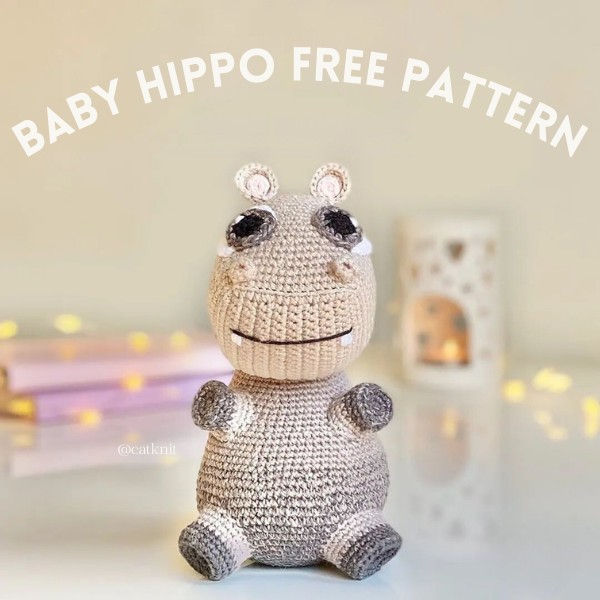
Free crochet pattern by @catknit_
MATERIALS:
Colour A (2 balls):
- Rico Ricorumi Spin Spin DK – Grey
Colour B:
- Rico Ricorumi DK – Black
For Colour C:
- Rico Ricorumi DK – White
Colour D:
- Rico Ricorumi DK – Rose
- Crochet Hook: 2.5mm
- Toy stuffing
Please note:
- You’ll use the start and end tail of color A to achieve the right color changes. Which part to use is specified in the pattern.
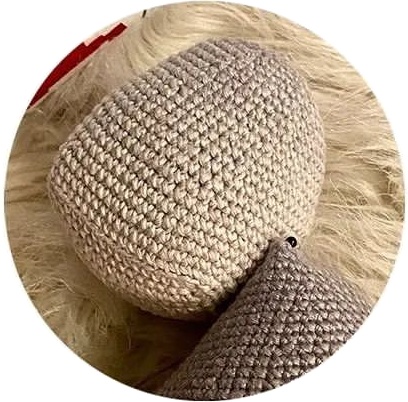
HEAD:
- 1. Using color A, starting with the outer lighter shade, ch 19
- 2. Starting in the second ch from the hook, sc 18 (18)
- 3-19. Sc 18, ch 1 (does not count as st), turn (18)
You’ll now start working around the full square, starting where your last SC ended. Do NOT turn in the work.
- 20. Ch 1 (counts as st; this is the first st of the round), crochet 16 sts down the edge, ch 1 (counts as st), sc 18, ch1 (counts as st), sc 16, ch 1 (counts as st), sc 18 (72)
- 21. Sc in BLO
- 22-23. Sc in each st
- 24. [10 sc, 1 inv.dec] x6 (66)
- 25-26. Sc in each st
- 27. [9 sc, 1 inv.dec] x6 (60)
- 28-29. Sc in each st
- 30. [8 sc, 1 inv.dec] x6 (54)
- 31-32. Sc in each st
- 33. [7 sc, 1 inv.dec] x6 (48)
- 34-35. Sc in each st
- 36. [6 sc, 1 inv.dec] x6 (42)
- 37. Sc in each st
- 38. [5 sc, 1 inv.dec] x6 (36)
- 39. Sc in each st
HEAD CONTINUED:
- 40. [4 sc, 1 inv.Dec] x6 (30)
- 41. [3 sc, 1 inv.Dec] x6 (24)
- 42. [2 sc, 1 inv.Dec] x6 (18) Start stuffing the head firmly.
- 43. [1 sc, 1 inv.Dec] x6 (12)
- 44. [Inv. dec] x6 (6)
Fasten off and top up the stuffing before sewing the last sts together.
BODY:
- 1. Using color A, starting with the inner darker shade, work 6 sc in the magic ring (6)
- 2. Inc in each st (12)
- 3. [1 sc, 1 inc] x6 (18)
- 4. [2 sc, 1 inc] x6 (24)
- 5. [3 sc, 1 inc] x6 (30)
- 6. [4 sc, 1 inc] x6 (36)
- 7. [5 sc, 1 inc] x6 (42)
- 8. [6 sc, 1 inc] x6 (48)
- 9. [7 sc, 1 inc] x6 (54)
- 10. [8 sc, 1 inc] x6 (60)
- 11. [9 sc, 1 inc] x6 (66)
- 12. [10 sc, 1 inc] x6 (72)
- 13. [11 sc, 1 inc] x6 (78)
BODY (CONTINUED):

- 14. [12 sc, 1 inc] x6 (84)
- 15-19. Sc in each st
- 20. [5 sc, 1 inv.dec] x6, sc in the rest of the sts (78) 21. [11 sc, 1 inv.dec] x6 (72)
- 22. [4 sc, 1 inv.dec] x6, sc in the rest of the sts (66) 23. Sc in each st
- 24. [9 sc, 1 inv.dec] x6 (60)
- 25-26. Sc in each st
- 27. [3 sc, 1 inv.dec] x6, sc in the rest of the sts (54)
- 28. Sc in each st
- 29. [7 sc, 1 inv.dec] x6 (48)
- 30-32. Sc in each st
- 33. [6 sc, 1 inv.dec] x6 (42)
- 34. Sc in each st
- 35. [5 sc, 1 inv.dec] x6 (36) 36-37. Sc in each st
- 38. [4 sc, 1 inv.Dec] x6 (30)
- 39. [3 sc, 1 inv.Dec] x6 (24)
Now, stuff the body firmly and with the belly part centered in the front, meaning your last st won’t be the starting point; sew (you won’t crochet this part as you did with the head) through both layers across the top of the body to close.
LEGS (MAKE 2):
Start a new yarn ball
- 1. Using color A, starting with the inner darker shade, work 6 sc in the magic ring (6)
- 2. Inc in each st (12)
- 3. [1 sc, 1 inc] x6 (18)
- 4. [2 sc, 1 inc] x6 (24)
- 5. Sc in BLO
- 6-7. Sc in each st
- 8-10. Change to the inner shade of the previous yarn ball, sc in each st. Fasten off, leaving a tail to attach the legs later; do NOT stuff.
ARMS (MAKE 2):
- 1. Using color A, starting with the starting with the inner darker shade of the new yarn ball, work 6 sc in the magic ring (6)
- 2. Inc in each st (12)
- 3. [1 sc, 1 inc] x6 (18)
- 4. Sc in BLO
- 5-6. Sc in each st
- 7-9. Change to the inner shade of the previous yarn ball, sc in each st. Fasten off, leaving a tail to attach the arms later; do NOT stuff.
EARS (MAKE 2):
Part 1:
- 1. Using color A, starting with the outer lighter shade, work 6 sc in the magic ring (6)
- 2. Inc in each st (12)
- 3. [1 sc, 1 inc] x4 (18)
Sl st in the 3rd st from hook and fasten off, leaving a tail for attaching later.
Part 2:
- 1. Using color D, work 6 sc in the magic ring (6) Sl st in the next st and fasten off, leaving a tail for attaching later.
Place part 2 of the ear in front of part 1 and secure it in place. You’ll want your sts to be below the ear so they get hidden when you attach them.
NOSTRILS (MAKE 2):
- 1. Using the outer lighter shade of color A, ch 9
- 2. Starting in the 2nd ch from the hook, sc 8, fold, and join to create a circle.
TAIL:
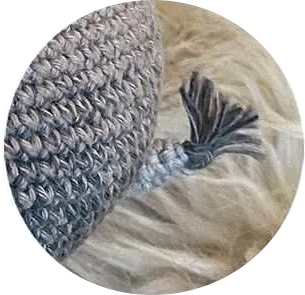
- 1. Using the inner shade of the previous yarn ball of color A, ch 5
- 2. Starting in the second ch from the hook, sc 4, ch 1 (does not count as st), turn
- 3-4. In each st, ch 1 (does not count as st), turn Fasten off, leaving a tail for attaching later.
With the inner shade of the new yarn ball, cut a few lengths of thread and attach it to the end of the tail. To create a bushy look, a needle separates each strand.
EYES PART 1 (MAKE 2):
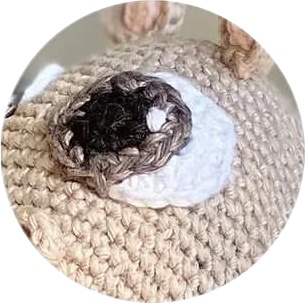
- 1. Using color C, work 6 sc in the magic ring (6)
- 2. Inc in each st (12)
- 3. [1 sc, 1 inc] x6 (18)
- 4. [2 sc, 1 inc] x6 (24) Fasten off, leaving a tail for attaching later.
EYES PART 2 (MAKE 2):
- 1. Using color B, work 6 sc in the magic ring (6)
- 2. Inc in each st (12)
- 3. Change to the inner shade of the previous yarn ball of color A, [1 sc, 1 inc] x6 (18). Fasten off, leaving a tail for attaching later. Using color C, make a st across one of the sts in round 2, and repeat the same st 4 more times.
ASSEMBLY:
- Head: Attach the flat seam of the body to row 25 of the head, and secure the head with a few sts between the chin and body.
- Legs: Attach the legs across rows 9-17 of the body, with 12 sts in between on row 13.
- Arms: Attach the arms across rows 26-32 with 8 sts in between on row 29.
- Tail: Attach the tail across rows 12-13 in the middle of the back.
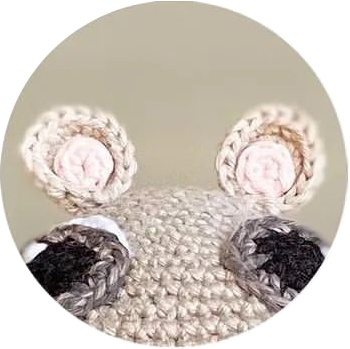
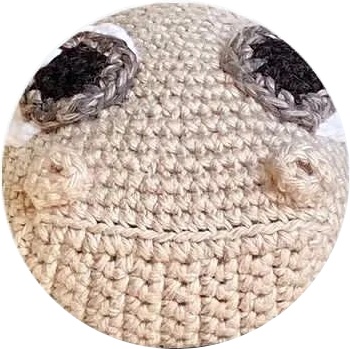
- Eyes: Attach the white part of the eyes across rows 27-35 with 4 sts in between on row 30. Attach the 2nd part of the eye in the bottom inner corners of the white (you’ll want to fully overlap the corner so you don’t see any white) with the white twinkle landing at 10 and 2 o’clock angles.
- Ears: Attach the ears in row 4 with 6 sts in between.
- Nostrils: Attach the nostrils to row 21 above the corners of the square part of the face.
- Mouth: Starting with the teeth, count 3 rows in from the side of the square part of the face and 6 sts down from the top of the square part; using color C, make a downwards st across the next 2 sts, and go over this st 4 more times. Repeat on the other side of the face. Using color B, make a long st, starting one st out from the first tooth and ending one st further out than the second tooth.
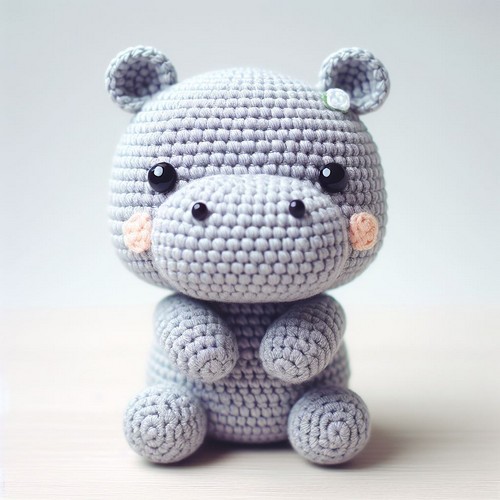
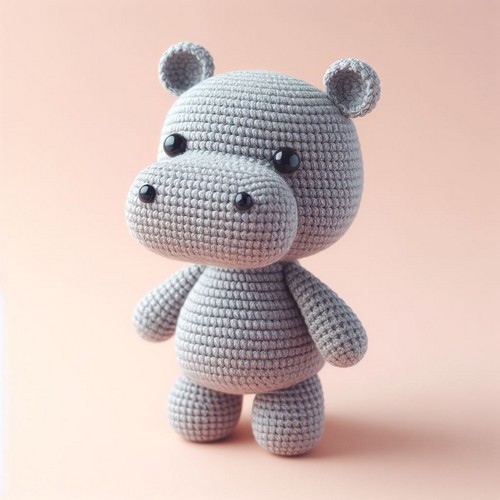
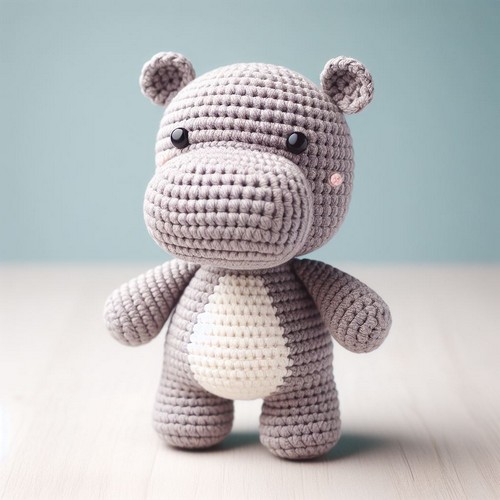
Now, you can explore these AI-generated images for inspiration for the most creative and amazing crochet creations.