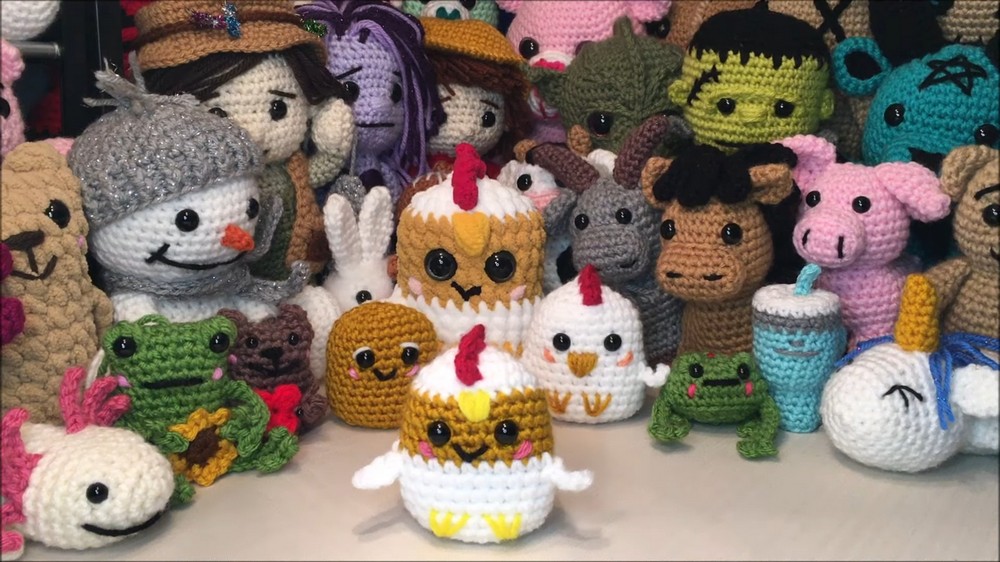
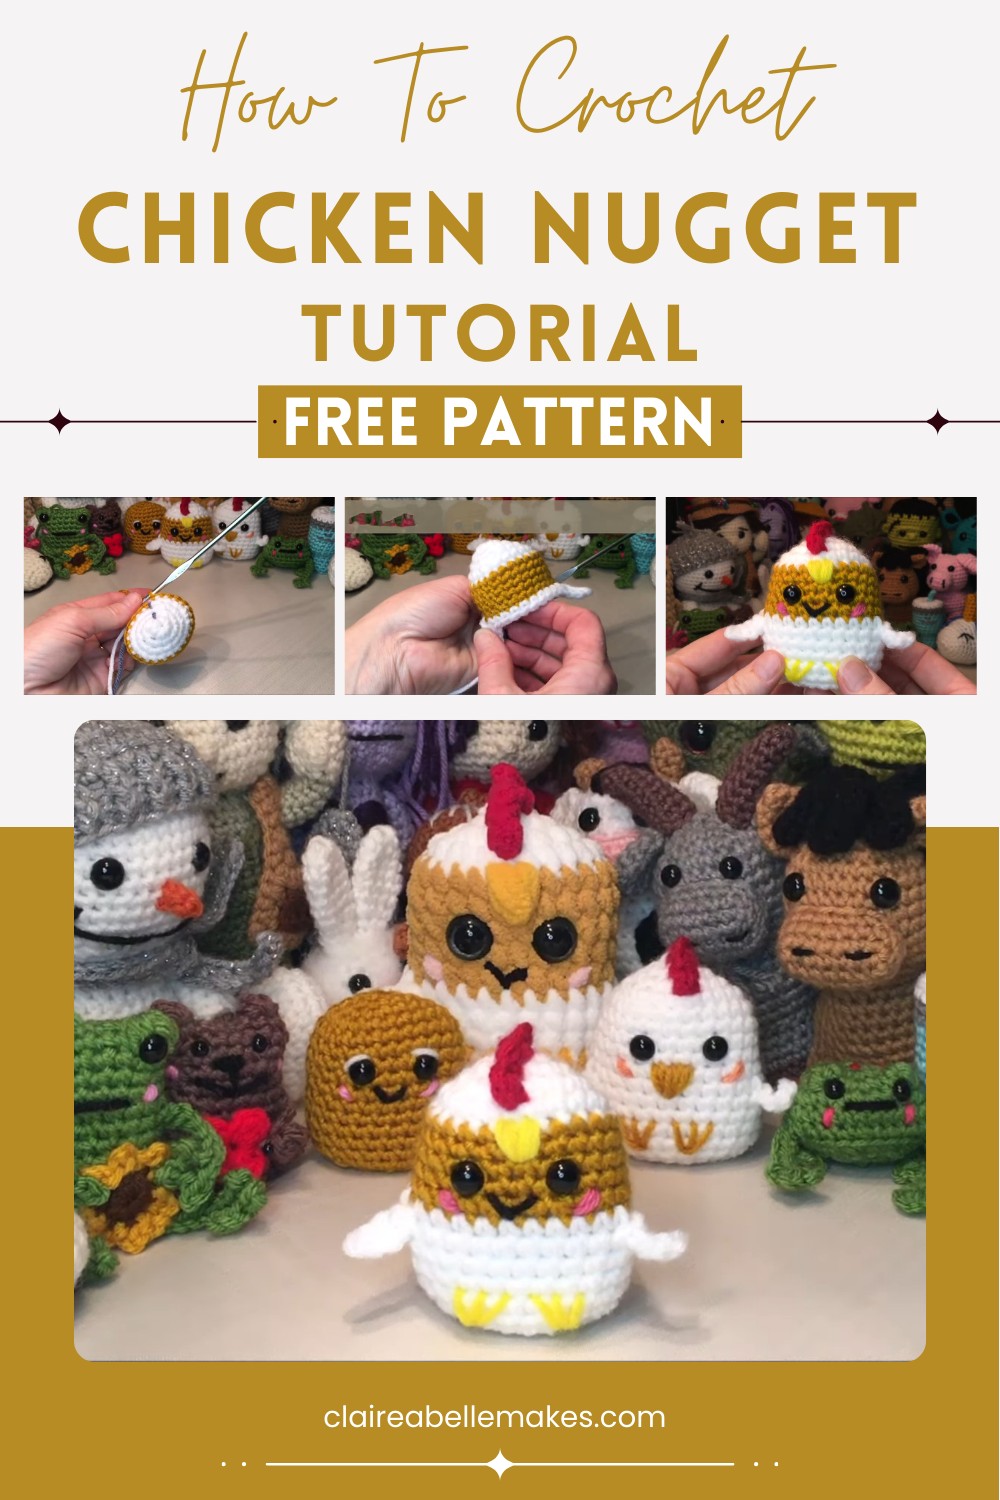
Cutest Crochet Chicken Nugget Amigurumi Pattern
Crochet your way to cute, bite-sized chicken nuggets with our easy pattern. Perfect as toys, keychains, or decor! Ideal for all skill levels.
Crochet Chicken Nugget Amigurumi
The Crochet Chicken Nugget Pattern helps you create cute, bite-sized nuggets with yarn and a crochet hook. This fun and simple pattern produces nuggets that are round and plump, featuring a golden-brown color with little stitched details to mimic a crispy texture. These charming creations can be used as toys, keychains, or unique decorations. Perfect for all, the crochet ornament pattern is easy to follow and guarantees delightful results. Get ready to crochet your way to a batch of cuddly chicken nuggets!
Cutest Crochet Chicken Nugget Pattern
Materials Needed:
- Yarn:
- For the small chicken nugget: Number 4 medium weight yarn
- For the larger plush yarn: Number 6 Bernat blanket yarn
- Hook:
- For small nugget: 4.25mm hook
- For larger nugget: 5.5mm hook
- Safety Eyes:
- For small nugget: 10mm safety eyes
- For larger nugget: 18mm clear eyes (paint the back black)
- Other materials: Stitch marker, stuffing, yarn needle

Instructions:
Head and Body
- Starting the Head:
- Make a slip knot and chain 1. (The chain does not count as a stitch.)
- Round 1: 8 single crochets into the loop. Pull the tail to close up the hole. (8 stitches)
- Increasing Rounds:
- Round 2: 1 single crochet, 2 increases, repeat around. (12 stitches)
- Round 3: 2 single crochets, 3 increases, repeat around. (18 stitches)
- Round 4: 3 single crochets, 3 increases, 6 single crochets, 3 increases, 3 single crochets. (24 stitches)
- Switching Colors:
- If using multiple colors, change to your nugget color at the end of Round 4 by tying the new color to the old color and pulling through.
- Single Crochets:
- Rounds 5-14: 24 single crochets all the way around.
- Inserting Safety Eyes:
- Place the eyes between Rounds 7 and 8, two stitches apart, ensuring they are centered.
- Creating the Wings (if desired):
- On Round 10 or 11 (depending on your preference), after 7 single crochets, chain 4, then make a slip stitch in the second chain from the hook, single crochet in the next chain, and a half double crochet in the last chain. Continue with 10 single crochets, chain 4 for the second wing, and follow the same pattern.
- Adjust the position slightly for the second wing if required.
- Decreasing Rounds:
- Round 15: 4 single crochets, 3 decreases, 6 single crochets, 3 decreases, 2 single crochets. (18 stitches)
- Round 16: 3 single crochets, 3 decreases, 3 single crochets, 3 decreases. (12 stitches)
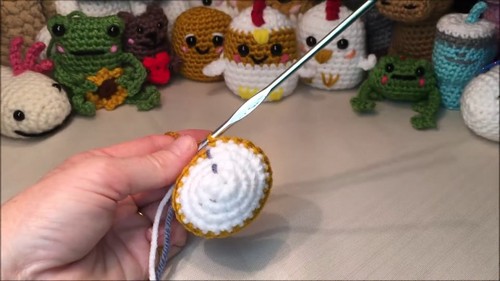
- Round 17: Work DEC around. Leave a long tail for sewing the final gap closed.
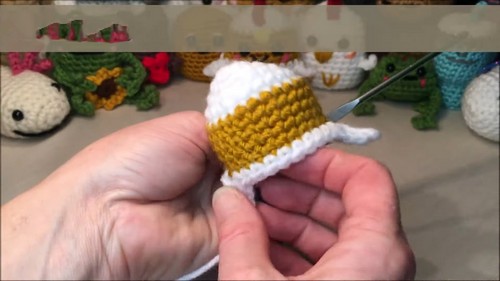
- Stuffing:
- After completing the decreasing rounds, stuff the nugget firmly, making sure it’s evenly filled and flat.
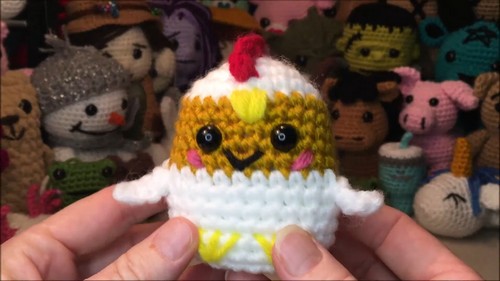
Features and Embellishments
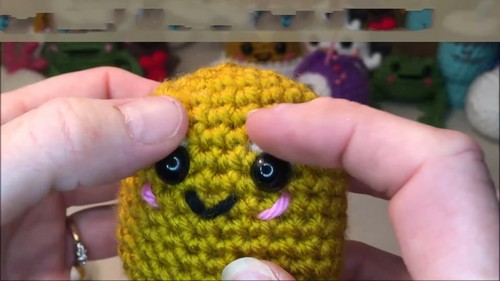
- Mouth:
- Use black yarn to embroider the mouth centered between the eyes.
- Cheeks (if desired):
- Use pink yarn to embroider the cheeks next to each eye.

- Use pink yarn to embroider the cheeks next to each eye.
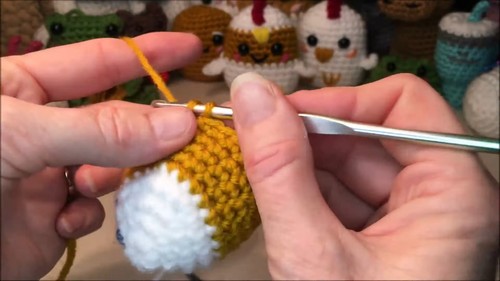
- Top Part (Red Comb):
- Starting between Rounds 3 and 4, chain 1 and half double crochet in the first stitch, slip stitch in next row, chain 1, half double crochet in the same stitch, slip stitch in the next row, chain 2, double crochet in the same stitch, slip stitch in the next row, chain 1, half double crochet in the same stitch, and slip stitch in the final row.
- Beak:
- Use yellow yarn to embroider a beak. Start at the desired location (either between the eyes or higher for the chicken costume). Make a V-shape with three stitches on each side.
- Feet:
- Use yellow yarn. Identify the center under the body and place feet symmetrically. Embroider a series of three toes for each foot.
- Use yellow yarn. Identify the center under the body and place feet symmetrically. Embroider a series of three toes for each foot.
Final Touch:
- Thread the final end through the top of the nugget to create a loop for hanging or making it a keychain if desired.
Completion:
- Close the gap tightly after stuffing and hide any additional yarn ends. Adjust and shape as needed to ensure a symmetric and neat finish.
Congratulations! You’ve completed your crochet chicken nugget!