10 Free Crochet Chicken Patterns For Amigurumi
Are you looking for a fun and easy way to make cute crochet chickens? Then, following this amazing list of patterns will help. We’ll show you some awesome crochet chicken patterns perfect for all levels to create adorable little birds in no time. So, prepare to make your little flock of chickens and make your home cozy with these lovely handmade amigurumi and other accessories.
Crochet Chicken Patterns

You can go with a mix of admirable colors and crochet the most adorable chicken in different sizes without much effort. So, if you’re a crocheting fan or one looking to make admirable accessories by yourself following the given series will help.
From hats, gnomes, applique, and squishes to the most adorable chicken amigurumi and many other fun patterns are listed here. So why wait? Get the following list of free chicken crochet patterns and explore the easiest ways to bring the adorable egg-laying creatures to your life with minimal effort.
Some Pro Tips For Selecting The Best Yarn For Crochet Chicken Patterns Are:
Consider the texture and feel of the yarn. 100% cotton is often a good choice for these projects as it provides durability and easy washing. Secondly, color is crucial. Bright, vivid colors can help your chickens stand out, but earthy tones create more realistic-looking birds. If you’re creating amigurumi, “worsted weight” yarn would be perfect as it holds shape well and is available in many colors. Lastly, pick a yarn weight matching your pattern and hook size.
Selecting The Best Appropriate hook size For Crocheting Chicken Patterns Are:
Choosing the right crochet hook size is incredibly important when you’re planning to tackle chicken patterns. Your hook size can greatly impact your chicken creations’ final size and appearance. For most amigurumi chicken patterns, a smaller hook size ranging from 3.5mm (E-4) to 4.5mm (7) is commonly used, as it allows for tighter stitches, ensuring that the stuffing doesn’t peek through. However, always check the pattern’s recommendations because every pattern might require a different hook size.
Stitches To Be Used
Mostly, these stitches will be used for making your favorite Chicken patterns.
- Single crochet
- Double crochet
- Half double crochet
Crochet Chicken Hat

Uses: This whimsical chick-themed accessory brings sheer joy, fitting perfectly for those experiencing their first Easter or attending a farm-themed bash.
Materials:
Worsted weight yarn
5.5mm crochet hook
Making:
It starts with a magic circle for the hat’s body, from where you keep expanding by double crochets and chains, creating several rounds until the desired size is reached. The hat’s highlight is its eyes, beak, and hair curls, made separately and sewn onto it. The final stitches combine everything, forming a snugly fitting, adorable chicken hat.
Easter Chicken Gnome
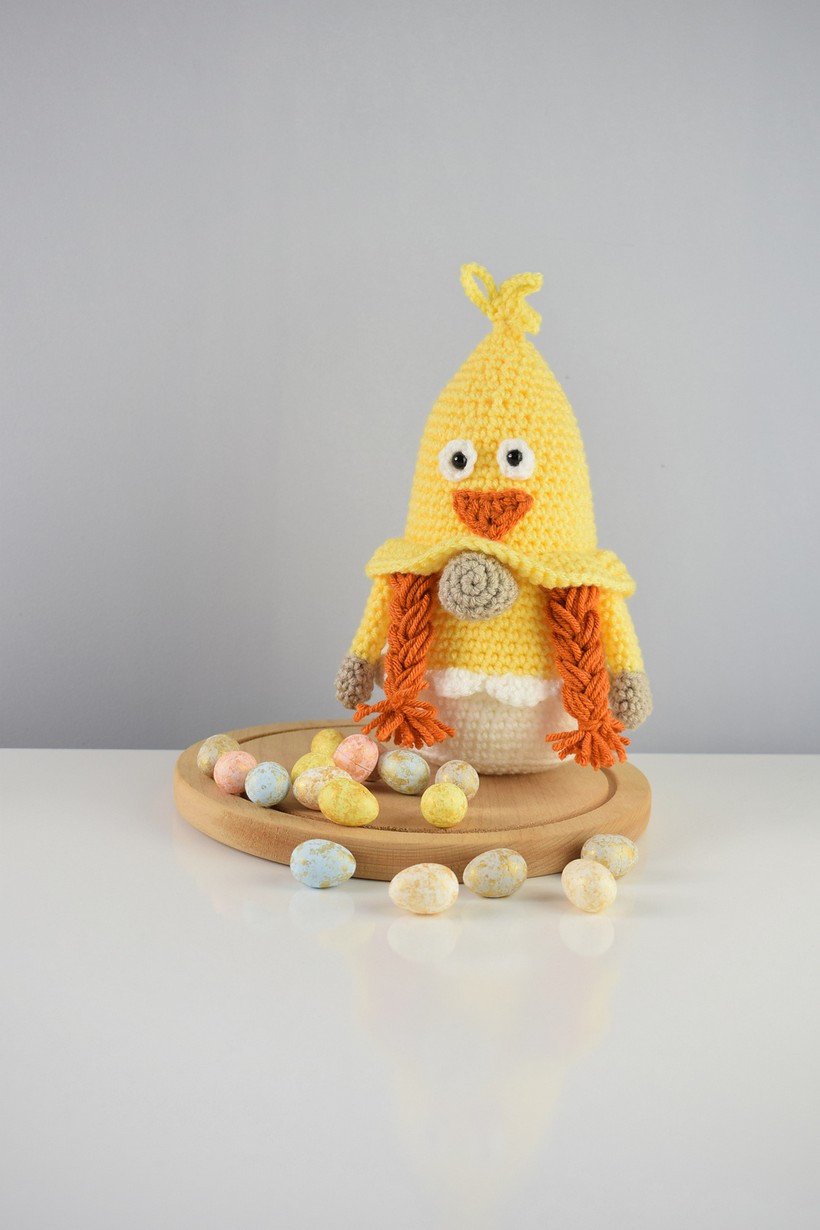
Uses: A charming decor attribute bound to put a twinkle in everyone’s eyes! The persona of this gnome is lively and festive, making it a perfect table centerpiece or a standout character in your Easter decor.
Materials:
Worsted weight yarn
4mm crochet hook
Making:
Start with a magic ring and single crochet (SC) stitches to build the gnome’s body, alternating between adding stitches and creating uniform rows. The body integrates color changes from white to yellow. The hat is created by adding stitches to certain rounds and alternating with uniform rounds, with all rounds joined seamlessly to give that perfect gnome hat appeal.
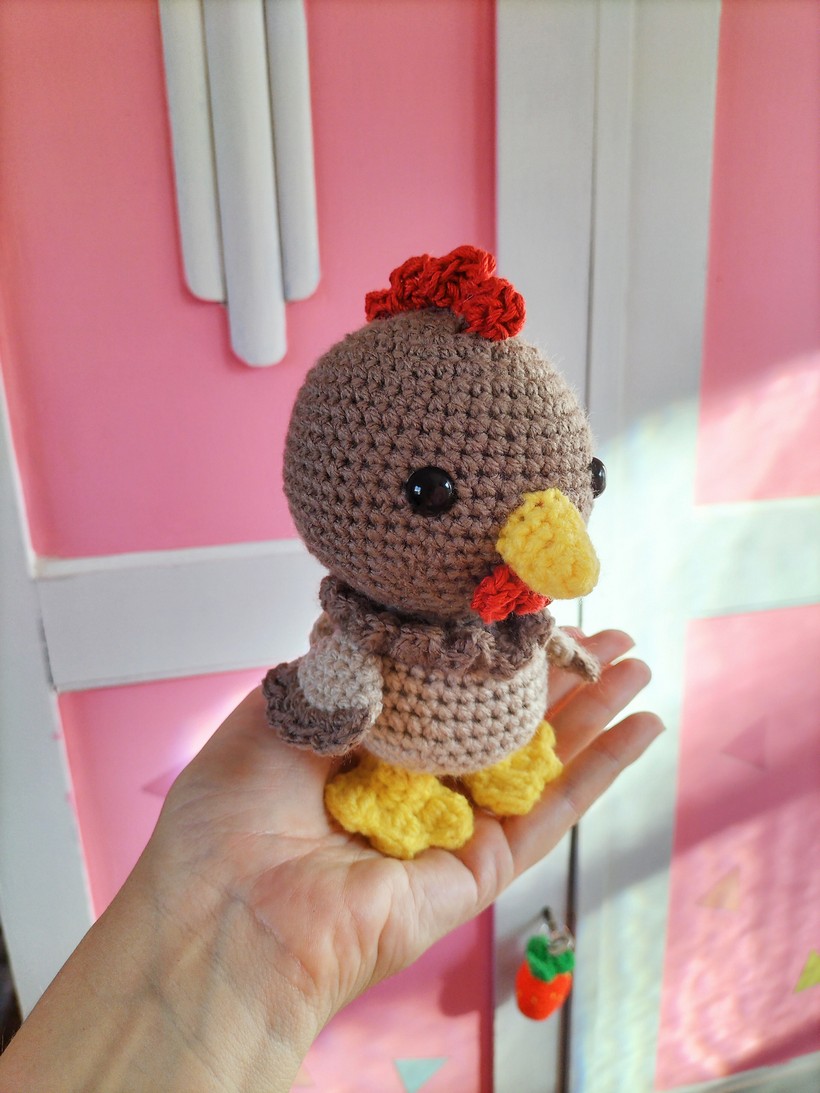
Chandler The Chicken

Uses: Chandler is not just a showpiece but is also a cuddly companion for little ones! Its charm is undeniable, whether displayed alone as a quirky decor piece or part of a farm-themed collection.
Materials:
Worsted weight yarn
4mm crochet hook
Making:
The Chicken involves creating different parts separately using mainly single crochet (SC), chain (ch), and slip stitch (sl st) techniques, then joining them together skilfully. The chicken’s body, worked from the bottom to the top, is the project’s root. It shapes from a simple 6 SC magic ring into a sizeable body through increased stitches and work in rounds. The wings and tail follow a similar preliminary process, then folded and finished with a unique technique.
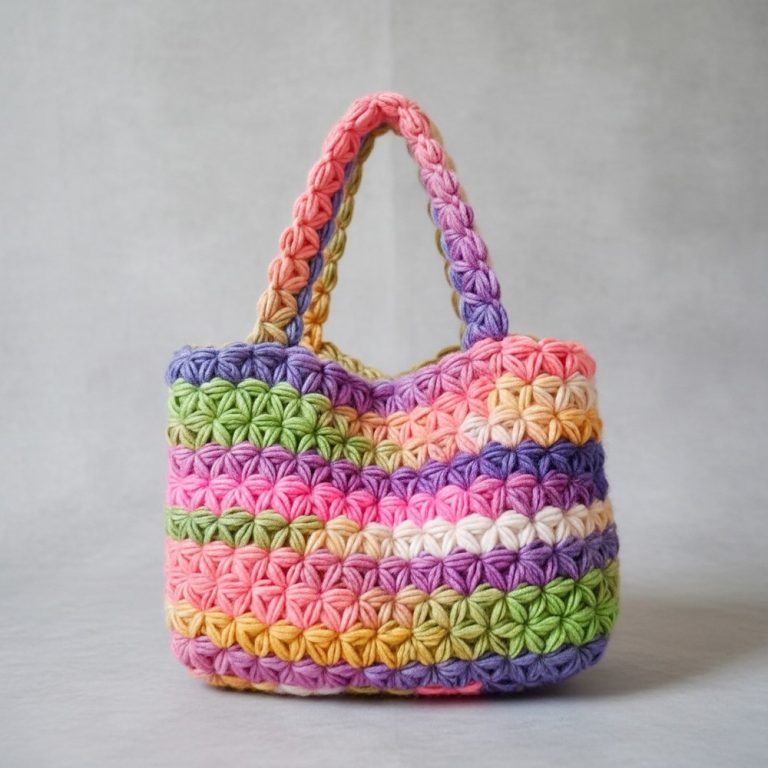
Chicken Applique

Uses: Its cute chick features can bring a playful touch to any item! Whether Easter decorations, baby blankets, or even jazzing up your favorite purse, this applique can instantly lift the mood.
Materials:
Calling yarn
5.5mm crochet hook
Making:
Creating the Chicken Applique involves simple crochet techniques, with the main parts being the body, head, wings, and feet. It begins with a magic ring method for the head, then expands through several rounds to achieve a lovely round shape. The body, worked in rows, grows from a chain into a minuscule chicken shape.
The Little Chicken Amigurumi
Uses: This little chicken can be an enchanting toy for kids or a home decor item! A beautiful sight during any part of the year, it shines especially bright during the Easter season.
Materials:
Light worsted weight yarn
3.5mm crochet hook
Making:
The construction starts with creating the body using the magic ring approach, then expanding it using a single crochet technique until it takes shape. The beak and wattle are crocheted separately through a chain stitch process and later attached to the body. The feet are designed as separate entities through the puff stitch method and then attached to the body.
Chicken Amigurumi
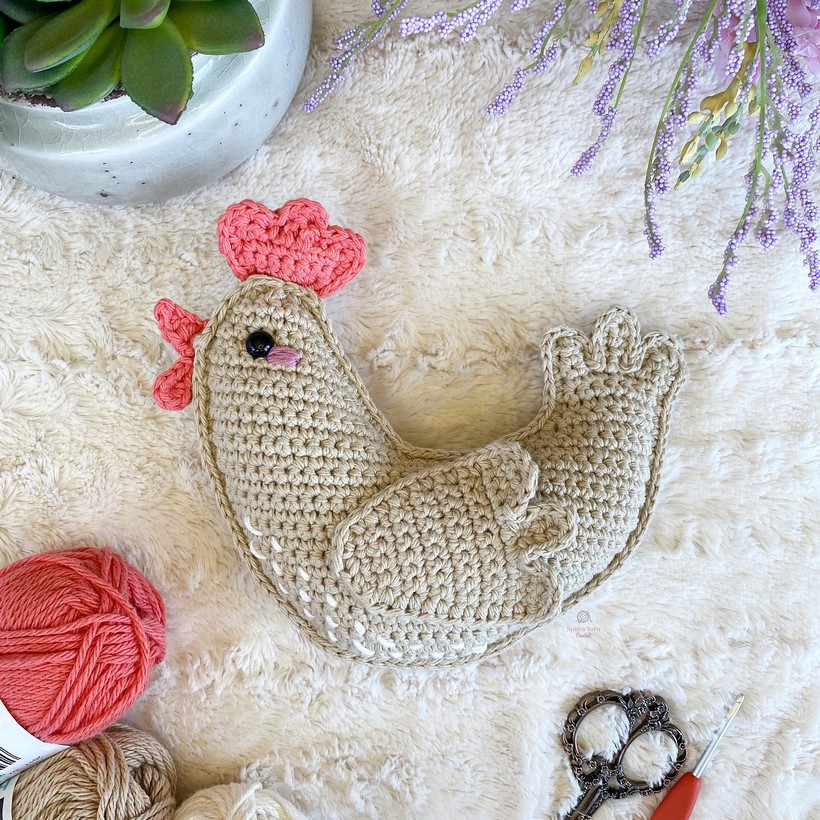
Uses: Chicken Amigurumi is a charming addition to any surrounding with its playful and heartwarming presence.
Materials:
Cotton yarn
3.25mm crochet hook
Making:
This chicken gets life by creating two body panels, distinct and special, joined together. The main body, comb, and wings involve generic crochet techniques such as single crochet, half-double crochet, and chain stitches. Similarly, the beak and wattle are made separately and then attached to give depth to the rooster.
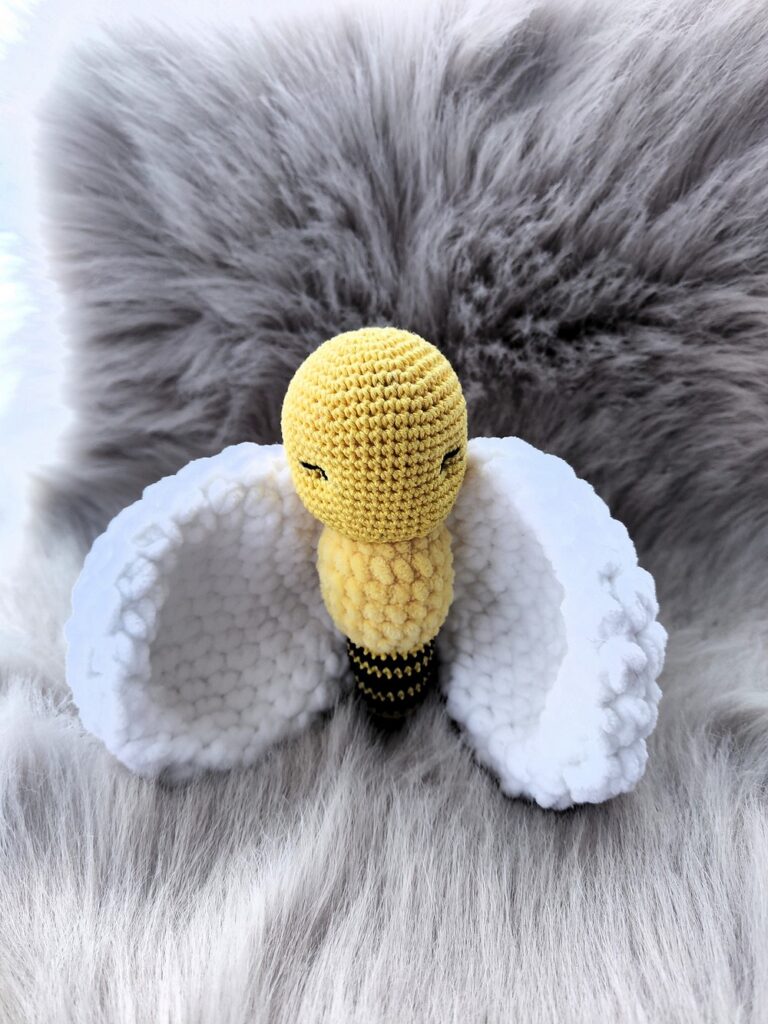
Bawk Bawk Chicken Squish

Uses: The Bawk Bawk Chicken Squish is a big, soft delight that can spread smiles all around! With the ability to serve as a cozy pillow or a fun toy, it promises an irresistible charm.
Materials:
Red Heart yarn
6mm crochet hook
Making:
Beginning with the half-double crochet approach, you mold the chicken’s body from bottom to top. Once the endearing, egg-shaped body is complete, you create the eyes, beak, wings, and legs separately and attach them to the body.
Funky Chicken Ornament
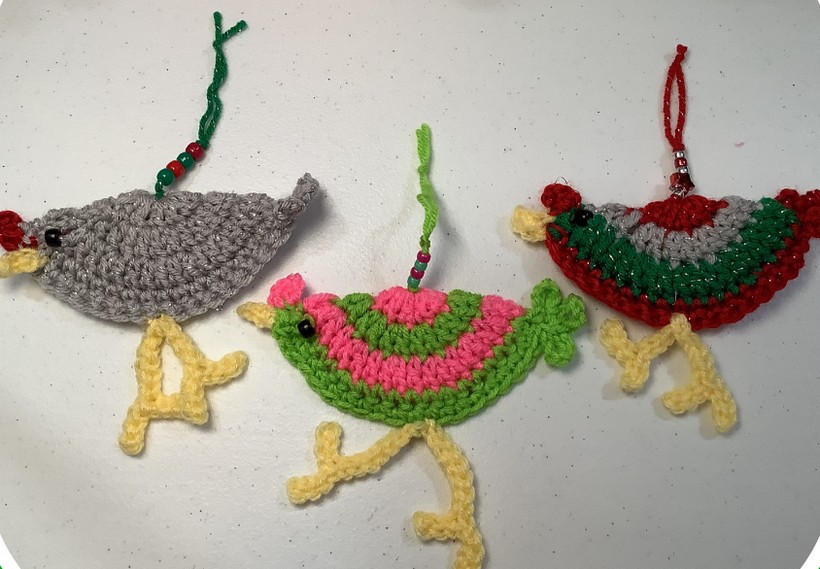
Uses: You can use this ornament in your home to decorate special events where fun is needed! It can play many roles in Easter celebrations, picnics, or simply as a cute element in your kids’ room decor.
Materials:
Acrylic Yarn
5mm crochet hook
Making:
You start by circularly making an egg-shaped base with double crochet stitches. Then, you fold this circle into half to create the shape of the chicken. The colorful tail, comb, beak, and eyes follow next, all crocheted separately and then attached to the body. The legs use chain stitches attached at the bottom center to complete the look.
Chicken Amigurumi Keychain
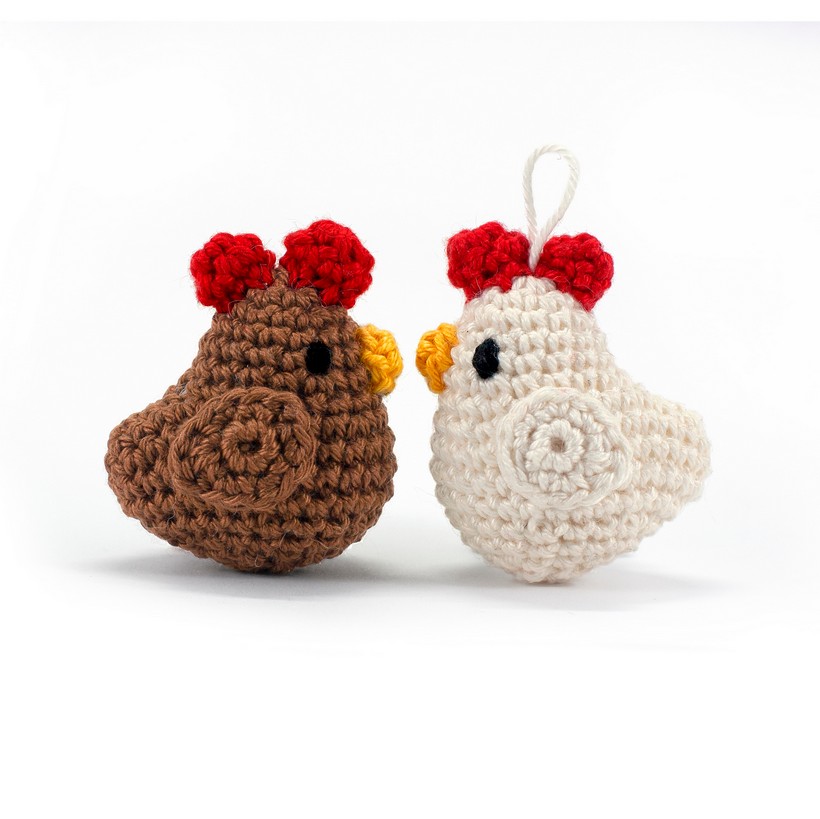
Uses: The Chicken Amigurumi Keychain will be a charming companion to your daily essentials. It could be the burst of brightness on your daily bag, the inviting figure on your keys, or even the cute trinket gift for a friend.
Materials:
Cotton Sport Weight yarn
2.5mm crochet hook
Making:
The creation of the Chicken Amigurumi Keychain follows a series of simple steps. First, you create a white egg-shaped base using single crochet stitches. The base folds into half, forming the shape of the chicken. The beak, eyes, or “comb” parts are then made separately and attached to give shape to your chicken keychain. If you prefer to hang it, attach yarn strands on the top.
Baby Chicken

Uses: Its rosy cheeks and easy charm warm your favorite spaces. It can nestle in a lively Easter basket and sit on your desk to add charm to your everyday life.
Materials:
Sport Weight yarn
3mm crochet hook
Making:
With a small hook, you begin with a magic ring, adding single crochet stitches in a circular pattern to create a round body. The cheeks and other features are made separately and stitched on later. Remember to keep your stitches tight so the stuffing doesn’t show.