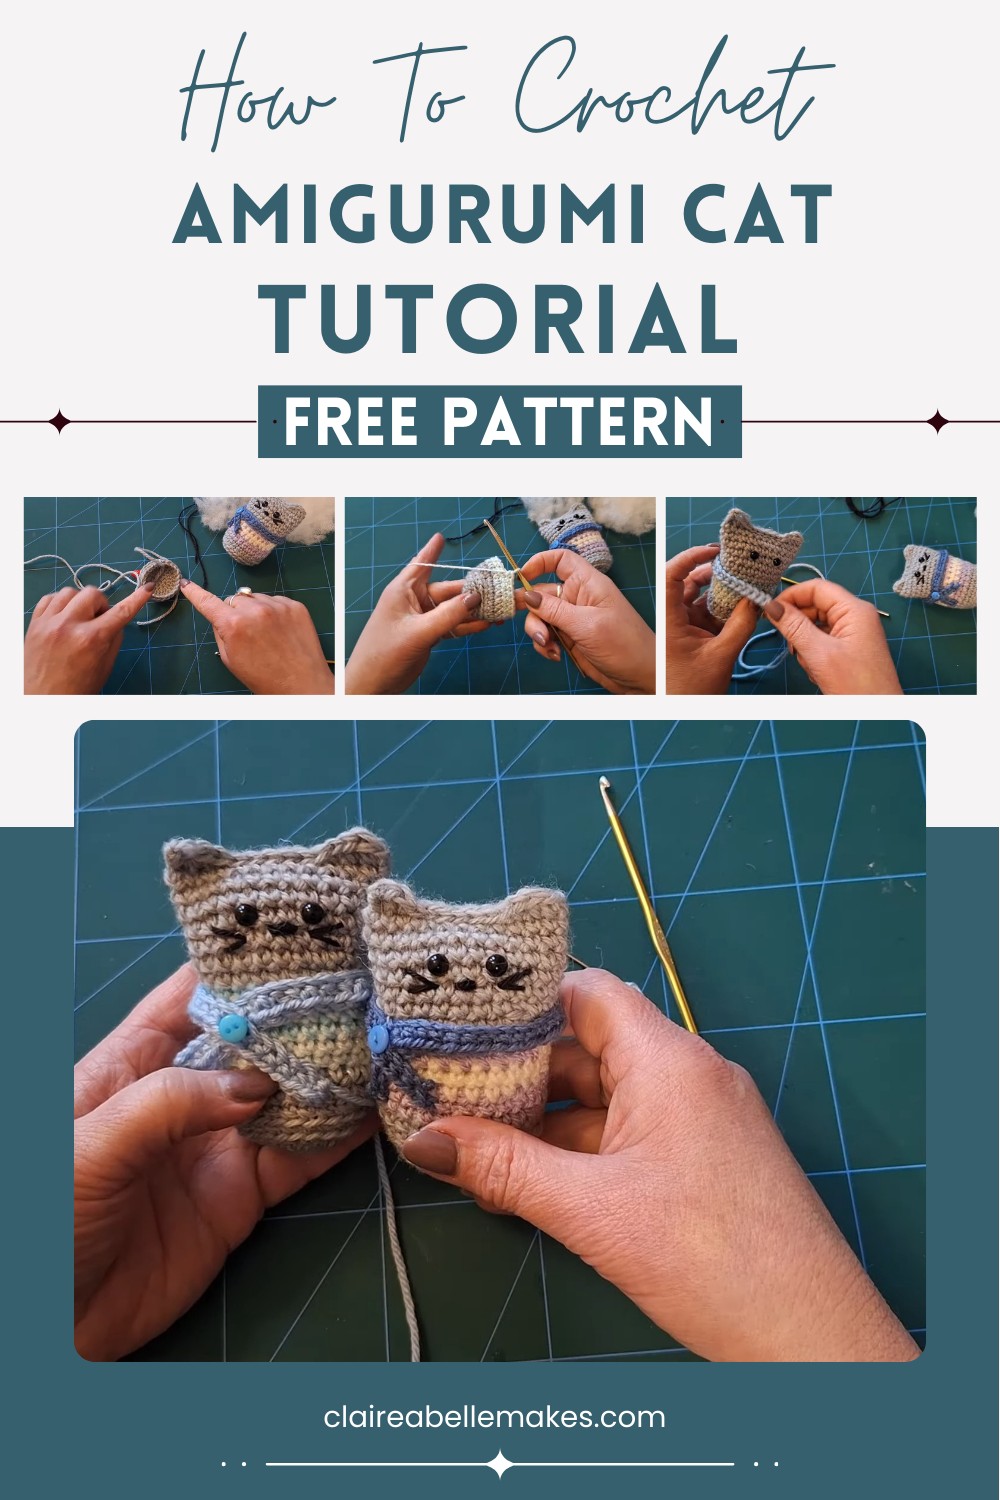
Crochet Winter Cat Wearing Scarf Amigurumi Pattern
Lovingly make adorable Crochet Winter Cat with this beginner-friendly pattern. Perfect for cuddles, decoration, and bringing warmth this winter!
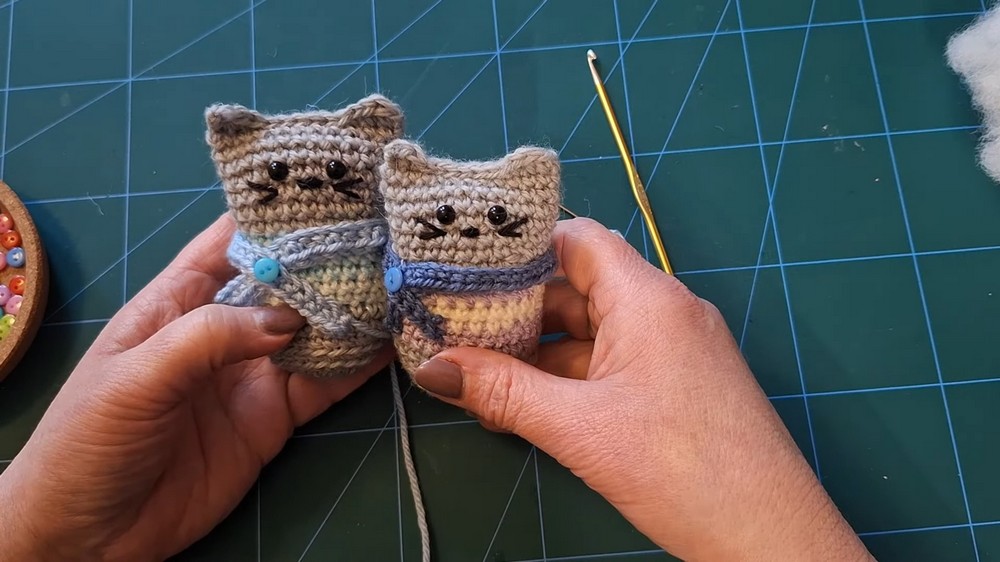
Crochet Winter Cat Amigurumi Pattern
When winter rolls in, what could be cuter than crafting your own little feline friend? The Crochet Winter Cat Pattern lets you create an adorable, snug kitty that’s perfect for cuddles or decorating your home. This pattern shows a cozy-looking cat with big round eyes, tiny ears, and a lanky body that gives it a charming personality. It’s ideal for beginners and experienced crocheters alike, making it a versatile craft project. The amigurumi cat is sure to bring warmth and joy during the colder months.
Uses Of Crochet Cat Amigurumi
- Toys: Perfect as a playful toy for children, and you can even put a bit of catnip inside to make it a fun toy for your cat.
- Home Decor: These little crochet cats make charming decorations for shelves or as part of your seasonal decor.
- Personalized Gifts: Customize the cat’s colors to match a favorite pet or to reflect the recipient’s favorite colors, making a thoughtful and personalized gift.
- Pet Accessories: They can also be used as accessories for your pets, like attaching to a pet bed or scratching post for added fun.
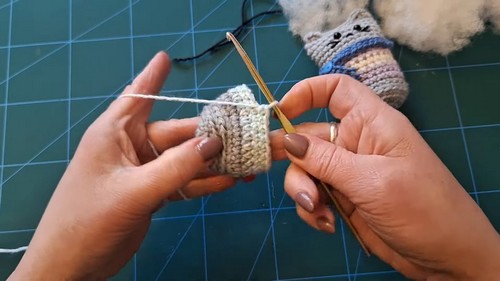
How To Crochet Winter Cat Amigurumi
Materials:
- Double knit yarn in gray, variegated yarn for the jumper, and any additional colors of your choice.
- 3.5 mm crochet hook.
- Safety eyes (6 mm size recommended).
- Fiberfill stuffing.
- Scissors and yarn needle for sewing.
- Stitch marker (optional).

Abbreviations (UK Terms):
- ch: chain
- dc: double crochet
- tr: treble crochet
- htr: half treble crochet
- sl st: slip stitch
Instructions:
Head and Body:
- Magic Ring:
- Make a magic ring and work 6 dc into the ring. [6 sts]
- Round 1:
- 2 dc in each stitch around. [12 sts]
- Round 2:
- 2 dc in each stitch around. [24 sts]
- Round 3:
- 1 dc in each stitch around. Mark the first stitch of the round with a stitch marker. [24 sts]
- 1 dc in each stitch around. Mark the first stitch of the round with a stitch marker. [24 sts]
- Round 4-5 (Back Loop Only):
- 1 dc in the back loop only around for 2 rounds. This creates a ridge.
- Round 6:
- 1 dc in each stitch around. [24 sts]
- Round 7:
- Change to variegated yarn and join with a sl st. Ch 1, then work 1 dc in each stitch around for 6 rounds. [24 sts]
- Change to variegated yarn and join with a sl st. Ch 1, then work 1 dc in each stitch around for 6 rounds. [24 sts]
- Round 8:
- Change back to gray yarn and repeat 1 dc in each stitch around for another 7 rounds. [24 sts]
- Eyes:
- Insert safety eyes between rounds 10 and 11 before closing the head.
- Insert safety eyes between rounds 10 and 11 before closing the head.
- Stuffing:
- Stuff the body and head with fiberfill before closing.
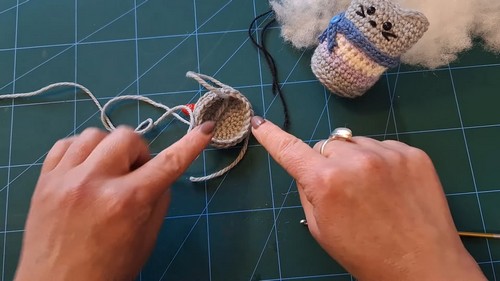
- Closing:
- Flatten the top and crochet across the top to close the head. First, do 1 tr in the first stitch for an ear, then 1 htr in the next stitch, 1 dc in the next stitch, sl st across until the third-to-last stitch, reverse: 1 dc, 1 htr, 1 tr. Fasten off.
Scarf:
- Chain:
- Ch 45 (or desired length).
- Row 1:
- 1 dc in the second chain from the hook and each chain across. Fasten off.
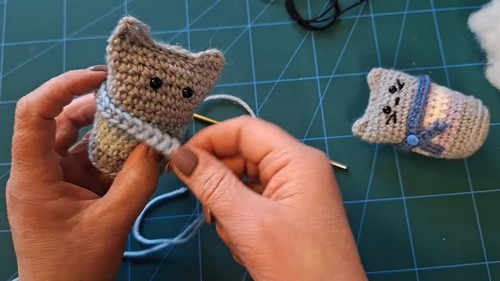
- Sewing:
- Wrap the scarf around the cat, cross it over at the front, and sew it in place. Optionally, add a small button to the scarf for decoration.
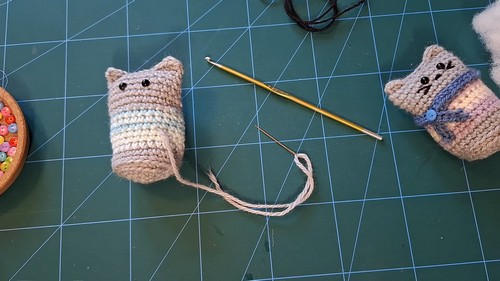
Finishing:
- Details:
- Embroider the nose and whiskers with black yarn or embroidery thread.
- Final Assembly:
- Adjust and squish the stuffing to shape the cat body.
- Make sure the cat stands upright by adjusting the stuffing and the bottom’s shape.