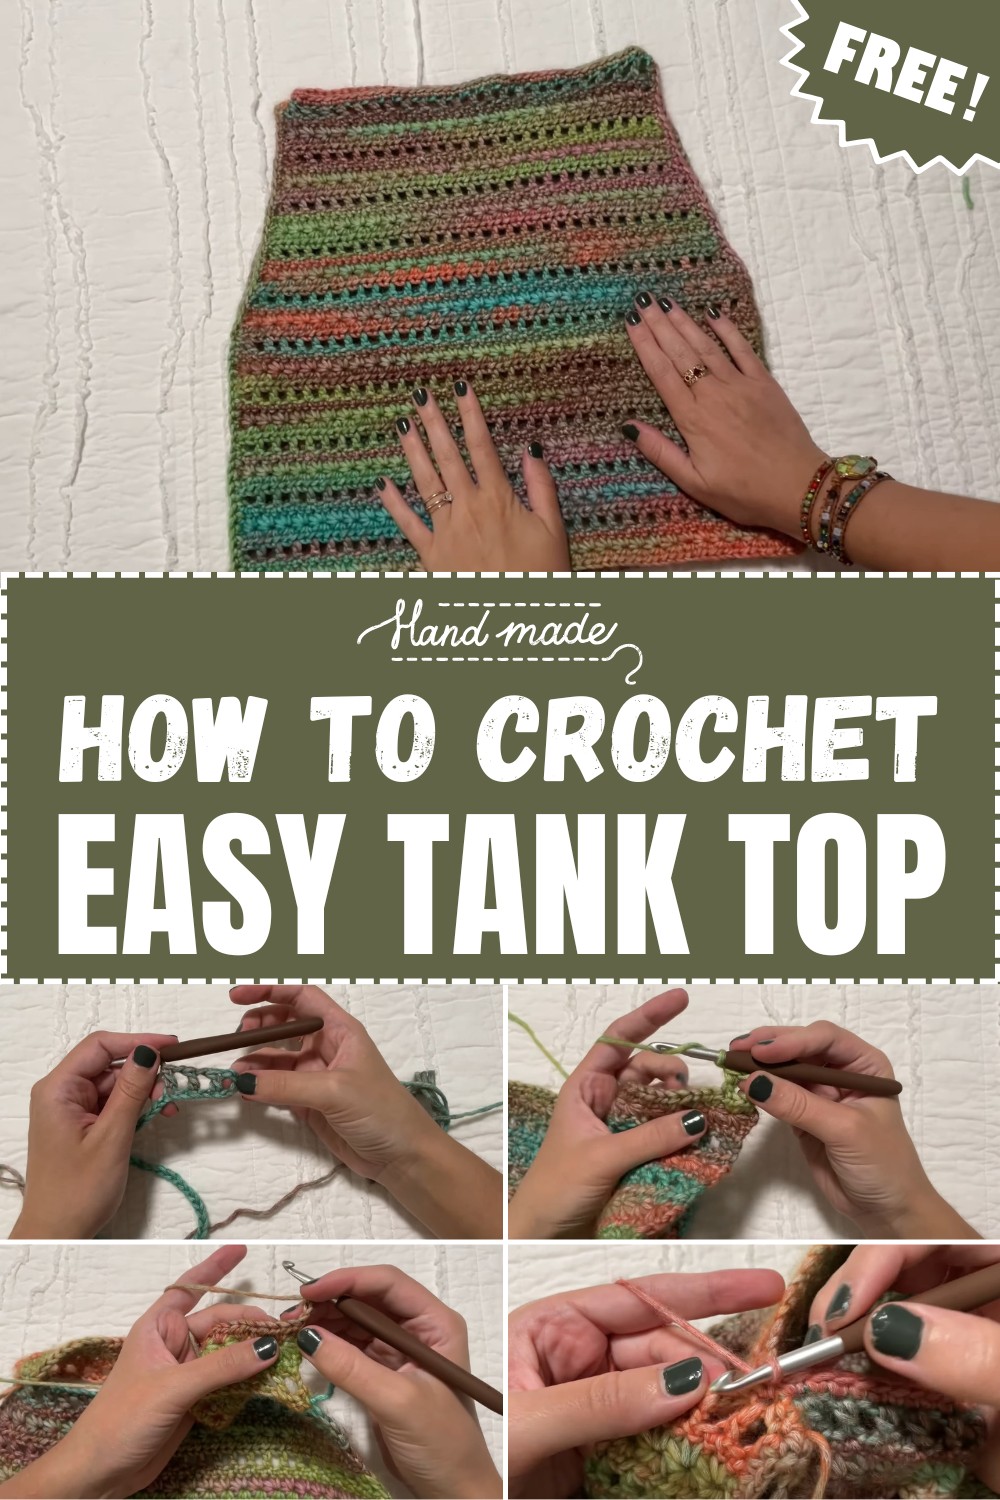
Crochet Tank Top Pattern With Star Stitch Detailing
Whip up a stylish and breezy crochet tank top with this easy-to-follow pattern, perfect for adding a handmade touch to your summer wardrobe.
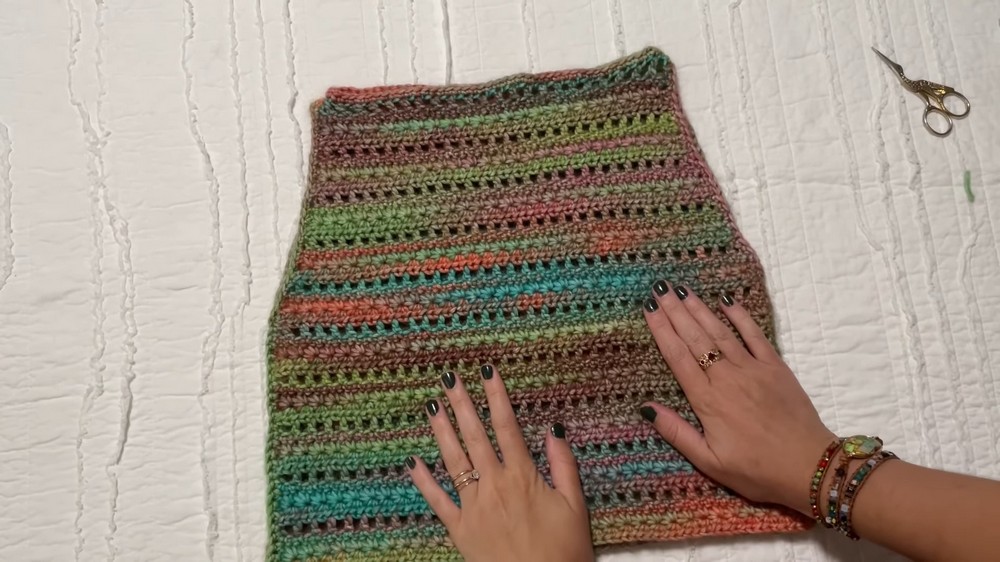
On a breezy summer evening, the perfect lightweight wear can add both comfort and charm to your wardrobe. This tank top pattern brings to life a stunning combination of airy texture and distinct design, ideal for those warmer days when style needs to pair seamlessly with function. With its intricate star-shaped stitches and delicate mesh structure, this sleeveless top radiates elegance and practicality, making it a staple piece for layering, casual outings, or beachside adventures.
Crochet Tank Top Pattern With Star Stitch Detailing
Starry Tank Top Crochet Pattern
The Starry Tank Top is an original crochet design, perfect for summer layering and a great opportunity to experiment with yarn colors and textures. It is designed to fit all body types, constructed based on personal measurements instead of standard stitch counts. The pattern incorporates mesh, star stitches, and increases, making it suitable for adventurous beginners or intermediate crocheters. This garment is sure to become a staple in your handmade wardrobe.
Materials
To complete this pattern, you will need:
- Yarn: Any yarn of your choice (DK or worsted weight is recommended)
- Crochet Hook: One size larger than recommended on your yarn’s label (to improve drape and ease for the star stitch)
- Tape Measure: For measurements of your bust and project progress
- Scissors: For trimming yarn ends
- Stitch Markers: Optional, but helpful for marking the center of star stitches
- Yarn Needle: For weaving in ends
Abbreviations (US Terminology)
- ch = Chain
- st = Stitch
- sc = Single Crochet
- dc = Double Crochet
- hdc = Half Double Crochet
- sl st = Slip Stitch
- YO = Yarn Over
Pattern Instructions
1. Initial Setup
- Measure your bust size. This crochet design is based on one-third of your bust measurement. For example:
- If your bust measures 36 inches, your starting chain length will be for 12 inches measured in chains.
- Ensure your initial chain is a multiple of 2 (even number). Chain until your length equals one-third of your bust measurement.
2. Add Extra Chains
- Add 5 additional chain stitches to your starting chain. This helps to accommodate the setup row.
3. Mesh Setup Row (Row 1)
- Start with a dc in the 5th chain from the hook.
- Chain 1, skip 1 st, dc in the next st. Repeat this sequence across the row.
- The result will be a mesh-like row with gaps between the double crochets. Ensure there is a dc in the final st of the row.
4. Single Crochet Row (Row 2)
- Ch 1, turn your work.
- Place a sc into each dc from the mesh row, and into each ch-1 space across the row.
- Be careful to ensure you sc into every chain stitch and dc from the previous row to maintain an even stitch count.
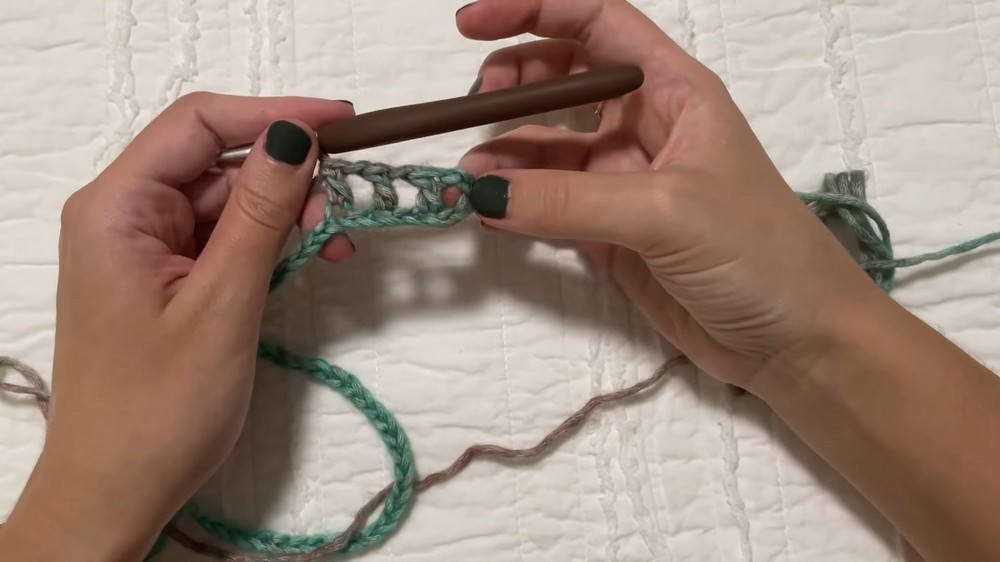
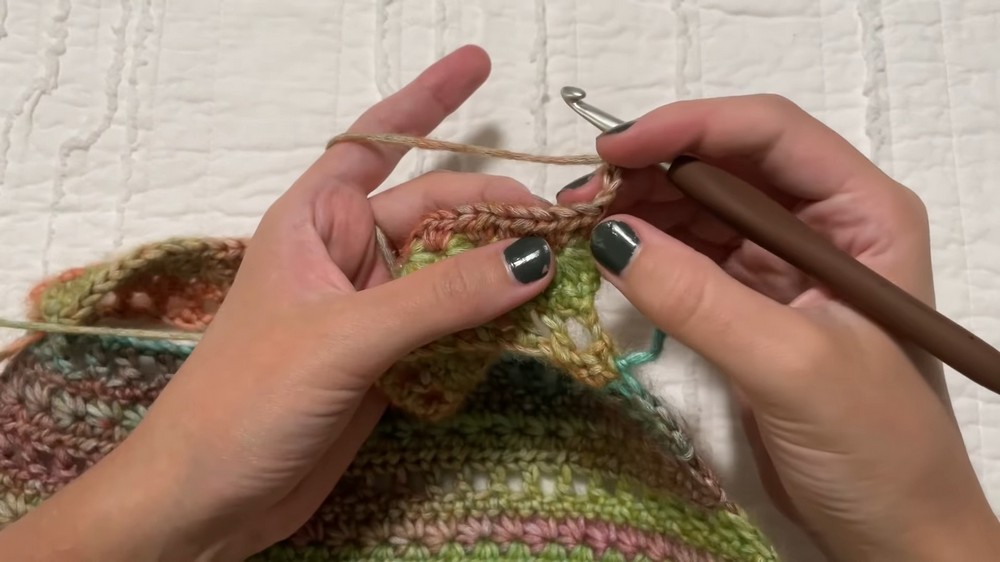
5. Star Stitch Row (Row 3)
- Ch 3, turn your work.
- Beginning the star stitch:
- Insert your hook into 2nd ch from the hook, YO, pull through (2 loops on hook).
- Insert your hook into the next st, YO, pull through (3 loops on hook).
- Continue this process across the next 4 stitches (until you have 6 loops on the hook).
- YO and pull through all 6 loops, ch 1 to secure the star.
- For subsequent stars:
- Insert your hook into the center of the star from the previous row, YO, pull through.
- Continue inserting your hook into the legs of the previous star (3 points) and the next 2 sts, as you did for the first star.
- YO and pull through all 6 loops, ch 1 to secure.
- Repeat across the row. Finish the row with a hdc in the final stitch.
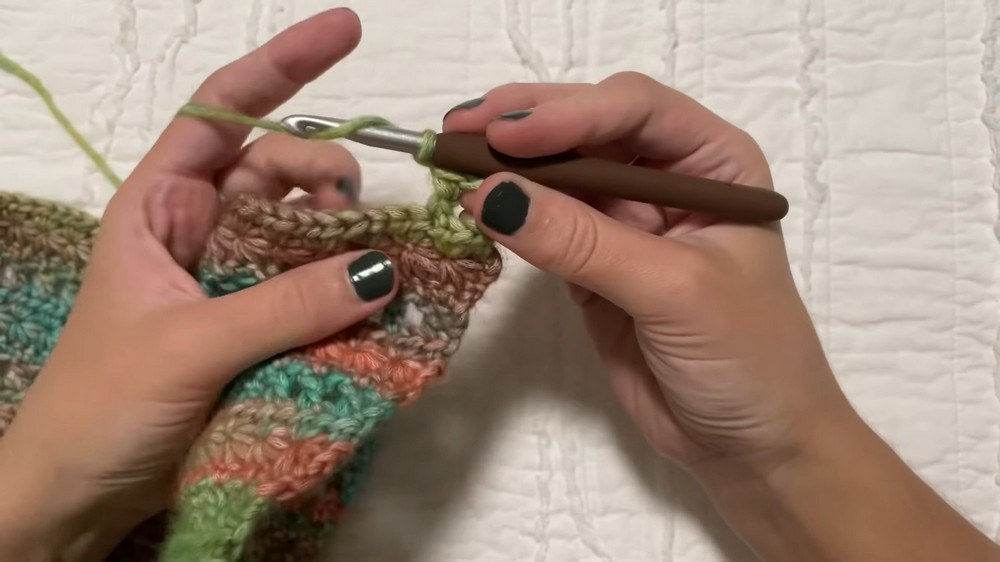
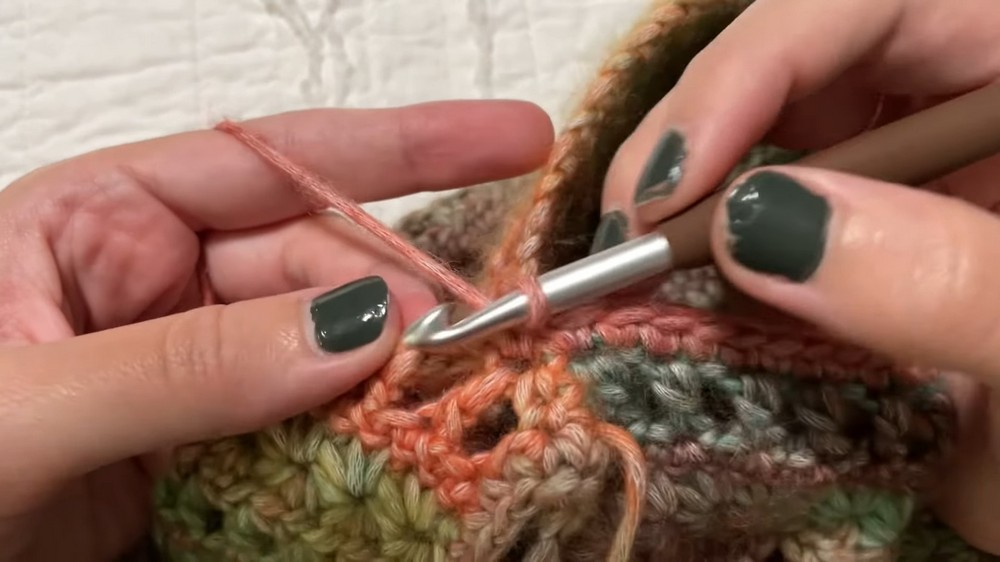
6. Half Double Crochet Row (Row 4)
- Ch 1, turn your work.
- Work 2 hdc into the center of each star across the row.
7. Mesh Increase Row (Row 5)
- Ch 3, turn your work.
- Begin with a dc at the base of the ch-3 (creates an increase here).
- Ch 1, skip 1 st, dc into the next st. Repeat across the row.
- Complete the row with a dc, ch 1, dc in the final st (creates another increase).
8. Repeating the Pattern
Repeat the following sequence for the tank top body:
- Mesh Increase Row
- Single Crochet Row
- Star Stitch Row
- Half Double Crochet Row
Continue until the panel measures half of your bust size (e.g., for a 36-inch bust, work until it measures 18 inches).
9. Downward Straight Mesh (No Increases)
At this point, you will stop making increases. Follow the sequence below:
- Replace Mesh Increase Rows with Mesh Rows (no increases: dc, ch 1 across).
- Continue alternating the pattern (Mesh Row → Single Crochet Row → Star Stitch Row → Half Double Crochet Row) until the tank top reaches your desired length.
10. Second Panel
- You may crochet a second identical panel or use the “no-sew” method described below:
- Attach yarn to the beginning of the first panel using a slip stitch.
- Chain to create the neck hole (measure the stitches for symmetry), and begin your second panel directly connected to the first.
11. Seaming
- Fold the panels, right sides together, and begin seaming from the bottom up.
- Use your preferred method (e.g., mattress stitch or visible single crochet seam), leaving space unseamed for the armholes.
- Seam until the beginning of the mesh increase rows (to shape the armholes).
12. Edging
- Armholes: Single crochet evenly around the edge of each armhole for a polished look.
- Neckline: Single crochet evenly around the neckline for a cohesive finish.
Finishing Touches
- Weave in all ends using a yarn needle.
- Block your piece if desired for a smooth and even finish.
- Try on your completed tank top and enjoy!
Conclusion
This Starry Tank Top is a versatile and fun crochet project, perfect for building your confidence with intermediate stitches like the star stitch. Its customizable size and flattering fit make it suitable for anyone and a great handmade summer staple. Share your creations and tag the designer for inspiration!