Crochet Summer Cardigan Pattern For Comfortable Style
Stay cool in style with this lightweight crochet summer cardigan pattern, perfect for layering on breezy evenings or sunny strolls.
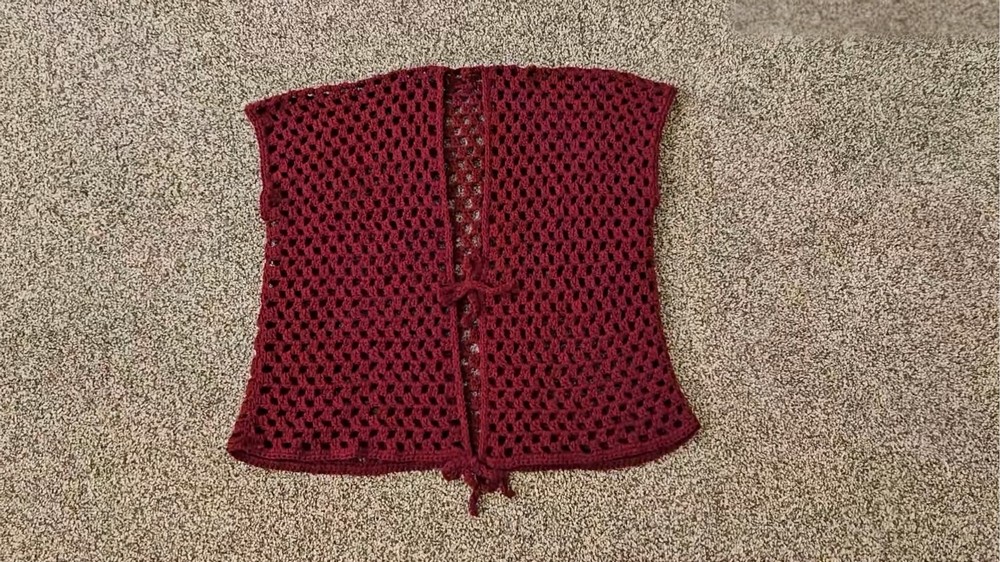
A warm summer afternoon calls for a lightweight layer to complement your outfit, something that is both stylish and comfortable. That’s where this Crochet Summer Cardigan Pattern comes in—a versatile design perfect for breezy evenings and casual outings. With delicate half-double and double crochet stitches, the cardigan shows a chic, airy appeal suitable for layering over tank tops, summer dresses, or even swimwear. The open, breathable texture strikes the right balance between functionality and elegance, making it an ideal addition to your wardrobe.
Crochet Summer Cardigan
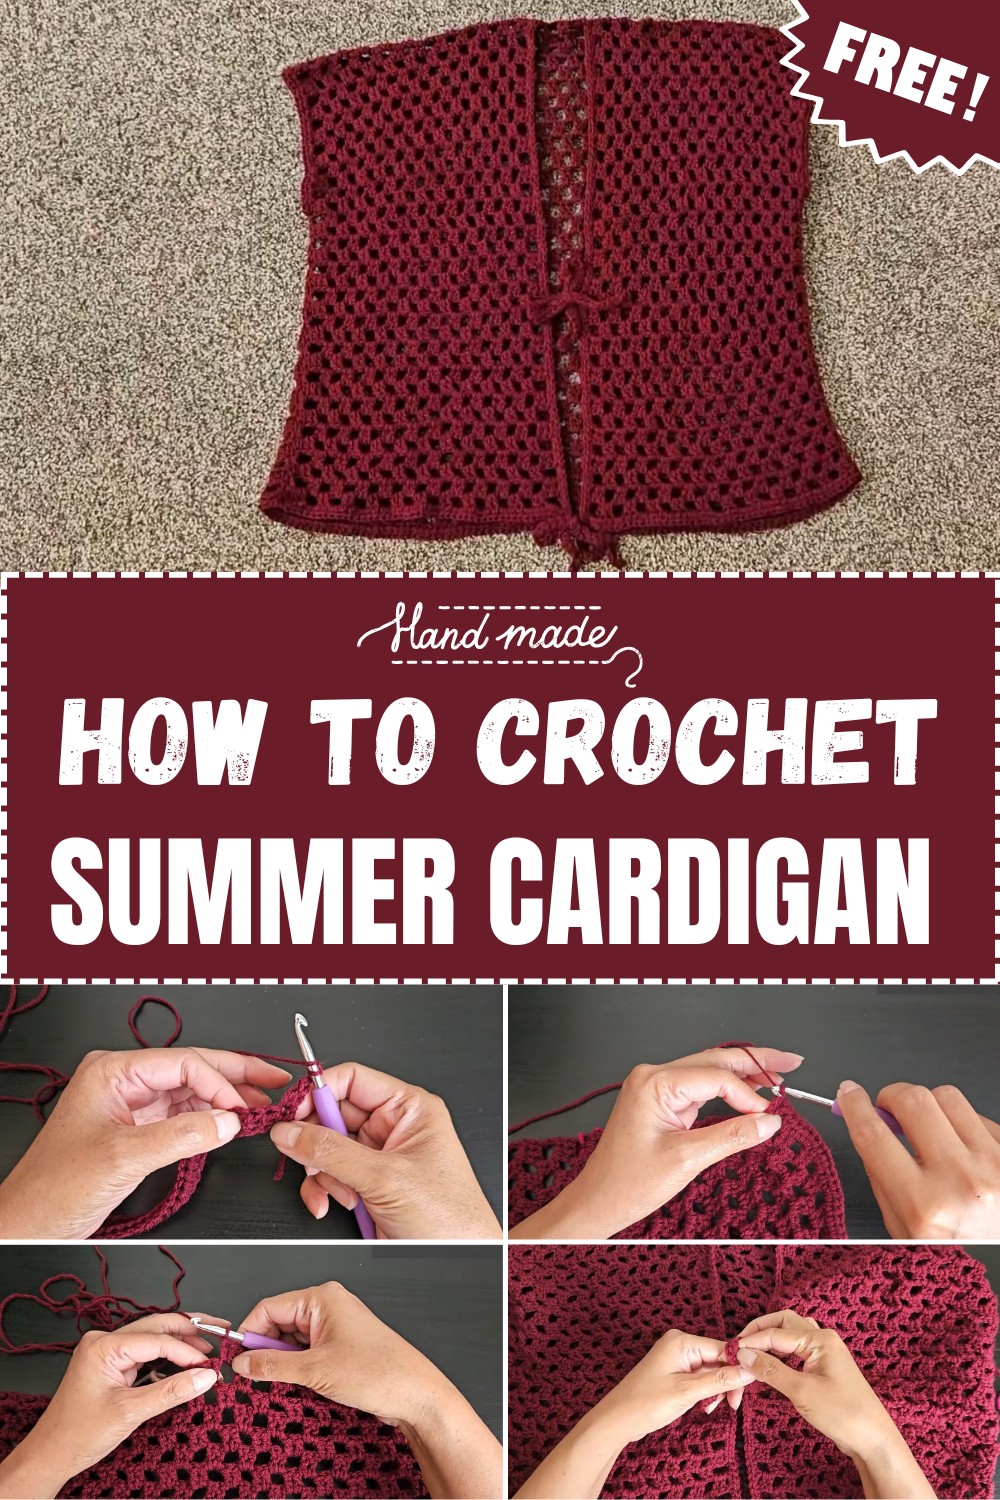
Summer Cardigan with Front Ties – Step-by-Step Crochet
This guide provides detailed instructions to create a beginner-friendly summer cardigan with front ties. This cardigan is crafted using basic stitches and is designed to be lightweight and perfect for summer layering. Three main stitches—double crochet (dc), half double crochet (hdc), and single crochet (sc)—are used throughout, making it ideal for beginners.
Materials Needed:
- Yarn: Medium-weight (4) yarn in your color of choice.
- Crochet Hook: Size suitable for your yarn; in the video, size recommendations are not specified, but a 5mm or 5.5mm hook works well for most medium-weight yarns.
- Scissors
- Tapestry Needle for weaving in ends.
- Stitch Markers for marking the center and other points.
Abbreviations:
Here are the abbreviations for the stitches and terms used in this pattern:
- ch = chain
- sc = single crochet
- hdc = half double crochet
- dc = double crochet
- sl st = slip stitch
- sp = space
- st(s) = stitch(es)
- yo = yarn over
Pattern Overview:
The cardigan is made up of:
- Back Panel (worked bottom-up)
- Front Panels (worked separately and then sewn together)
- Side Seams and Armhole Edging
- Front Edging & Ties
You can adjust the front ties as desired (one, two, or three ties).
Step-by-Step Instructions:
1. Back Panel
This is worked in rows, starting with a foundation chain and creating a textured pattern.
Row 1: Foundation Chain
- Chain a foundation chain in multiples of 4, based on your desired width.
- For example, in the demonstration: 100 foundation chains + 2 additional chains.
- Working into the back bumps of the chain, start the first row.
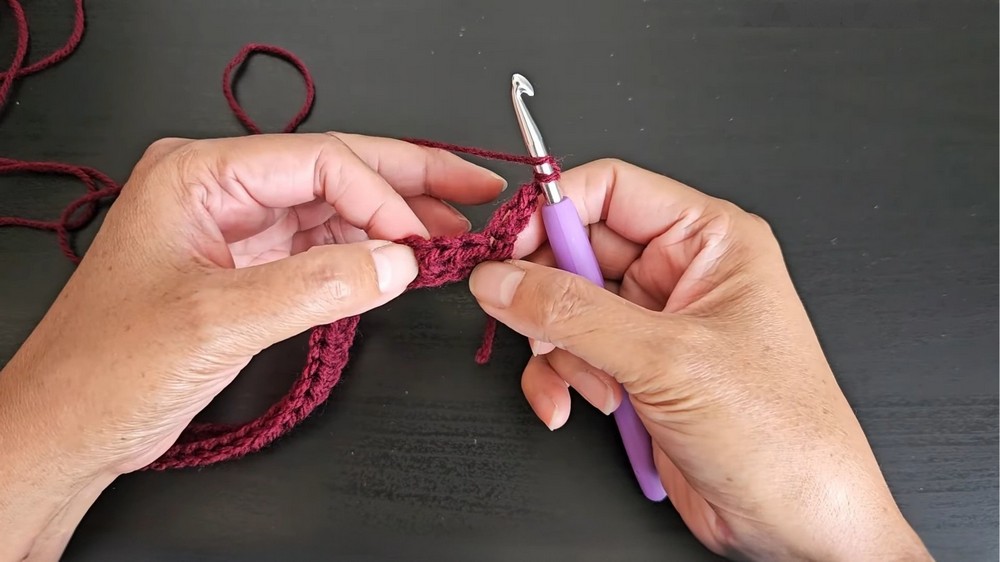
Row 2: Half Double Crochet (hdc) Row
- Start with hdc in the 3rd chain from the hook.
- Continue making hdc stitches across in the back bumps of the foundation chain.
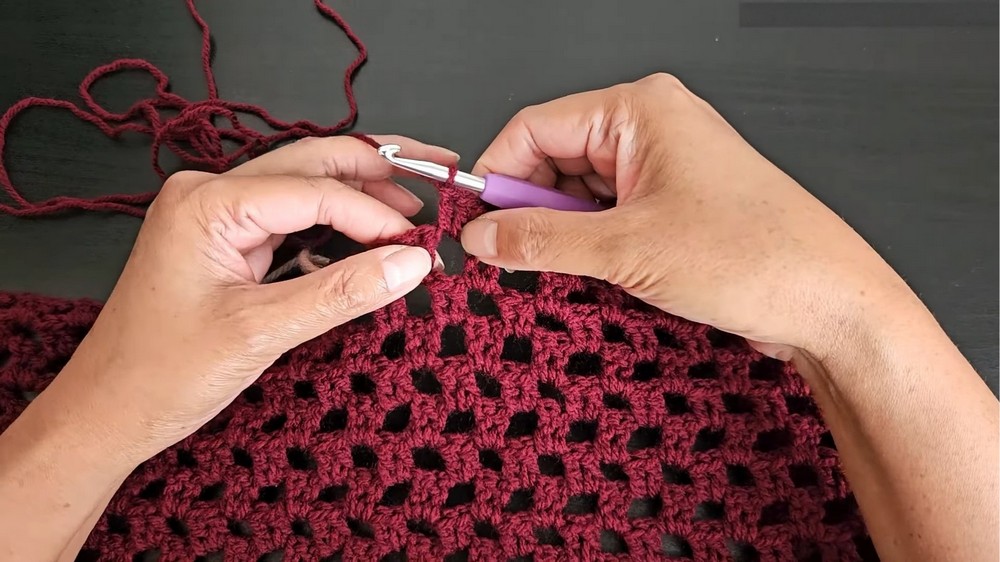
Row 3: Create the Textured Pattern
- Start with a stacked single crochet (alternative for turning chains).
- Work the pattern: ch 2, skip 2 sts, dc, dc, ch 2, skip 2, dc, dc.
- Repeat this pattern all the way across. End with a double crochet.
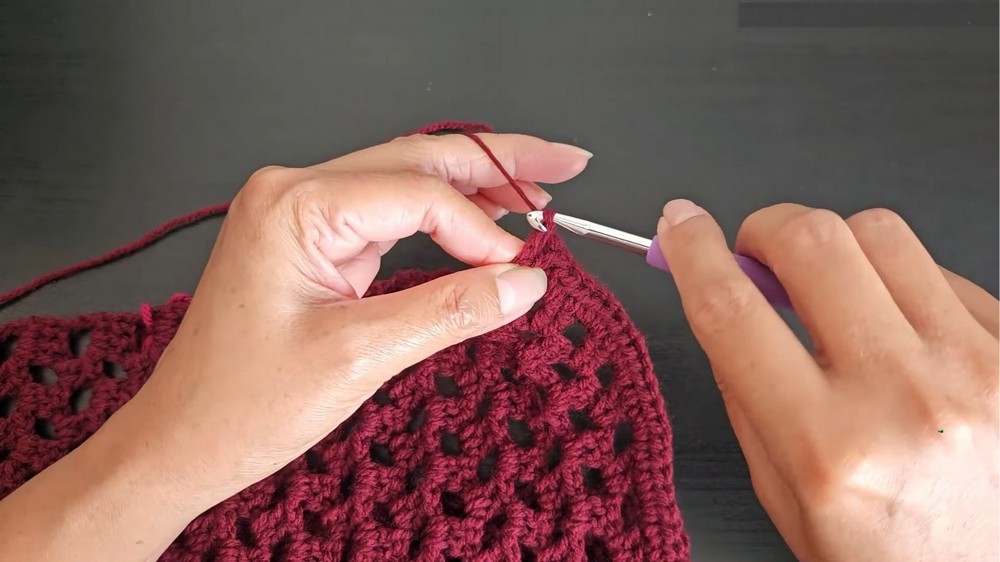
Rows 4–Desired Length:
- Repeat Row 2 and Row 3 alternately until your back panel reaches your desired length.
2. Front Panels
- Fold the back panel in half to determine the center point and mark it with a stitch marker.
- Each front panel will be worked on one side of the center marker.
- Follow the same pattern as the back panel but stop when you’ve created a gap (~5cm) between the left and right front panels for the neckline.
Last Row for Panels:
- Work one final row of hdc across to finish the length.
3. Seaming the Panels
- Seam the left and right sides together, leaving space for armholes.
- Try the cardigan on and adjust the armhole size accordingly before finishing the seam.
4. Armhole Edging
- Start from the underside of the armhole.
- Work 2 hdc into each chain space around the armhole.
- Join the round with a slip stitch.
- Chain 1 and finish off.
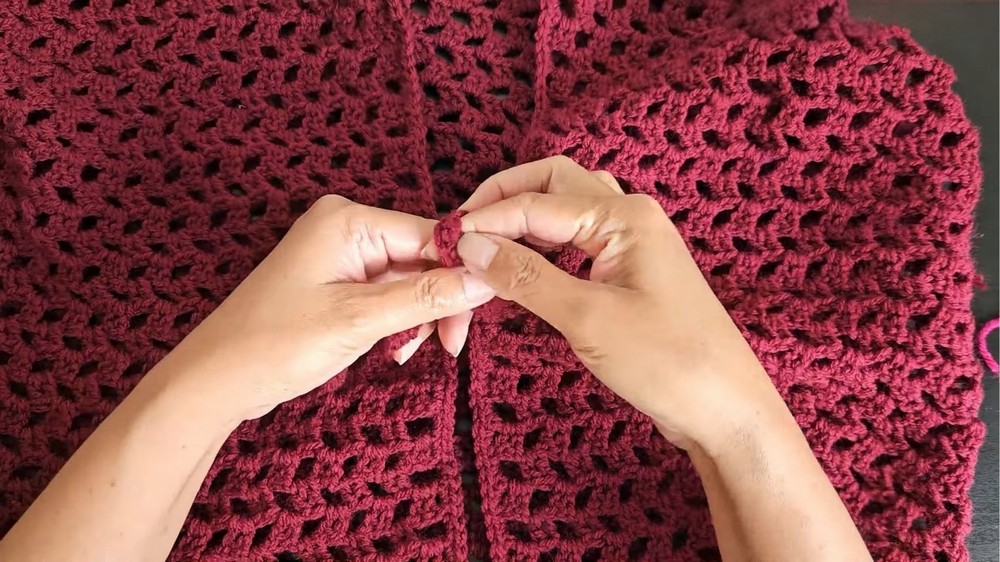
5. Front Edging & Ties
- To create the edging, single crochet along the front opening of the cardigan.
- At the desired points for the ties (center, bottom, or any other position):
- Chain 30 (or your preferred length for the ties).
- Start from the second chain from the hook, and work sc back down the chain.
- Attach the tie to the cardigan using a single crochet.
- Continue working 2 sc into each row edge to maintain even edging.
6. Finishing Up
- Tidy up by weaving in all loose ends with your tapestry needle.
- Turn the cardigan right-side-out, and adjust the ties if needed.
Conclusion:
Once you’ve finished seaming, edging, and adding the ties, your lightweight, summery cardigan is complete! This versatile design can be customized to your preferred fit, length, and number of ties. The straightforward stitches make this project ideal for beginners looking to create their first wearable crochet piece.