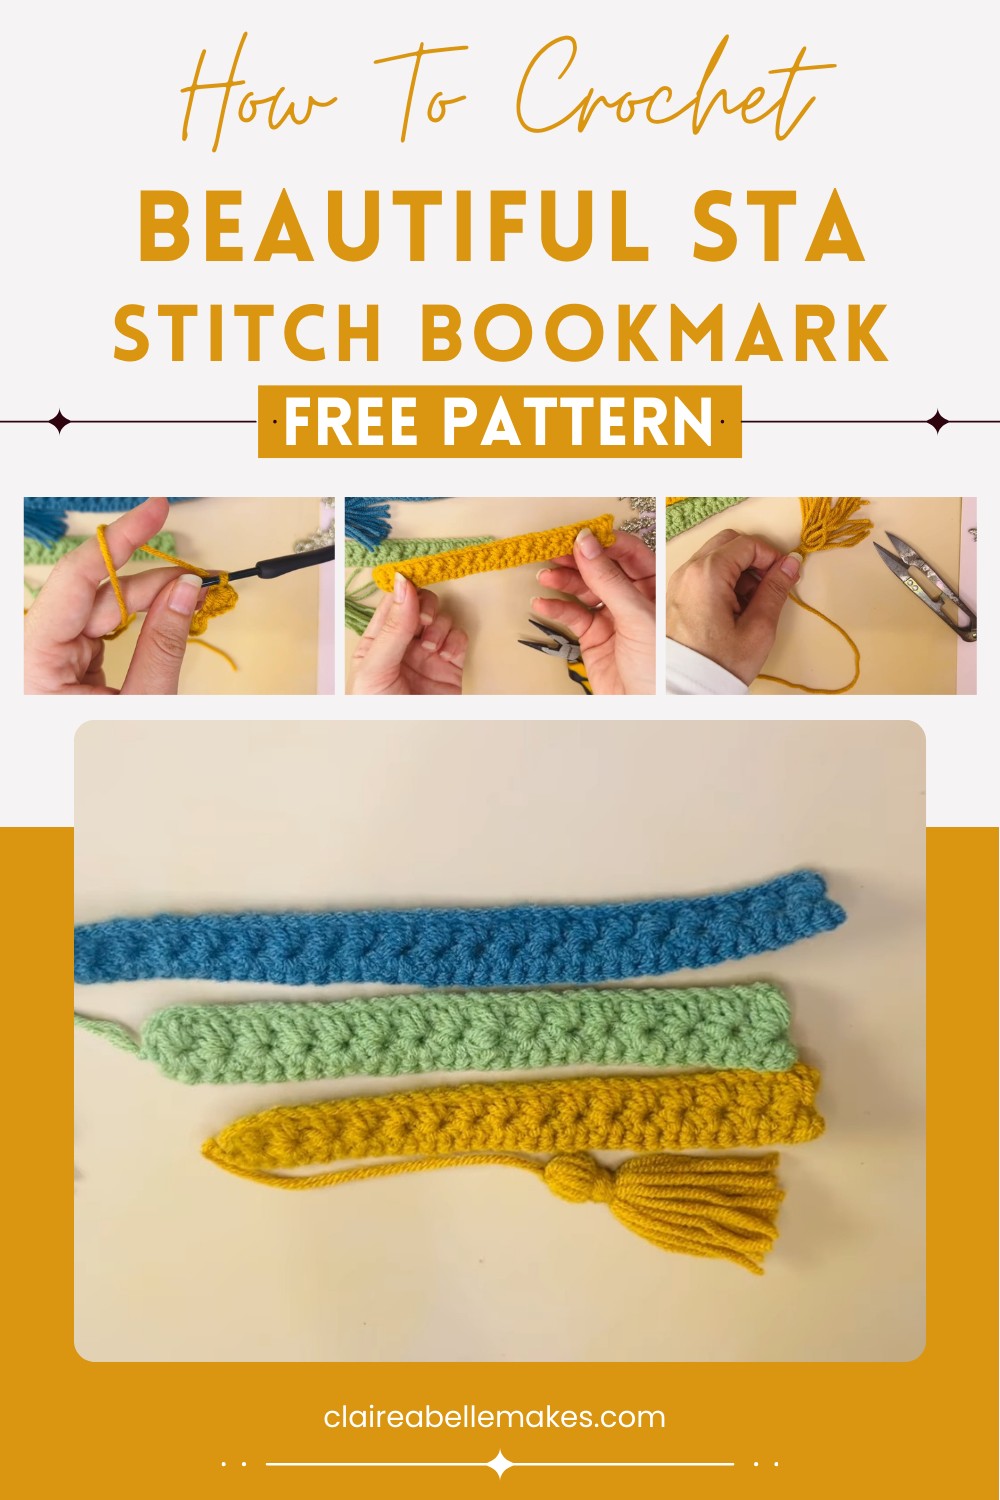
Crochet Star Stitch Bookmark Pattern Perfect For Gifts
Craft a gorgeous Crochet Star Stitch Bookmark to stylishly mark your pages without damage. Perfect handmade gift for book lovers!
Crochet Star Stitch Bookmark Pattern
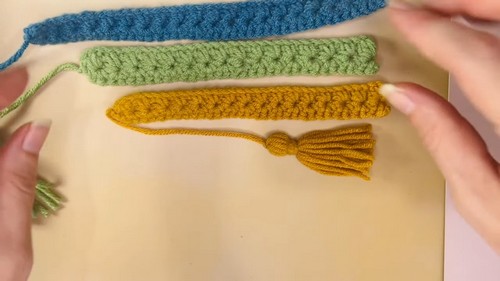
Let your love for books shine with the Crochet Star Stitch Bookmark Pattern! This elegant bookmark shows the delicate star stitch, creating a textured and eye-catching design. Its slim, lightweight shape fits perfectly between pages, keeping your spot without damaging the book. Whether for personal use or as a thoughtful handmade present, this bookmark is a stylish and practical way to enhance your reading experience. Craft one today and add a little sparkle to your favorite books!
Uses Of Crochet Star Stitch Bookmark
- Gifts for Friends and Family:
- These bookmarks make thoughtful and personalized gifts for book lovers. You can crochet them in your friends’ or family members’ favorite colors.
- School Projects:
- They can be made for school projects or as gifts for classmates and teachers. The handmade touch adds a special sentiment to educational materials.
- Craft Sales and Fundraising:
- Selling these bookmarks at craft fairs or using them as fundraiser items can be a great way to raise money for a good cause while showcasing your crochet skills.
- Decorative Items:
- Beyond bookmarks, the star stitch pattern can be adapted into other decorative items. Simply modify the size and you can create wall hangings, coasters, or even unique pieces of jewelry such as bracelets.
- Learning and Improving Crochet Skills:
- This project is also a fantastic way to learn and practice stitches and techniques, such as creating slip knots, chaining, and changing rows.
How To Crochet Star Stitch Bookmark
Materials Needed
- Crochet hook (3 mm, 3.5 mm, or 4 mm recommended; the example uses 3.5 mm)
- Four-ply cotton yarn (any type of yarn like acrylic or worsted weight can also be used)
- Needle for weaving in ends
- Scissors
- Optional: Steamer or iron (for blocking)
Steps
Creating the Slip Knot and Foundation Chain
- Create a Slip Knot:
- Wrap the yarn around your fourth finger, then around the second finger.
- Hold the rest of the yarn with the third finger and thumb.
- Turn the yarn to form an X and hold it with your thumb.
- Insert the hook into the loop, grab the yarn, and pull it through the loop.
- Tighten to form a slip knot.

- Chain Multiples of Two and Add Extra Chains:
- Chain 30 (or any multiple of 2).
- Add an additional 4 chains.
Beginning the Star Stitch Pattern
- Insert Hook into Second Chain from Hook and Pull Yarn to Start:
- Yarn over, insert hook into second chain from the hook, and pull up a loop.
- Yarn over, insert hook into next chain, and pull up a loop.
- Yarn over, insert hook into next chain, and pull up a loop.
- You should have 6 loops on the hook.
- Yarn over and pull through all 6 loops, then chain 1 to secure.
- Creating Half Star Stitches:
- Insert hook into the “donut hole” created by the previous chain 1, pull up a loop.
- Insert hook into the sixth leg/insect leg (from the previous round), pull up a loop.
- Insert hook into the corner space, pull up a loop.
- Insert hook into the next chain, pull up a loop.
- Insert hook into the next chain, pull up a loop.
- You should have 6 loops on the hook.
- Yarn over and pull through all 6 loops, then chain 1 to secure.
- Repeat the Process:
- Continue the half star stitch pattern across the row.
- When you reach the last 2 chains, finish the final half star stitch, then chain 1 and turn.
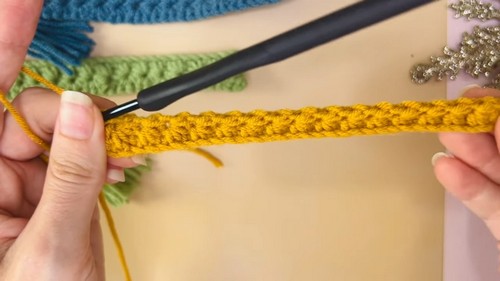
Single Crochet Row
- Chain 1 and Single Crochet in Each Donut Hole:
- Chain 1 and turn your work.
- Make 2 single crochets in each donut hole created by the previous row’s chain 1.
- Complete this across the row.
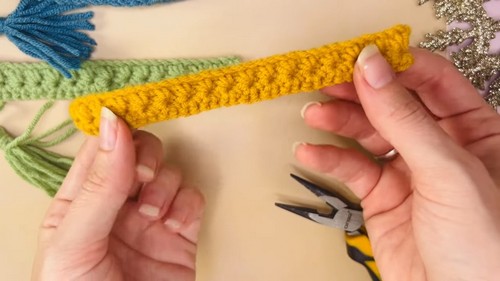
- Create Slip Stitch to Finish Row:
- Slip stitch into the first “leg” at the end.
- Cut the yarn and finish off.
Weaving in Ends
- Weave in Yarn Ends:
- Use a needle to weave in the yarn tail ends on the backside of the bookmark.
- Trim any excess yarn.
Blocking (Optional)
- Block the Bookmark:
- Use a steamer or iron to steam the bookmark to shape it.
- Pin it down to a foam board or cardboard, steam it, and let it dry.

Making the Tassel
- Making the Tassel:
- Wrap yarn around a box or a solid object 8-9 times.
- Slide the yarn loops off the box and tie at the top with an extra piece of yarn.
- Cut the bottom of the loops to create the tassel fringe, then shape it neatly.
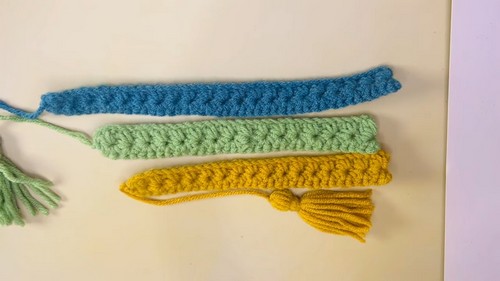
- Attaching the Tassel:
- Use the needle to thread the top part of the tassel yarn through the end of the bookmark.
- Secure it with a double knot.
- Weave in any remaining yarn ends neatly.
And that’s it! You have now created a star stitch bookmark with a tassel. Enjoy using it or gifting it to friends!