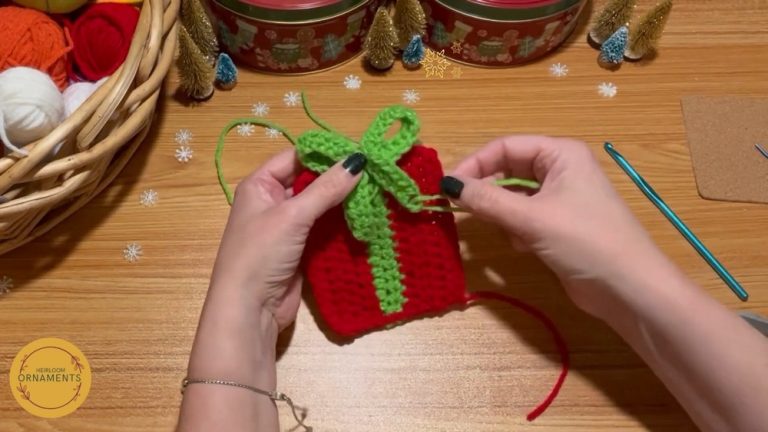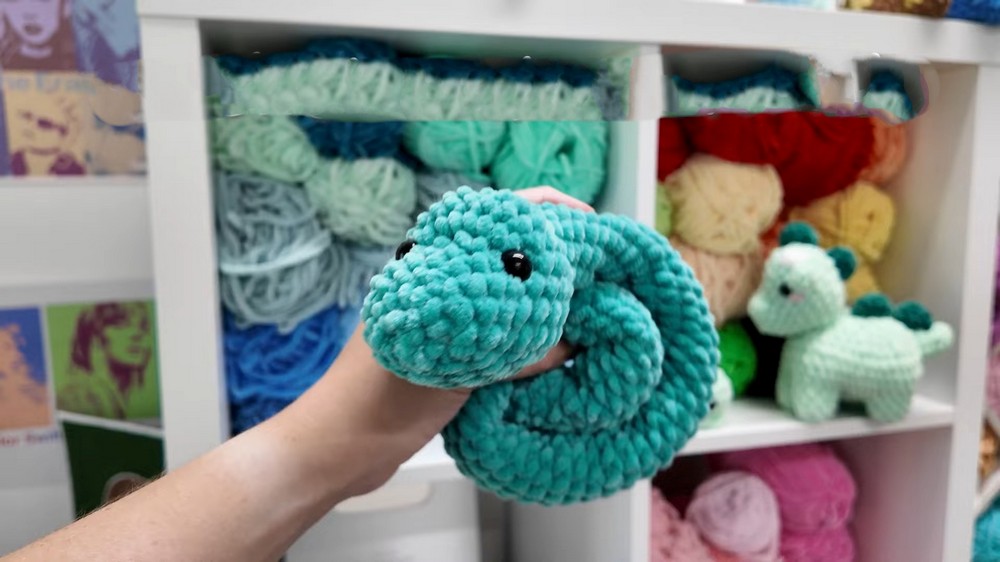
Crochet Snake Amigurumi Pattern For Handmade Gifts
In this crochet pattern, you’ll learn how to create an adorable snake plushy. The snake has a rounded head with safety eyes and a cute pink tongue. Its body can be as long as you like, allowing for a wiggly, flexible shape. This snake is perfect for a fun, handmade toy or a charming gift. The detailed steps ensure even beginners can follow along easily and create their very own squishy snake.

Why love this pattern?
- Step-by-Step Instructions: The video provides clear instructions for each step, including specific directions for rounds and stitch counts, which makes it easy for beginners to follow.
- Customizable: You can choose any color for your snake and also decide on the length, as the video suggests adjusting the number of rounds to your liking.
- Creative Touches: The addition of a tongue using pink yarn offers a cute, optional detail that can personalize the snake plushy.
- Educational: This tutorial demonstrates techniques like making a magic ring and performing increases and decreases, which can be beneficial for learning and improving crochet skills.

How To Crochet Snake Amigurumi Pattern
Materials Needed:
- 5 mm crochet hook
- Scissors
- Yarn needle
- 12 mm safety eyes
- Weight five yarn in your desired snake color (e.g., YarnArt Dolce)
- Pink yarn for the tongue (optional)
- Stuffing
Pattern:
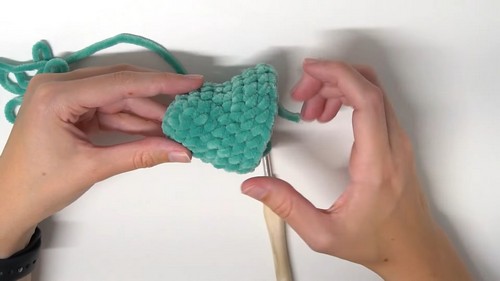
1. Starting the Snake Head:
- Make a magic ring using the two chain method (or your preferred method).
- Chain 2.
- Round 1: Make 6 single crochets (sc) into the first chain (magic ring).

2. Increasing the Head:
- Round 2: Do 6 increases (2 sc in each stitch) — total of 12 stitches.
- Place a stitch marker at the end of the round.
- Round 3: [2 sc, 1 increase] repeat 4 times — total of 16 stitches.
- Rounds 4-5: Single crochet around — maintain 16 stitches each round.
3. Shaping the Head:
- Round 6: [3 sc, 1 increase] repeat 4 times — total of 20 stitches.
- Round 7: 8 sc, 4 increases (at the center/top of the head), 8 sc — total of 24 stitches.
- Rounds 8-9: Single crochet around — maintain 24 stitches each round.
4. Decreasing the Head:
- Round 10: 8 sc, 4 decreases (at the center/bottom of the head), 8 sc — total of 20 stitches.
- Round 11: [3 sc, 1 decrease] repeat 4 times — total of 16 stitches.
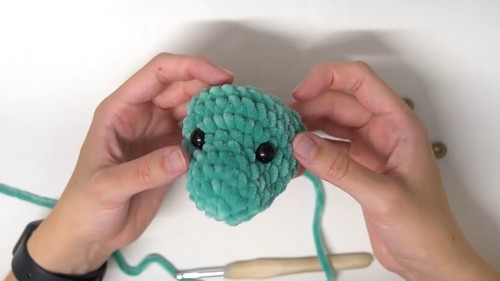
5. Adding Safety Eyes:
- Place safety eyes between rounds 6 and 7 on opposite sides of the head, where the most increases are.
- Secure with safety backs.
6. Further Decreasing:
- Round 12: 2 decreases, 12 sc — total of 14 stitches.
7. Stuff the Head:
- Firmly stuff the head before continuing. Add stuffing around every 8 rounds.
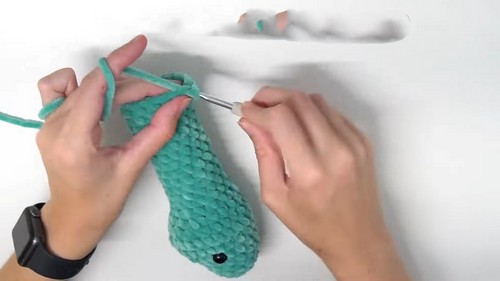
8. Forming the Body:
- Rounds 13-62: Single crochet around — maintain 14 stitches each round (adjust length as desired).
9. Finishing the Tail:
- Round 63: [5 sc, 1 decrease] repeat 2 times — total of 12 stitches.
- Rounds 64-65: Single crochet around — maintain 12 stitches each round.
- Round 66: [2 sc, 1 decrease] repeat 4 times — total of 8 stitches.
- Rounds 67-68: Single crochet around — maintain 8 stitches each round.
- Round 69: [2 sc, 1 decrease] repeat 2 times — total of 6 stitches.
- Rounds 70-71: Single crochet around — maintain 6 stitches each round.
10. Final Decrease and Closing:
- Round 72: [1 sc, 1 decrease] repeat 2 times — total of 4 stitches.
- Leave a tail to sew the end shut. Pull through to finish off. Add final stuffing.
11. Closing the Tail:
- Use the yarn needle to sew the end shut by going through the front loops of the last stitches.
- Weave in the tail, bring it through a couple of times, and then cut off.
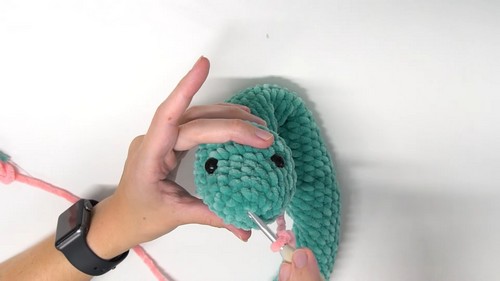
Optional: Adding a Tongue
- Use pink yarn to make a slip knot with a long tail.
- Slip stitch into the center of the magic ring and one stitch above.
- Chain 5.
- Single crochet into the 4th and 3rd chain (5th chain is the turning chain).
- Chain 2 again and single crochet into the 1st chain.
- Three single crochets back down into the two chains at the bottom and a spot in the work.
- Slip stitch back into the initial magic circle area.
- Pull through and cut off the tail. Weave in tails and tie them together, then tuck inside.
Final Touches:
- Adjust any final stuffing as needed.
- Your crochet snake plushy is now complete!
This comprehensive guide should help you create the snake plushy just as shown in the video. Happy crocheting!