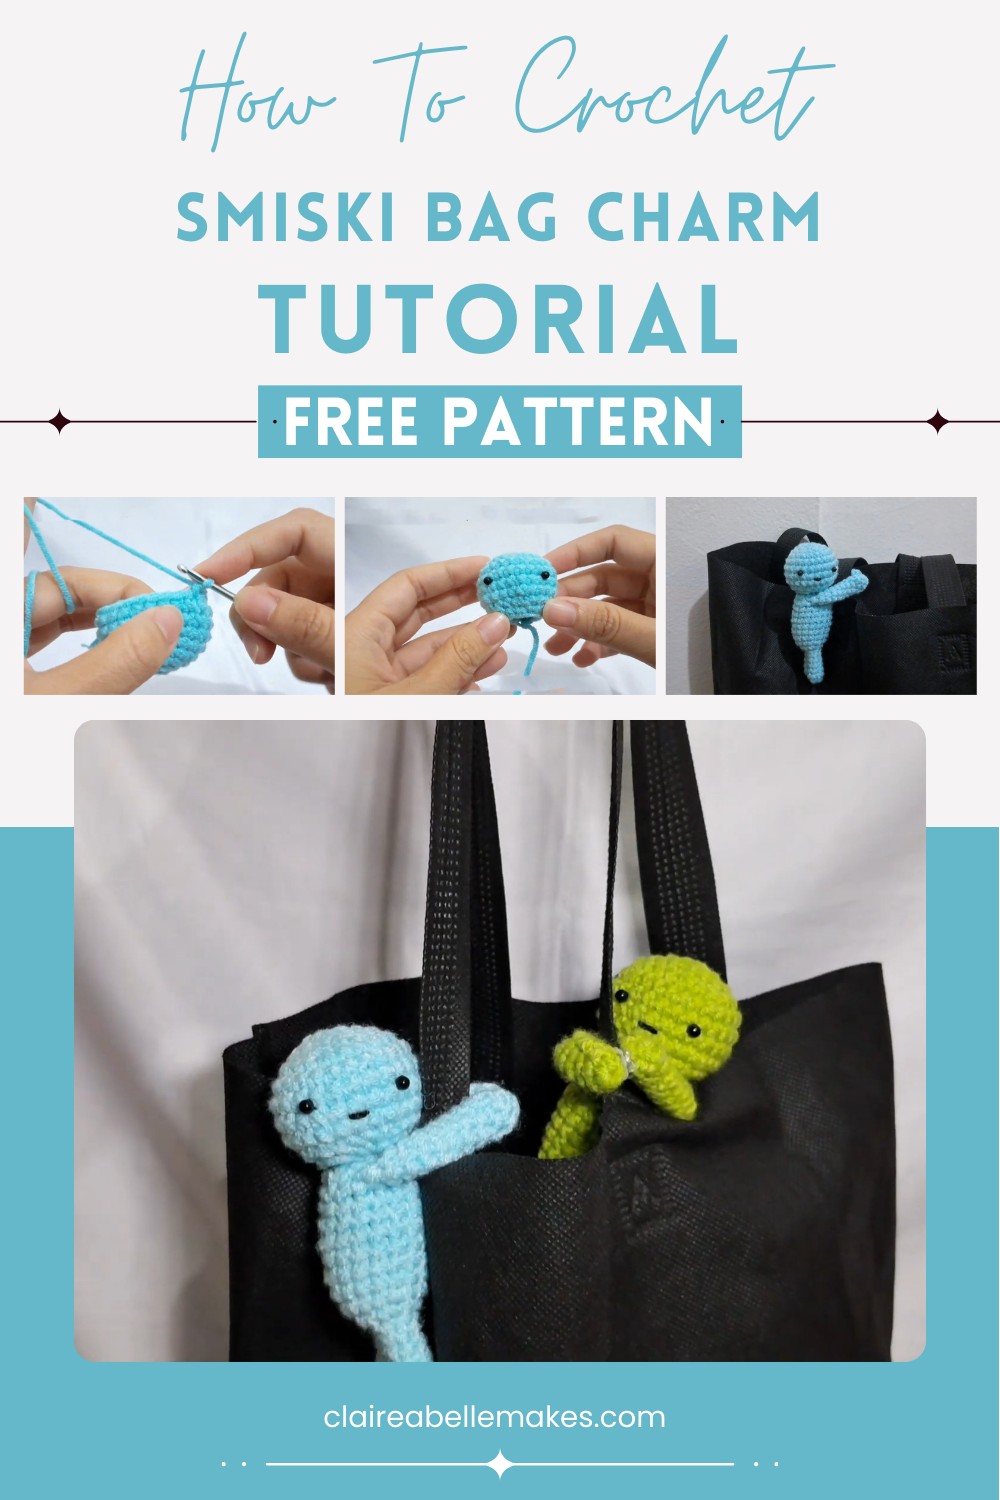
Crochet Smiski Bag Charm Pattern For Handmade Gift Idea
Meet the Crochet Smiski Bag Charm, a cute ghost-like accessory for your bag or keys. Perfect gift for lovers of unique crochet projects!
Crochet Smiski Bag Charm
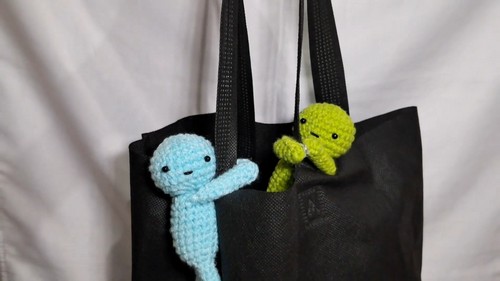
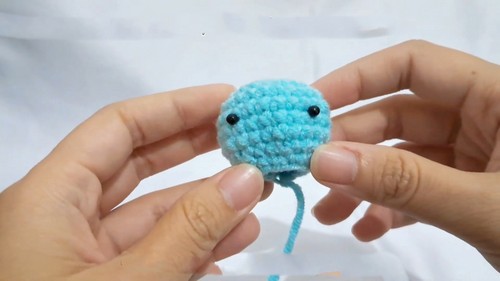
A little mystery and a lot of cuteness, meet the Crochet Smiski Bag Charm! This tiny, ghost-like charm is soft, lightweight, and perfect for adding a playful touch to your bag or keys. With its round head, tiny arms, and curved body, it has an adorable yet spooky look. Whether you attach it to a backpack, purse, or keychain, this charming little figure stands out. It’s a simple, creative crochet project and a great gift for anyone who loves cute and unique accessories.
Why love this pattern?
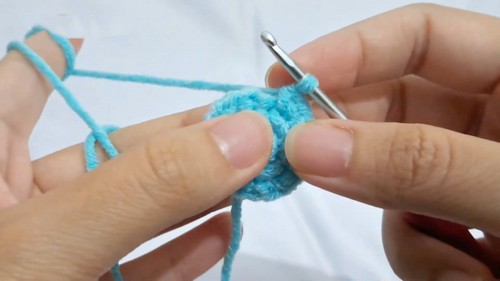
- Ease of Execution:
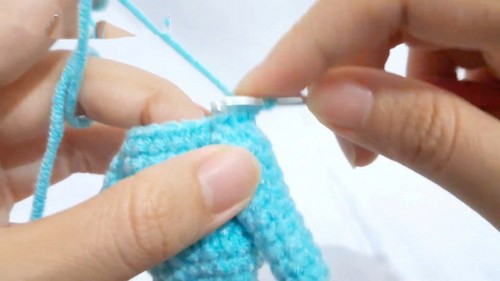
- The pattern is demonstrated step-by-step, starting from a magic ring and progressing through single crochet and increase/decrease stitches, making it suitable for beginners and intermediate crafters.
- Clarity and Guidance:
- The video provides clear instructions and close-up views of important steps, such as creating magic rings, single crochets, and decreases, ensuring viewers can follow along easily.
- Satisfying End Result:
- The end result is a charming Smiy P charm that you can attach to various items, providing a sense of achievement and a functional product at the end.
- Creativity and Personalization:
- There are options to customize the finished product, like the direction the head faces, making it a creative and personal project.
How To Crochet Smiski Bag Charm
Materials Needed:
- Yarn
- Crochet hook
- Stuffing
- Safety eyes
- Snap fastener
- Scissors
- Needle for weaving ends
Abbreviations:
- MR: Magic Ring
- SC: Single Crochet
- INC: Increase (2 SC in the same stitch)
- DEC: Decrease (single crochet 2 stitches together)
- CH: Chain
- SLST: Slip Stitch
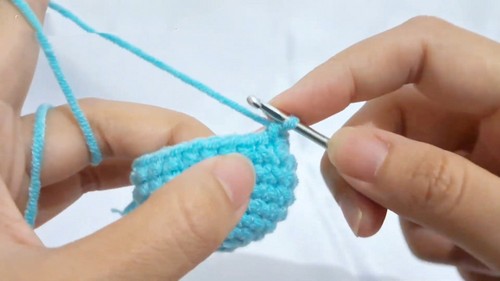
Head:
- Round 1:
- Make a Magic Ring (MR).
- 6 SC in MR. (6)
- Round 2:
- CH 1, (INC) around. (12)
- SLST to the first stitch to join.
- Round 3:
- CH 1, (SC in next stitch, INC in next stitch) around. (18)
- SLST to the first stitch to join.
- Round 4:
- CH 1, (2 SC, INC) around. (24)
- SLST to the first stitch to join.
- Rounds 5 to 8:
- CH 1, SC in each stitch around. (24)
- SLST to join each round.
- Round 9:
- CH 1, (2 SC, DEC) around. (18)
- SLST to join.
- Round 10:
- CH 1, (SC, DEC) around. (12)
- SLST to join.
- Finish off, leaving a long tail for sewing.
Note: Insert safety eyes between rounds 6 and 7 and stuff the head
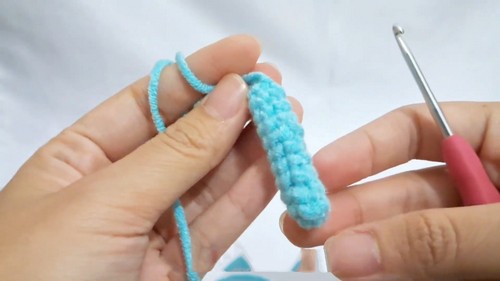
Arms: (Make 2)
- Round 1:
- Make a Magic Ring (MR).
- 6 SC in MR. (6)
- Rounds 2 to 10:
- CH 1, SC in each stitch around. (6)
- SLST to join each round.
- Finish off and weave in the ends.
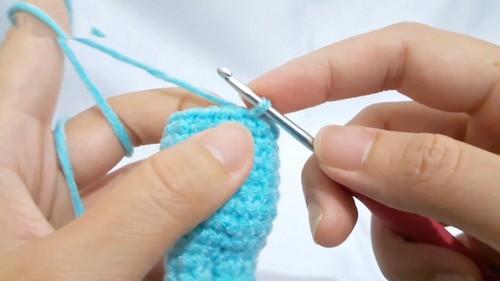
Legs: (Make 2)
- Round 1:
- Make a Magic Ring (MR).
- 6 SC in MR. (6)
- Rounds 2 to 6:
- CH 1, SC in each stitch around. (6)
- SLST to join each round.
- Leg 1:
- Finish off and weave in the ends.
- Leg 2:
- Do not finish off.
- Continue to Round 7.
Combining Legs:
- Round 7:
- CH 1, 6 SC in Leg 2, 6 SC in Leg 1 to join both legs. (12)
- Round 8:
- CH 1, (SC, INC) around. (18)
- SLST to the first stitch to join.
- Rounds 9 to 15:
- CH 1, SC in each stitch around. (18)
- SLST to join each round.
Attaching Arms to Body:
- Round 16:
- CH 1, 4 SC.
- Attach the first arm using 3 SC.
- 6 SC.
- Attach the second arm using 3 SC.
- 2 SC to finish the round.
- SLST to the first stitch to join.
Closing the Body:
- Round 17:
- CH 1, (SC, DEC) around. (12)
- SLST to join.
- Round 18:
- CH 1, DEC around. (6)
- SLST to join.
- Finish off, leaving a long tail for sewing.
- Stuff the body.
Assembly:
- Sew the head to the body.
- Sew the arms to the sides of the body.
- Attach snap fasteners to the arms. It is recommended to sew the snap fasteners rather than using glue for better durability.
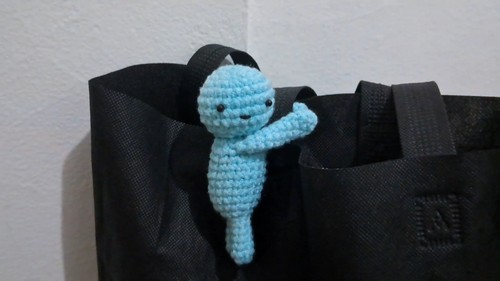
Your Smiy Back Charm is now complete! Enjoy your crochet project.