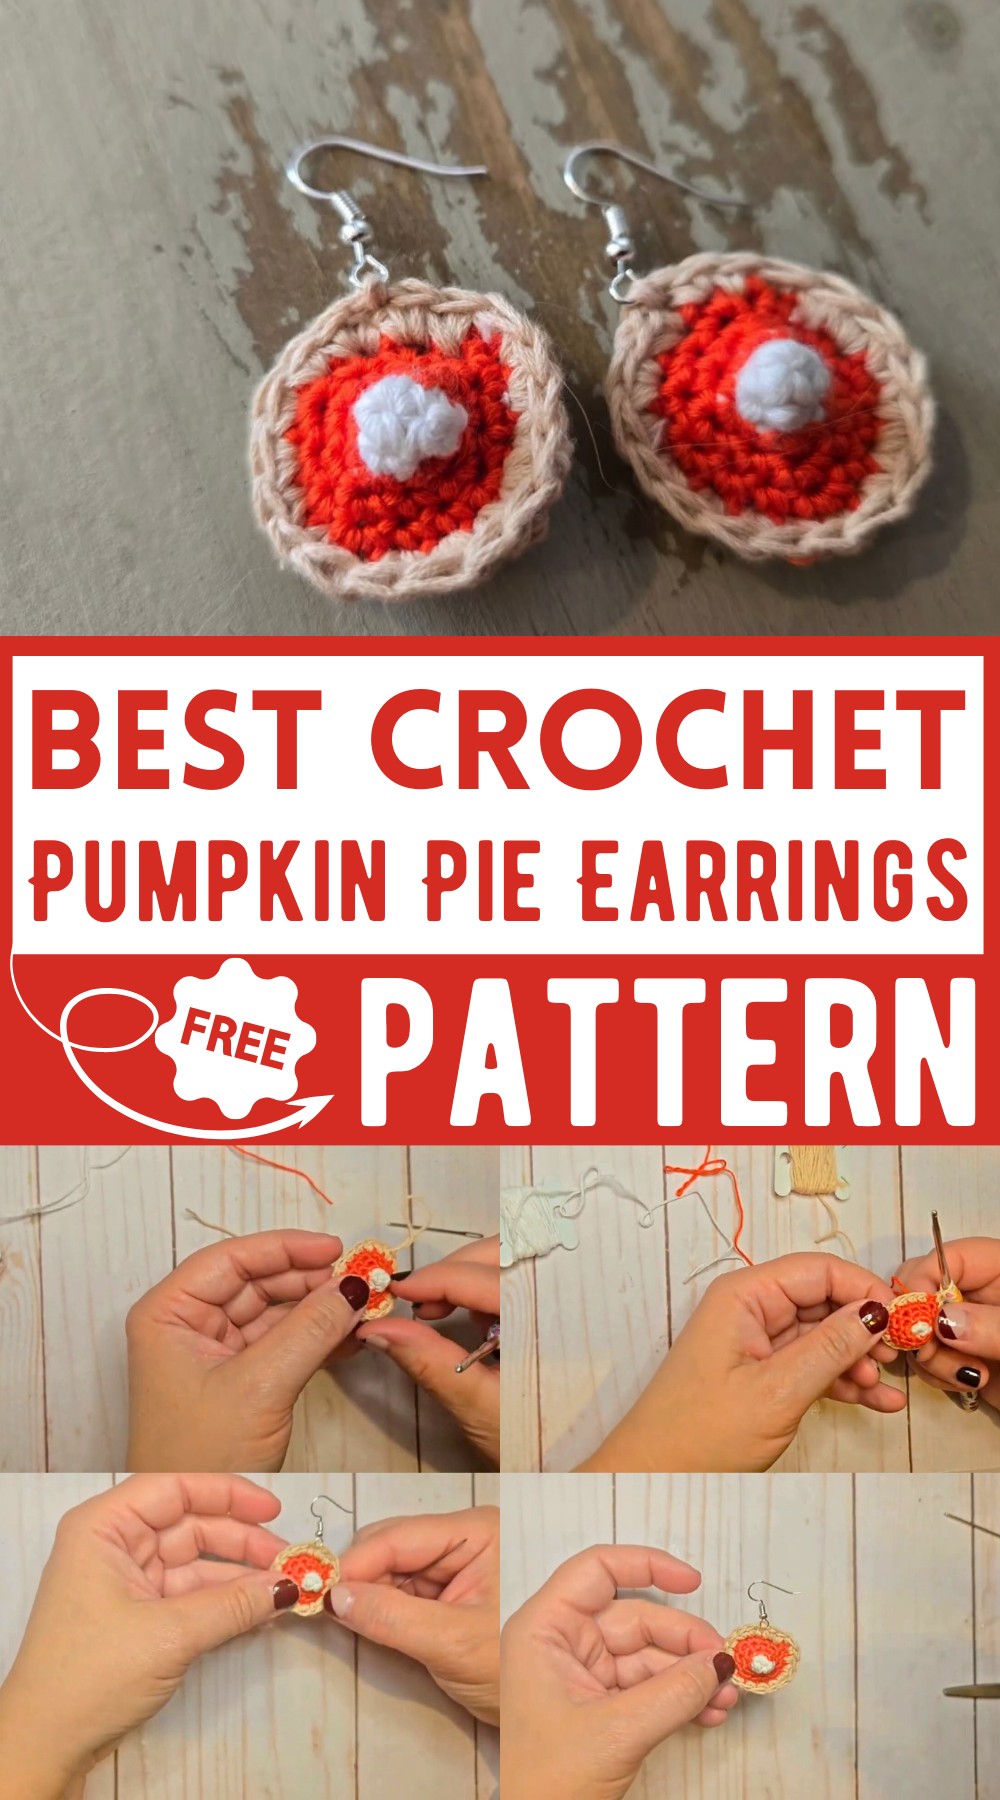
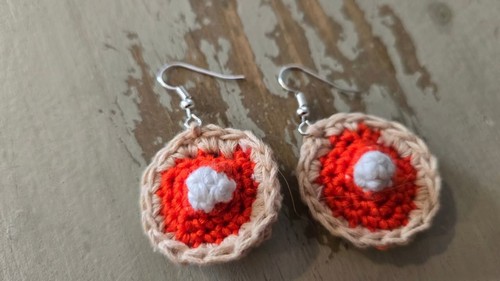
Crochet Pumpkin Pie Earrings Pattern (DIY Fall Fashion)
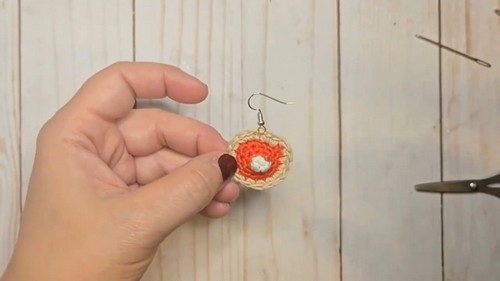
Transform your Thanksgiving look with Crochet Pumpkin Pie Earrings. These adorable and quirky accessories are easy to make, taking only 30 minutes. Featuring creamy white Cool Whip and a layered, vibrant orange pie filling, each little pie is topped with a neatly crocheted beige crust. The festive crochet pattern effortlessly supports creativity, allowing you to turn this sweet treat into earrings or even a necklace. Enjoy crafting and wearing something uniquely delightful, sure to be a conversation starter at any fall gathering.
Why Love This Pattern?
- Festive and Themed: The design is perfect for Thanksgiving, allowing you to celebrate the holiday with a fun and thematic accessory.
- Versatile Usage: The pattern can be adapted to create not only earrings but also a necklace, providing options depending on your preference or need.
- Creative Customization: The pattern allows for creativity, as you can choose different shades of orange and even modify how the crust looks.
- Charming Visual Appeal: The end product is described as cute and fun, with a charming visual appeal that makes for a delightful accessory.
How To Crochet Pumpkin Pie Earrings
Materials:
- Crochet floss (colors: bright orange, cream/beige, white)
- Crochet hook (2.7mm)
- Scissors
- Needle
- Earring hooks
Instructions:
- Cool Whip (White Part):
- Start by making a magic ring or chain 2 and work into the first stitch.
- Round 1: Place 4 single crochets (sc) into the magic ring.
- Pull tight to close the magic ring.
- Slip stitch into the first stitch to complete the round.
- Round 2: Place 1 sc in each stitch around (4 sc).
- Round 3: Change to orange color for the pumpkin pie.
- Pumpkin Pie (Orange Part):
- Pull the orange yarn through and make sure it’s tight.
- Round 3: Place 2 sc in each stitch around for a total of 8 sc.
- Round 4: Increase round. Place 1 sc in the first stitch, 2 sc in the second stitch, repeat (1, 2) for a total of 12 sc.
- Round 5: Increase round. Place 1 sc in the first two stitches, 2 sc in the third stitch, repeat (1, 1, 2) for a total of 16 sc.
- Change to beige color for the crust.
- Crust (Beige Part):
- Pull the beige yarn through.
- Round 6: Place 1 sc in each stitch around for a total of 16 sc.
- At the end of the round, match the stitches to avoid gaps.
- Begin decrease rounds:
- Decrease round: 2 sc together, 1 sc, repeat all the way around.
- Cut the orange and white yarn.
- Push the ends in and secure if necessary.
- Finishing Touches:
- If desired, add a few more single crochet stitches to ensure it lays flat.
- Leave a tail and pull through the last loop to secure.
- To give the pie an edge, you can slip knot with beige and make a single crochet into each stitch around.
- Slip stitch into the top stitch to finish and cut the thread.
- Use the existing yarn or string to attach the earring hook. Use a thinner needle if necessary. Knot it several times through the earring hoop to secure.
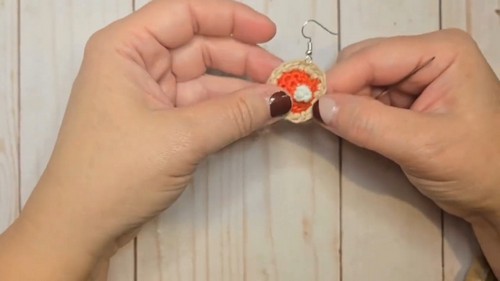
- Earring Assembly:
- Make sure the earring hook faces the right way so the pumpkin pie sticks out.
- Attach the hook by threading the yarn through the hook and the back, then knot securely.
- Cut any excess yarn and ensure the hook is securely attached.
Repeat the process to make the second earring. These adorable pumpkin pie earrings take approximately 30 minutes to complete both.
Enjoy wearing your new handmade pumpkin pie earrings for Thanksgiving!