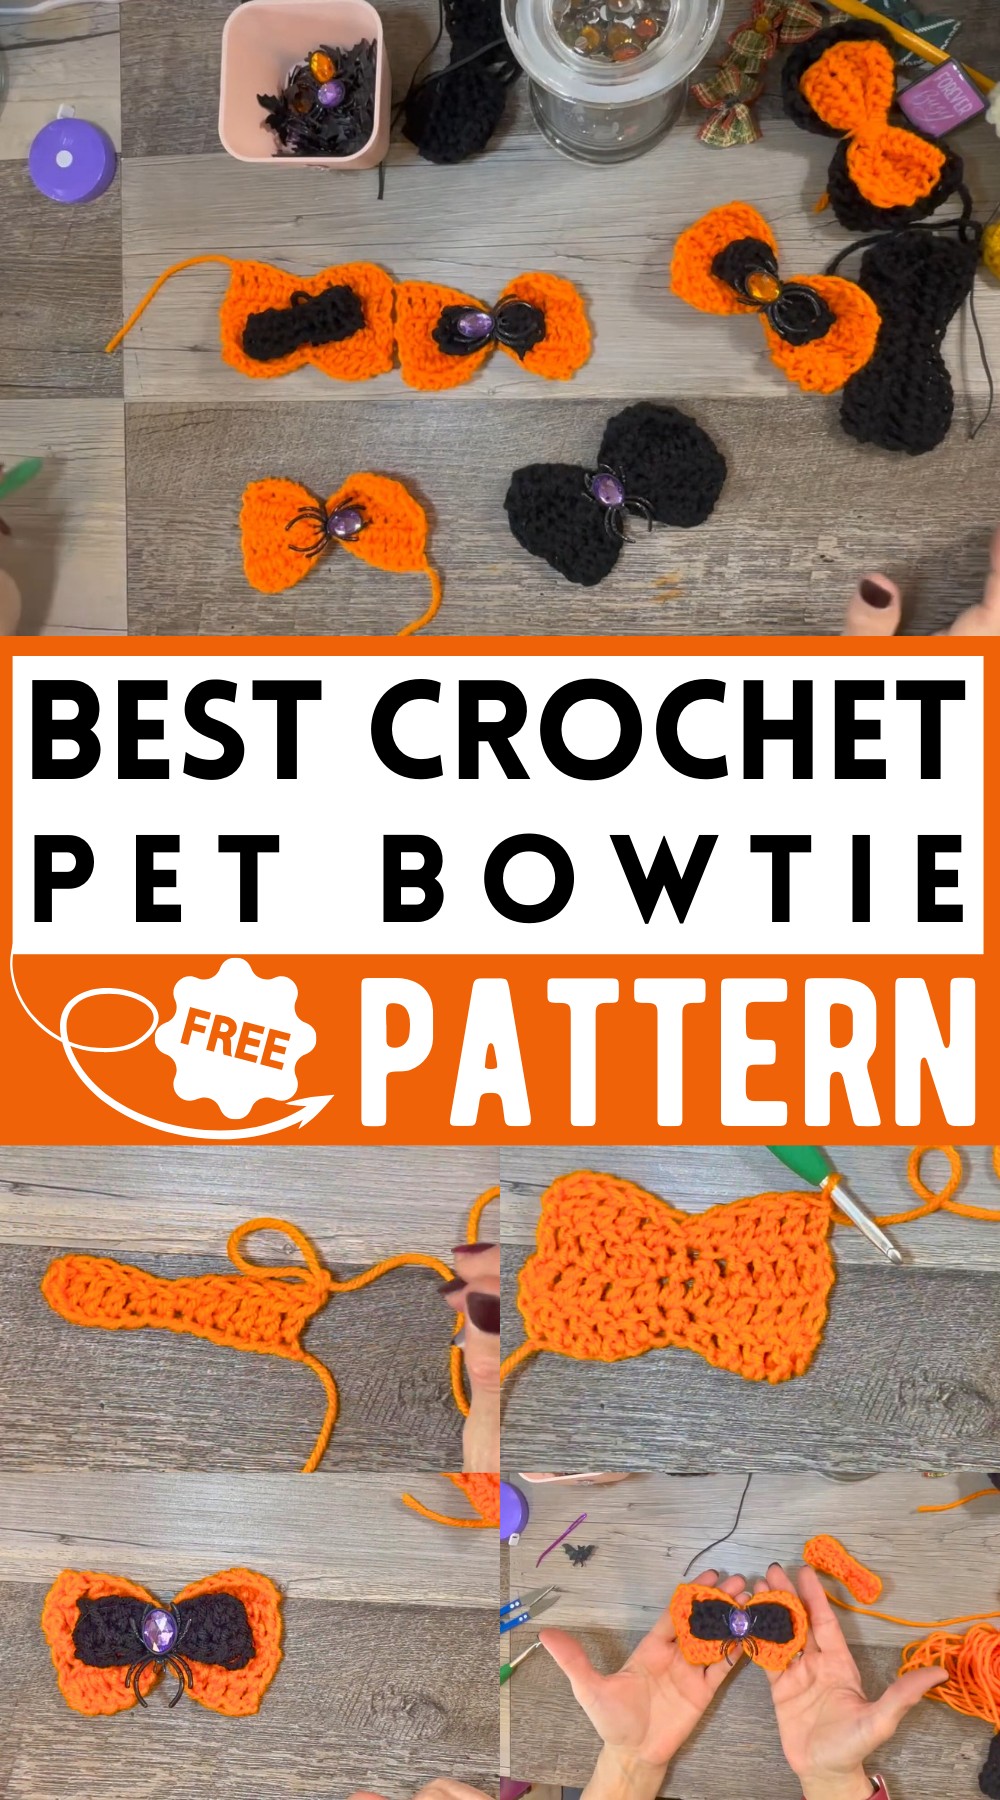
Crochet Pet Bowtie Pattern For Halloween Parties
Making your pet look adorable is a breeze with the Crochet Pet Bowtie Pattern! This fun and easy-to-follow pattern lets you create a charming bowtie for your pet. Using simple stitches, you can crochet a bowtie that is both cute and stylish. The pattern features double crochets and half double crochets to build a bow shape that can be embellished with gems or mini crochet decorations. It looks great on any pet and can make their outfit pop. Perfect for holidays, photos, or just a fun day out, this bowtie is a delightful project anyone can do!
Why Love This Pattern?
- Simplicity and Versatility: It’s a straightforward crochet pattern that, once learned, can be used for various playful and decorative purposes. The speaker uses it to make “spookies,” which suggests its versatility for themed crafts.
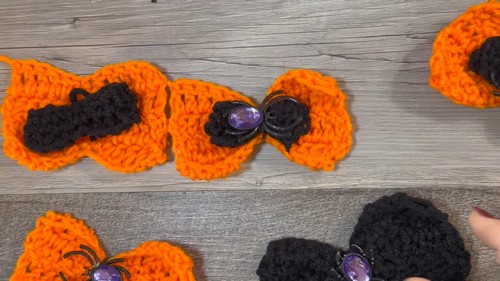
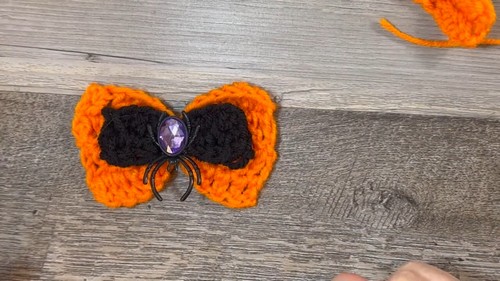
- Creativity and Personalization: The pattern allows for creativity and personal touches. You can add embellishments like spider or bat rings, skulls, gems, pearls, or any other decorative elements to customize the final product.
- Ease of Acquisition and Budget-Friendly: Most of the materials mentioned, such as yarn and decorative rings, are available at stores like Dollar Tree and Hobby Lobby, making it accessible and affordable for most people.
How Crochet Pet Bowtie
Materials Needed:
- Red Heart Super Saver yarn (4 ply)
- I (5.5mm) crochet hook
- Scissors
- Tapestry needle
- Optional decorations: spider or bat rings, gems, flat-back pearls
- Hot glue gun or adhesive
Step-by-Step Crochet Pattern:
Step 1: Prepare and Gather Supplies
- Gather all necessary materials.
- Make a slip knot on your crochet hook.
Step 2: Create the Foundation Chain
- Chain 13:
- Yarn over and pull through (this counts as 1 chain).
- Repeat 12 more times to get a total of 13 chains.
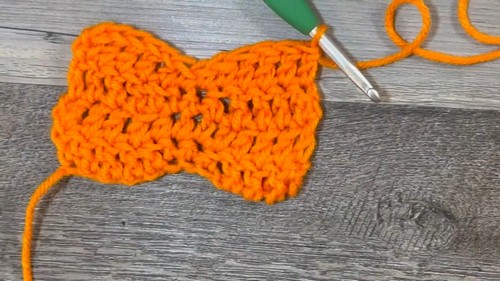
Step 3: First Row
- Double Crochet (dc) in the 2nd chain from the hook:
- Yarn over and insert your hook into the 2nd chain.
- Yarn over and pull up a loop (you will have 3 loops on your hook).
- Yarn over and pull through the first two loops on your hook.
- Yarn over again and pull through the last two loops.
- Double Crochet (dc) in the next 3 chains (total of 4 dc in the first 4 chains).
- Half-Double Crochet (hdc) in the next chain:
- Yarn over, insert your hook into the next chain, and pull up a loop (3 loops on the hook).
- Yarn over and pull through all three loops.
- Single Crochet (sc) in the next 2 chains:
- Insert your hook into the next chain and pull up a loop.
- Yarn over and pull through both loops.
- Half-Double Crochet (hdc) in the next chain.
- Double Crochet (dc) in the last 4 chains.
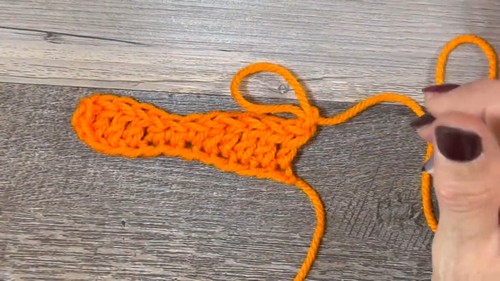
Step 4: Subsequent Rows
- Chain 1 and turn your work.
- Repeat the following pattern:
- 4 dc in the next 4 stitches.
- 1 hdc in the next stitch.
- 1 sc in the next 2 stitches.
- 1 hdc in the next stitch.
- 4 dc in the next 4 stitches.
- Chain 1 and turn after every row.
- Repeat this pattern for a total of 4 rows.
- Cut the yarn and pull through the loop to fasten off.
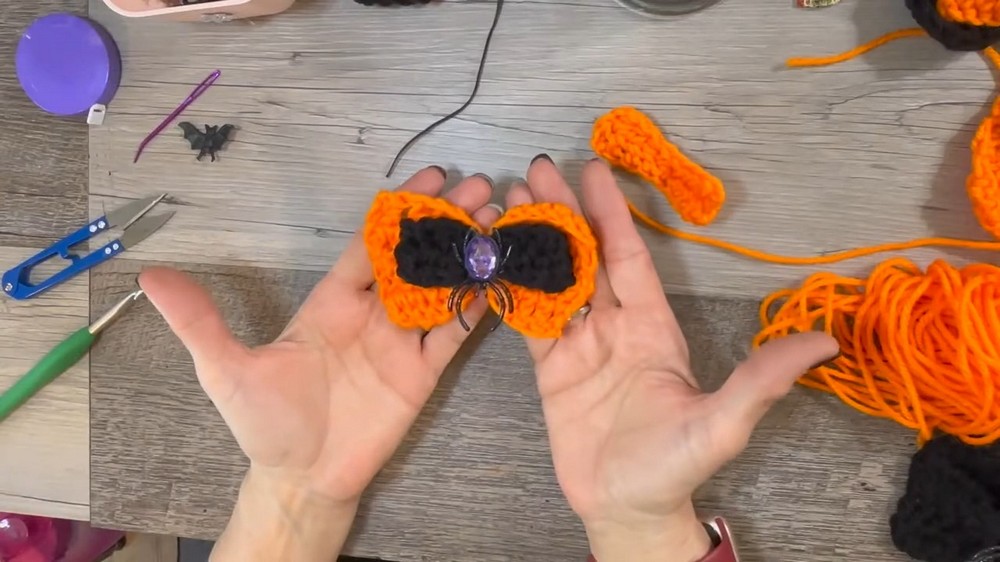
Step 5: Finishing Touches
- Use the tapestry needle to weave in any loose ends.
- Optionally, you can use the hot glue gun to decorate with spider rings, bats, or any other gem embellishments.
- Fasten any decorations to the crochet piece.
Optional: Small Version
- Chain 9.
- Skip the first chain and repeat the smaller version:
- Half-Double Crochet (hdc) in the next 3 chains.
- Single Crochet (sc) in the next 2 chains.
- Half-Double Crochet (hdc) in the next 3 chains.
- Chain 1 and turn.
- Repeat this small pattern for 2 rows.
- Cut the yarn and pull through the loop to fasten off.
- Use the tapestry needle to weave in any loose ends.
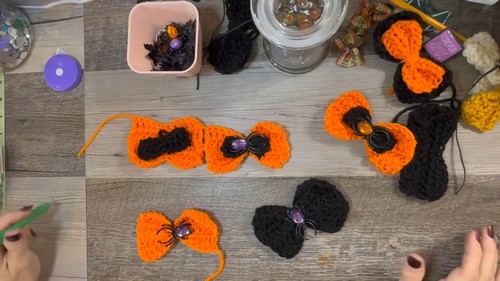
Adding Decorations:
- Layer the small and large crochet pieces if desired.
- Secure with a dab of glue (optional).
- Decorate with gems, spiders, or bats.
Final Adjustments
- It’s suggested to use elastic or ribbon to tie the finished piece around.
- Make knots to secure the decorations or elastic.
Feel free to refer back to specific steps as needed!