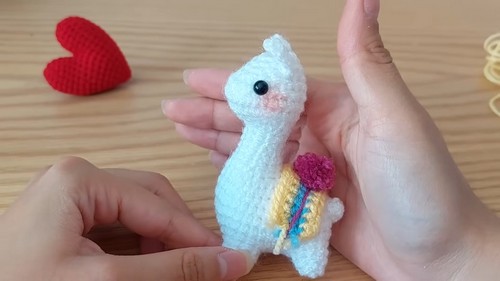
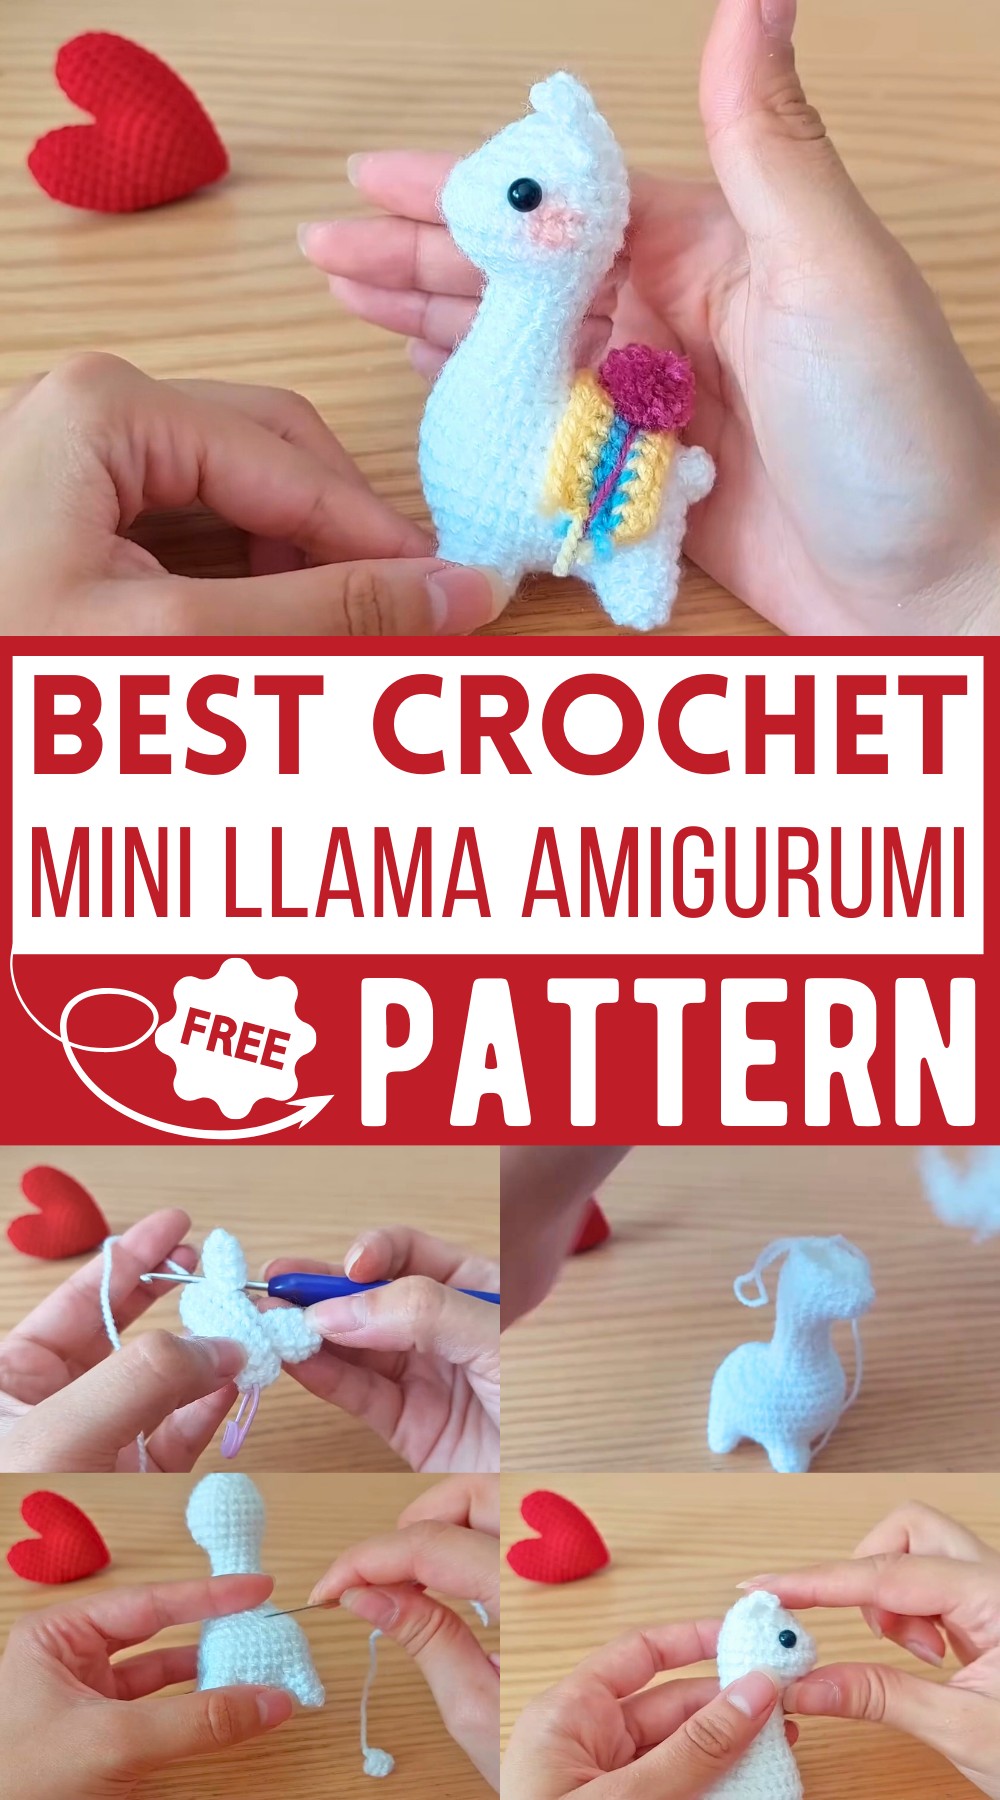
Crochet Mini Llamita Amigurumi Pattern Free
This super cute Crochet Mini Llamita Amigurumi Pattern is easy and colorful, making crafting a delight! You only need some yarn in white and three other bright hues to create fun ornaments. The llama has adorable ears, a little tail, and four tiny legs. The crochet amigurumi pattern even suggests adding eyes and a bit of blush for extra charm. Perfect for creating gifts or a cute decoration, this pattern is simple yet impressive, making it a delightful crochet project!
How To Crochet Amigurumi Llamita
Materials Needed
- White yarn (or your preferred color) and three extra colors for the ornaments (e.g., yellow, blue, bright pink).
- Two 6-millimeter eyes.
- A little bit of blush or shadow.
- Stuffing material.
- 3-millimeter crochet hook.
- Yarn needle.
Final Measurements
- The size of the final llama is approximately 8 centimeters from the legs to the head.
Steps to Crochet the Llama
Legs (Make 4)
- Start with a Magic Ring: Create a magic ring with 3 single crochets (sc).
- Increase Round: Work an increase (inc) in each stitch around to total 6 sc.
- Next Round: Work 2 sc, then an increase, repeating twice to obtain 8 sc.
- Final Round for Leg: Work 8 sc around. Cut and fasten off the yarn.
Body
- Foundation Chains: Start with 9 chains.
- Row 1 of Body: Chain 1 more to lift the fabric and make 9 sc across.
- Rows 2 and 3: Repeat making 9 sc in each row.
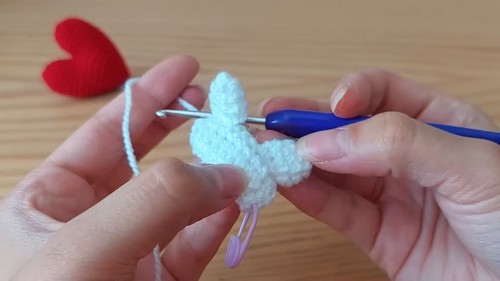
- Connecting the Legs:
- Chain 1 to lift fabric and sc on the short side of your rectangular piece, making 4 sc.
- Join the first leg by passing the hook through the middle outward and then through the next corner stitch of the base piece, securing with a sc. Repeat for 3 more stitches to join.
- Continue with 3 sc on the base piece and repeat the joining process for the other three legs.
- Round Completion: After connecting all four legs, the round should have 26 stitches.
- Next Rounds:
- Round 1: 4 sc, 5 sc on the leg, 3 sc between legs, repeat with 5 sc on the next leg, 4 sc on the base, and again 5 sc on the last leg, completing the round.
- Round 2: Work 5 increases, 28 sc, and 1 increase for a total of 40 sc.
- Rounds 3-5: Work 40 sc in each round.
Forming the Body Shape
- Round 1: Work 15 sc, decrease 8 times, and then 9 sc. (Total 32 stitches)
- Round 2: Work 11 sc, decrease 8 times, and then 5 sc. (Total 24 stitches)
- Round 3: Work 7 sc, decrease 8 times, and then 1 sc. (Total 16 stitches)
- Stuffing: Begin to stuff the legs and body.
- Rounds for Narrowing:
- Round 4: 2 sc, decrease, repeat 4 times for 12 stitches.
- Rounds 5-6: Work 12 sc in each round.
- Round 7: 4 sc, decrease, repeat 2 times to have 10 stitches.
- Rounds 8-9: Work 10 sc in each round.
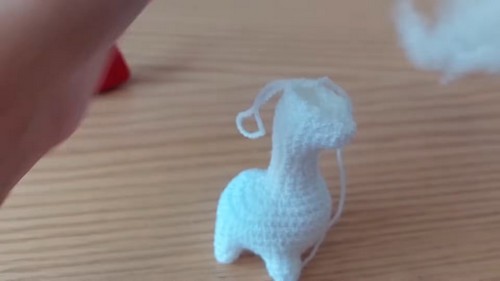
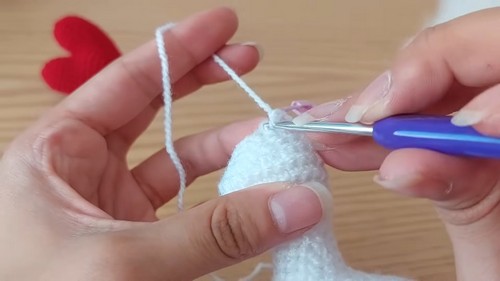
Head
- Starting Head Shape:
- Round 1: 5 increases, 5 sc (15 stitches).
- Round 2: 2 sc, 5 increases, 8 sc (20 stitches).
- Round 3: 4 sc, 8 increases, 8 sc (28 stitches).
- Round 4: Work 28 sc.
- Round 5: 7 sc, 4 decreases, 13 sc (24 stitches).
- Round 6: 2 sc, 8 decreases, 6 sc (16 stitches).
- Round 7: 2 sc, decrease, repeat 4 times to obtain 12 stitches.
- Round 8: Work 12 sc.
- Fill as necessary.
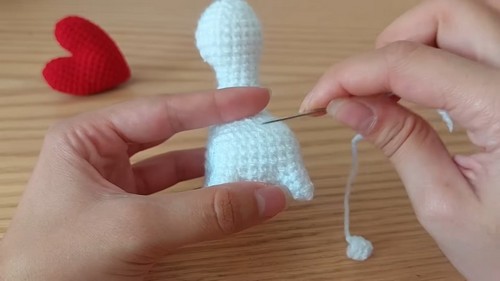
- Final Round: Work a stitch, decrease, repeat 4 times to reach 8 stitches. Close off using a yarn needle to thread through the front loops of these stitches and pull tight. Secure with a couple of knots.
Ears (Make 2)
- Foundation: Chain 4.
- Ear Row: Chain 1 to lift, make 1 slip stitch (sl st), and 3 sc.
Tail
- Start with a Magic Ring: Work 3 sc into the ring.
- Increase Round: Increase in each stitch to have 6 sc.
- Final Round: Work 6 sc around. Leave a long tail to sew it to the body.
Decorations
- Back Decoration:
- Make 14 chains.
- Chain 1 more and sc 14 across.
- Change colors and make two rows of 14 sc for each color.
- Use yarn to make tassels on the edge by passing through the stitches and trimming to desired length.
- Pom-poms: Make small pom-poms with leftover yarn and leave two long strands to tie onto the back decoration.
Assembly
- Tail: Sew the tail onto the back of the body.
- Ears: Attach ears between round 2 and 3 on the head, counting from top to bottom.
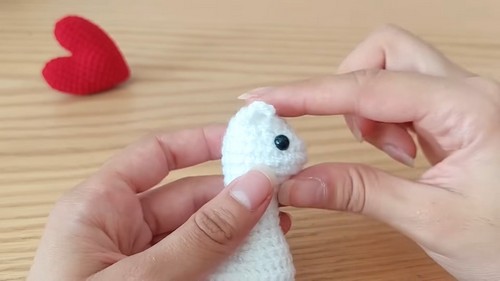
- Eyes: Glue or attach safety eyes between round 5 and 6 of the head.
- Back Decoration: Place on the back and tie the pom-pom in the center.
Final Touch
- Blush on Cheeks: Apply a bit of blush or pink eyeshadow on the cheeks for a cute effect.
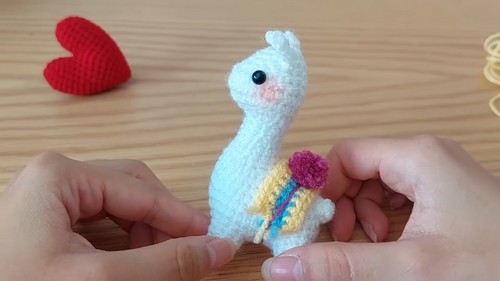
Finished Llama
You have now completed your crochet llama! Enjoy your handmade creation and feel free to make additional ornaments or adjustments to personalize your llama.