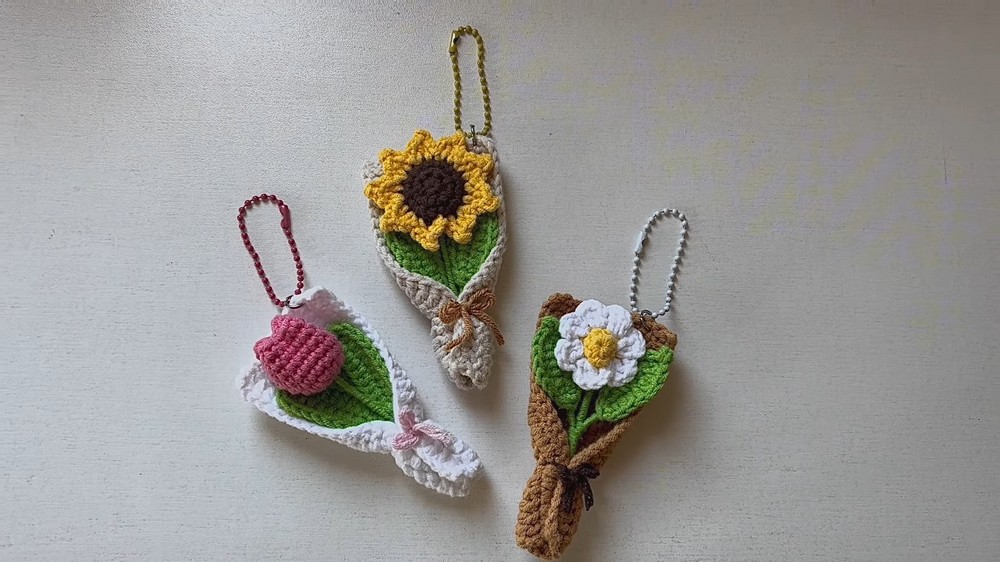
Crochet Mini Flower Bouquet Keychain For Spring Gifts
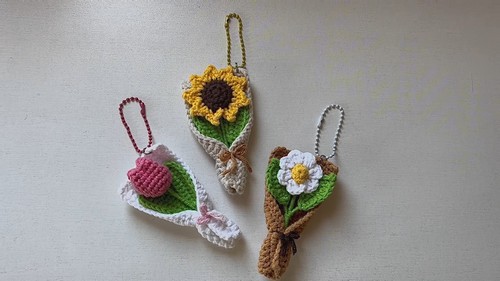
Spring is coming and what’s a better way of gifting than giving a little flower bouquet of their favorite flowers that they can add to their daily life items, like keys, bags, water bottles, and other crafts? This pattern is all about creating a cute little bouquet of different flowers with yarn and hook only!
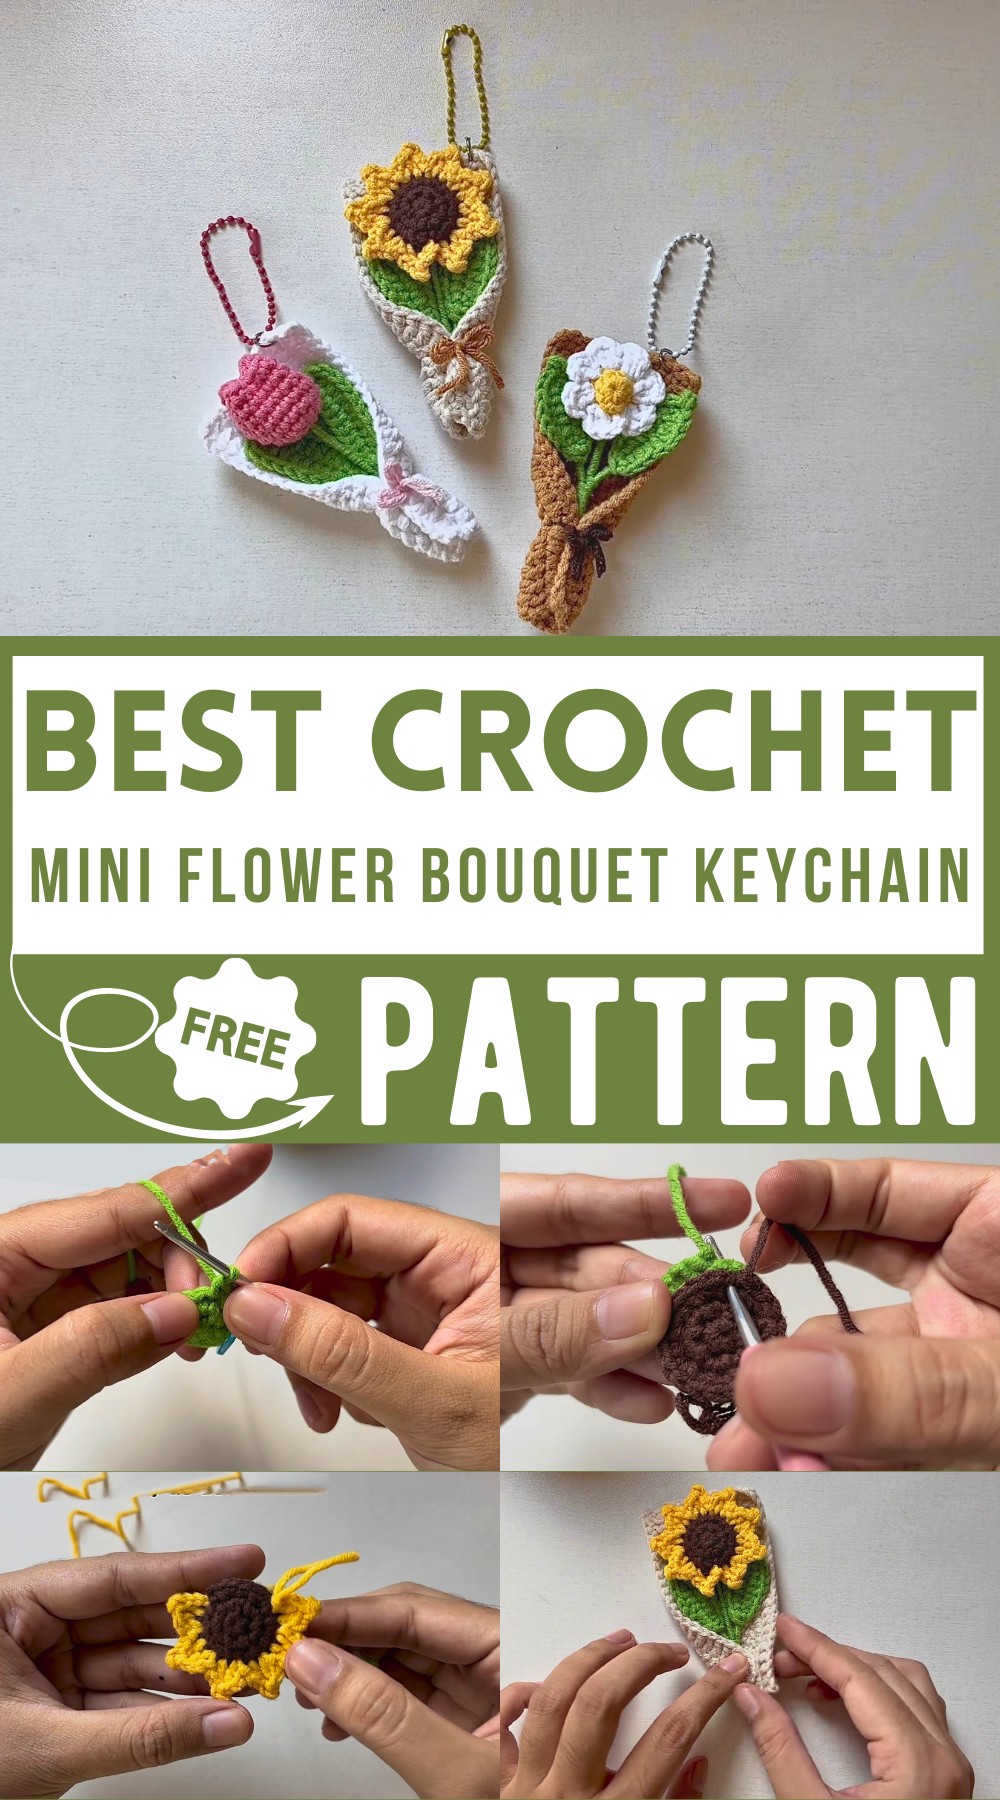
This pattern has vibrant and colorful designs, perfect for making life more cheerful. You can create flowers in various shapes like roses, daisies, and tulips. They look cute and can be used for different things, such as keychains, bag charms, and pretty decorations. Easy to make, these floral patterns add a touch of spring beauty to every little thing!
Step by step Mini Flower Bouquet Pattern
Materials Needed
- Milk Cotton Yarn
- 2.5 mm Crochet Hook
- Wire (1 to 1.5 mm thick)
- Yarn Needle
- Stitch Marker
- Glue (optional)
Sunflower Pattern
Center of the Sunflower
- Magic Ring
- Make a magic ring.
- Make 6 single crochets (sc) into the magic ring.
- Pull the yarn tail to close the ring.
- Slip stitch (sl st) with the first stitch and chain 1.
- Round 2
- Single crochet at the same stitch as the slip stitch.
- Mark the first stitch with a stitch marker.
- Make an increase (2 sc in one stitch) in the next stitch.
- Repeat the increase pattern 5 more times (total 6 increases).
- Slip stitch with the first stitch and chain 1.
- Round 3
- Single crochet in the same stitch as the slip stitch.
- Mark the first stitch with a stitch marker.
- Alternate 1 single crochet and 1 increase around (total 6 times).
- Slip stitch with the first stitch and do not chain one; cut the yarn.
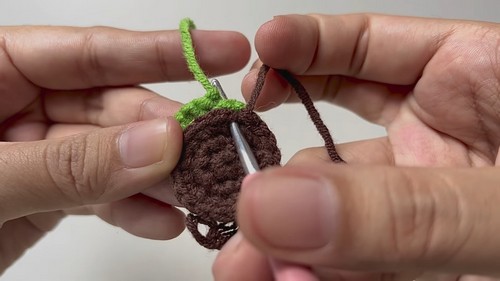
- Assembling the Center
- Duplicate the above steps with dark brown yarn.
- Overlap the green and brown circles with right sides facing out.
- Insert the hook through both pieces to join them.
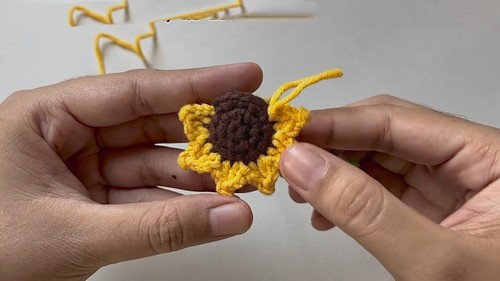
Petals
- Yellow Petal Yarn
- Insert the hook through the same space as the last slip stitch of the joined circles.
- Pull through the yellow yarn and chain 2.
- Petal Formation
- Double crochet (dc) in the next stitch.
- Chain 2, slip stitch into the center of the double crochet.
- Repeat for the next 8 stitches to create 9 petals.
- Finishing Petals
- Slip stitch to join to the first stitch.
- Cut and hide the yarn tails.’
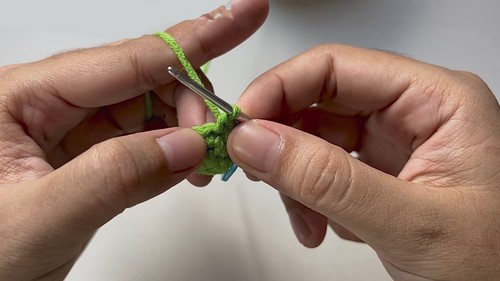
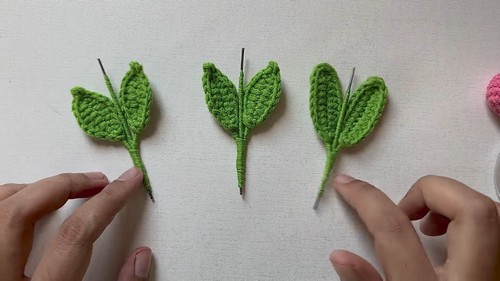
Leaves
- Starting Leaves
- Make a slip knot and chain 9.
- Starting from the second chain from the hook, single crochet (sc).
- Inserting Wire
- Before pulling through, place the wire to make the leaf stiff.
- Make half double crochets (hdc) in the next 7 chains, double crochet (dc) in the next 2 chains.
- Mirror the same steps on the other side of the chain.
- Finishing Leaves
- Slip stitch to join and cut the yarn.
- Wrap the stem with yarn and glue the end.
Assembly
- Stems
- Cut wire to desired length (approx. 7 cm).
- Wrap the wire with green yarn.
- Attaching Leaves and Flowers
- Apply glue on the stems and insert them into the base of the flowers.
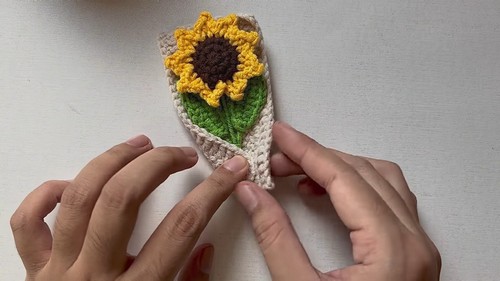
Wrapping Bouquet
- Making Wrapping Paper
- Make a slip knot and chain 24.
- Make double crochets back and forth for 6 rows.
- Hide yarn tails.
- Assembling Bouquet
- Fold the wrapper edges and place flowers inside.
- Tie with yarn to secure the bouquet.
Tulip and DIY Flower Patterns
The pattern for the other flowers can follow similar steps for their center, petals, and leaves, as demonstrated for the sunflower.
Tulip Flower
- Magic Ring
- Make a magic ring and 6 sc into it.
- Increase to 12 sc in round 2.
- Follow with 1 sc and 1 increase pattern in round 3.
- Continue as required to shape the tulip.
- Leaves for Tulip
- Similar to sunflower leaves but adapted for the smaller tulip size.