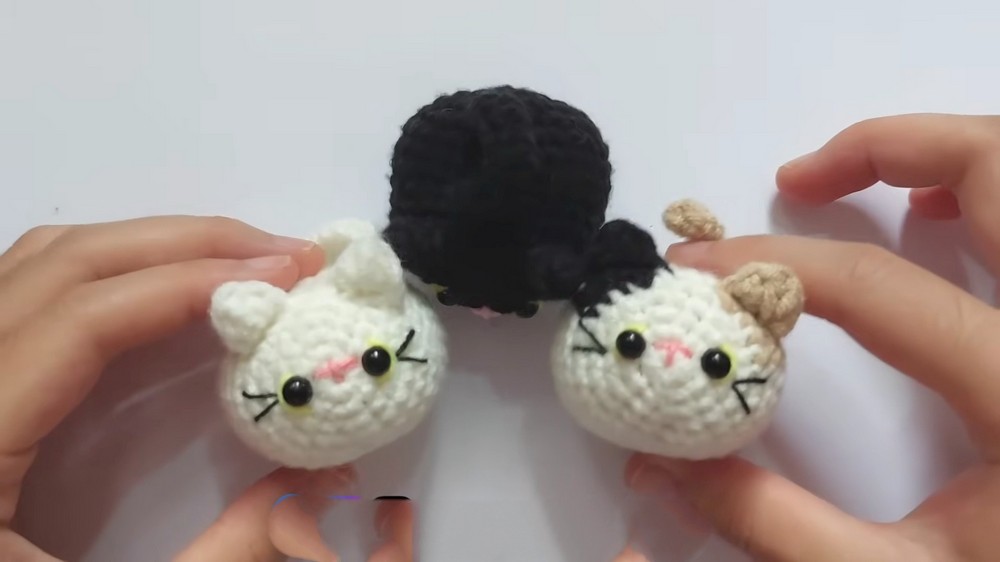
Crochet Mini Cat Loaf Pattern For Personalized Gifts
Here we come with the new pattern to create a cute mini cat loaf. The cat’s small size makes it ideal for keychains, decorations, or gifts. It has endearing details like ears, eyes, and whiskers, which you can customize. Add a pop of color with three different yarns if you desire. This adorable cat loaf is fun to make and hard to resist!
Mini Cat Crochet Pattern

Why Love This Pattern?
- Clear Instructions: The video provides very clear, step-by-step instructions. Even if you’re new to crocheting, you can follow along easily.
- Beginner-Friendly: The pattern uses basic stitches such as single crochets, double crochets, and increases, making it accessible for beginners.
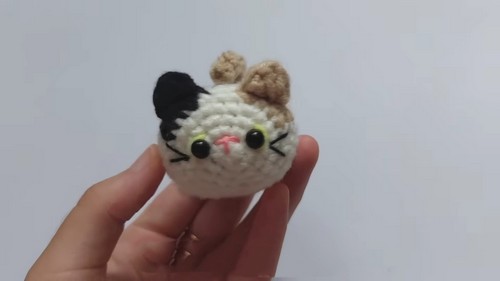
- Adorable Finished Product: The final product is a cute mini cat loaf, which is perfect as a small gift, keychain, or decoration.
- Versatility: You can customize the colors and details on the cat, such as using different yarn colors, adding stripes, or changing the size of the eyes.
- Compact and Portable: The project is small and portable, making it easy to work on while traveling or when you have a few spare moments.
The tutorial also encourages creativity, allowing you to add personal touches and make the pattern your own.

How To Crochet Mini Cat Loaf
Materials Needed:
- Yarn of your choice
- Crochet hook
- Stitch marker
- Fiber filling or scrap yarn for stuffing
- Yarn needle
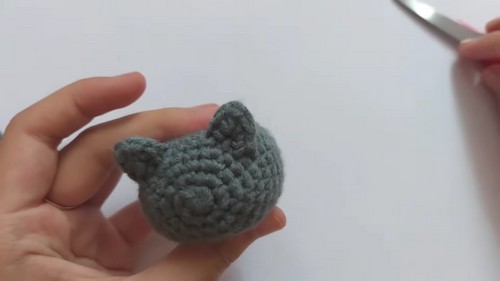
Body
- Magic Ring:
- Make a magic ring by wrapping the yarn around your fingers. Insert the hook into the loops and pull the second loop to the front and twist it.
- Round 1:
- Chain 1.
- Make 6 single crochets (sc) into the magic ring.
- Pull the tail to close the ring.
- Round 2:
- Make the first sc in the first sc of Round 1 and place a stitch marker.
- Make 1 increase stitch (2 sc in the same stitch) in each stitch around (12 stitches total).
- Round 3:
- Remove the stitch marker, make 1 sc and place the stitch marker back.
- Pattern: [1 sc, 1 increase stitch] repeat 6 times (18 stitches total).
- Round 4:
- Remove the stitch marker, make 1 sc in the first 2 stitches and place the stitch marker back.
- Pattern: [2 sc, 1 increase stitch] repeat 6 times (24 stitches total).
- Round 5:
- Remove the stitch marker, make 1 sc in the first 3 stitches and place the stitch marker back.
- Pattern: [3 sc, 1 increase stitch] repeat 6 times (30 stitches total).
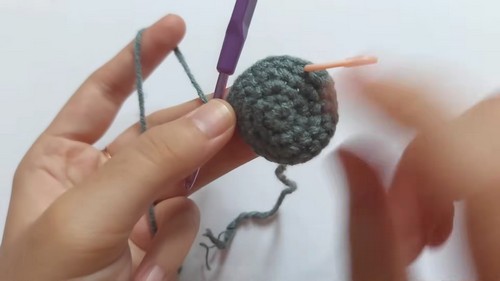
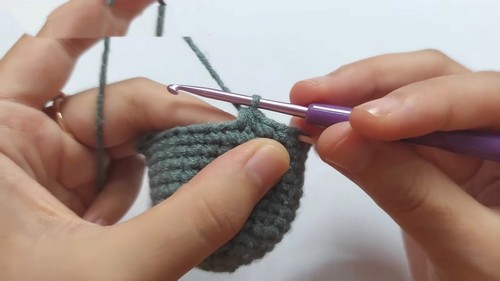
- Rounds 6-14:
- Make 1 sc in each stitch around (30 stitches per round). Continue for 9 rounds total.
Shaping the Body
- Round 15:
- Make 1 sc in the next 3 stitches, place a stitch marker.
- Pattern: [3 sc, 1 decrease stitch] repeat 6 times (24 stitches total).
- Decrease Stitch (Method 1):
- Insert the hook into the next stitch, pull the yarn through, and stop.
- Insert the hook into the next stitch again, pull the yarn through.
- Yarn over and pull through all three loops on the hook.
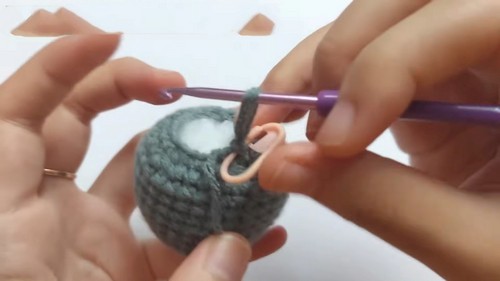
- Decrease Stitch (Method 2 – Invisible Decrease):
- Insert the hook into the front loops of the next two stitches.
- Yarn over and pull through both front loops, then complete the sc.
- Round 16:
- Make 1 sc in the next 2 stitches, place a stitch marker.
- Pattern: [2 sc, 1 decrease stitch] repeat 6 times (18 stitches total).
- Round 17:
- Make 1 sc in the first stitch, place a stitch marker.
- Pattern: [1 sc, 1 decrease stitch] repeat until the end of the round (12 stitches total).
- Stuffing the Body:
- Fill the body with fiber filling or scrap yarn.
- Round 18:
- Make 6 decreases to close the opening (6 stitches total).
- Ensure a total of 6 stitches by making only 6 stitches, even if you have to skip a stitch.
- Leave a long tail for sewing, weave in the ends to close the last round.
Ears
- Ear 1:
- Make a slip knot.
- Chain 2.
- Skip the first chain, make 1 sc in the second chain.
- Make 3 double crochets (dc) in the same stitch.
- Make 1 sc in the same stitch.
- Slip stitch in the same stitch, leave a long tail for sewing.
- Repeat to create Ear 2.
- Sew the Ears:
- Attach the ears on the 5th or 6th round of the body’s top.
Tail
- Tail:
- Make a slip knot.
- Attach the yarn to the middle back of the body.
- Chain 10.
- Skip 2 stitches, make 1 half-double crochet (hdc) in the next stitch.
- Continue making 1 hdc in each of the next 8 chains.
- Slip stitch into the same or next stitch on the body to secure.
- Weave in the ends.
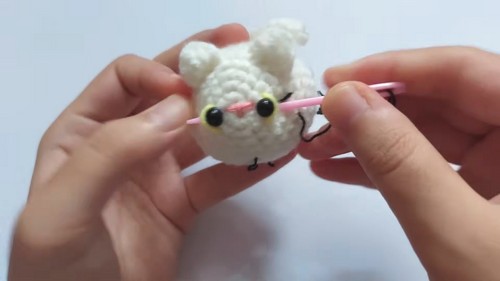
Eyes, Nose, and Whiskers
- Eyes:
- Use 3mm or 5mm safety eyes.
- Attach next to Round 1.
- Nose:
- Use yellow thread to embroider a nose on the body at the center of Round 1.
- Whiskers:
- Use thin black thread to embroider a “V” shape on each side of the nose.
Optional: Keychain
- To make it a keychain:
- Attach a keychain ring or strap to the back of the body.
Follow these steps, and you’ll have your own adorable mini cat crocheted!